
What you need
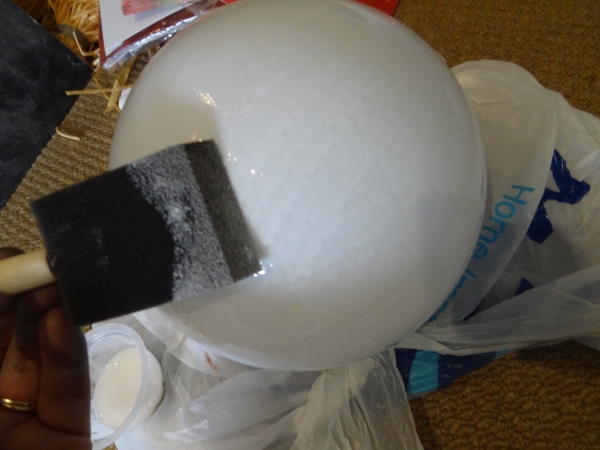
1 round glass lamp/light cover (from hardware stores)
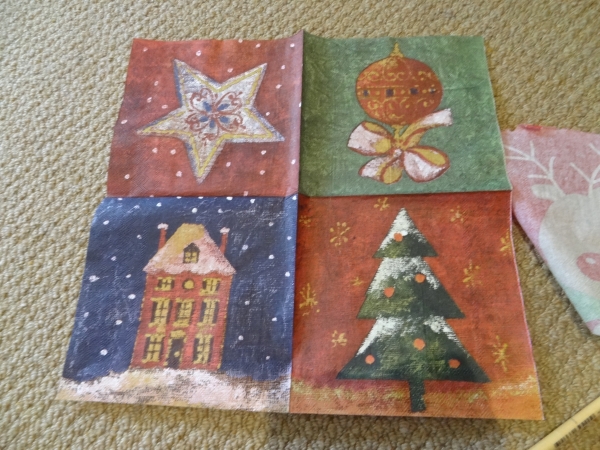
patterned Christmas napkins
PVA or white craft glue
Clear Varnish
Battery operated LED (color changing optional) light
Instructions
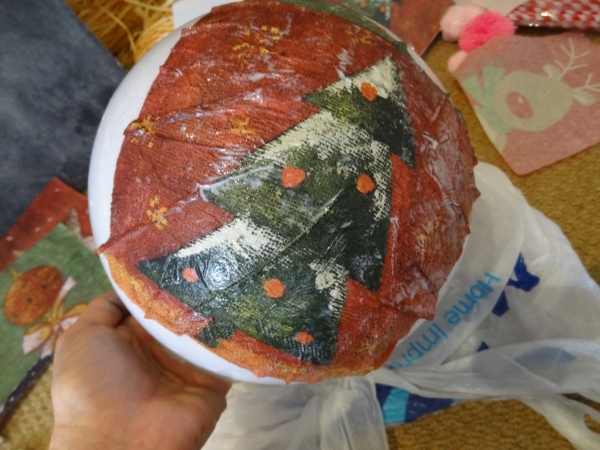
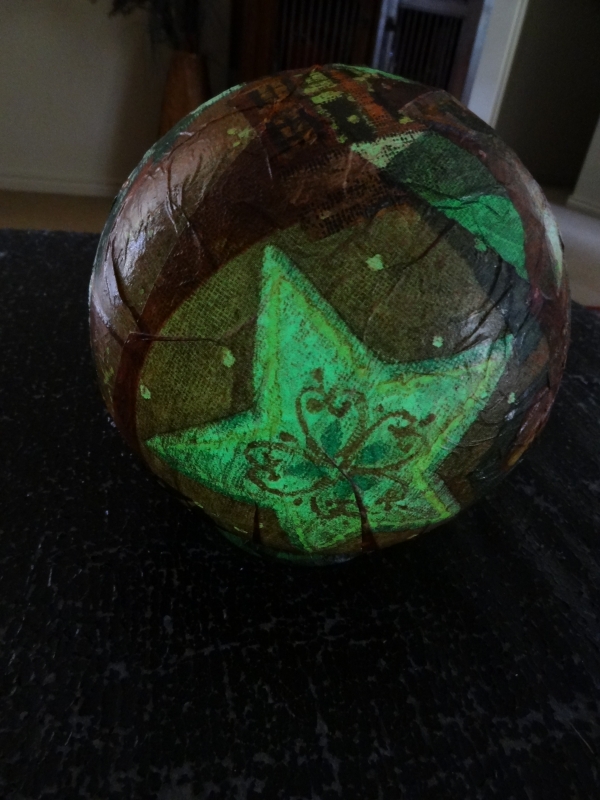
This Christmas decoration is created using a collage of paper Christmas napkin. I used a napkin that had 4 different Christmas designs on it, but you could use what ever you like or can find. A solid Christmas print would also look lovely.
The glass light fitting is from a hardware store and cost around $8.00 or you could use recycled ones from a building salvage yard.
Mix your PVA (white craft glue) with a little water to make it runny and spreadable.
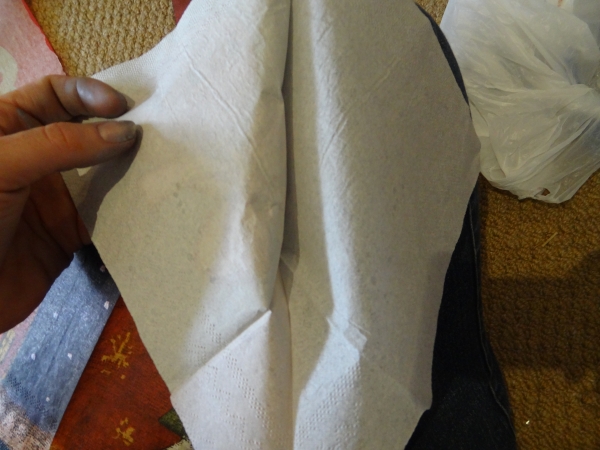
Next separate the back layer off the napkin as we only want it to be single ply.
Tear the napkin into smaller pieces that will be easy to manage. Don’t be tempted to cut it as the straight lines don’t blend together well on the finished piece. Tear around any pictures or designs you would like to keep in tact.
Cover the ball in the glue mixture and begin layering the tissue onto the ball.
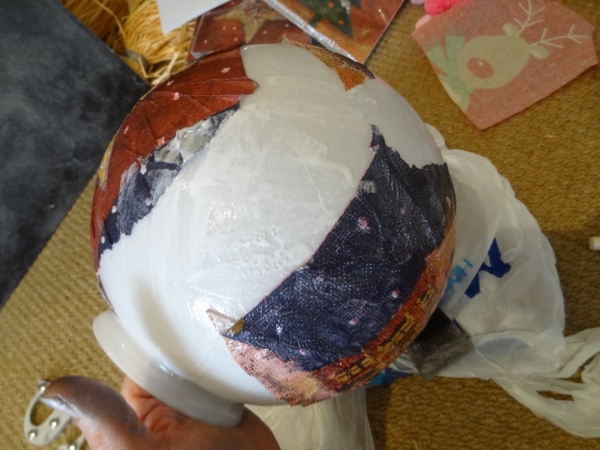
Use the glue and brush to pat it down into place. You need the paper to be soaked.
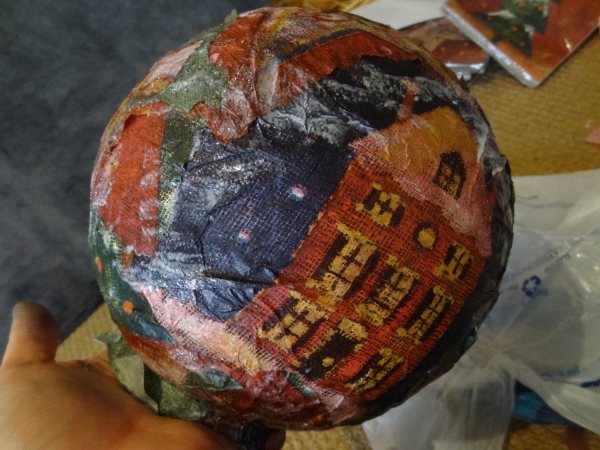
Keep layering your design until it is covered. Once covered allow to dry and then coat with another layer of the glue. Keep doing this until you get the desired finish. If you want to use your ball in the yard then apply a clear varnish for extra protection.
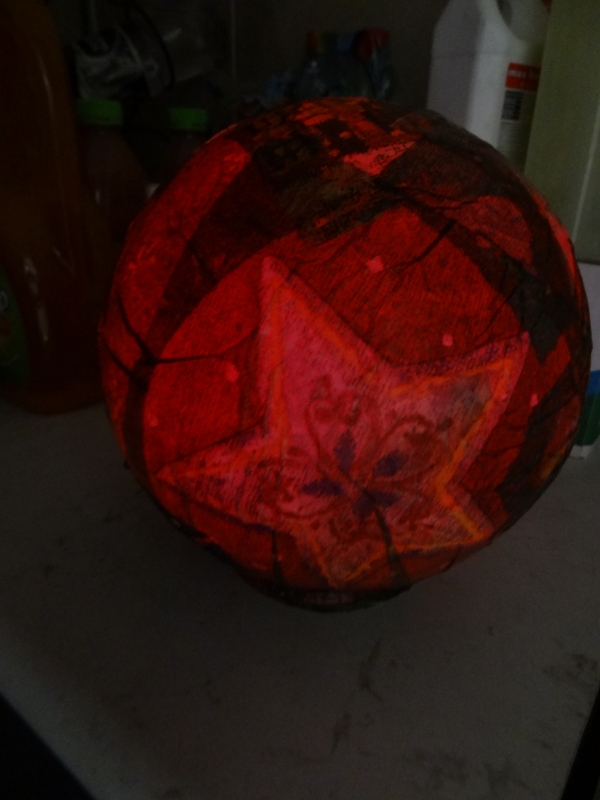
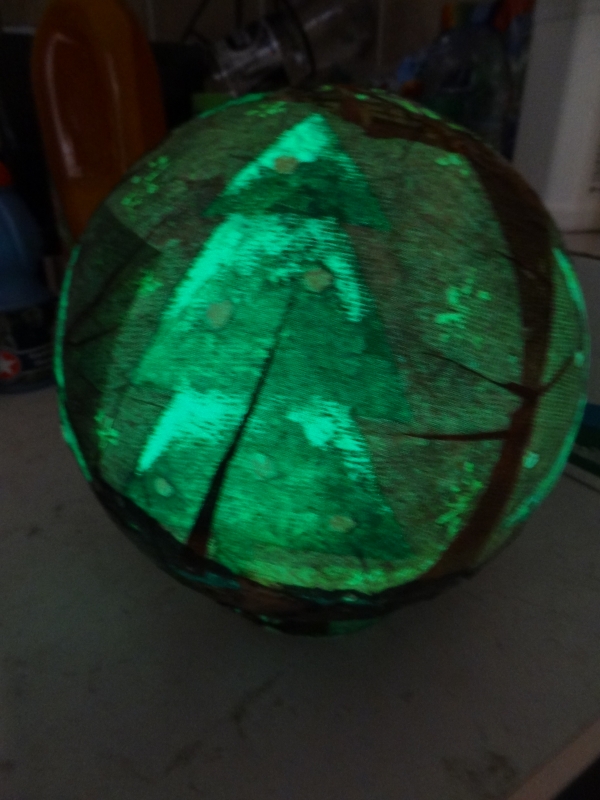
Pop the LED light inside and you are finished with the project.
Watch it glow!


I am eager to try this project!
Enjoy it a lot. Will be sharing it soon.