
Get more details about this project
What you need
Ceramic ornaments
Black permanent vinyl
Weeding tool
Transfer tape
Decorative stickers
Ribbon
Scissors


Instructions
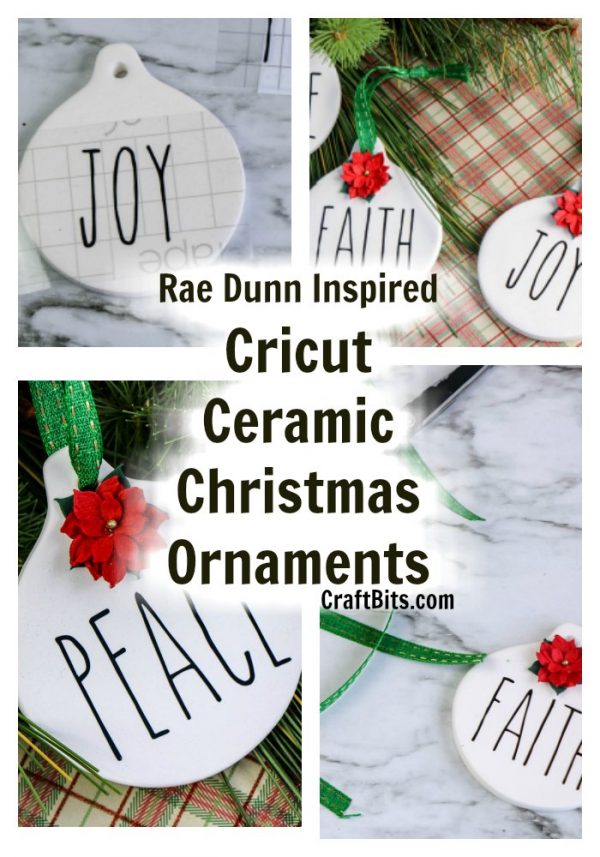
DIY Ceramic Christmas Ornaments – Rae Dunn Inspired
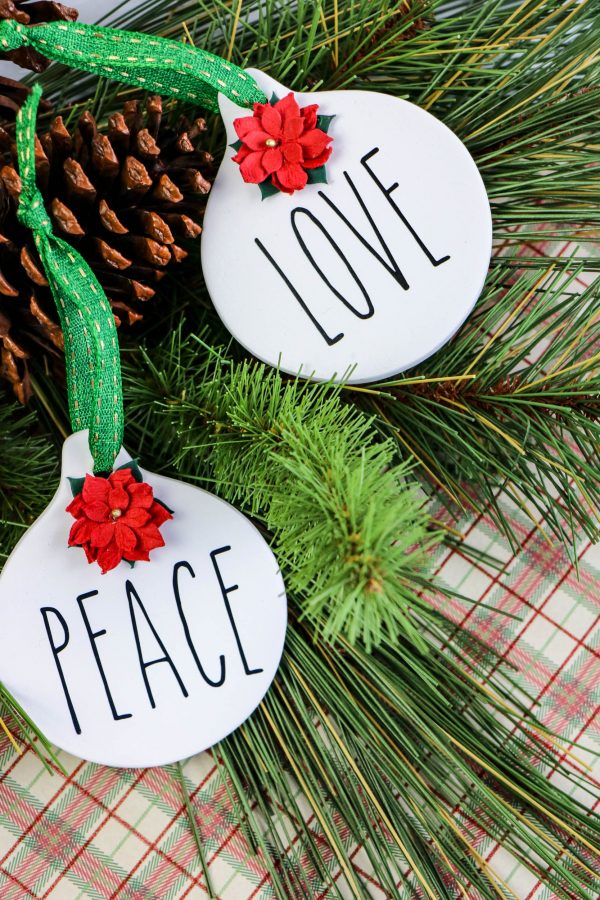
There’s something lovely about a Christmas ornament with just one meaningful word. Nestled among the branches, a simple “Peace” or “Love” can feel every bit as festive as a glitter-covered decoration.
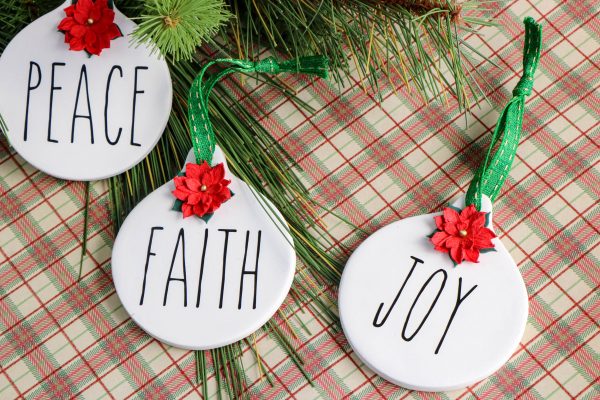
I love the combination of white ceramic, slender black lettering and a little red poinsettia in this project. The green ribbon brings everything together, giving these ornaments a traditional Christmas finish with a touch of farmhouse style.
You can make a coordinated collection for your own tree or choose a different word for each person on your gift list. They would also look lovely tied onto wrapped presents as keepsake gift tags.
Instructions
- Choose your lettering. Install “The Skinny,” the font used in the original project, or select another tall, narrow font.
- Create your words. Open a new Cricut project and add your chosen text. Short words such as JOY, LOVE, PEACE and FAITH work well.
- Measure before cutting. Size each word to fit the ornament, leaving room around the edges and beneath the hanging hole.
- Cut and weed. Cut the lettering from black permanent vinyl. Remove the surrounding vinyl and the small pieces inside the letters.
- Transfer the design. Lift the lettering with transfer tape, position it on the ornament and press firmly. Slowly peel away the tape, checking that every letter stays in place.
- Add a festive detail. Attach a decorative sticker near the top. A small red poinsettia complements the black lettering beautifully.
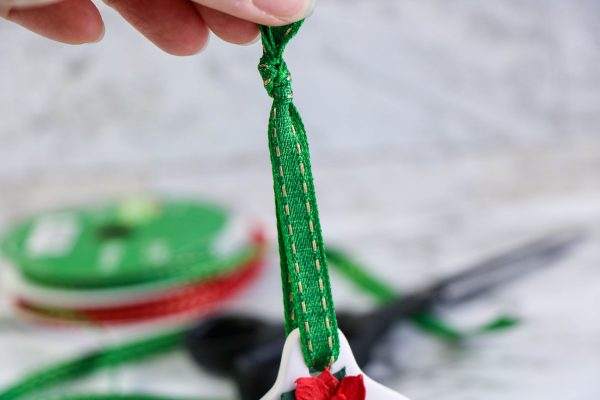
- Finish with ribbon. Thread approximately six inches of ribbon through the hanging hole, knot the ends and trim as needed.
Make Them Your Own
Try family names, a special date or a word that means something to the recipient. Keep the lettering consistent across a set, then vary the ribbons for a little individuality.
For another decoration with a rustic winter feel, pair your ornaments with this DIY burlap winter wreath.
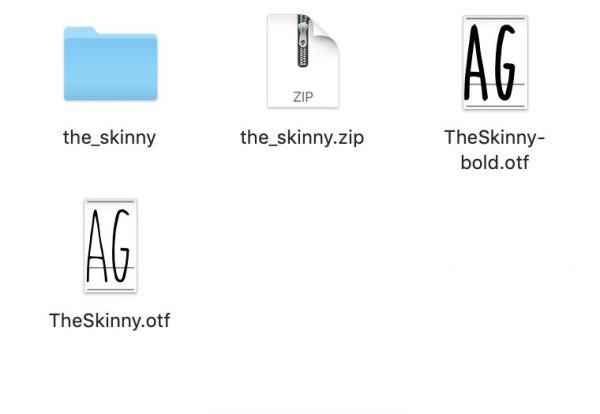
1. Download the font “The Skinny” from Dafont.com. Install the font on your computer.
Looking for more SVG files for these ornaments? Check these out at Design Bundles
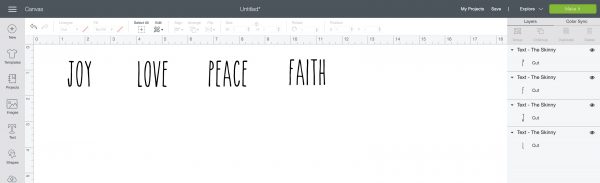
2. Open the Cricut Design Studio and create a new project.
3. Insert a text box and type your desired word. Select “The Skinny” font from your system.
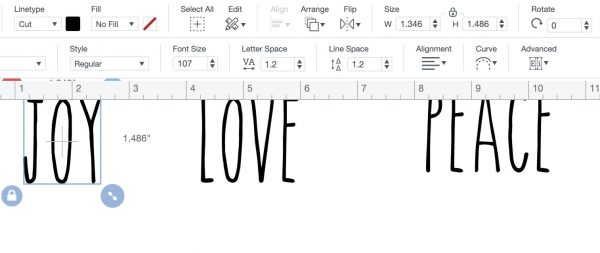
4. Check the width of your ornaments and size the text box to fit.
5. Cut the text from black vinyl.
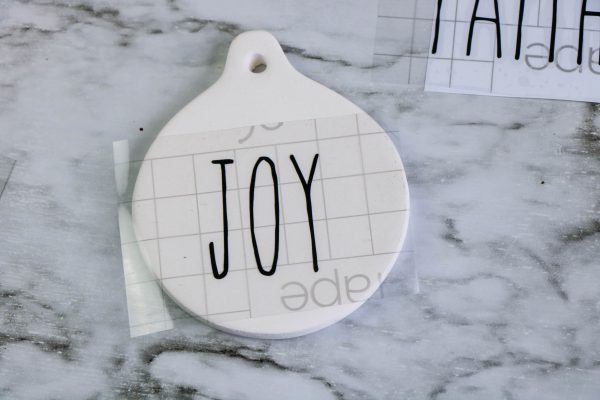
6. Weed the excess black vinyl away and then use transfer tape to move the word to the ornament. Press firmly or swipe over the transfer tape with a scraper to make sure the vinyl adheres to the ornament. Pull the transfer tape away.
7. Attach a decorative sticker if desired.
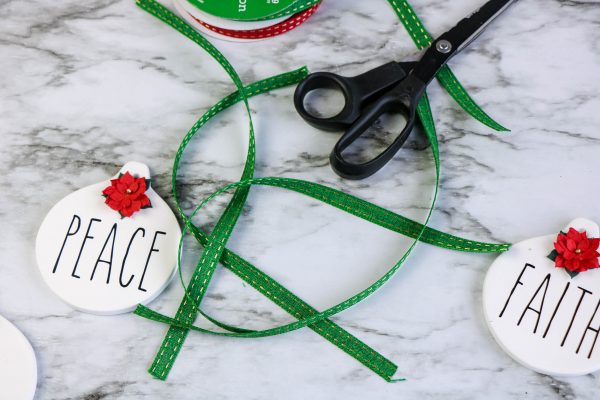
8. Cut a length of ribbon approximately 6 inches long. Thread the ribbon through the loop opening on the ornament and tie a knot in the ribbon for hanging. Trim any excess ribbon if needed.





What do you think of this project? Let us know!