
Get more details about this project
What you need
- One lightweight miniature craft mug
- Red, green and white paint suitable for the plastic or metal
- Compatible primer, if required
- Small paintbrush and white paint pen
- Approximately 30 cm of strong hanging cord
- Hand drill with a small bit, approximately 2 mm
- Fine abrasive paper for smoothing holes
- Thin cardboard
- Brown acrylic paint
- Scrap tissue paper
- White and red air-dry foam clay
- Craft adhesive compatible with the cup, cardboard and dried clay
- Scissors and pencil
- Protected work surface
Instructions
Some of us consider hot chocolate a Christmas decoration in its own right. This tiny version simply makes the arrangement official.
The mug is filled with pretend cocoa, a generous cream swirl and a little candy cane. Everything is made from craft materials, so you can bring it out year after year.
A lightweight cup keeps the ornament manageable for a tree branch. The hanging cord attaches to the cup itself, rather than relying on a glued decoration to hold everything up.
If you prefer working with yarn, our crochet cocoa mug ornament offers another take on the theme.
Instructions
1. Prepare the Hanging Holes
Choose a plastic mug that can be drilled without cracking.
An adult should make two opposite holes just below the rim, with solid plastic remaining above each hole. Position them so the cord will clear the handle and toppings.
Smooth the edges and remove debris. Reject the cup if it cracks.
2. Paint the Mug
Prepare and prime according to your paint’s directions.
Paint the outside red and the rim green. Add simple white snowflakes and dots once dry.
Let the finish cure before assembly.
3. Attach the Cord
Thread the cord through the opposite holes to create an arch above the cup.
Secure each end with a stop knot larger than its hole. Test the connection gently over your table.
Leave enough clearance for the cream swirl.
4. Make the Cocoa Insert
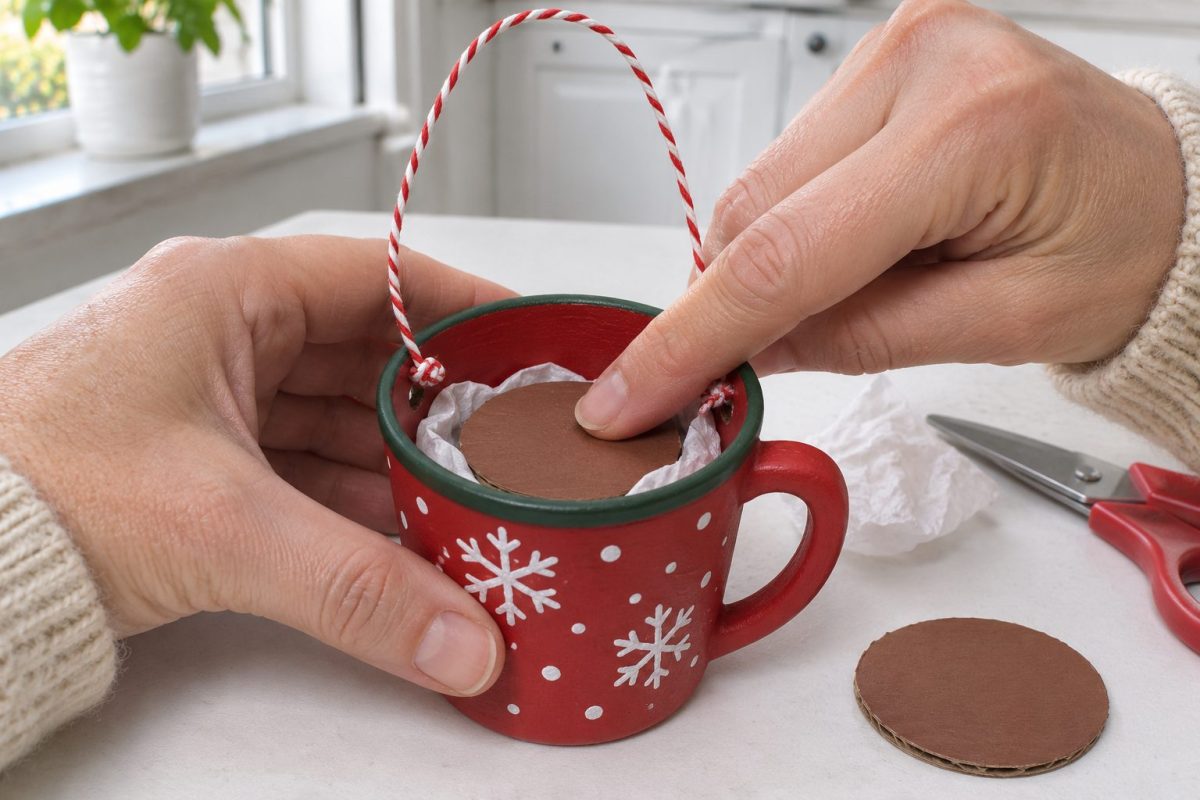
Cut a cardboard circle to fit closely inside the cup, just below the rim.
Paint its upper surface brown and let it dry.
Add a little crumpled tissue inside the mug as support. Secure the disc horizontally with suitable adhesive, keeping the cord attachments clear.
5. Shape the Toppings
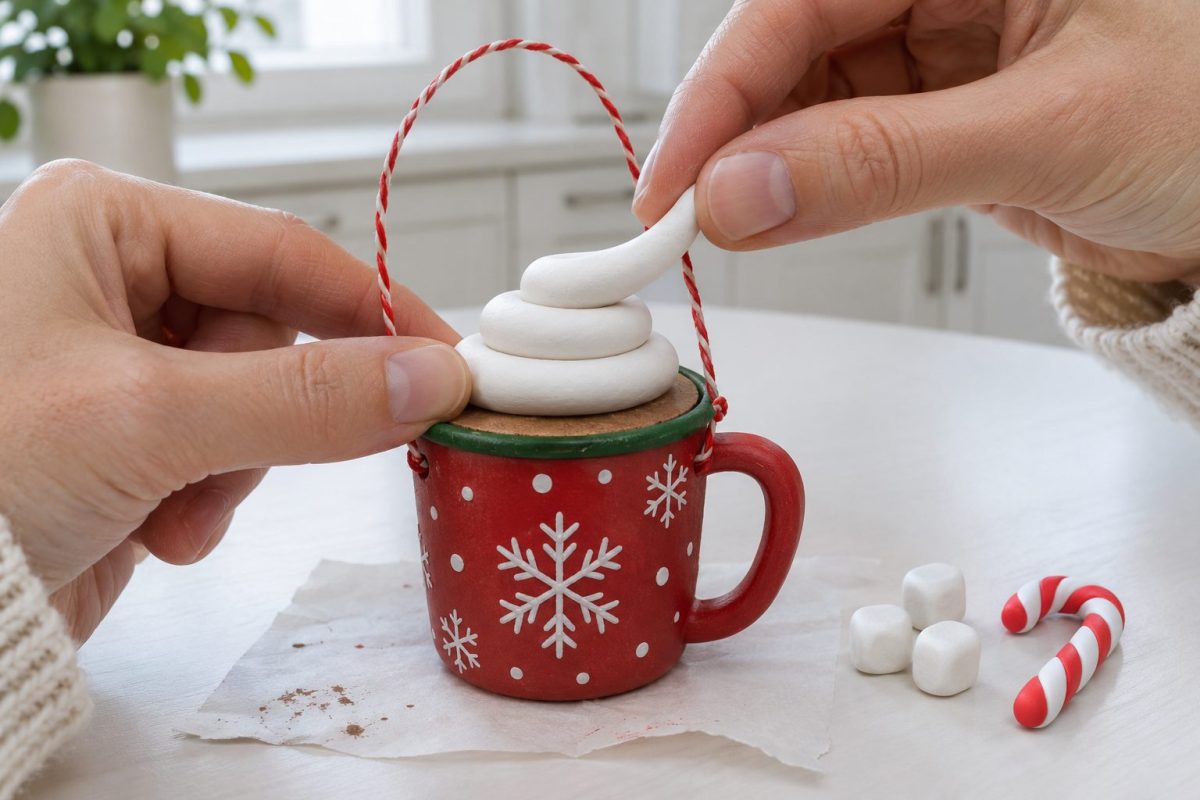
Roll white foam clay into a tapered rope. Coil it upward into a small cream swirl.
Make three small white cubes for marshmallows.
Twist thin red and white clay ropes together and curve one end into a candy cane.
Dry the pieces separately according to the clay instructions. Reshape or remake any piece that slumps.
6. Assemble the Ornament
Once everything is dry, glue the cream swirl onto the cocoa insert.
Add the marshmallows and candy cane around it. Keep the hanging cord free.
Allow the adhesive to cure, then check the ornament’s balance before displaying.
Helpful Tips and Variations
Use white paint with a snowman face for a different mug design, or choose soft pink with cream toppings.
Keep embellishments small so the ornament stays light. These are decorative craft materials, not food or toys.
For more pretend Christmas treats, try our wooden bead plum puddings. Package a finished mug in a small box with a handmade paper tag for a thoughtful ornament gift.
Store upright in a dry box so the candy cane and cream peak are protected. A tiny mug deserves a little packing care.





What do you think of this project? Let us know!