
In this tutorial for absolute beginners we show you how it is done.
Get more details about this project
What you need
● Sewing machine, or needles if you prefer to sew by hand
● Rotary cutter, mat, sharp scissors
● Clear ruler
● High-quality thread
● Fabric (preferably 100% cotton)
● Batting
● Iron and ironing board
● Pins or safety pins
● Seam ripper (nobody’s perfect!)
● The biggest table in the house
Instructions
So, you want to fall into the rabbit hole of quilting? We can help!
Let’s start off with some basic terminology.
Anatomy of a Quilt
- Quilt Top: The first out of three main quilt pieces. This is usually made of different fabric squares that you piece together.
- Batting: The inner filling of a quilt. This can be made of many materials, including wool, polyester, or cotton.
- Backing: The third and final layer of a standard quilt. It is usually one piece of fabric.
- Binding: Long fabric strips that you sew on to put the whole quilt together at the end.
Tools You’ll Need
- Sewing machine, or needles if you prefer to sew by hand
- Rotary cutter, mat, sharp scissors
- Clear ruler
- High-quality thread
- Fabric (preferably 100% cotton)
- Batting
- Iron and ironing board
- Pins or safety pins
- Seam ripper (nobody’s perfect!)
- The biggest table in the house
The Process
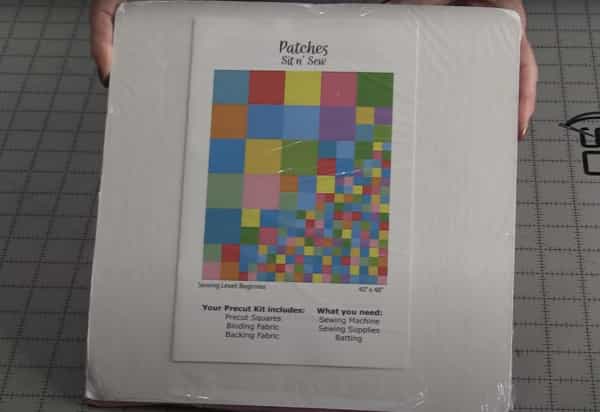
- Choose a quilt top pattern
- Cut out the fabric, or use a precut kit
- Pin the pieces together
- Start sewing
- Sew the quilt top together
- Quilt sandwich
- Binding
- Bask in the glory of your finished quilt!
Step 1: Choose a quilt top pattern
The simplest pattern for total beginners is usually a grid of similarly-sized squares. Complex shapes are for the seasoned stitchers, in our opinion, and you’ll see why as early as step 2.
You can buy patterns just about anywhere you can buy crafts: online, craft shops, quilt shops, you name it. Browse until you find one you like—but for your first quilt, you’re likely to want to choose a simple grid pattern so you don’t get overwhelmed.
Once you have your pattern, it’s time to buy your fabric. Usually, fabric is sold by the yard, but you can find smaller pieces in a lot of stores, too.
Step 2: Cut out the fabric, or use a precut kit
Next comes the longest, and arguably the trickiest, part of quilting: cutting out the fabric. The pattern you chose should tell you the dimensions of the shapes you need, and it’s your job to cut them out.
Iron the fabric first! You’re way more likely to make mistakes if you have a lot of wrinkles, especially when it comes time to sew.
Lay your fabric out on a mat and use your rotary cutter and a clear ruler to measure and cut as neat as possible. If you’re doing a square pattern, it helps to cut out columns first, then cut those columns into squares.
This fiddly and tedious step can be avoided by getting a precut quilt kit. Not only do these kits come with all the quilt top pieces you need, but they have all the backing and binding you need, too. They produce less waste, are professionally cut, and are much easier on the hands.
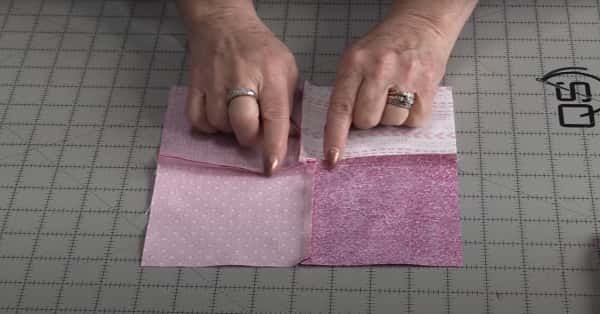
Step 3: Pin the pieces together
Before you sew a single stitch, you need to pin the precut pieces together in squares. This helps as both a visual aid and as a way to make a “game plan” for what you’ll stitch first. Work according to your pattern to get all your pieces laid out and ready to sew.
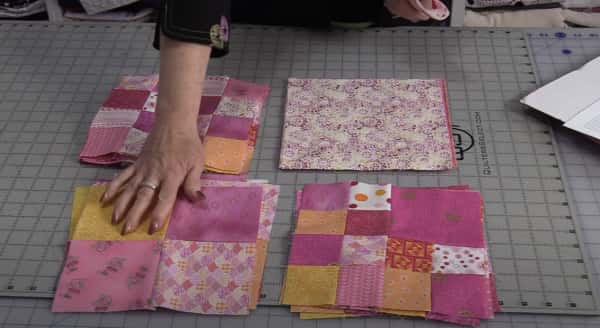
Step 4: Start sewing
Sewing the pieces of the quilt top together is known as piecing. To make this process less overwhelming, divide up your pattern into bigger squares, traditionally made of 9 smaller squares. (Usually, the pattern will show you how.)
You’ll be sewing seams at the back that are hidden from the front. The size of the fabric overlap here is known as a seam allowance. The standard seam allowance is ¼ of an inch, and that’s likely what you’ll be using for your first quilt. Make sure you keep your allowance consistent for the neatest quilt possible. You can use masking tape or a sewing machine “foot” to make sure you’re staying consistent.
How you sew is up to you: you can sew it by hand if you prefer, or you can use a sewing machine. Some people like to piece by hand and quilt by machine, so it’s down to what works best for you.
Iron each big square when you’ve finished it! You might not feel like it again, but please, do it so you aren’t angry with yourself later.
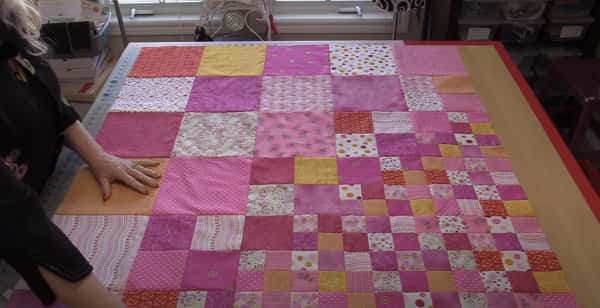
Step 5: Sew the quilt top together
Once you have your squares, work in columns to sew the whole quilt top together. To keep track of them, it helps to label each square using a bit of masking tape. You wouldn’t want to sew a square in the wrong place!
When you’ve finished, pat yourself on the back because you’ve done the bulk of the work. Then iron it all again!
Step 6: Quilt sandwich
Really, you haven’t done any quilting so far. Quilting is technically the act of sewing three quilt pieces together: the backing, the batting, and the quilt top.
You need to lay them all out first. Your table might not be big enough for this part—if that’s the case, go ahead and use the floor. It’s best to lay out the whole thing at once so that you get all three pieces laid out as neatly as possible.
Pin them all together securely. Spend extra time making sure they line up evenly. Then stitch it all up! There are an infinite amount of ways to stitch a quilt together, but whatever stitch pattern you choose, remember: the more even the stitch pattern, the less likely your quilt is to pucker or distort. A great way to quilt for beginners is simply by sewing straight lines.
Step 7: Binding
To put the binding on your quilt, it’s best to watch a video on the tiny steps and folds involved in binding. You can also get a special someone in your life to guide you through it. Sometimes, your pattern or precut quilt kit will illustrate how to complete this step. Folding the corners and stitching them down isn’t necessarily hard, but you won’t want to miss a single fold to make the final step as neat as possible.
Basically, you’ll need to fold your strips of binding fabric along the edges in such a way that the seam is clean and hardly visible. This involves creating mitred corners, which are sewn at a 45-degree angle at the back of the quilt. They should look quite tidy when they’re done.
Tip: Make sure you sew the binding on the back first, and then the front!
Step 8: Bask in the glory of your finished quilt!
Congratulations! You made a quilt with your own two hands, and you should be proud.
If you really aren’t satisfied with the colors or you think you could do better if you just tried again, go for it. Don’t blame us if this is how your quilting addiction starts!


Do you have a link for the pattern you show in this article?