
Get more details about this project
What you need
225 g / 9 oz goat’s milk
340 g / 12 oz grated soap or soap flakes
4.5 g / 2 tsp powdered benzoin
Instructions
This soap recipes uses the Melt & Pour Method of soap making.
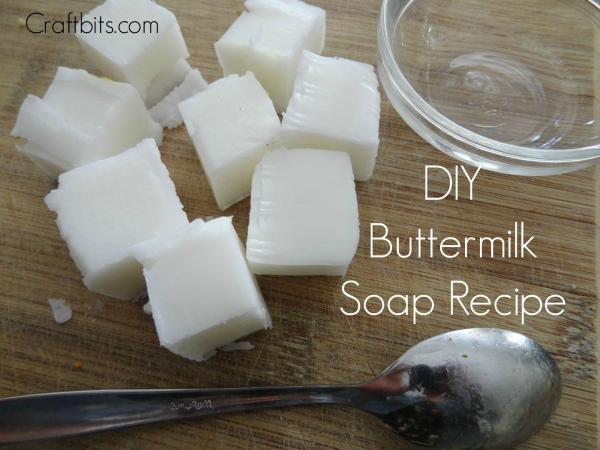
This simple buttermilk soap recipe is a lovely way to make a creamy, gentle handmade soap using the melt and pour method. The addition of goat’s milk gives the soap a rich, nourishing feel, making it a beautiful choice for handmade gifts, bathroom baskets, or a little everyday luxury at home.
Because this recipe uses pre-made soap flakes or grated soap, it is a much easier option than traditional cold process soap making. There is no need to handle lye, which makes it a more approachable project for beginners who want to try homemade soap without the more advanced safety steps.
What You Need
225 g / 9 oz goat’s milk
340 g / 12 oz grated soap or soap flakes
4.5 g / 2 tsp powdered benzoin
Instructions
Begin by preparing your soap molds and placing them on a flat, heat-safe surface. Silicone molds work especially well because the finished soap is easier to remove once it has set.
Place the grated soap or soap flakes into a heat-safe bowl or double boiler. Warm gently using the melt and pour method, stirring often so the soap melts evenly and does not scorch. Keep the heat low and take your time, as overheating can affect the texture of the finished soap.
Once the soap has melted down, slowly add the goat’s milk and stir until the mixture is smooth and creamy. Make sure the milk is fully blended through the melted soap base.
Add the powdered benzoin and stir again until it is evenly distributed. Benzoin is often used in soap making as a fragrance fixative and preservative-style ingredient, helping the finished soap keep its scent and quality for longer.
Carefully pour the melted soap mixture into your prepared molds. Tap the molds gently on the bench to help release any trapped air bubbles.
Allow the soap to cool and harden completely. This may take several hours, depending on the size and depth of your molds. Once firm, gently remove the soap from the molds.
Your buttermilk soap is now ready to use or wrap as a handmade gift.
Tips
For a smoother finish, make sure the grated soap is finely shredded before melting.
If you want to add fragrance, choose a skin-safe soap fragrance oil or essential oil and add it once the soap has melted.
Wrap finished bars in paper, fabric, or twine for a simple handmade gift presentation.
Store unused soap in a cool, dry place away from direct sunlight.
This is a lovely beginner-friendly soap project for anyone wanting to make a creamy, classic handmade soap without starting from scratch.
Follow the link above for basic Melt & Pour techniques.
Melt the liquid together with the Melt and Pour Soap base and the benzoin and pour into molds.



I try to stay away from items I cannot find local.
is this project good for a 12 yr old to do? where can I but powdered benzoin? where is the cheapest place to buy materials not online?