
What you need
Peat soil
Premium potting mix
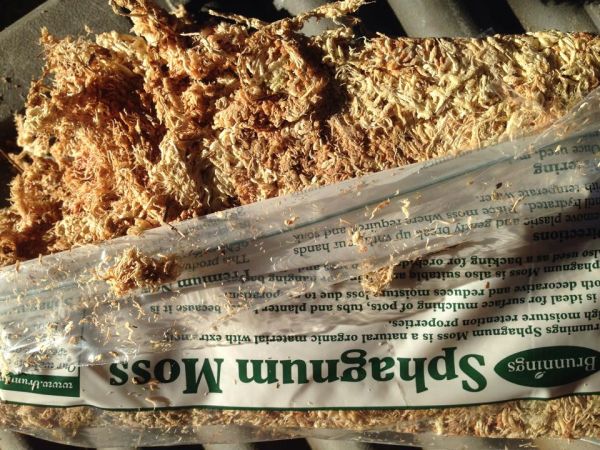
Sphagnum moss Or similar
Strong Twine Natural or colored
Buckets for mixing
Small Fern Or Palm Plant
Instructions
It as easy to make 3-4 of these as it is to make just one. Generally your potting mix, peat and spag moss will come in large packets. This tutorial is for making around 3-4 balls or more.
You will need to select hardy, shade-loving plants. Your plant should have a small root systems. Ferns, ivy, creeping fig, decorative grasses, miniature palms are all good plants to use. You could use herbs also. If you have no idea what type of plant to use, ask at your local garden centre. As you are molding a ball around it, don’t buy giant plants. Small is perfect for this project.
For your first Kokedama plant, I suggest using something with upright foliage. Plants with hanging vines is much harder to work with. So start off easy.
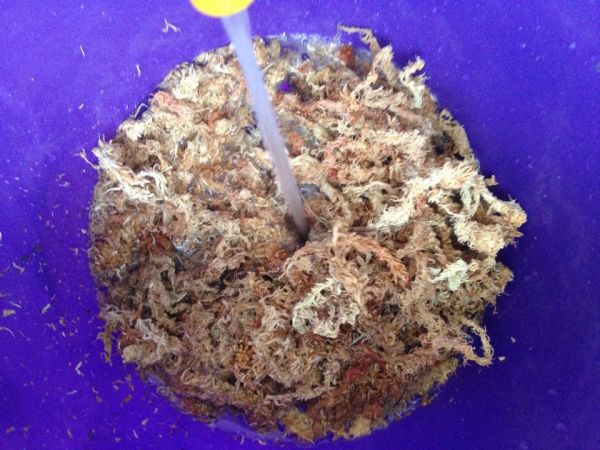
Start by soaking your sphagnum moss in a bucket of water. Whilst it is soaking let’s get the soil ready.
Next you need to make a mix of 4 parts potting mix to one part peat. Alternatively you could purchase a ready made terrarium or bonsai tree soil mix.
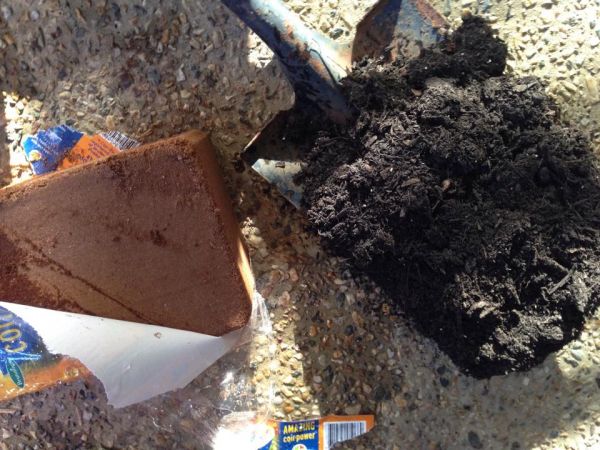
Our Peat was in a solid block so we had to crush it up first and soak it.
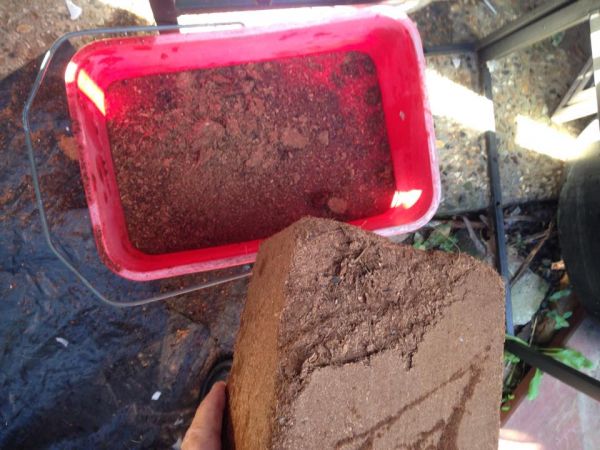
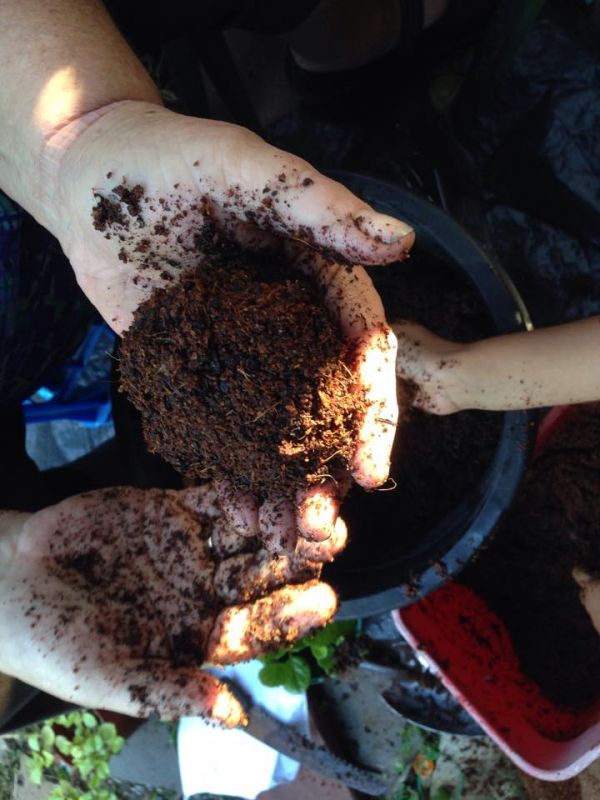
The next step is to add water to your soil mix. You need to add enough water so that your soil mix becomes glugy and moldable. Don’t worry about excess water as you can squeeze it out. When you can mold a ball into your hand, you have the correct consistency. If you can toss your ball and catch it without it breaking then you have the perfect consistency.
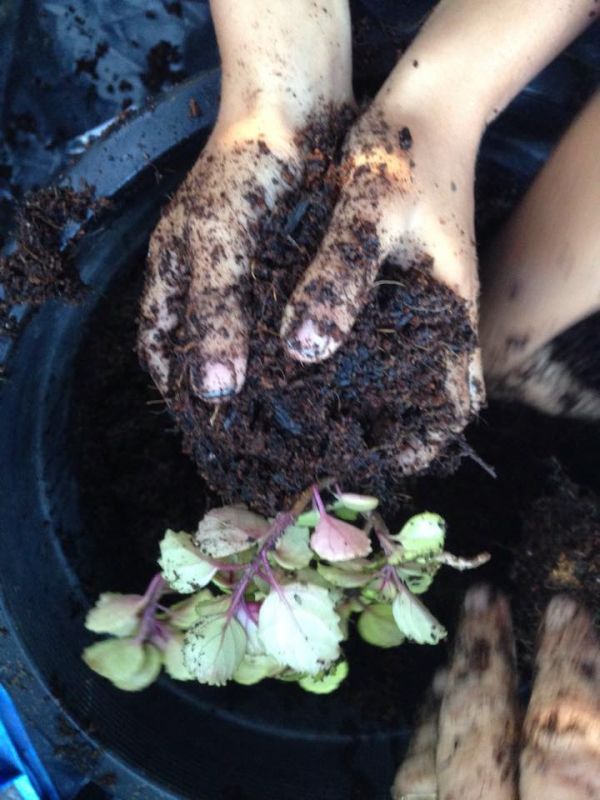
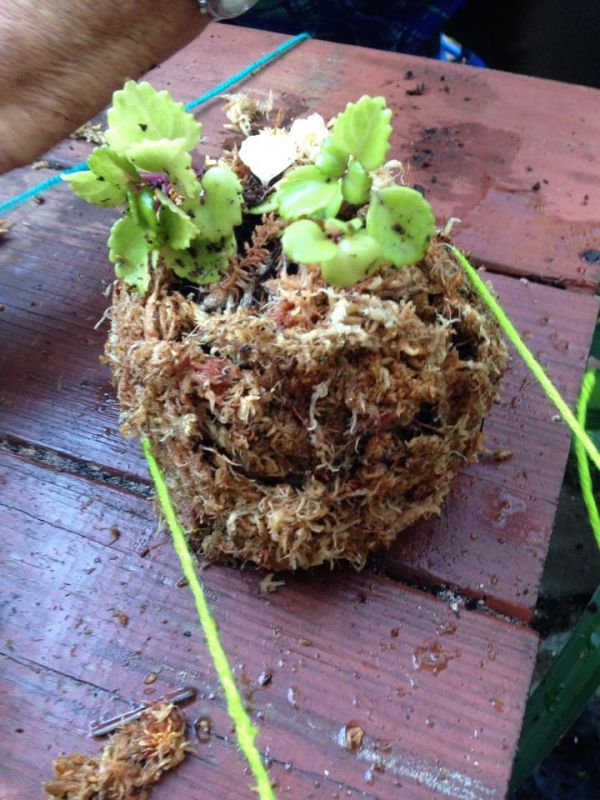
The next step is to take your plant and remove soil from it’s roots. You need to mold your soil mix around the roots, forming it into a ball. This is the hardest part, so take your time. Remember to squeeze and mold without breaking your plant.
The ball should be around the size of a baseball or larger. Remember your plant needs to feed of it.
Once you are happy with your ball, Wrap it with the twine to keep it secure. You won’t be able to see the twine so don’t worry about getting it to look pretty.

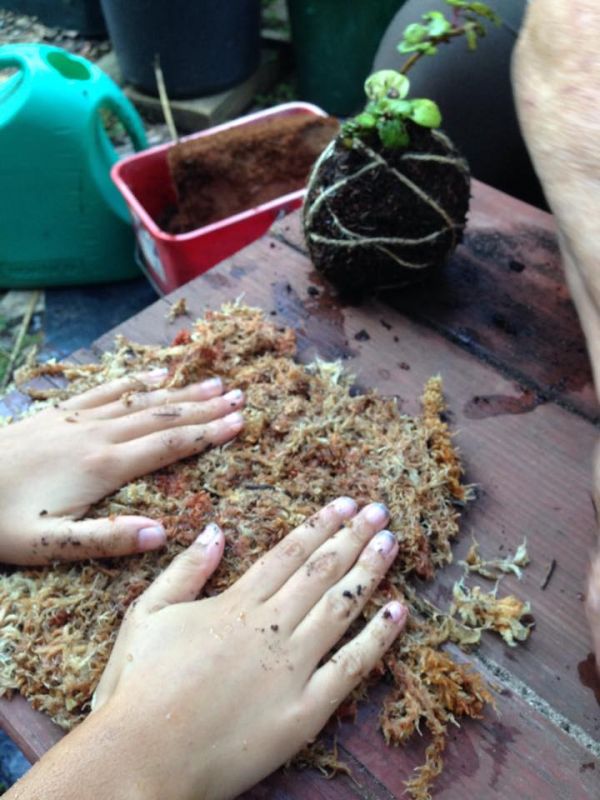
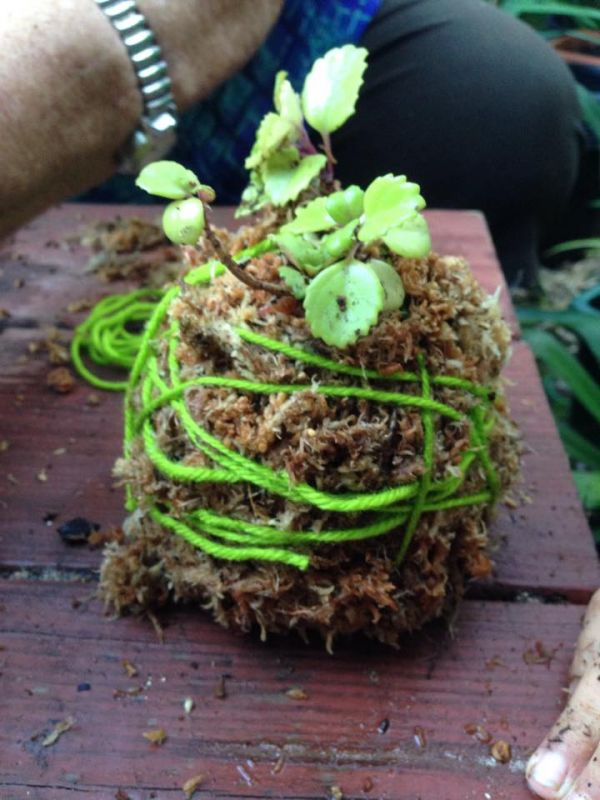
Next you need to prepare the Spag Moss. You need to squeeze out as much water as you can. You will need enough to make a large pancake that will cover your ball.
Here is a video showing you how to make the pancake.
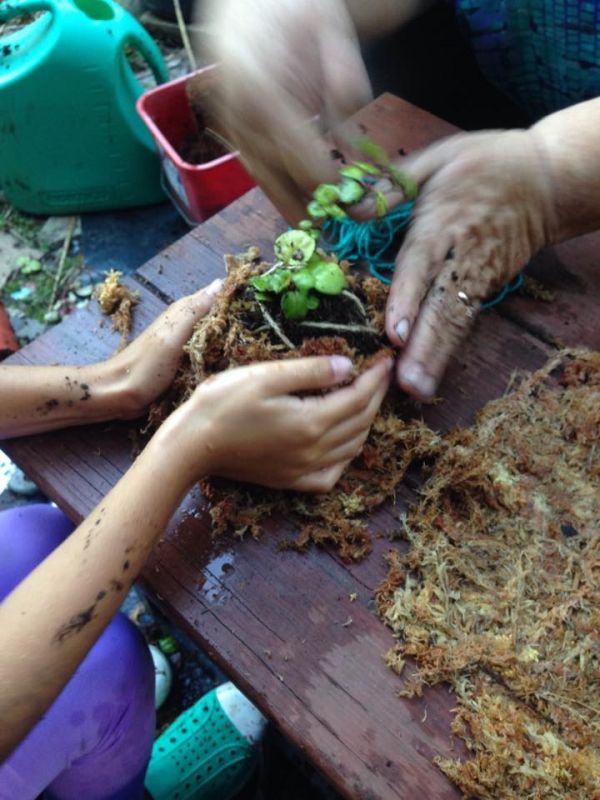
Once the pancake is made you need to wrap the ball. If your pancake has holes just add some scraps of wet Spag moss to it. It’s a good idea to have the string ready for wrapping as this layer is quite tricky.
Here is a video of Grandma Craftbits helping the kids get their Kokedama moss layer just right.
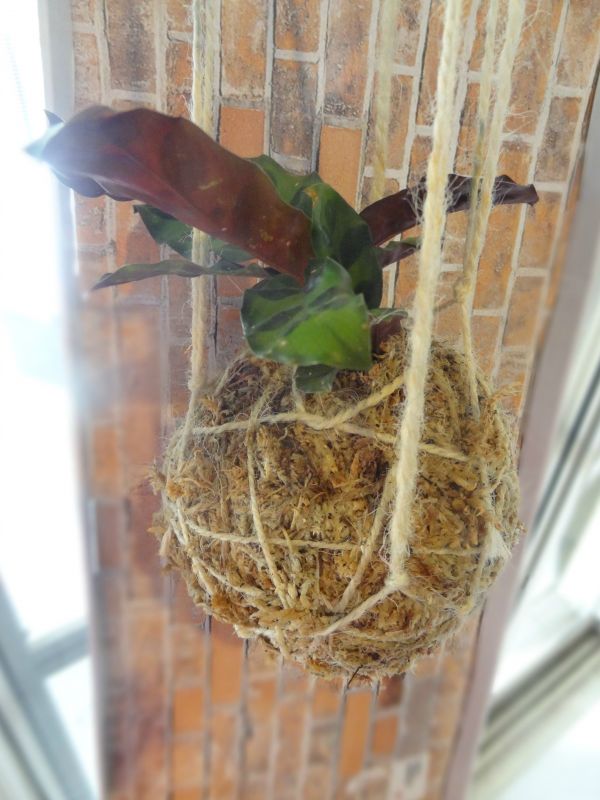
Once you are happy with your moss layer, begin wrapping your plant. Be sure to wrap underneath and not just around the middle.
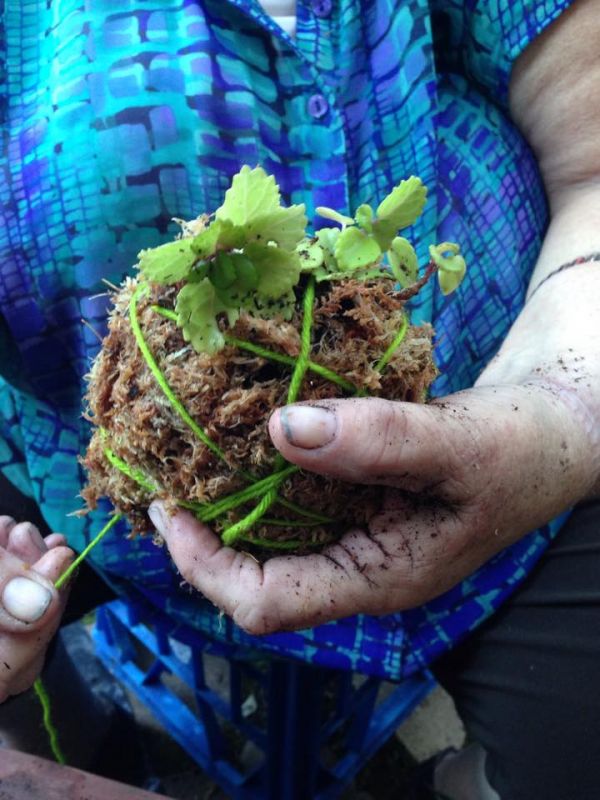
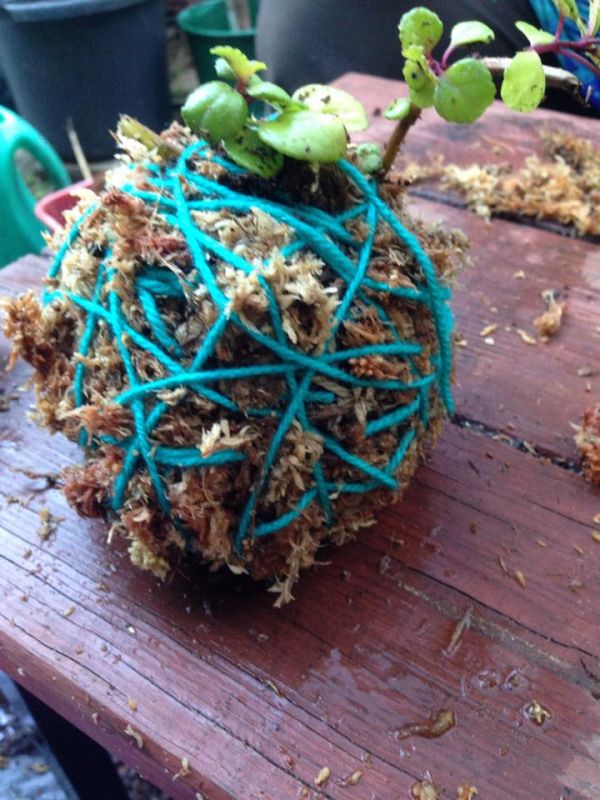
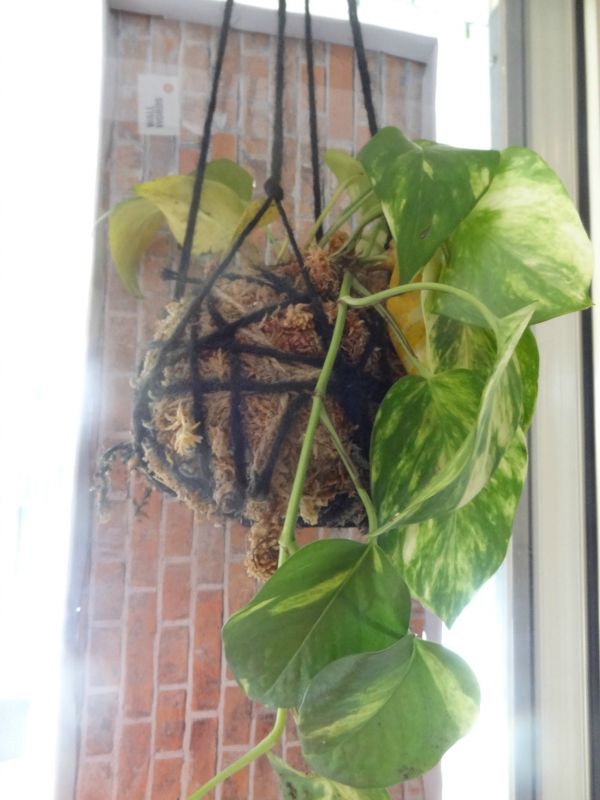
Your Kokedama is now finished!
If you want to create a hanging Macramé basket for it then continue on.
Start by taking 2 x 3 metre or 3-4 yards of strong twine.
Place them together and fold in half. (My photos do not use 3 yards. I made a mini one for the photos).
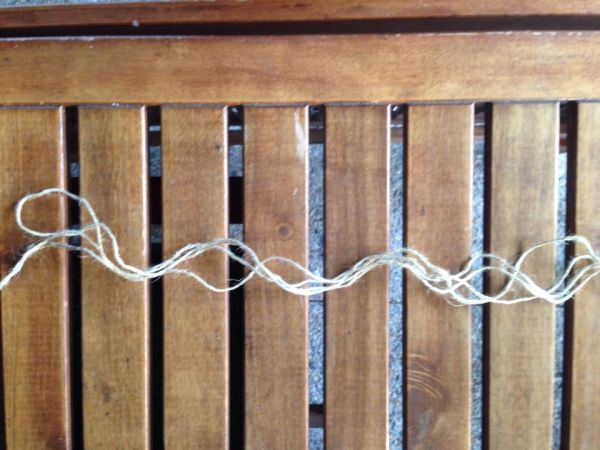
Place your strings togehter and fold in half. Tie a knot in the middle. You should now have 4 strings coming from each side of the knot. Cut the loops at the ends so the strings are all loose.
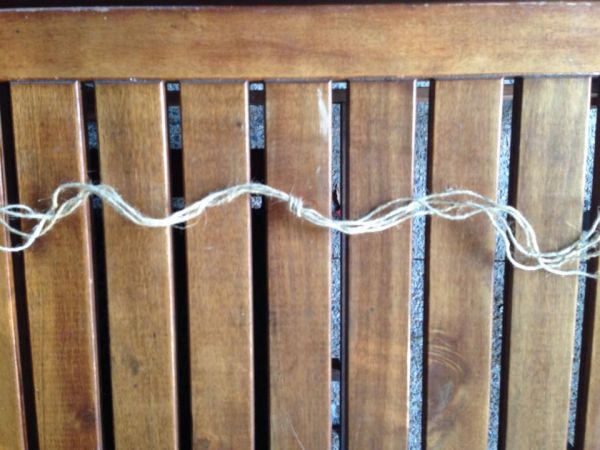
Next thing you need to do is split your string into pairs like this.
Next tie each pair into a knot around 3-4 cms or 2 inch from the middle knot as shown. These strings are now tied into a “couple”.
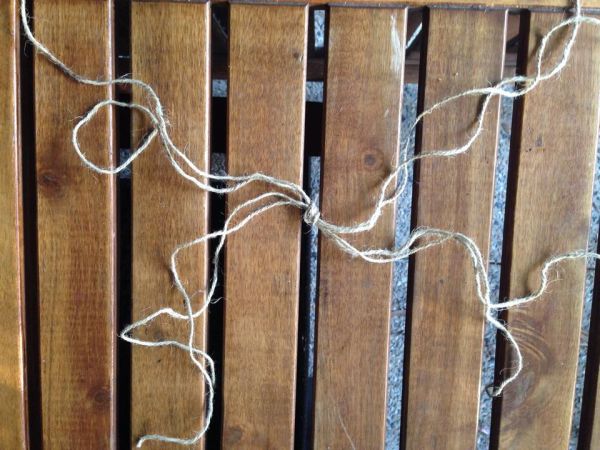
The next step is to split the strings back into pairs, but this time you are going to partner each string up with a string from a separate couple.

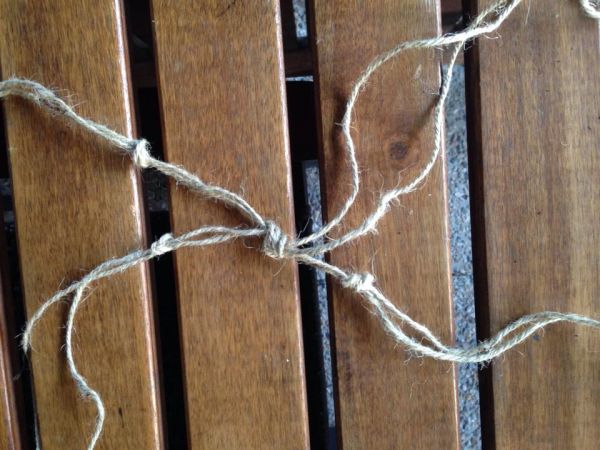
Again you tie those knots together around 3-4 cms or 2-3 inches above the previous knot.
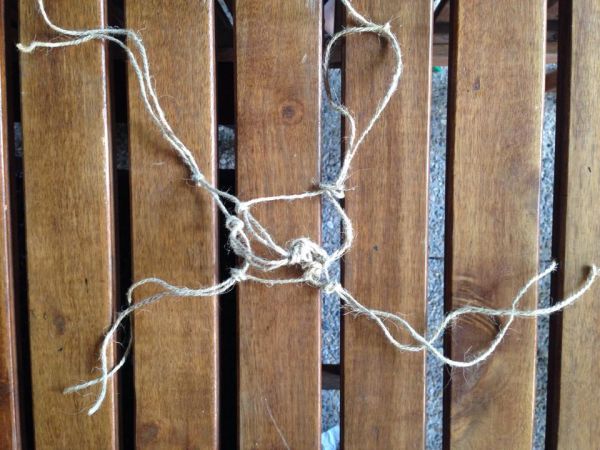
Once you have done this 2 -3 times your basket should be big enough, if not, you can go ahead and make another section. Again separate the couple and tie two in a knot. It sounds much more complicated than it actually is (trust me).
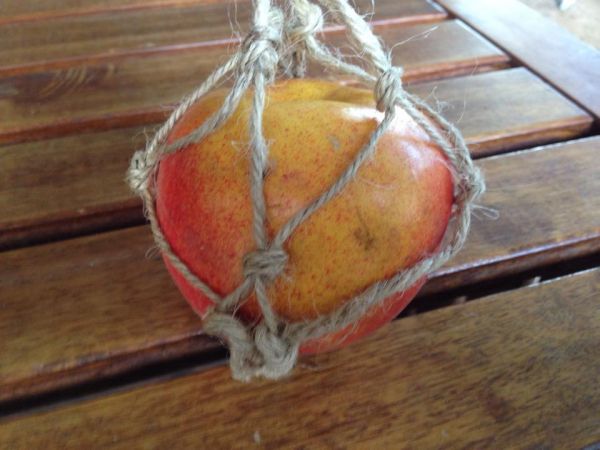
Here is my finished (mini for the photo’s) basket.
How to care for your Japanese Kokedama Hanging Plants
Once a week (or when they feel dry) soak them in a bowl of water and then hang back up. If you do not want to hang your balls you can sit them in a bowl, decorative plate or vase.
Just remember to keep them moist!


Great !!