
What you need
Plastic sheeting
Bubble wrap
Water spray bottle or old detergent bottle
Towels for drying
Handheld sander without the sandpaper
Olive oil soap
Piece of netting or old curtain
Merino wool batt
Large table
Rubber gloves
Wooden tongs
Instructions
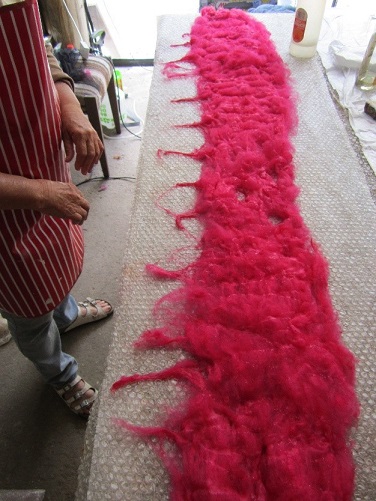
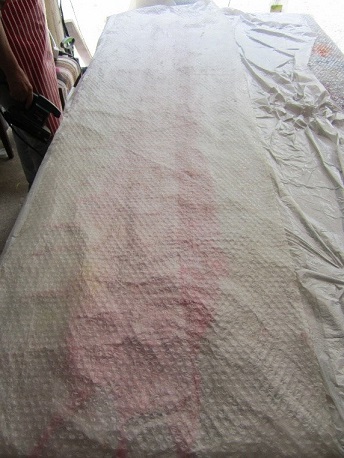
Today I am going to walk you through how I felt a cobweb scarf from a hand carded merino wool batt with an electric sander. As the scarf is quite long, you will need a table long enough to hold the entire scarf. The scarf we are going to make is about 1.6m by 30 centimeters. Here’s the table I work on:

You could use a smaller table, but it would mean that you need to felt as much of the scarf as you can fit on your table, move the scarf and then felt that section. Life is much easier with a big table and if felting is something you enjoy then I strongly recommend getting a good sized table. Finally, while the scarf will shrink a little, it won’t shrink too much, as we are only laying down the wool in one direction.
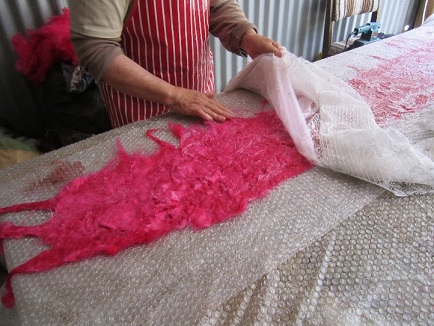
First off, lay down a sheet of bubble wrap that is at least the same length if not slightly longer than the scarf. Be sure that the bubble side of the bubble wrap is facing up. Open up the wool batt and separate the layers into a fine sheet.
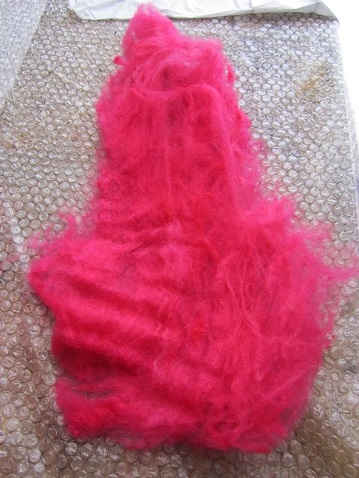
The pieces you pull off from the batt should be the width of your scarf. Lay them down on the bubble wrap and form the shape of the scarf. Lay down the fibres evenly running the length of the scarf, overlapping slightly where needed, as this helps ensure the fibres will felt together.
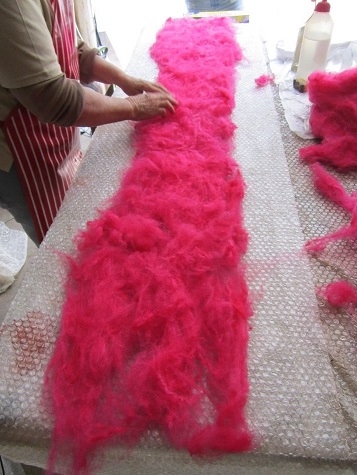
Try and get the fibres as even as possible, not too thick or thin. Next, fill your spray bottle with hot soapy water (good dish washing liquid is OK). You only need a small amount of water, so no need to fill the bottle too much. Wet down the wool going from one end of the scarf to the other.

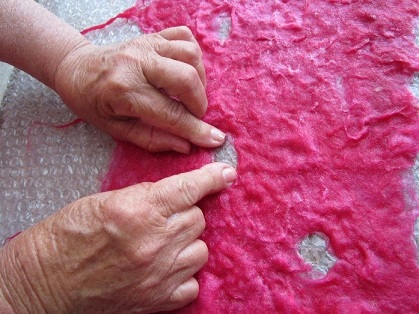
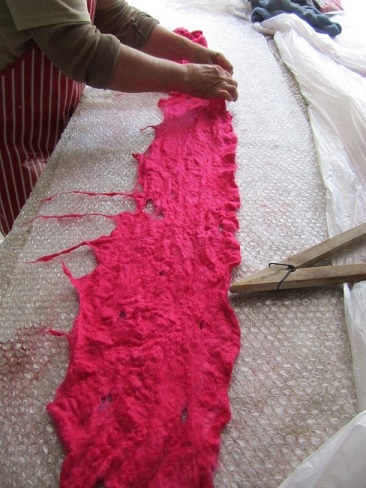
Once the wool is nicely wet you can play with the design. Push small or large holes into the fibre wherever you think looks good. Use your fingers to make these holes.
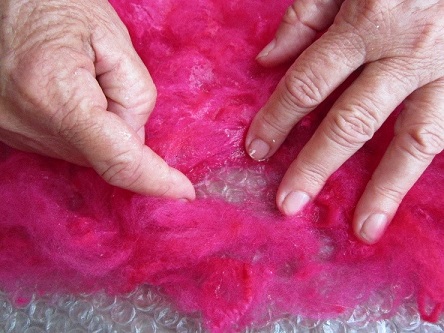
Consider tapering either end as I think it helps the scarf fit better.
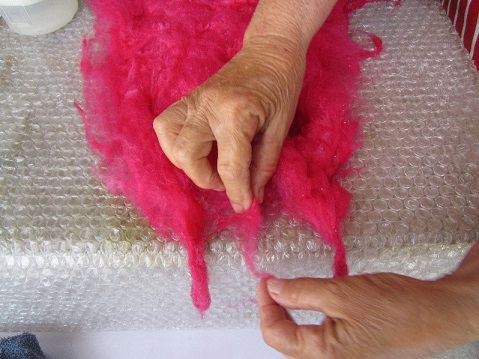
You can also make a fringe on the outer edge of the scarf, but keep the neck edge plain.
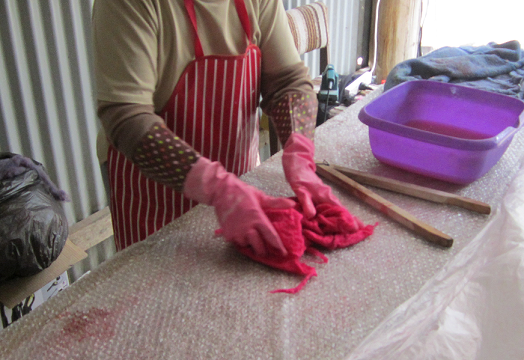
There’s no need to fringe if you don’t want to, as it depends entirely on what kind of look you are going for. Once you are happy with the layout of your scarf, cover with the netting, spray more hot water onto the scarf and then gently rub the scarf down with the bar of soap, making sure to rub in the direction of the scarf.
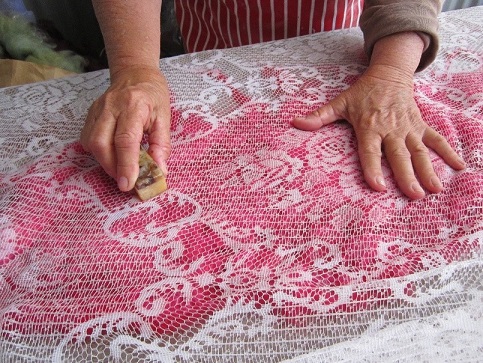
You want to make sure water has saturated through the wool. If you notice puffy areas, where the netting and wool puffs up a little, add a little more water to that area and rub with soap. When it is fully soaped and wet, remove the netting and check that nothing has shifted.
If anything has shifted, smooth the felt back down onto the bubble wrap. Re-establish the holes, if needed, and gently roll the fringing if you have one, making sure it isn’t tangled up.
You may also want to play with the unfringed side to dress it up a little and roll the ends of the scarf. Play around with the scarf until you are happy with the overall look and are ready to being felting it. Now cover the whole scarf with plastic sheeting. Place a sheet of bubble wrap on top of the plastic sheeting with the bubble side facing down.
Traditional felters would normally roll the scarf around a pool noodle or something similar and roll back and forth 100 times until it was felted. I learnt in a workshop when I first started felting how to use an electric sander (without the sand paper of course). Some people worry about the water and electricity, but if you use common sense there won’t be any problems. Make sure there is no water dripping onto an extension plug. Because everything is covered with plastic sheet and bubble wrap, the water cannot spray onto the sander and the motor is well concealed.
Place the sander on the bubble wrap with the scarf underneath and run the motor holding it in that spot for a count of 8. Lift up the sander, move it to the next spot and count to 8 again.
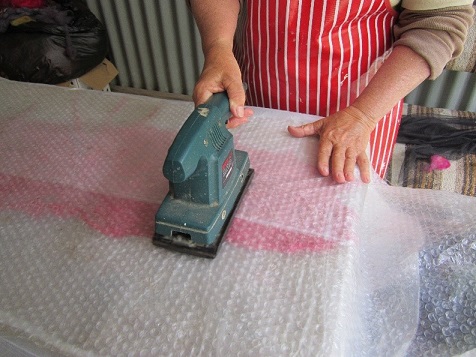
Work in a vertical direction, going from one end of the scarf to the other. Repeat the exact same process but this time working horizontally from one end to the other. Once you have finished sanding the first side, remove the bubble wrap and plastic and pinch the felt lightly to make sure it is starting to felt.

If it isn’t holding together, cover the scarf back over and repeat the sanding process. If the first side has felted properly, gently turn the scarf over and repeat the sanding process on the other side. Repeat the exact same steps as before. Sand vertically then horizontally. After you’ve sanded the other side, do the pinch test again and sand if it is not felting together. Check any holes you made and reinforce them if needed and make sure the fringe ends are felted together. I think by now you’ll find that your scarf is beautifully felted.
Roll up the scarf and gently squeeze out the water.
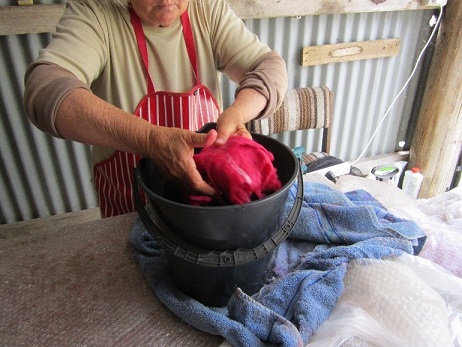
Make sure you squeeze and not wring the scarf. Next, plunge the scarf into a container of very hot water (time for rubber gloves to avoid burning your hands) and agitate for 5 minutes.
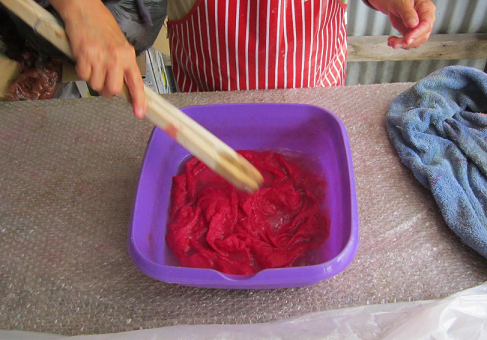
I use a large pair of wooden tongs to stir the scarf around in the hot water. Take the scarf out of the water, squeeze out any remaining hot water and slam the scarf down on the table at least 20 times to full the felt and make it firm.
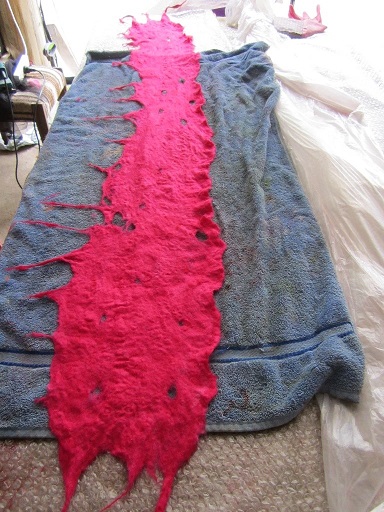
Finally, rinse in warm water to remove any traces of soap and lay the scarf out and gently stretch into desired shape.
Make sure the holes haven’t closed over or you can open them by trimming any stray fibres. Lay the scarf out to dry in shape on a towel(s) and when dry steam iron.
Once the scarf has dried, you can then embellish it by adding small beads or other shiny knick knacks.
You have now have made your very own beautiful, soft felted wool scarf.
Blue Wren Studio specialises in wool, felt and fibre. It is the working studio of Fay and daughter-in-law Pao-ling situated in the topiary town of Railton, Tasmania, Australia, who have a passion for felting wool. On-line you will find a wide range of hand carded wool batts for felting and spinning, designer yarn and felt scarves and felt hats all available in a range of vibrant colours.


How beautiful.I did a course recently making Nuno felt and although I enjoyed it my arms got exhausted so a sander seems a good idea. Approx what weight of batt did you use for the scarf? Sue