
Get more details about this project
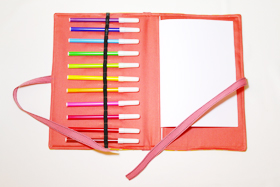
What you need
PDF Pattern*
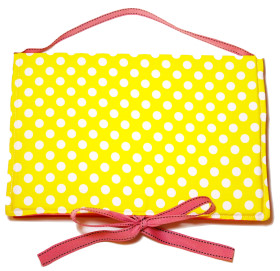
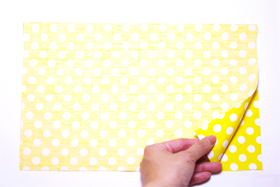
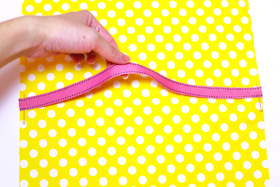
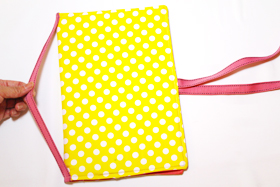
Main fabric (we are using yellow polkadot fabric)
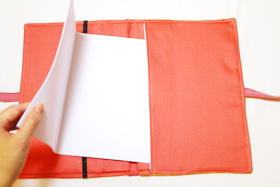
Inner fabric (ours is pink)
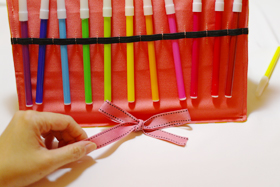
Ribbon for the ties and handle
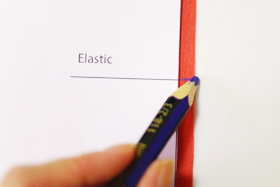
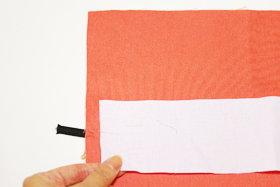
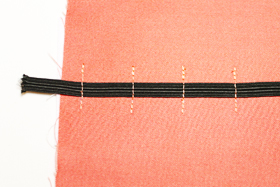
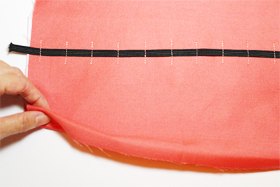
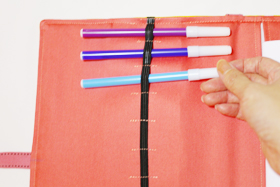
Flat elastic band
Heavy interfacing*
2 pieces of 10 1/8 inches x 6 6/8 inches cardboard*
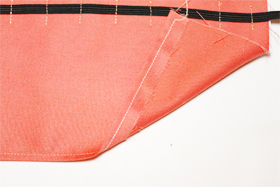
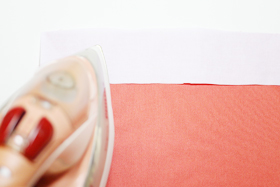
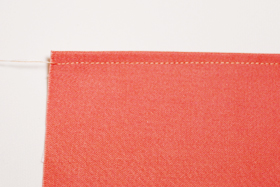
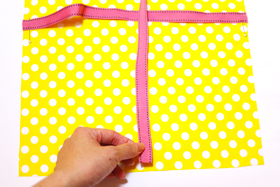
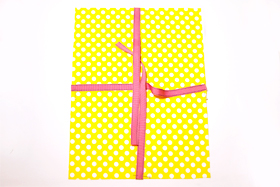
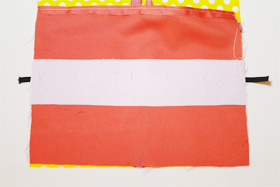
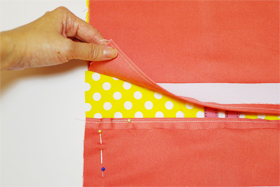
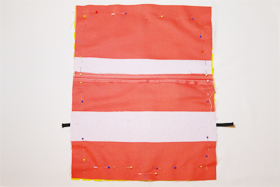
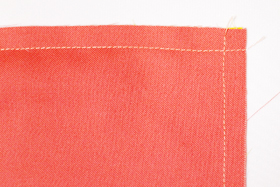
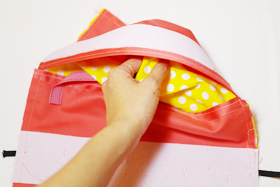
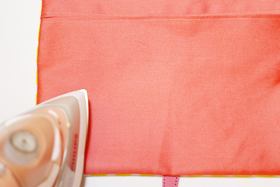
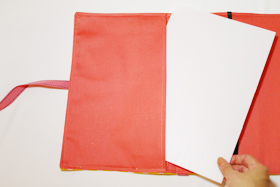
Instructions
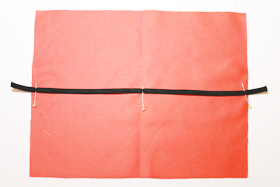

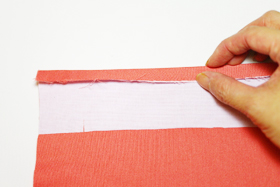
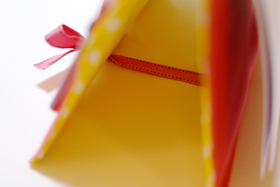
Optional: On the wrong side of the fabric, iron on a strip of interfacing right beneath where the elastic sits. This strengthens the fabric and prevents it from pulling since the elastic will stretch slightly while holding the colour pencils.

Traveling with kids can be a joyful and exciting experience; however, when kids are around there will always be some amount of frustration when thet start to get bored and irked with the long drive. Some parents bring long with them different kinds of toys and technical devices in order to keep the children entertained.
Mothers know best what their children need and they are often prepared beforehand since from experience she knows how disappointing it is to travel with someone crying and fretting continuously. If the trip entails riding on a plane, then there is more need for preparation and planning. With all the various entertainment facilities that airlines provide for children, there will always be some amount of fear and apprehension with the long hours they will be spending inside the aircraft.
Flight attendants are usually concerned with the children’s comfort and would always be handy to provide their assistance. Families who travel to a far destination that often takes a few hours on a plane should know the signs when the children are starting to feel bored and restless. There are many choices to divert their minds from the long travel and some of these are the technological devices like the cameras, the PSP or iPods.
It is also important to take particular attention on the needs of the children for food. If there is an infant with you onboard, then it is recommended to prepare the feeding bottles lest you suffer from endless crying and irritate the other passengers as well. It is also important to consider bringing along a change of clothes in the hand carry should the children need a change of clothing. Children often suffer from airsickness especially if they are not used to traveling for long hours on an airplane.
Traveling with kids can be easy if you are in your own vehicle. You can just make as stopover at a food joint in case they get hungry. If they get bored, the vehicle can be parked to allow them some time to walk around to ease the leg cramps. Sitting on a vehicle for hours is not any easy thing to do. Having some music on the vehicle can lull the children to sleep which will make the travel very convenient for all. Children can be fun to be with but not when they crave for the comfort of home. Make them feel that traveling is fun and exciting more than what they will experience if they just stay within the shelter of home.


What do you think of this project? Let us know!