
Get more details about this project
What you need
Dry twigs
X-acto knife
Scissors
Craft glue or hot glue gun
Instructions
Step -1:
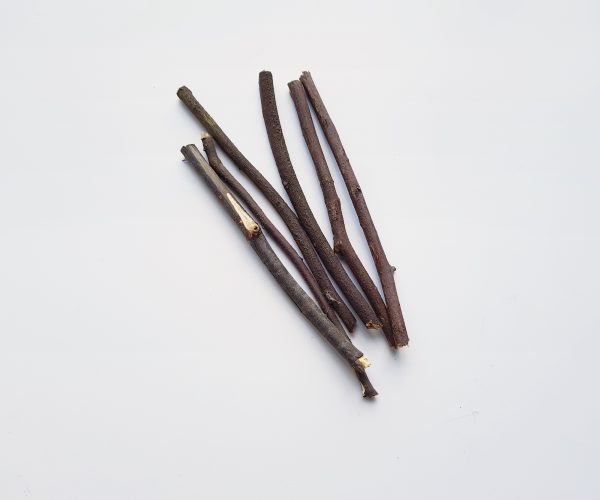
Prepare the dry twigs by cutting 6 into the same size. But first determine the size of the star.
Step -2:
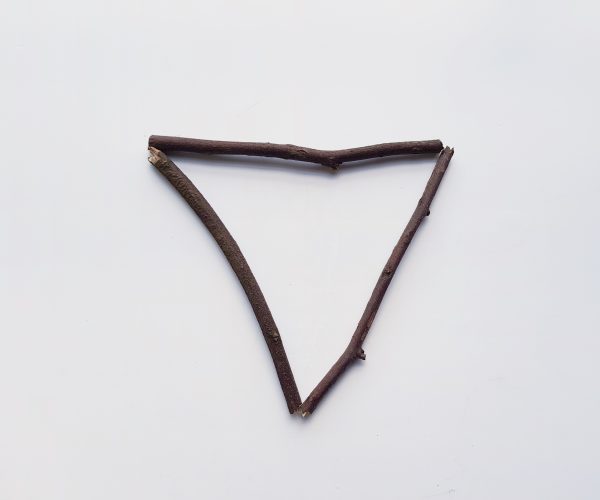
Grab any 3 of the prepared dry twigs and place them on a flat surface by forming a triangle shape. Make sure that the open ends of the twigs touch each other after forming the triangle shape. Apply super glue on the overlapped or touched sides to attach the twigs together and secure the triangle shape.
Step – 3:
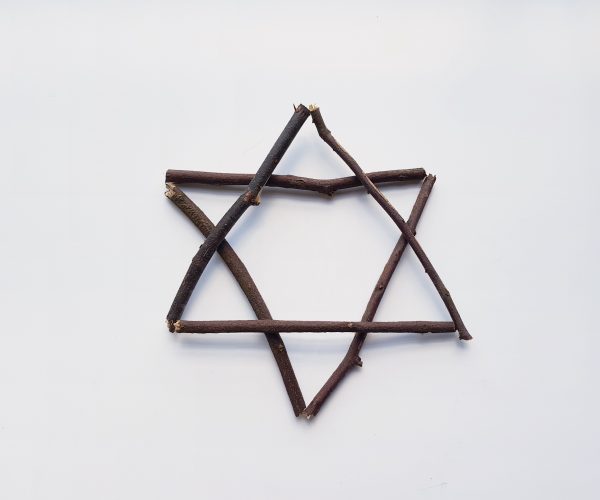
Similarly, prepare another dry twig triangle and place it on the first twig triangle but placing it towards the opposite direction of the previous one. Apply glue on the points where the second triangle overlapped the first triangle to join both of the triangles together.
Step – 4:
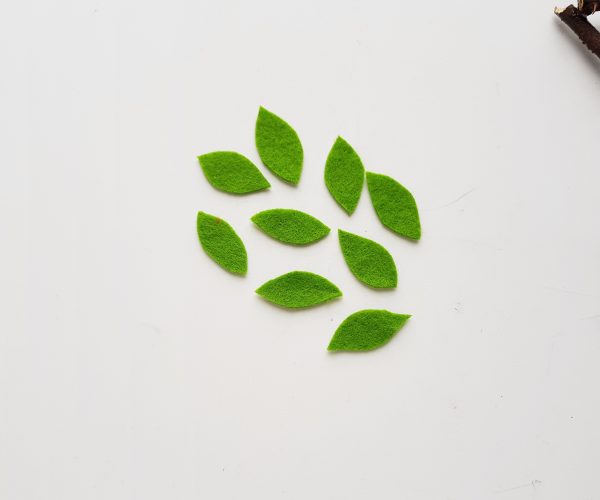
Grab some green colored felt fabrics (or any other color of your choice) and cut them into small leaf shapes.
Step – 5:

Take a felt leaf cutout and create a small fold along the middle line of the pattern; apply glue on the folding line. Similarly, fold and apply glue along the folding line (gluing halfway through the folding line and keeping the other half of the leaf intact).
Step – 6:
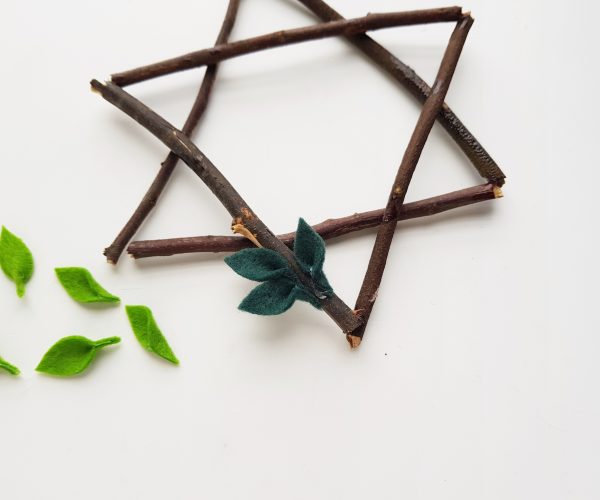
Now take the dry twig star wreath and prepare the hot glue gun. Apply the prepared felt leaves on the wreath bars however you wish to.
Step – 7:
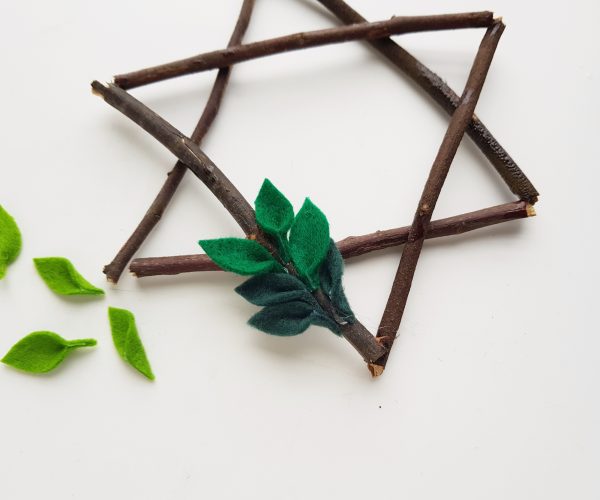
You can mix and match different colored or shades of felt leaves. You can attach the leaves on 1 bar or multiple bars; choice is yours!
Step – 8:
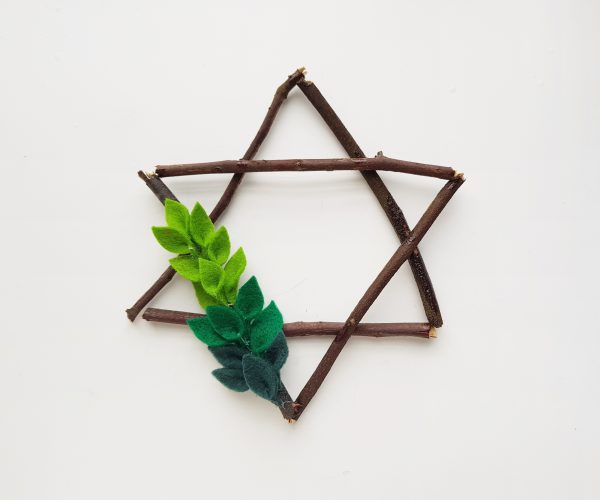
You can stop gluing the leaves on the wreath bars once you are satisfied with the pattern.


What do you think of this project? Let us know!