
Get more details about this project
What you need
River rocks
Craft Paint or Paint Pens
Paint brushes – 1” paint


Instructions
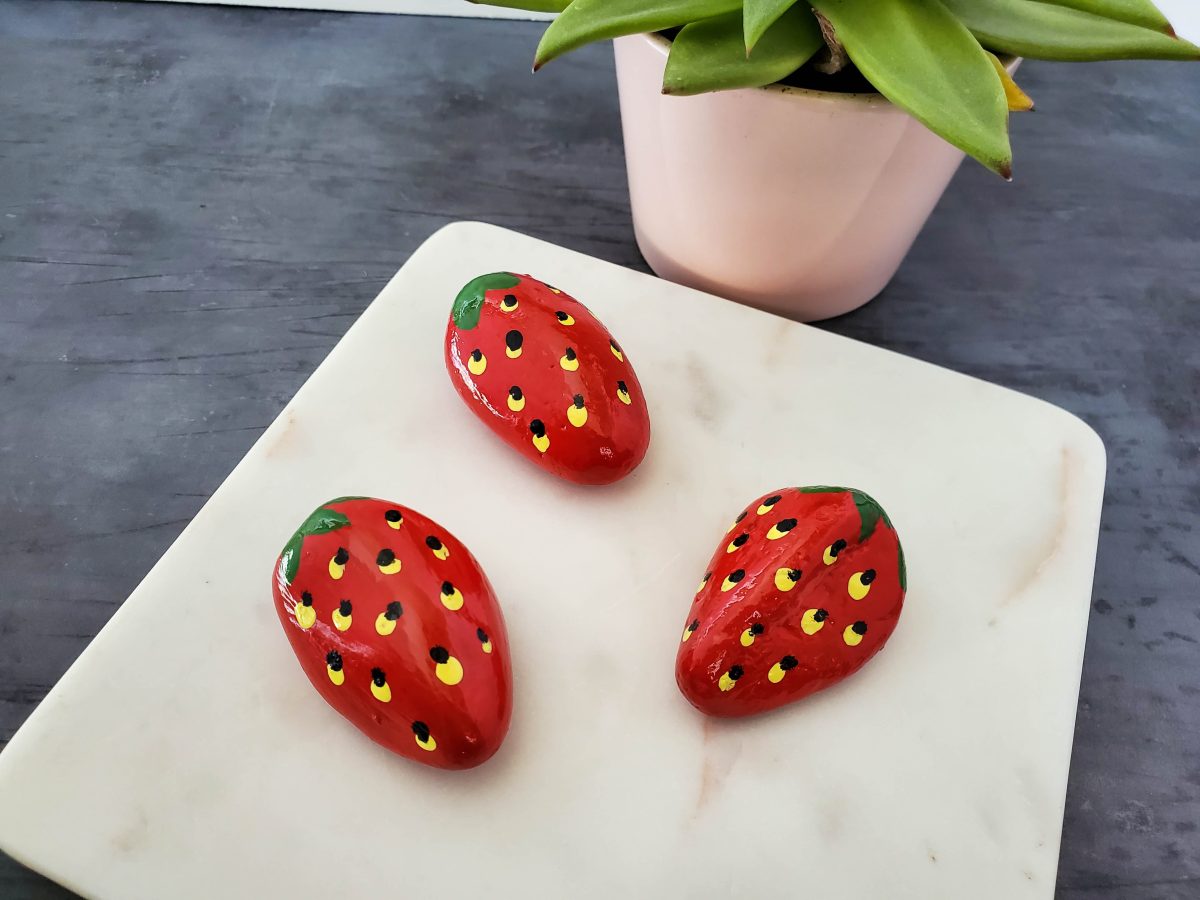
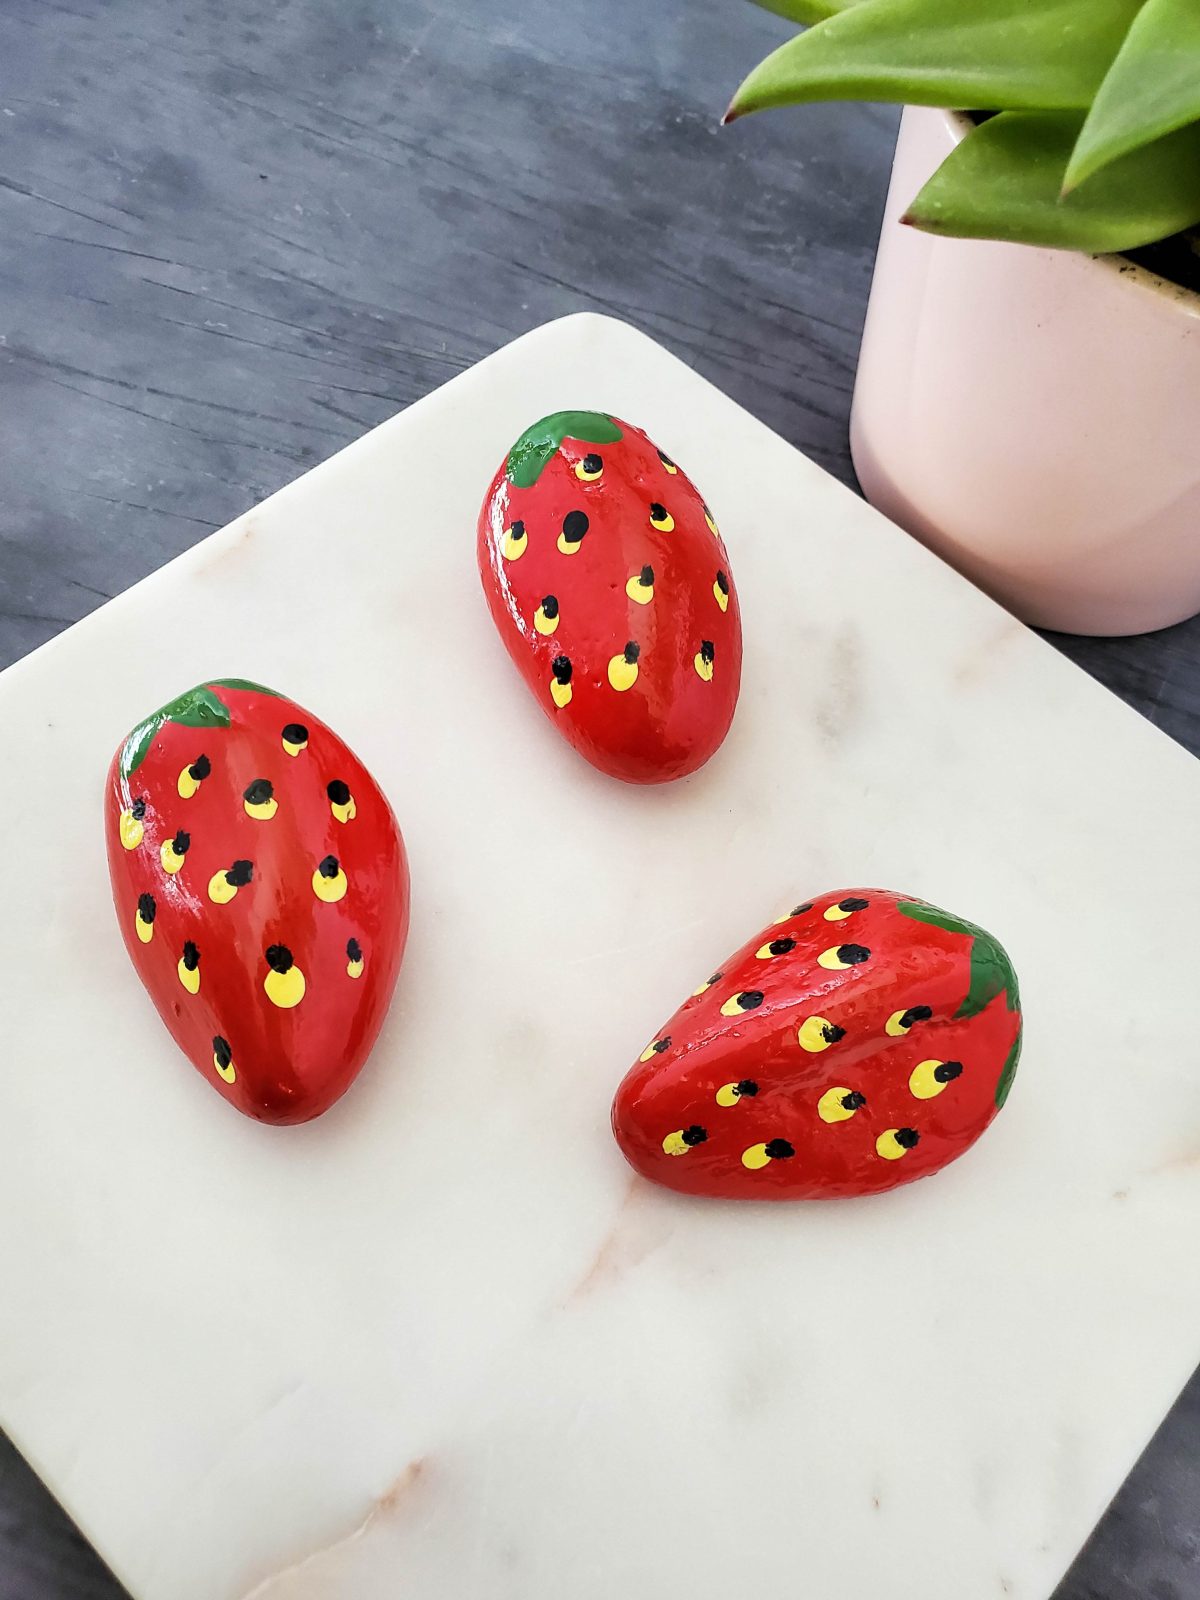
These cheerful strawberry painted rocks are an easy craft that adds a bright pop of color to gardens, patios, plant pots, and indoor displays. With a few basic paint colors and smooth, strawberry-shaped stones, you can create a collection of decorative berries that will not wilt, spoil, or disappear from the garden.
Painted strawberry stones are also commonly placed around strawberry plants before the real fruit begins to ripen. The idea is that birds investigate the hard painted rocks, discover they are not edible, and become less interested in returning once the real strawberries appear. Results can vary, so the rocks are best used alongside netting or other garden protection when birds are especially persistent.
This beginner-friendly rock painting project is suitable for adults, older children, family craft days, classrooms, and garden clubs. Each stone can be painted a little differently, making this a fun way to use leftover acrylic paint while creating inexpensive handmade garden decor.
Display the finished rocks among strawberry plants, tuck them into flowerpots, add them to a fairy garden, or arrange them in a decorative bowl for a playful summer accent.
This craft is perfect for both kids and adults and is a great way to add some fun, unique decorations to your home or garden.
Not only are these painted rocks a cute and creative way to decorate, but they also serve a practical purpose: placing them among your strawberry plants can help deter birds from eating all of your fresh berries. This tutorial is simple and easy to follow, so even if you’re new to rock painting, you’ll be able to create beautiful strawberry-inspired rocks in no time. So grab your paint and let’s get started!
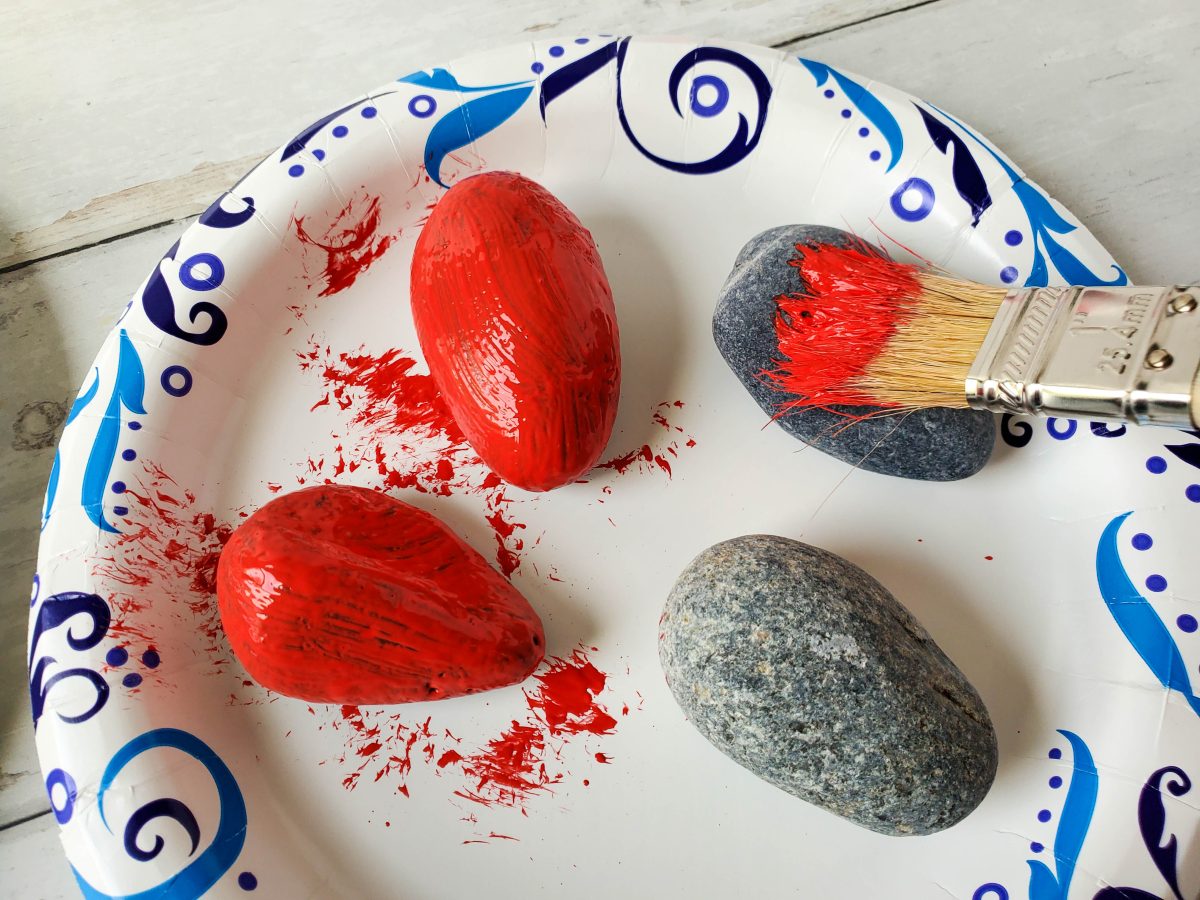
Paint the rocks red with 3 coats of red paint using the 1 inch paint brush, allowing the paint to dry between each coat. You may use a hair dryer to speed up the dry time.
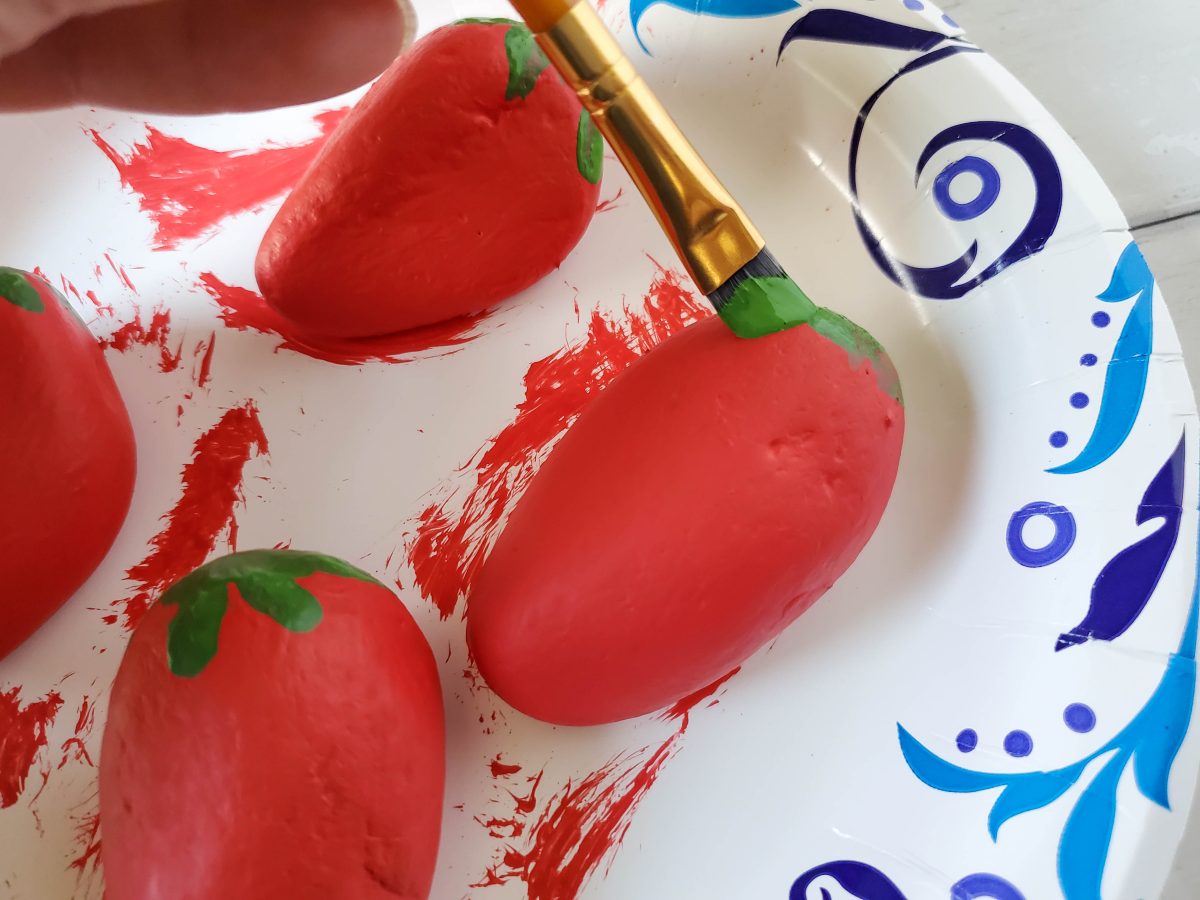
use the angled artist brush to paint the top wider part of the rock green, then paint the “leaves” of the berry.
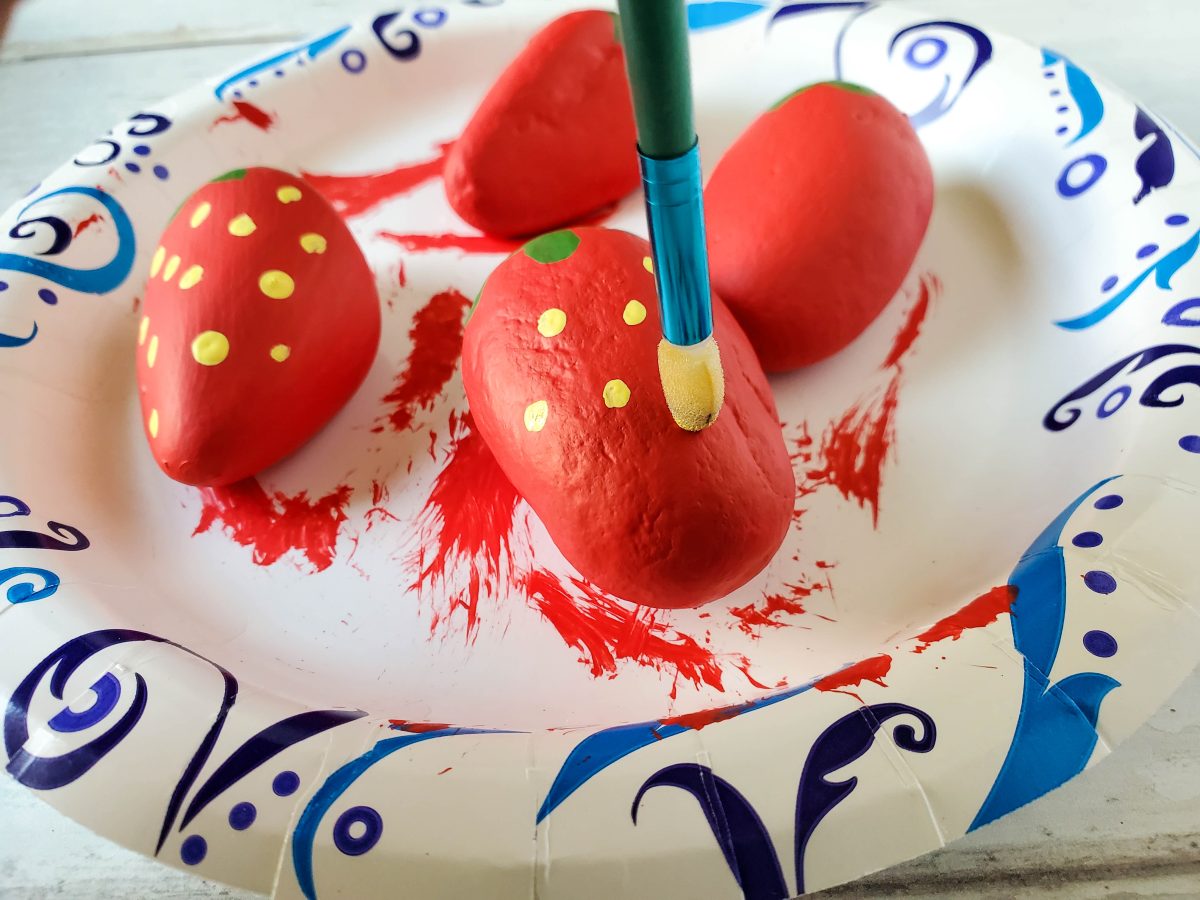
Use the foam dabber to paint the yellow “seeds” of the berry, by just dabing the brush on the rock.
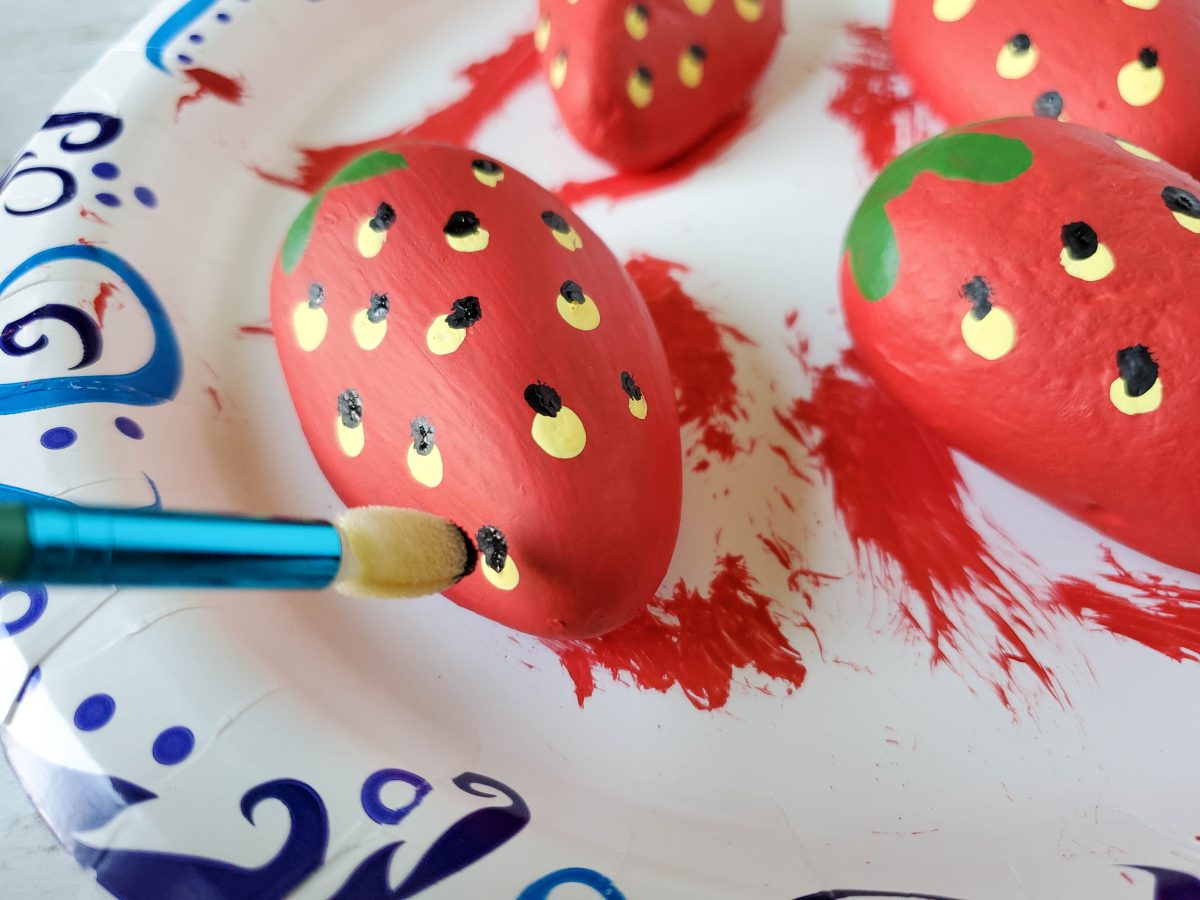
Make a tiny dab of black paint above the yellow seed.
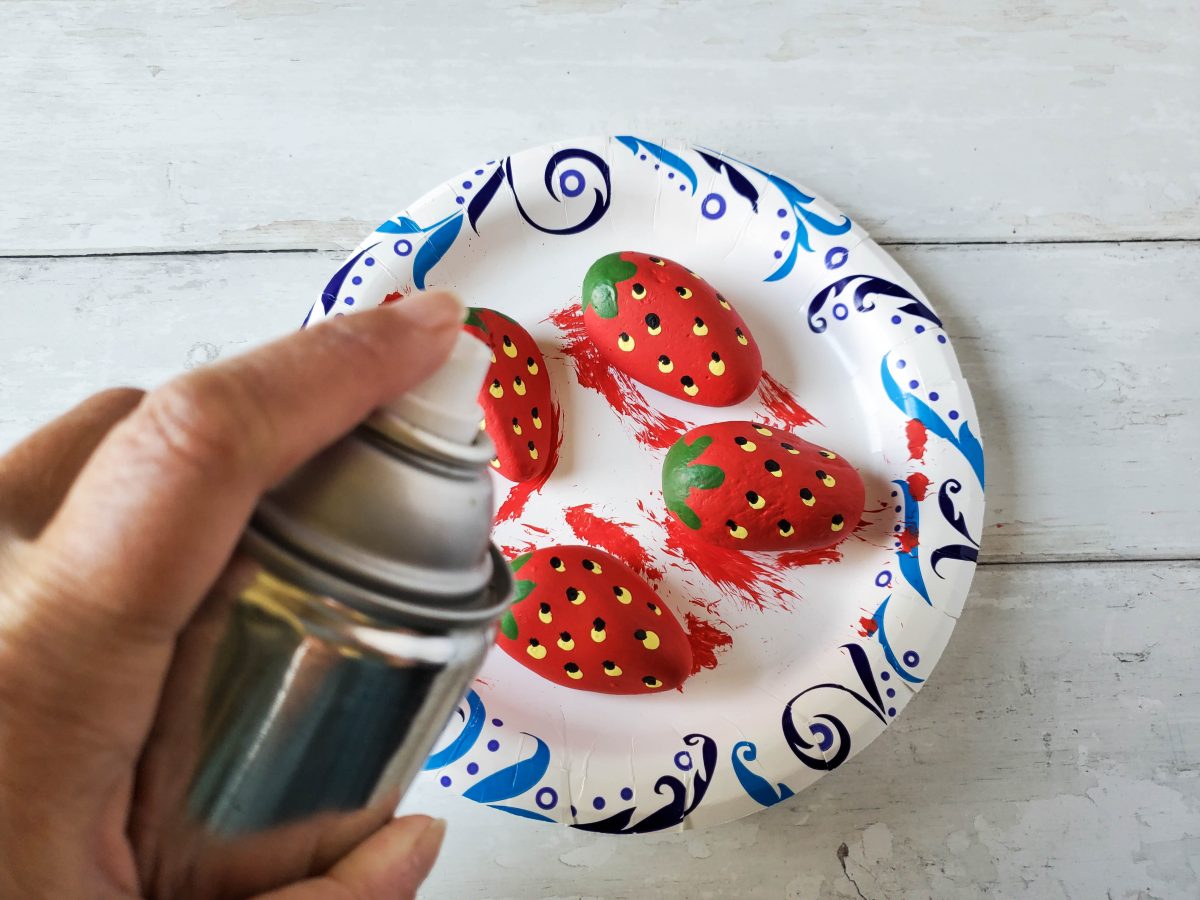
Spray the rocks with glaze, and allow a couple of hours to completely dry.




What do you think of this project? Let us know!