
What you need
Supplies:
1. Wooden crate
2. Nails and hammer
3. Wood varnish
4. Sand paper
Instructions
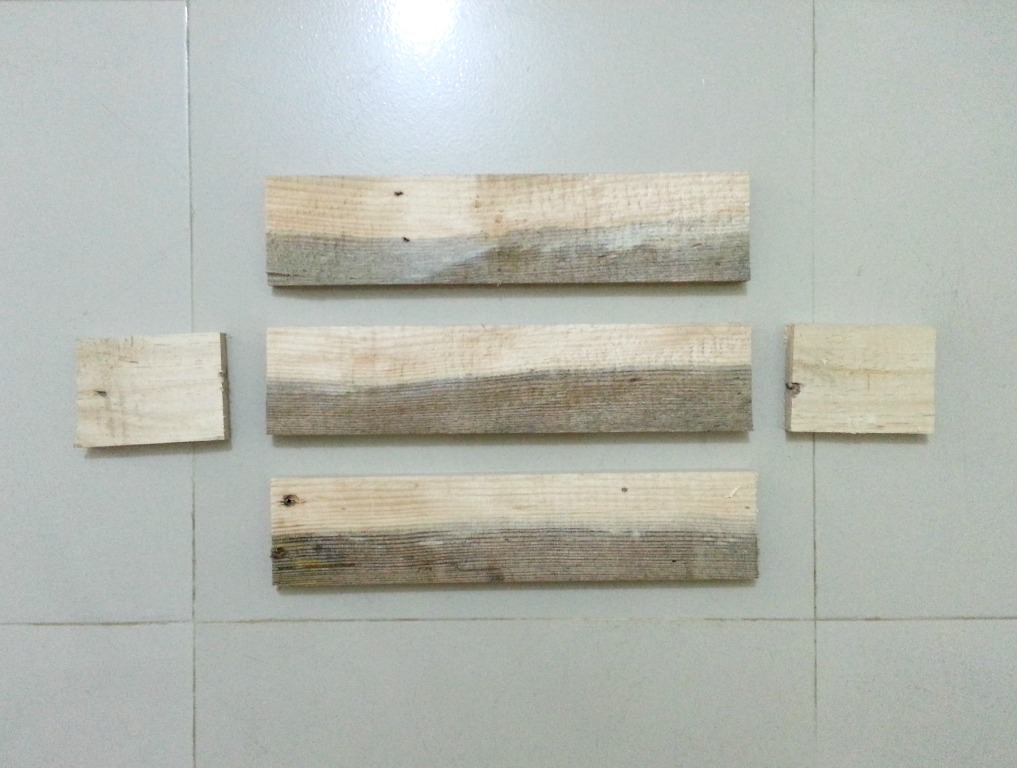
Step-1: You will need 5 pieces of wood pallets for this project. 3 same sized pieces for the base, front and back side, 2 same sized pieces for both sides.
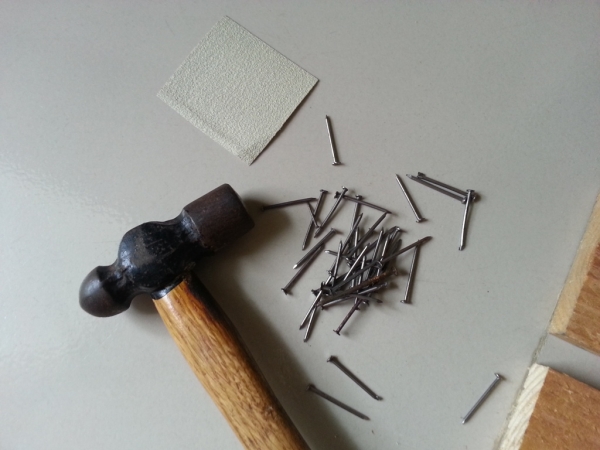
Step-2: Use nails to attach all the pallets or you can also use wood glue. But I prefer using nails, it’s easier and quicker. Use sand paper to give the pieces a smooth look.
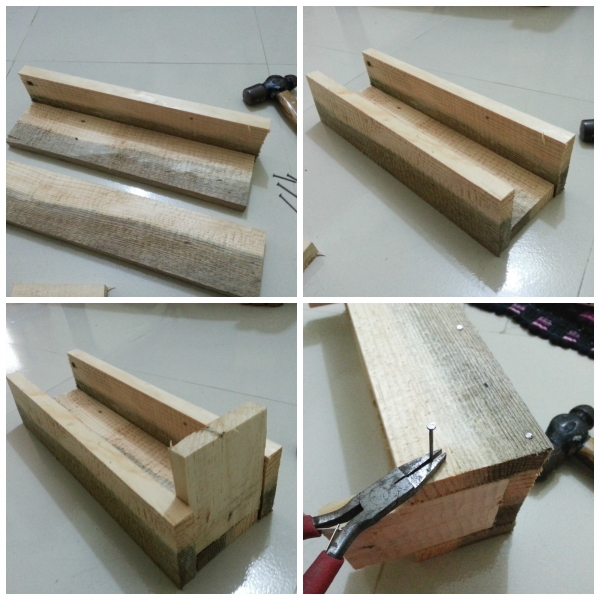
Step-3: Attach the front and back piece with the base first. And then go for the side pieces. Use a flat nose pliers to hold the nail while hammering it.
Apply a coat or 2 of clear varnish for a nice finished look or you can also keep the rustic look, both would look great! Allow the varnish to dry and then attach a hanging mechanism to complete the charging basket.
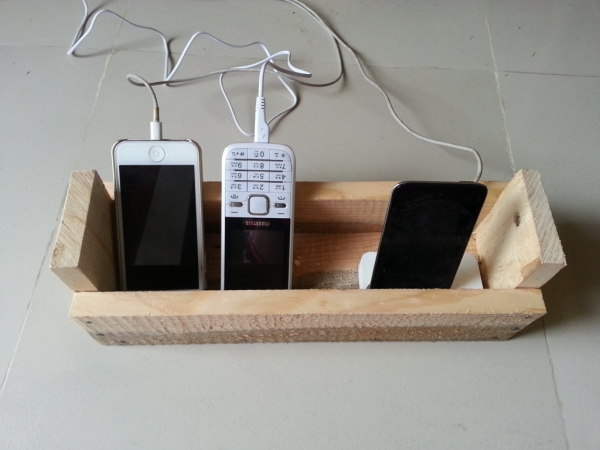
Better to keep your phone with its charging point facing out, that way the cord will stay free and safe.
You can also use this basket for other purposes, like keeping important stuffs or small decor pieces.



What do you think of this project? Let us know!