
Get more details about this project
What you need
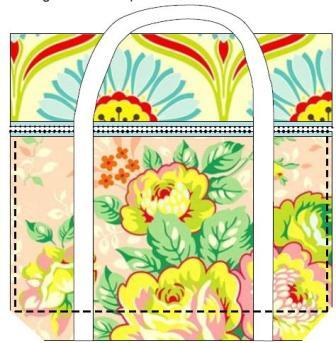
3/4 yard main print in twill
3/4 yard contrast print in twill
1 yard muslin for lining
1/2 yard cotton batting (Fusible is nice)
3 – 22 inch nylon zippers
2 yards 2 inch wide nylon webbing
Walking or darning foot
Zipper foot
Thread
Instructions
Finished Dimensions: 13 inches tall by 17 inches wide and 4 inches deep.
Cutting Instructions
• Cut 2 rectangles from contrasting print 22 by 16 inches
• Cut 2 rectangles from main print 6 by 22 inches.
• Cut 2 rectangles from contrasting print 11 by 22 inches
• Cut 2 rectangles from main print 11 by 18 inches.
• Cut 2 rectangles from white muslin 22 by 16 inches
• Cut 2 rectangles from white muslin 22 by 22 inches
• Cut 2 rectangles from white muslin 6 by 22 inches
Sewing Instructions
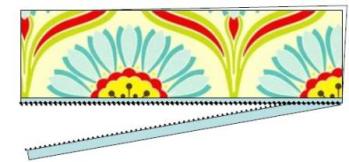
1. Place the 6 by 22 pieces of main print and muslin right sides together. Slip the zipper in between with the right side towards the main print. Use a zipper foot to stitch the seam near the teeth.

2. Press the fabric right side out and check to make sure the zipper will slide easily.
3. Place the 11 by 22 piece of contrasting print and muslin right sides together. Slip the other edge of the zipper in between with the right side facing the print. Use a zipper foot to stitch the seam near the teeth.
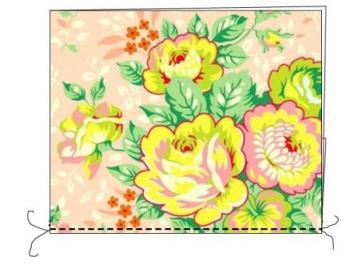
4. Press the fabric right side out and check to make sure the zipper will slide easily. Trim the rectangle to 16 by 22 inches if necessary and baste the raw edges together.
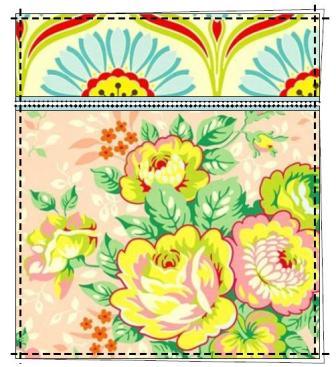
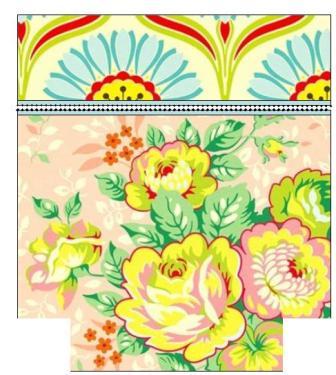
5. Use the template to cut 2 inch squares out of the bottom corners of each zippered rectangle.
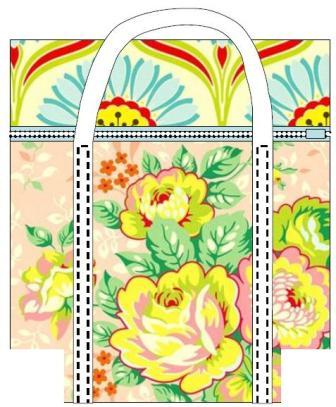
6. Cut 2 22 inch pieces of webbing for the handles. Find the center and fold in half lengthwise. Stitch the center 6 inches in half creating a smooth hand grip.
![]()
7. Pin webbing straps in place 2 ½ inches in from the sides. Stitch along both sides of the the webbing onto the contrasting fabric stopping at the zipper.
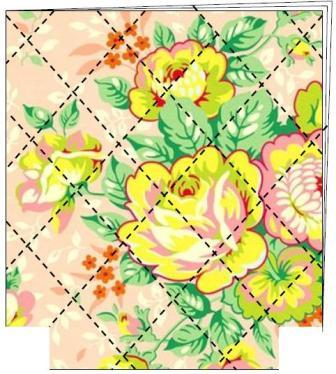
8. Sandwich the batting between the white muslin lining and contrasting fabric 16 by 22 inch pieces. Fuse or pin in place.
9. Use your quilting foot to quilt straight lines in the fabric sandwich or the darning foot to free motion quilt the pieces. Use the template to cut 2 inch squares out of the bottom corners.
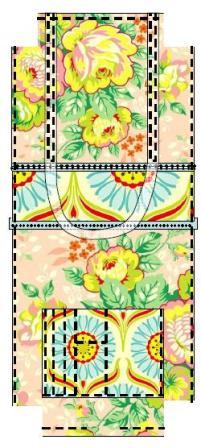
10. Press under ½ inch on the bottom 3 sides of the pockets, 11 x 18 main print rectangles 11x 22 inches. (Serge or zig-zag to edge finished if desired, but it’s not necessary.)

11. To form the top hem of the inside pockets press under ½ inch twice along the top of the. Top stitch in place.

12. Pin the pockets on the contrast print side of the quilted lining centered 2 ½ inches from each side and 2 ½ inches up from the bottom. Top stitch in place.
13. Pin the pockets on the contrast print side of the quilted lining centered 2 ½ inches from each side and 2 ½ inches up from the bottom. Top stitch in place.

14. Leave one pocket plain for booklets and file folders. Stitch 3 lines along the edge of the other pocket 1 inch apart for writing utensils. Stitch another line 4 inches away for a cell phone pocket. Stitch a horizontal line 5 inches up to make the pocket shallow enough to reach the phone easily. Leave the rest of the pocket open for misc. items.
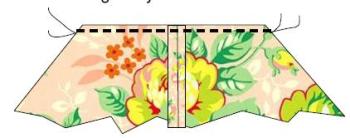
15. Place the quilted lining section and the zippered outer section right sides together. Slip the zipper between with the right side facing the outer section and use a zipper foot to stitch the seam near the teeth. Open out and repeat for the other side.

16. Open the zipper and place the outer sections right sides together and the lining sections right sides together.
17. Stitch using a ½ inch seam leaving a 4 inch gap in the center bottom of the lining.
18. Fold the corners diagonally and stitch across in a ½ inch seam.
19. Turn the bag right side out through the gap in the lining. Tuck the lining inside the bag and slip stitch the opening closed.
20. Line up the seams of the lining and outside layers. Stitch in the ditch along the side seams and across the bottom forming the outside pocket.
Your bag is ready to use!


So the white muslin that says to cut 22″x22″ should be 22″x11″ right?
Great instructions! Am going to try a variation using upcycled wool.