
What you need
PDF Pattern (see below)
Clear plastic vinyl
Felt in coordinating colors
Velcro
All-purpose adhesive (such as UHU)
Instructions
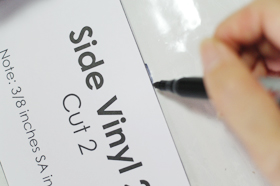
Notes:
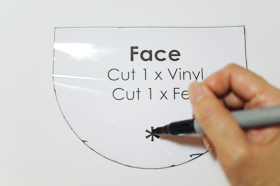
Please print the Kawaii Animal PDF Pattern without any page scaling. There are 2 options of animal faces in the pattern—a cat and and a bear. For this tutorial we will be using the bear pattern.
Step 1:
Cut out felt and plastic vinyl according to pattern instructions.
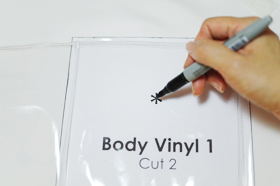
Tip: Do not pin the pattern pieces onto the plastic vinyl as the holes will remain as puncture marks. Tape it down on the underside or use a marker to trace the pattern pieces onto the vinyl. For the purpose of clarity in this tutorial, we have left our marker tracings visible on the pattern, but you should trim it away when you make yours.
Step 2:
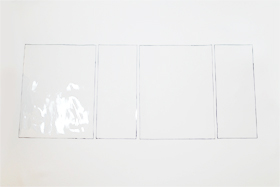
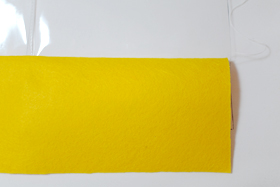
Lay out the plastic vinyl in the same order as the picture above: Body, Side, Body, Side. Stitch up all 3 edges that meet between the pieces (do not stitch the extreme left and extreme right edges).
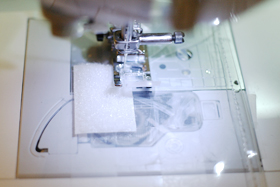
Tip: Plastic vinyl can be tricky to sew as it tends to stick to the sewing machine and not glide smoothly through. Use strips of Scotch Magic Tape to line your machine’s throat plate area and also on the underside of your sewing foot, and the plastic vinyl will glide through like regular fabric.
Step 3:
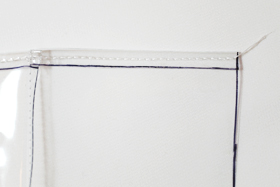
Fold over the top edge and stitch down. This will be the opening of the bag.
Step 4:
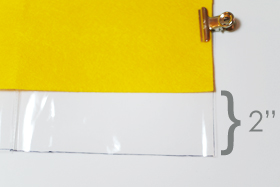
Flip the plastic vinyl over so that the stitches you made in Step 2 are all faced down. Place Body Felt on top, 2 inches from the bottom edge. Stitch to join felt to plastic vinyl.
Flip felt piece down so that the stitches will be hidden underneath.
Step 5:
Using the pattern piece, mark the spot for the Velcro piece on the Body piece that is already sandwiched between 2 Side pieces.
Attach one of the Velcro pieces.
Repeat step to attach the other Velcro piece to the Face plastic vinyl.
Step 6:

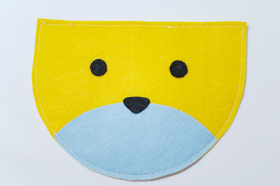
Use the adhesive to stick the eyes and nose (and mouth for the bear) onto the felt Face piece.
Place plastic vinyl Face piece with the Velcro facing down, then place felt Face piece right side up on top of it.
Top stitch all around the face to join the felt piece to the plastic vinyl.
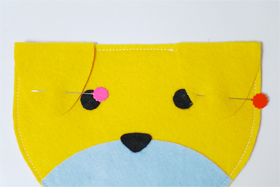
Pin ears onto the face with the pointy ends facing down. Awww.
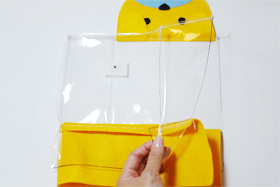
Step 7:

Lay body piece like the picture above (with the first 3 stitches you made facing down again). Note that the Velcro should be on the left hand side, as it is in the picture.
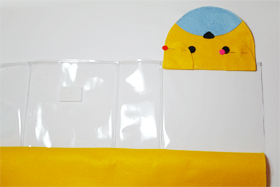
Place the Face on the top edge of the right side’s Body piece (the one without the Velcro). Top stitch to join both pieces together.
Step 8:
Fold the left edge to meet the right edge.
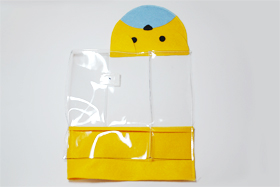
Stitch all the way down, including the felt as well.
Step 9:
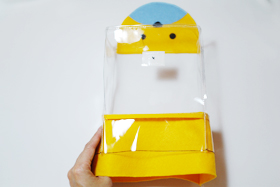
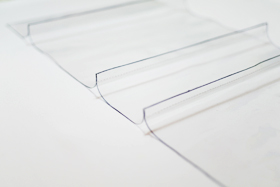
Pop it up to see it take shape into a boxy form.
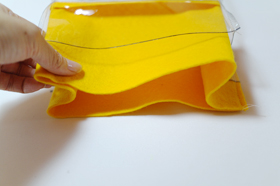
Press down the sides of the felt so that it pleats like a fan (or like an “M” shape).

Pin and sew across at the bottom to close up the bag.
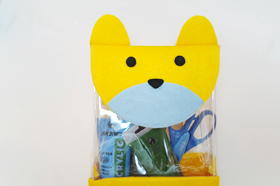
Finished Kawaii Lunch Bag
Turn the whole bag inside out and you’re done! Now to fill it with some goodies! 😀


it is really very nice but vinyl is not available in our city ..is there any other matereail we can use…?
This project is very beautiful and useful. Thank you for your good ideas.