
Get more details about this project
What you need
Reclaimed wood
Saw
Dawn dish soap
White vinegar
Water
Scrub brush
Garden hose, optional
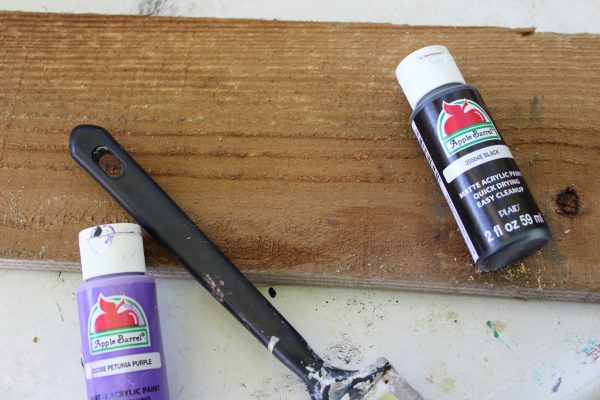
Purple Petunia craft paint or similar purple exterior-compatible paint
Black craft paint
Letter stencils
Small paintbrush
Large paintbrush
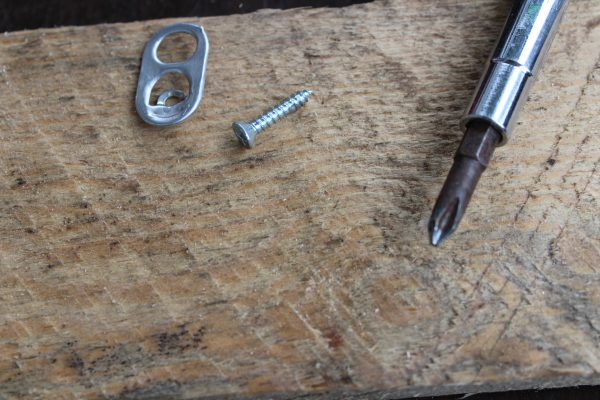
Soda-can pull tab or small picture-hanging hook
Short screw
Screwdriver
Drill and small drill bit, optional
Clear acrylic spray coating for outdoor display
Safety glasses
Work gloves
Drop cloth or protected work surface
Instructions
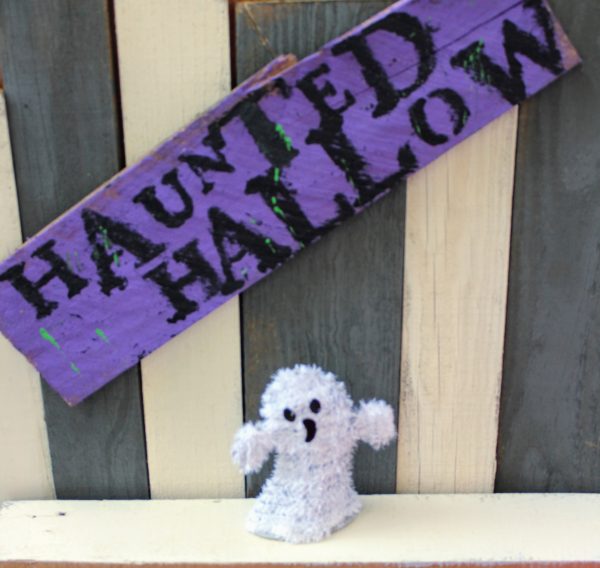
Give an old piece of wood a wonderfully spooky new purpose with this rustic Halloween yard sign. Its rough edges, uneven lettering, and distressed purple finish make it look like a mysterious warning discovered outside a haunted house.
The original sign measures approximately 15 inches long and reads “Haunted Hallow.” The shortened word “Hallow” is intentional. Combined with irregularly spaced letters, it makes the message appear hurried and unsettling.
Hang the completed sign on a fence, porch wall, shed, gate, or indoor Halloween display. If it will be exposed to outdoor conditions, finish it with a clear acrylic coating suitable for the paint and wood.
Instructions
Step 1: Cut the reclaimed wood
Choose a piece of reclaimed wood that is sound, dry, and free from rot, loose nails, or protruding staples.
Measure and mark the desired length. The original sign was cut to approximately 15 inches.
Wearing safety glasses and work gloves, cut the board with a suitable saw. Cutting should be completed by an adult familiar with the tool. Lightly smooth any dangerously sharp or splintered areas while retaining the rustic character of the wood.
Step 2: Clean the wood
Combine a small amount of Dawn dish soap and white vinegar with water.
Scrub the board to remove dirt and loose debris. Rinse it with a garden hose or clean water, then place it in the sun until it is completely dry. Depending on the wood and weather, this may take several hours or longer.
Do not paint damp wood because trapped moisture can cause the paint to lift or peel.
Step 3: Paint the purple background
Place the dry board on a protected work surface.
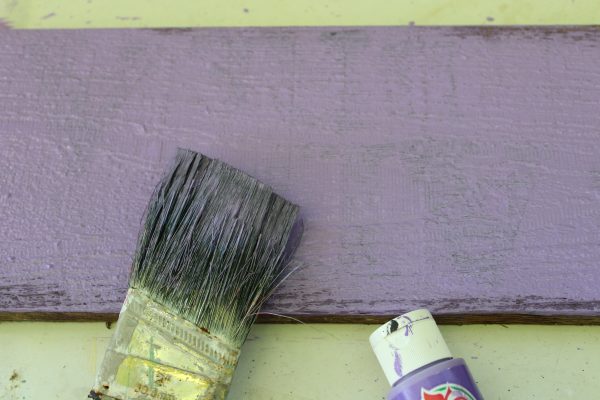
Pour out enough Purple Petunia paint to cover the front and edges of the board. Add a tiny dot of black paint and mix it only slightly if you would like a darker, uneven effect.
Use the large paintbrush to spread the purple paint across the wood. Let some of the grain and worn texture remain visible for a rustic finish.
Allow the first coat to dry. Apply a second coat if additional coverage is needed, then let the board dry completely.
Step 4: Arrange the stencils
Position the letter stencils on the painted board to create the phrase “Haunted Hallow.”
The letters do not need to be perfectly aligned or evenly spaced. The original design deliberately uses an irregular arrangement to make the sign resemble a quickly painted warning.
Check that the complete phrase fits before applying any black paint. Secure the stencils temporarily if they are likely to move.
Step 5: Paint the lettering
Use the small paintbrush to apply black paint through each stencil.
Load the brush lightly and work from the outside of the stencil toward the centre. Avoid using excessive paint, as it can seep beneath the stencil edges.
Carefully lift each stencil while the paint is still slightly wet. Continue until the complete phrase has been painted.
Small imperfections suit the distressed design, so the lettering does not need to look mechanically perfect.
Step 6: Let the sign dry
Place the sign flat and allow the black lettering to dry for several hours.
Once the paint is completely dry, turn the board over to attach the hanger.
Step 7: Position the soda-tab hanger
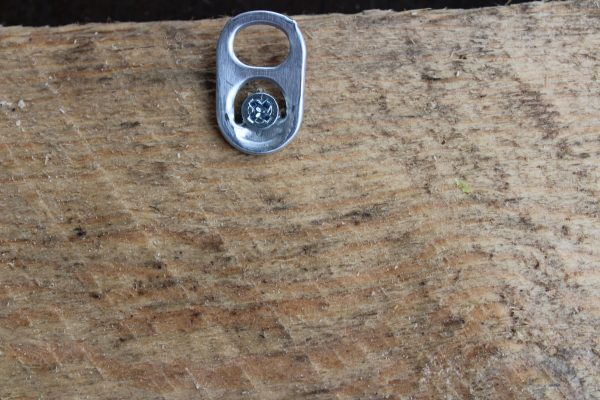
Place a clean soda-can pull tab near the centre of the back of the board.
Position it so part of the tab extends slightly above the top edge and can catch securely on a nail, screw, or wall hook.
Mark the screw position through the lower opening in the tab.
Step 8: Attach the hanger
Insert a short screw through the soda-can tab and into the wood using a screwdriver.
For very hard, dry, or thin reclaimed wood, drill a small pilot hole first. This makes inserting the screw easier and reduces the chance of splitting the board.
Select a screw short enough that it cannot protrude through the painted front of the sign. Tighten it until the tab is secure but not distorted.
A conventional picture-hanging hook can be used instead of a soda tab if preferred.
Step 9: Seal the sign for outdoor use
If the sign will be displayed outdoors, move it to a well-ventilated area and apply a clear acrylic spray coating that is compatible with the paint.
Follow the coating manufacturer’s directions and apply several light coats rather than one heavy coat. Cover the front, edges, and back, allowing each coat to dry as directed.
The protective coating makes the sign more weather resistant, but reclaimed wood decorations should still be brought inside during severe weather or prolonged rain.
Step 10: Hang the finished sign
Hang the sign from a properly installed nail, screw, or exterior-rated hook.
Check that the wall fixing and soda-tab hanger can support the sign securely. Do not hang it where it could fall onto people or be blown loose by strong wind.
Display your haunted-yard sign on a porch, gate, fence, shed, or Halloween party wall. Pair it with a little yarn ghost or other handmade decorations to complete the spooky scene.





What do you think of this project? Let us know!