
Get more details about this project
What you need
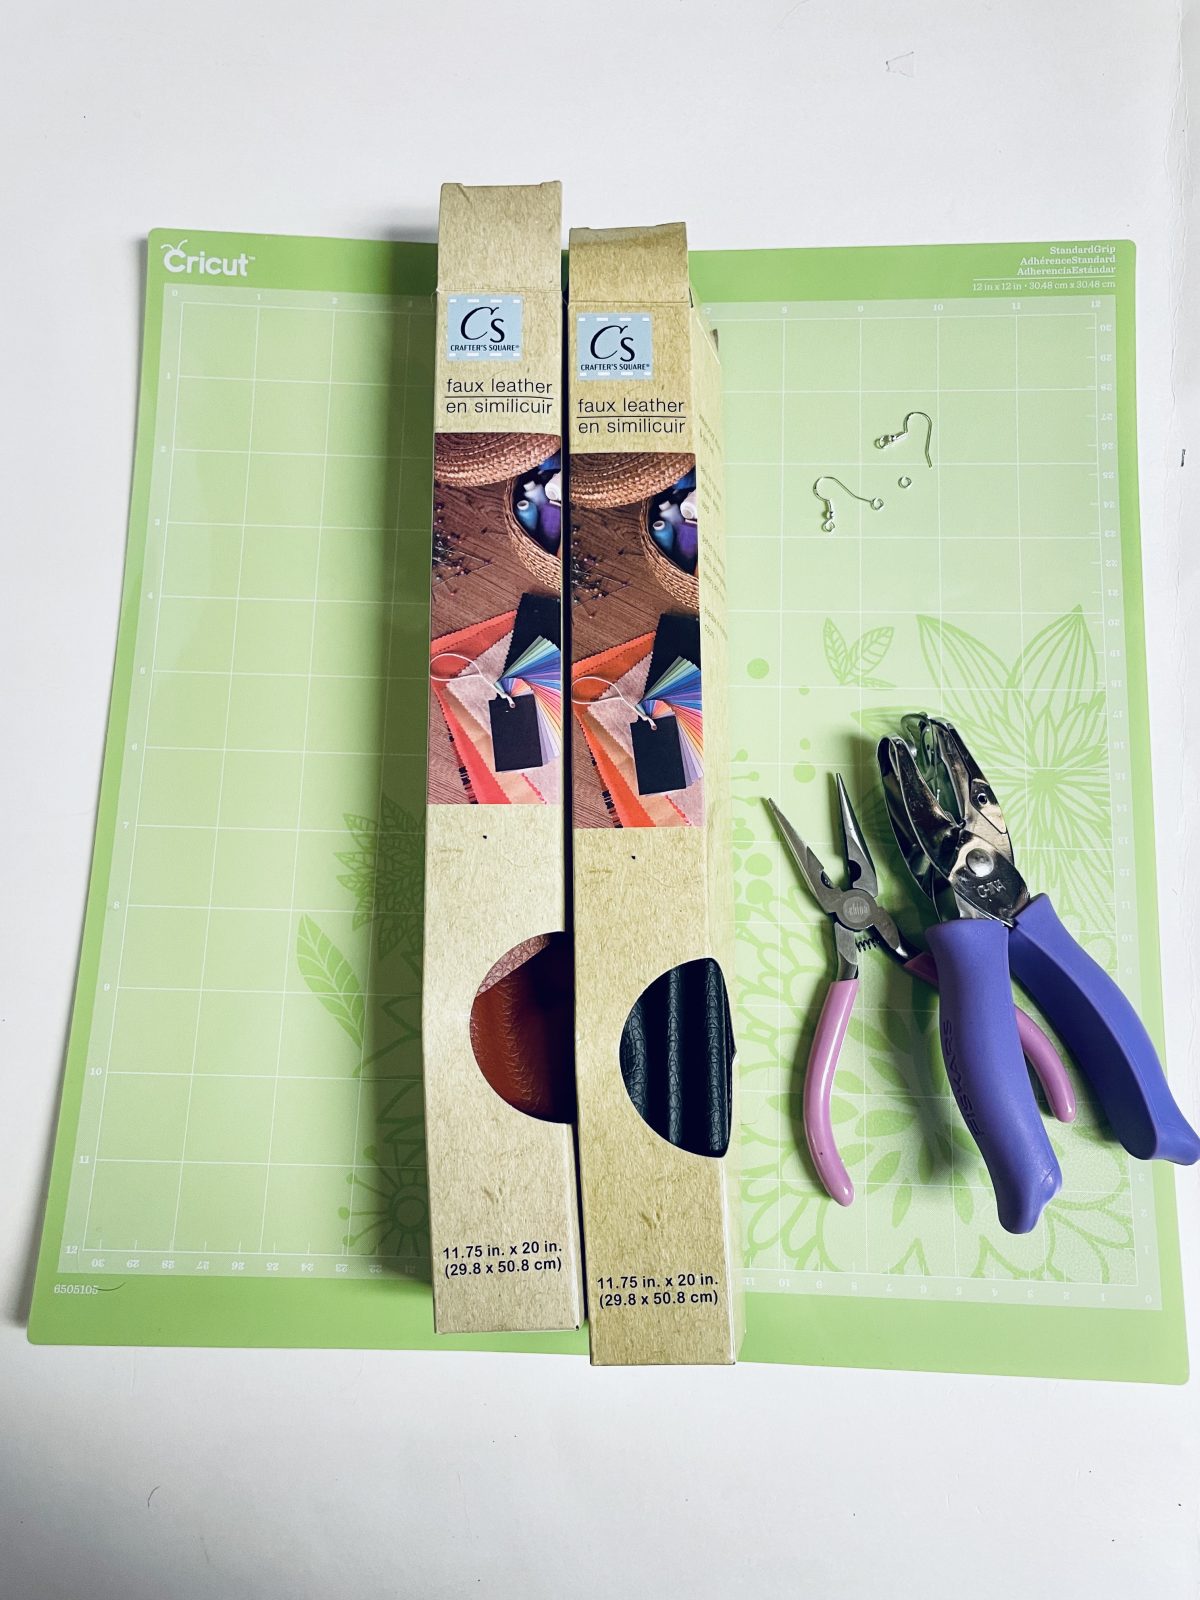
Faux Leather in Black and Brown


Cricut Mat
Pliers

2 jump rings
Earring hole punch
scissors
Instructions
Welcome to this step by step tutorial on how to create your own unique and stylish earrings using Dollar Tree Faux Leather and a Cricut machine. If you love crafting and are looking for a fun and easy project to add to your jewelry collection, then this tutorial is perfect for you. The earrings you will be creating are not only beautiful, but also versatile and can be worn with a variety of different outfits, from casual to dressy. They are perfect for those who love a more natural and bohemian look.
Making these earrings is incredibly easy and can be done with just a few simple supplies from the Dollar Tree and your Cricut machine. The faux leather is a great alternative to real leather as it’s more affordable, easy to work with, and also more versatile. With the Cricut machine, you will be able to cut out any design you want, making these earrings truly unique and one of a kind.
This tutorial is perfect for anyone, whether you’re a beginner crafter or a seasoned pro. The instructions are clear and easy to follow, and the end result is a beautiful and stylish pair of earrings that you can wear with pride. So, gather your materials, fire up your Cricut machine and let’s get started on creating some beautiful and unique earrings that you’ll love to wear.
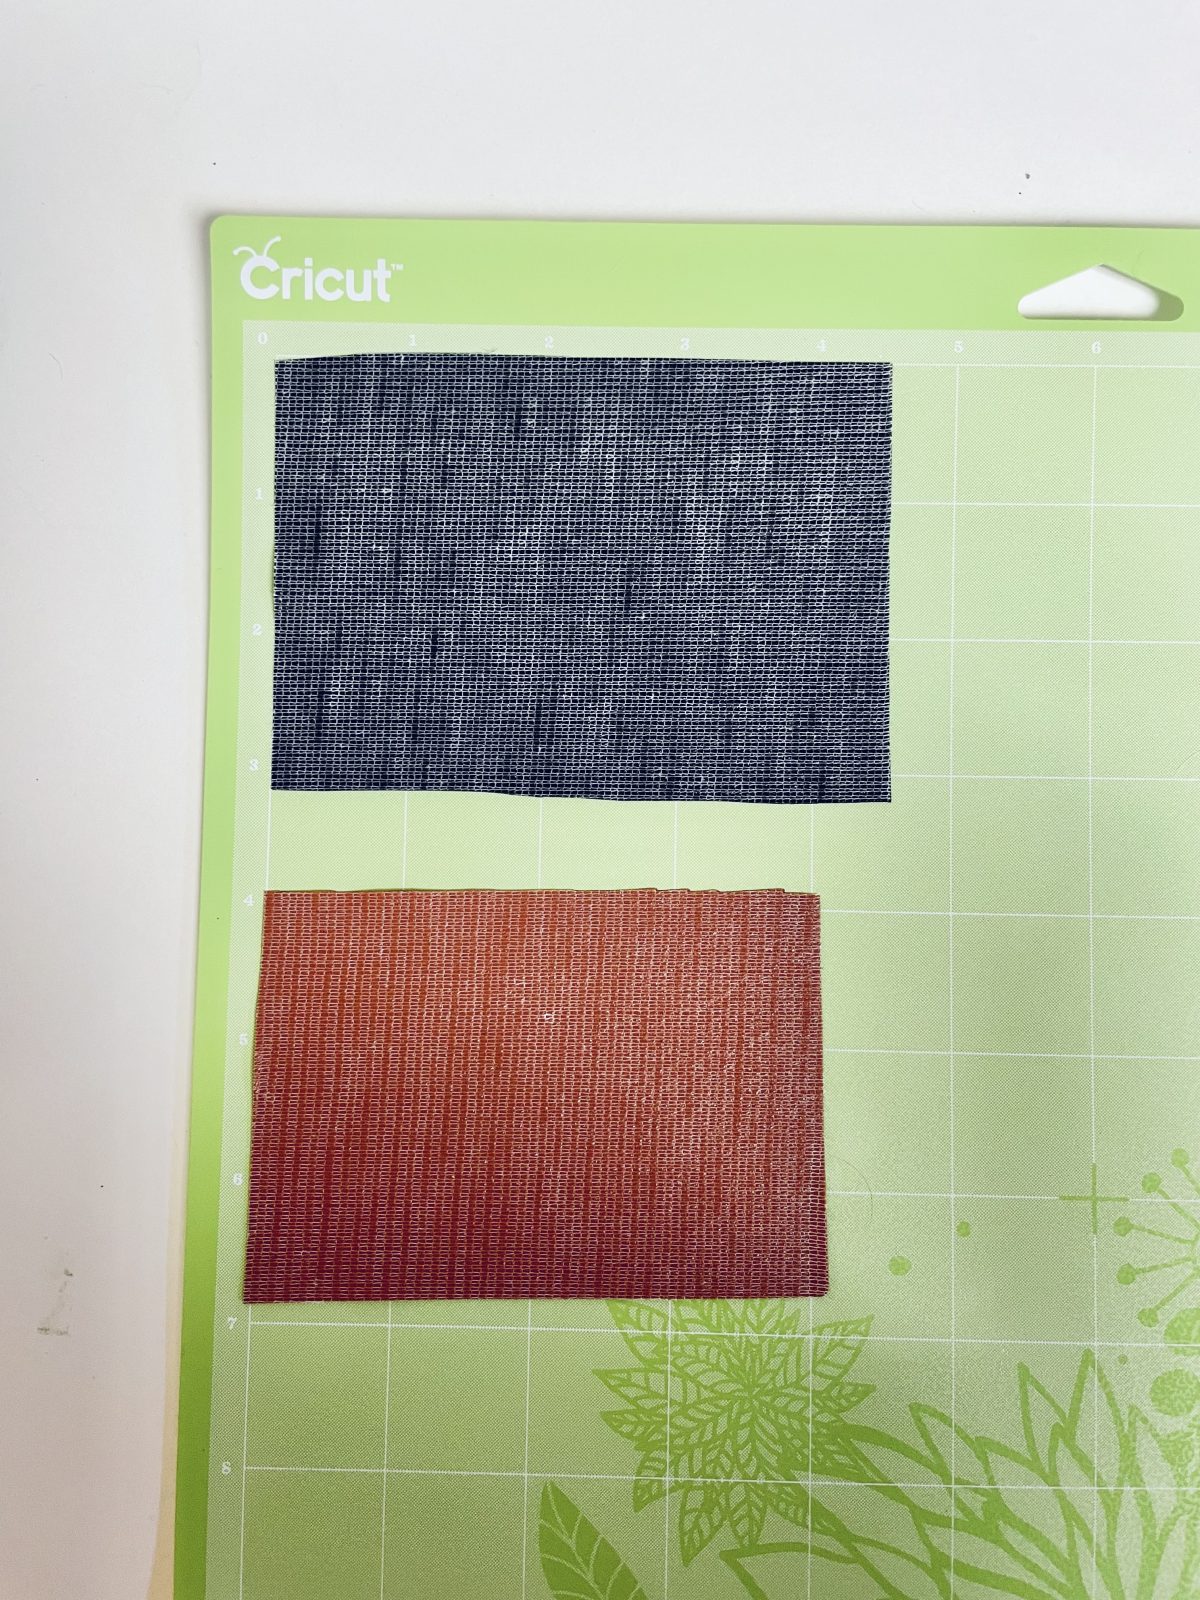
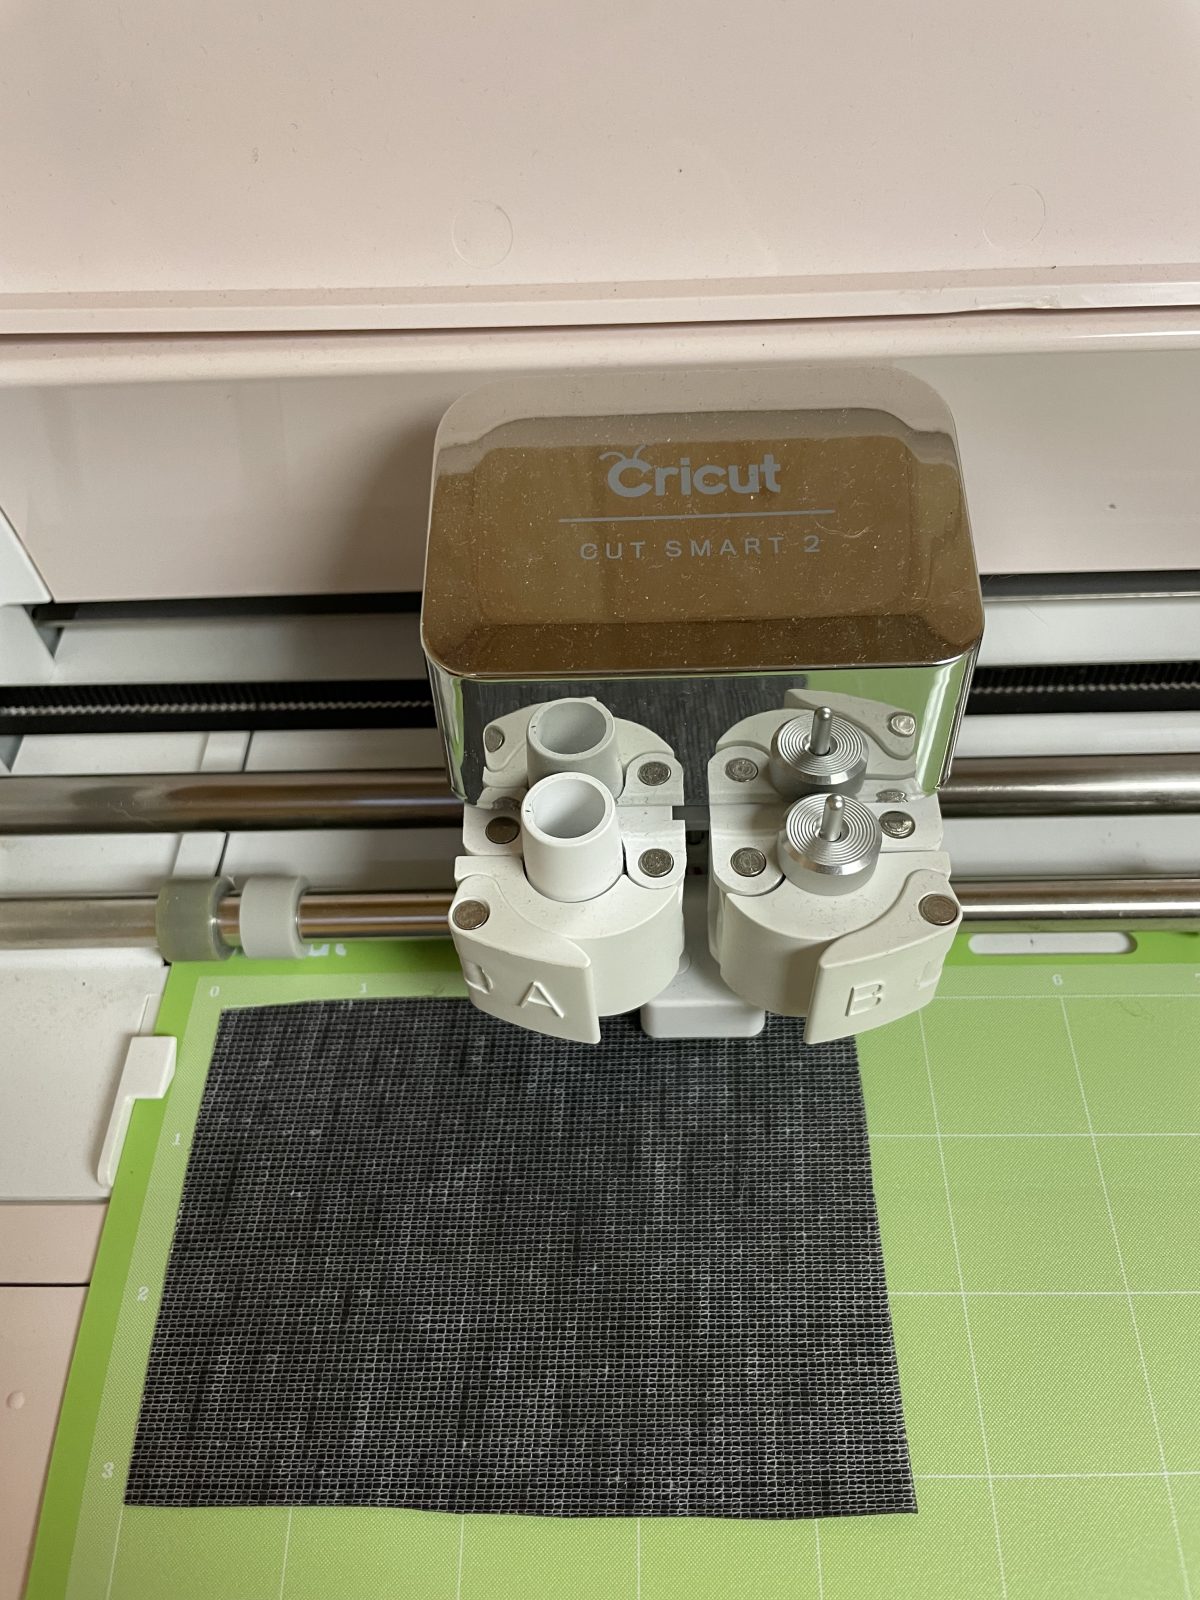
 The tutorial starts by cutting a section of faux leather in black and brown.
The pieces should be 4 inches by 3 inches for one set of earrings. After that, you put them facedown onto the Cricut mat, this allows for cleaner cut lines.
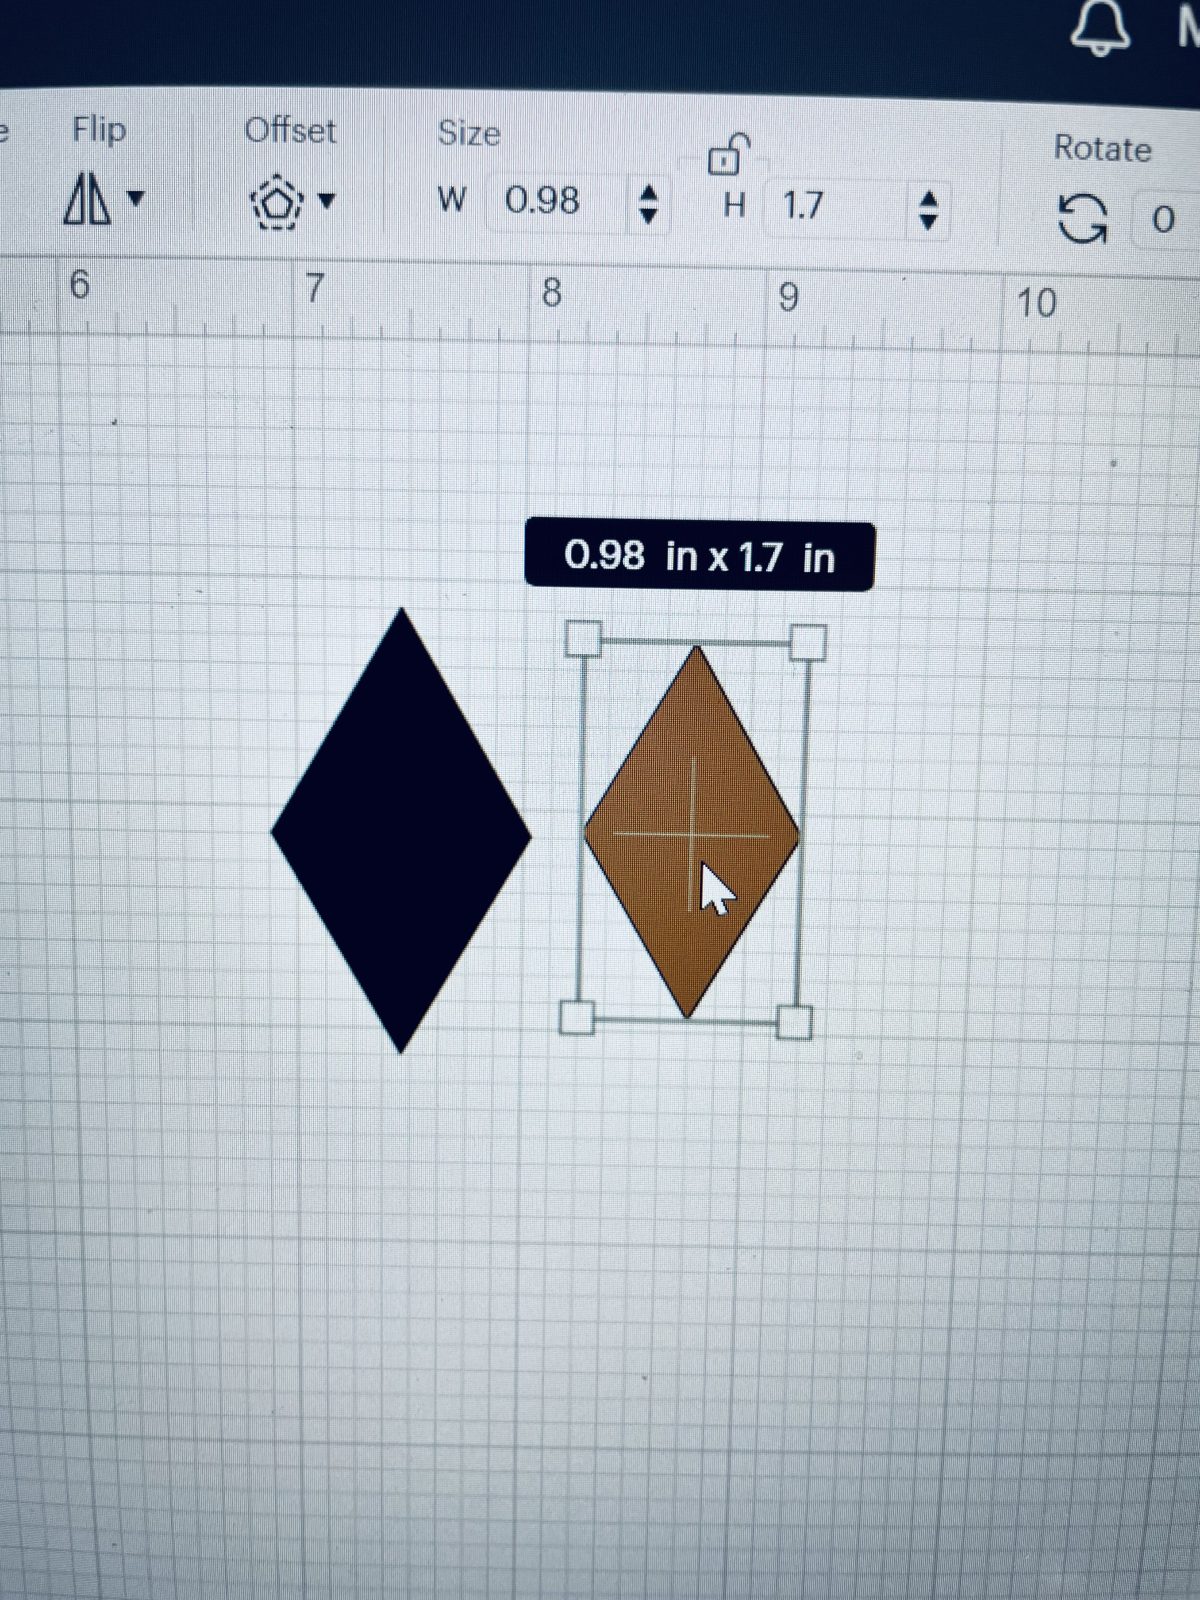
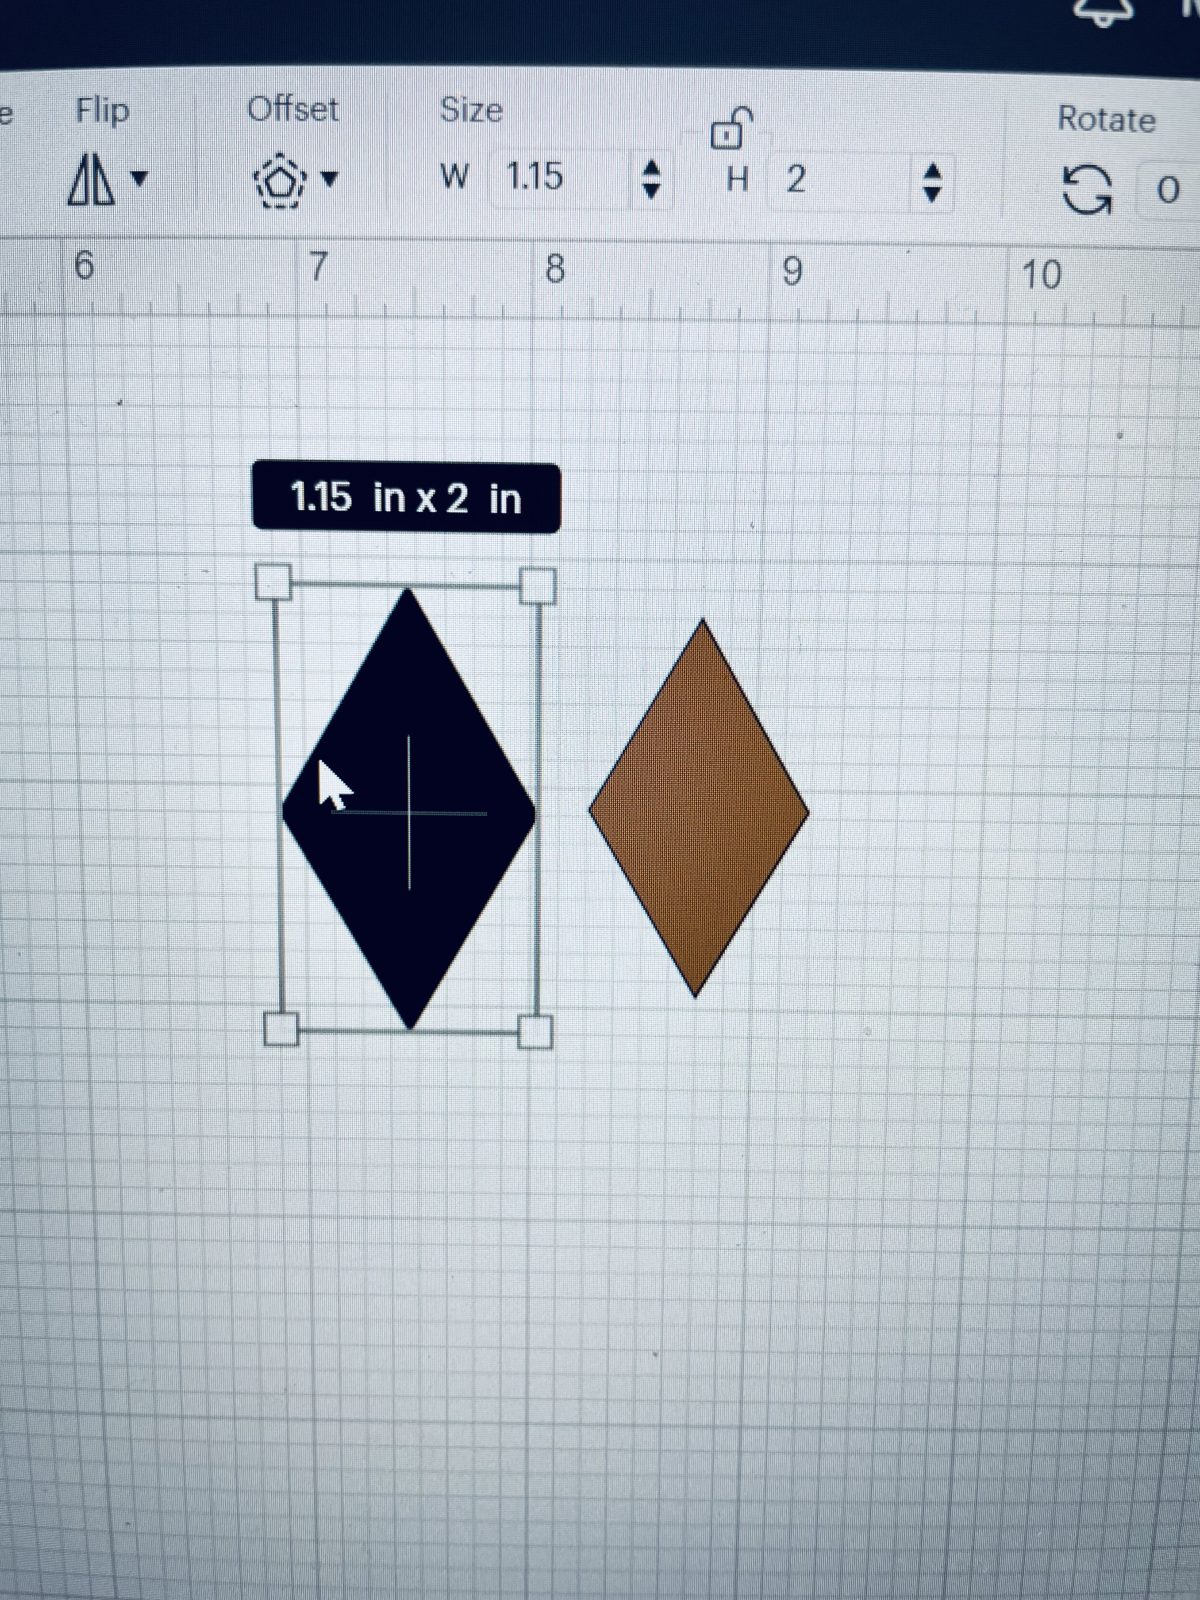
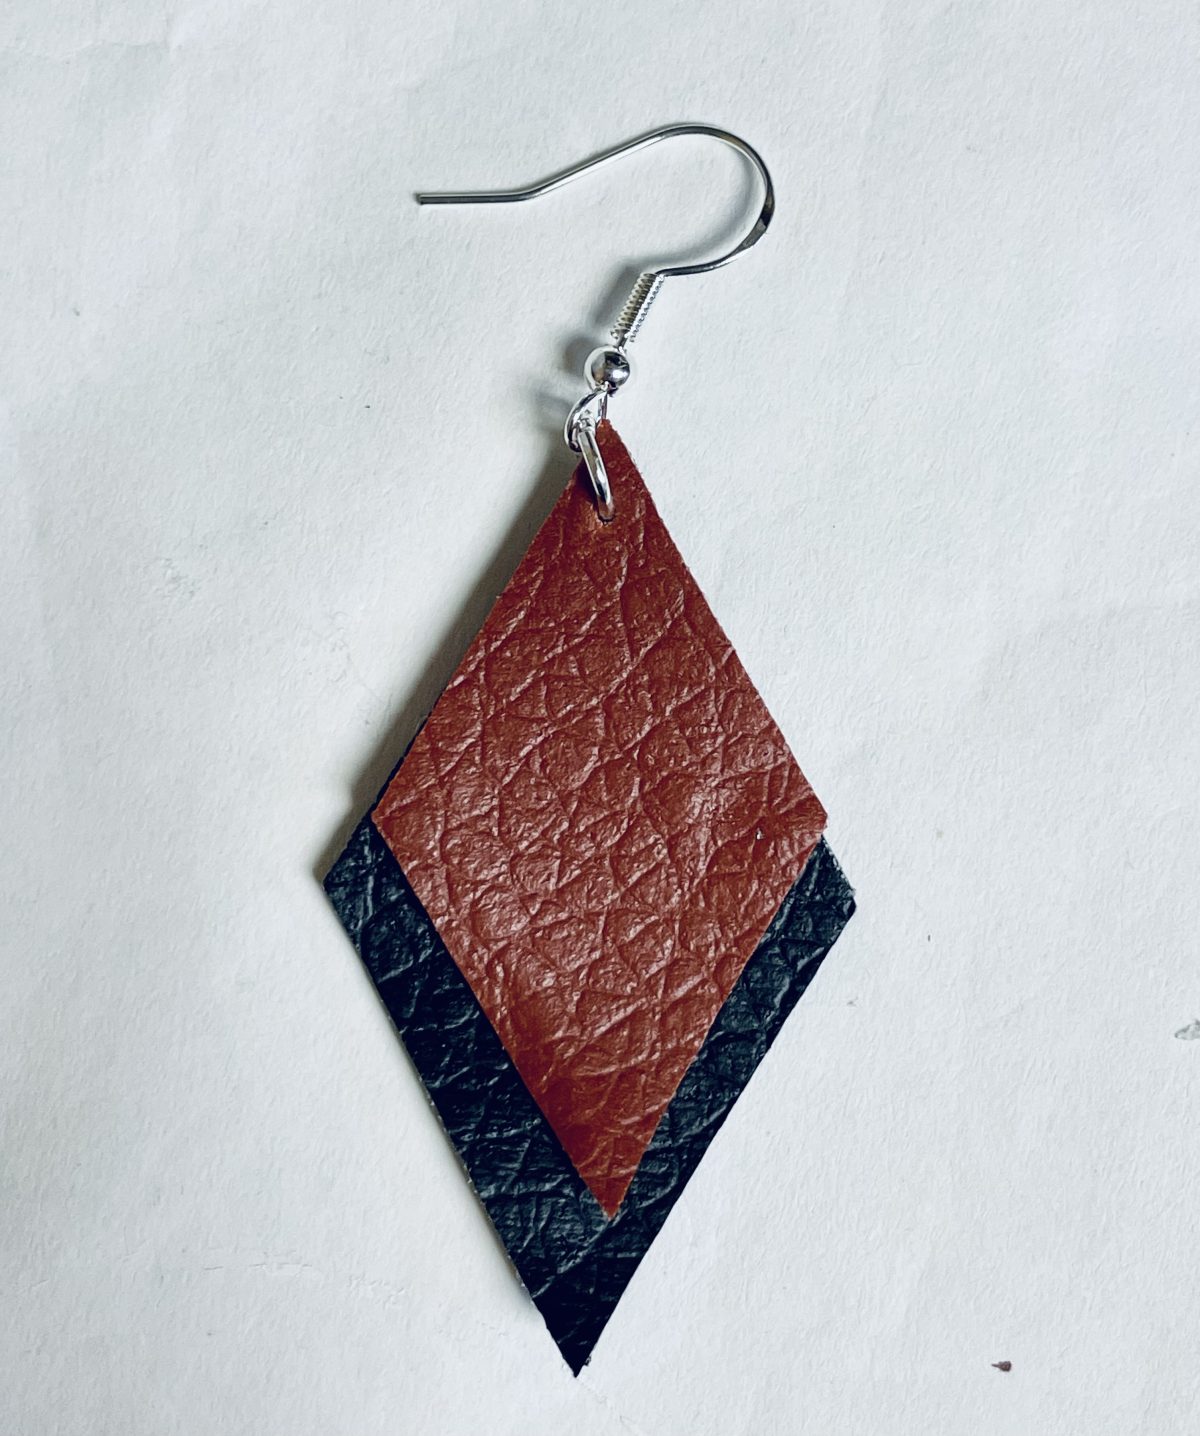
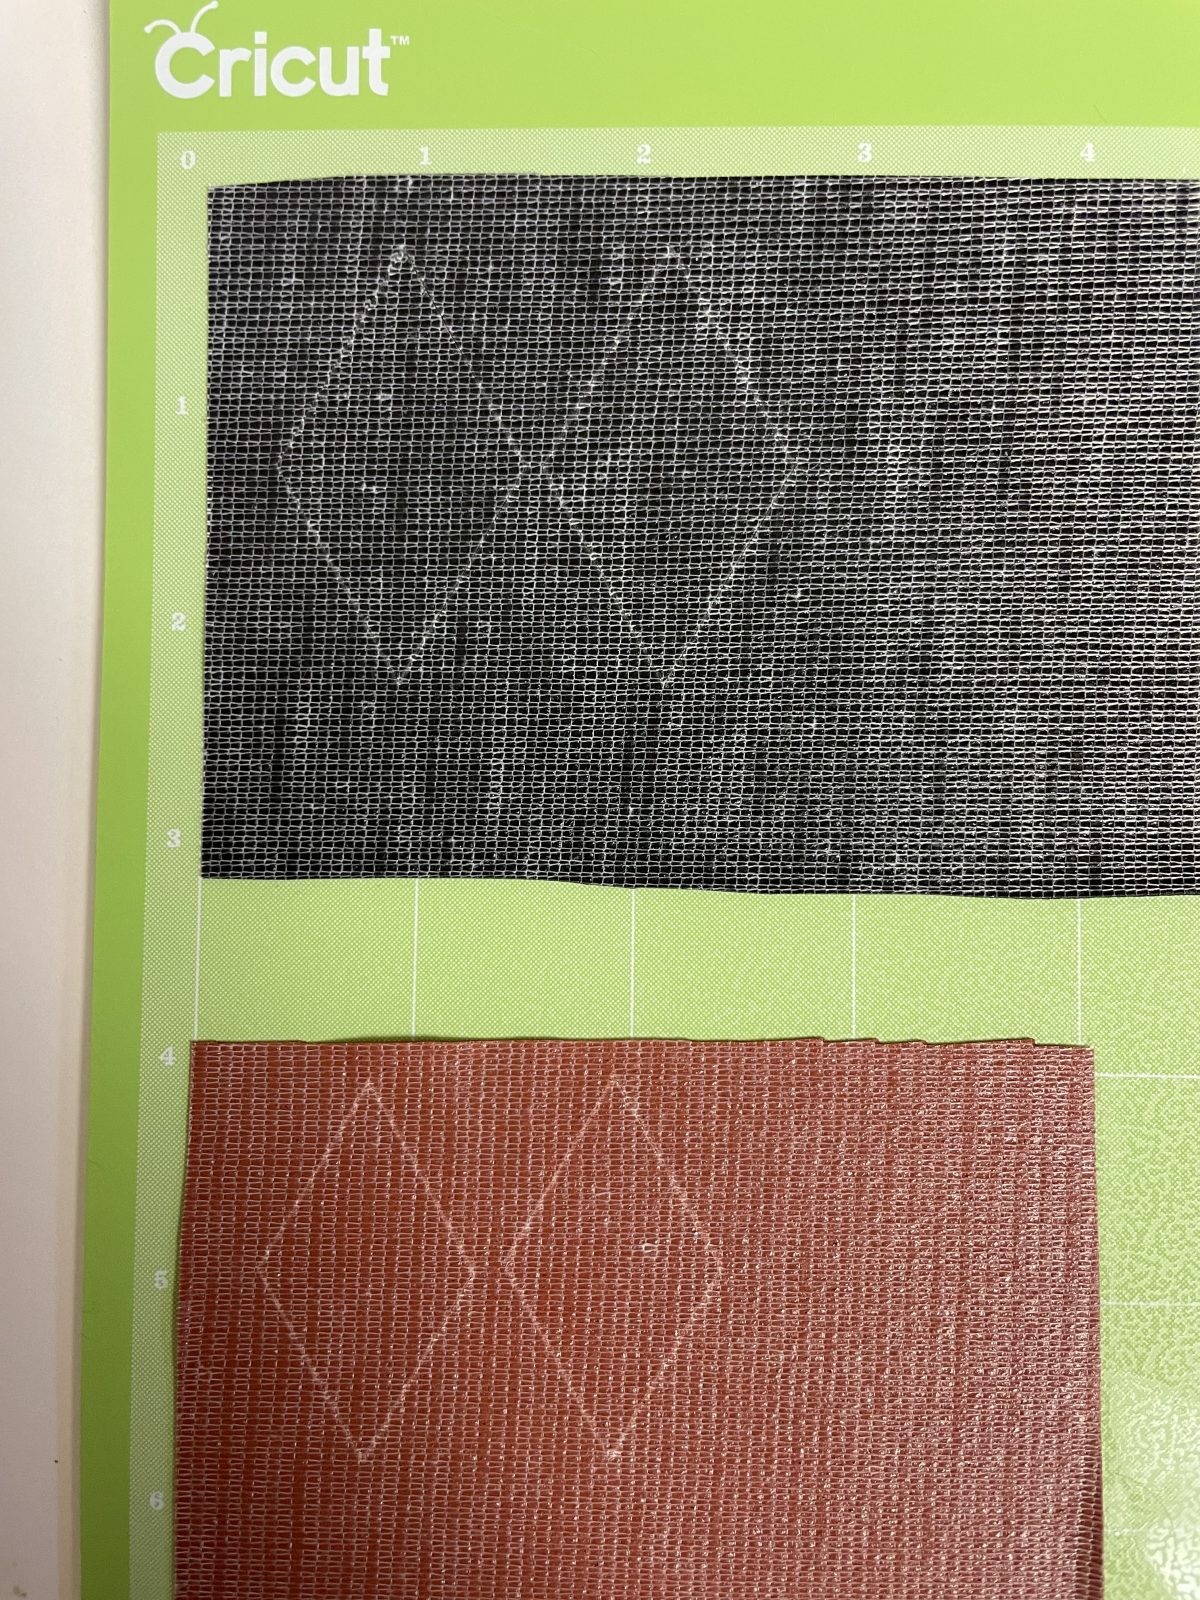 Then, you can select the diamond shape from the shapes option on the side of Cricut design space. The tutorial suggests making two different sizes of diamond shapes, adjusting the width and height of the diamonds on the cricut machine.
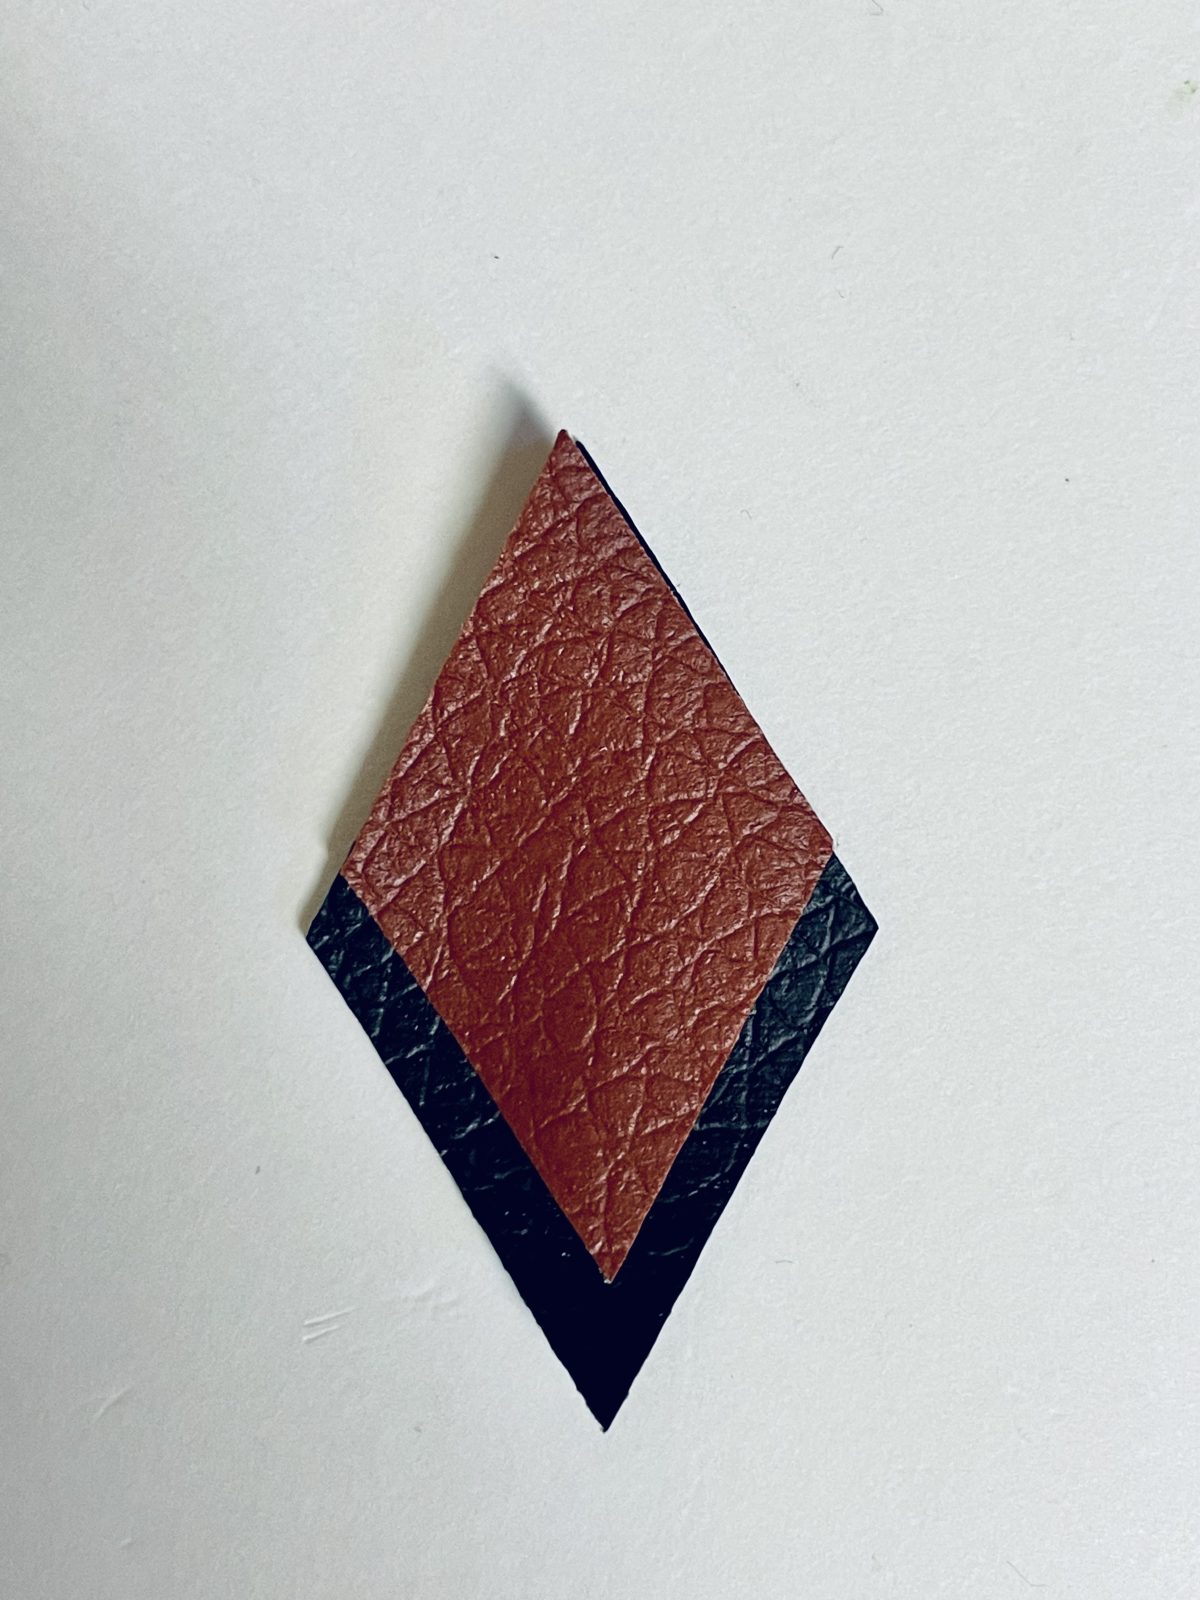
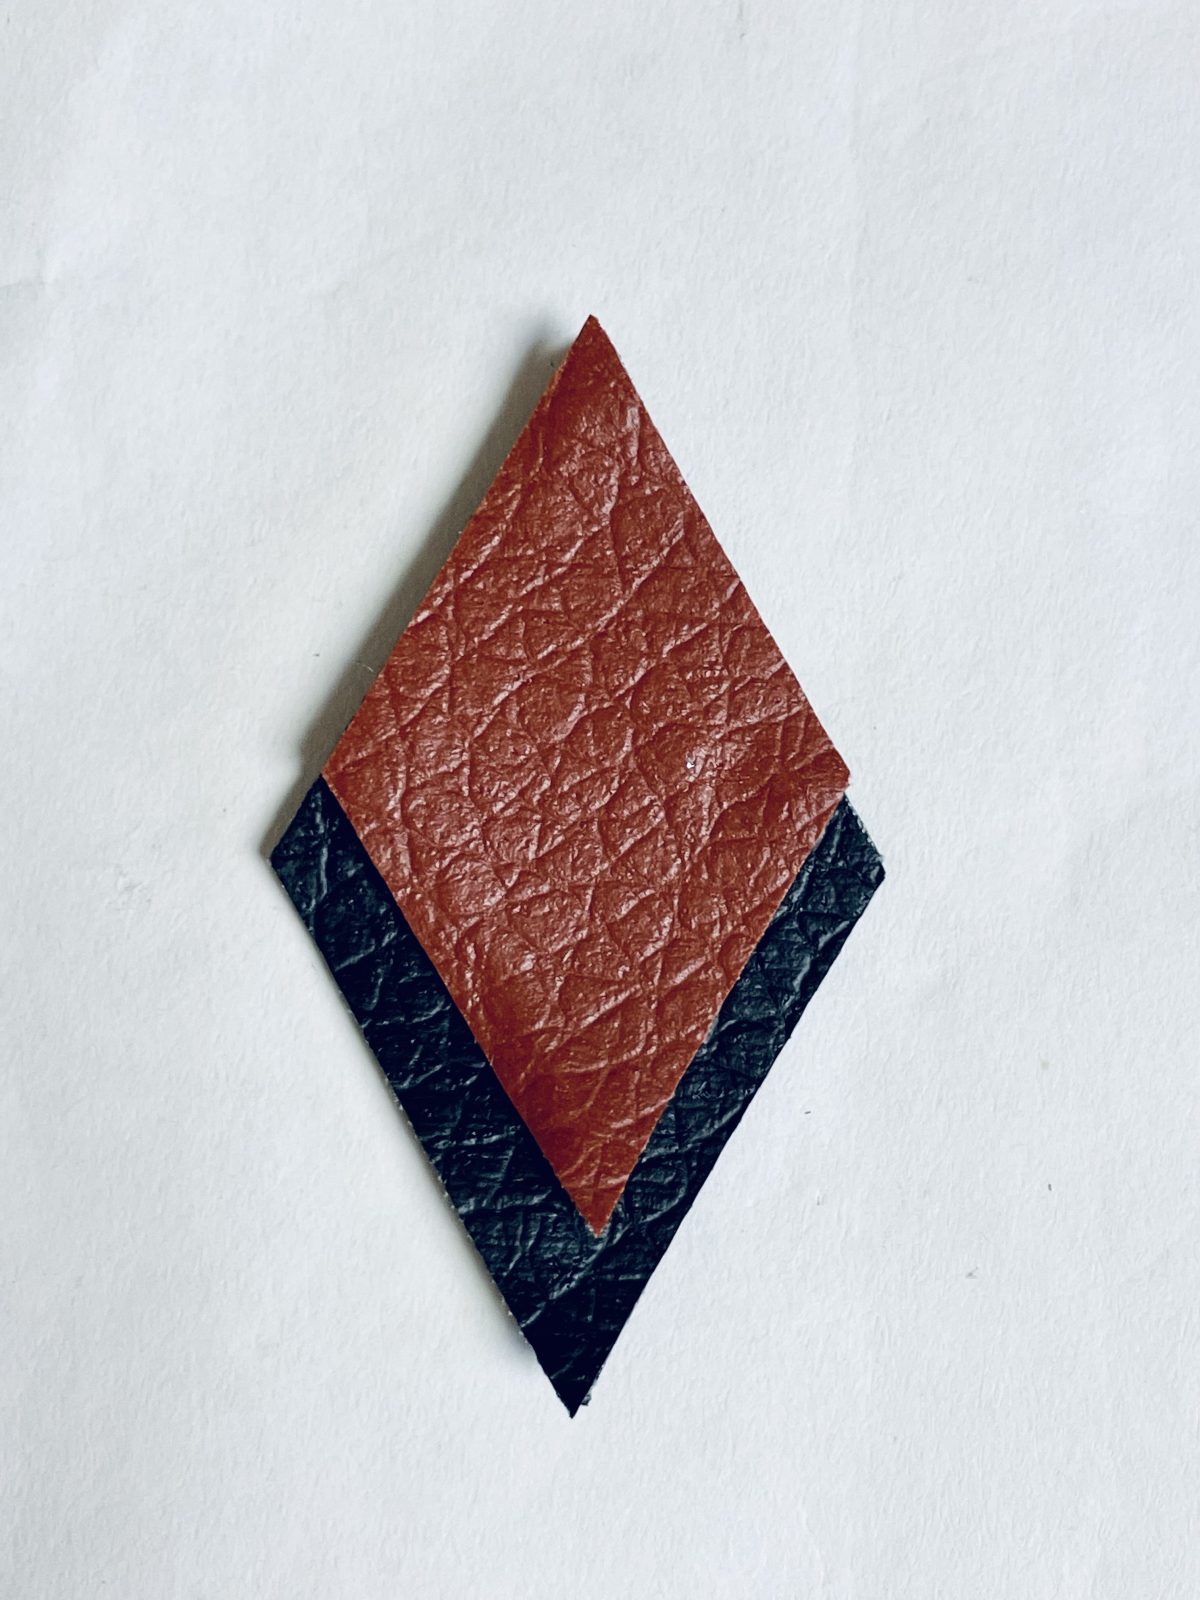
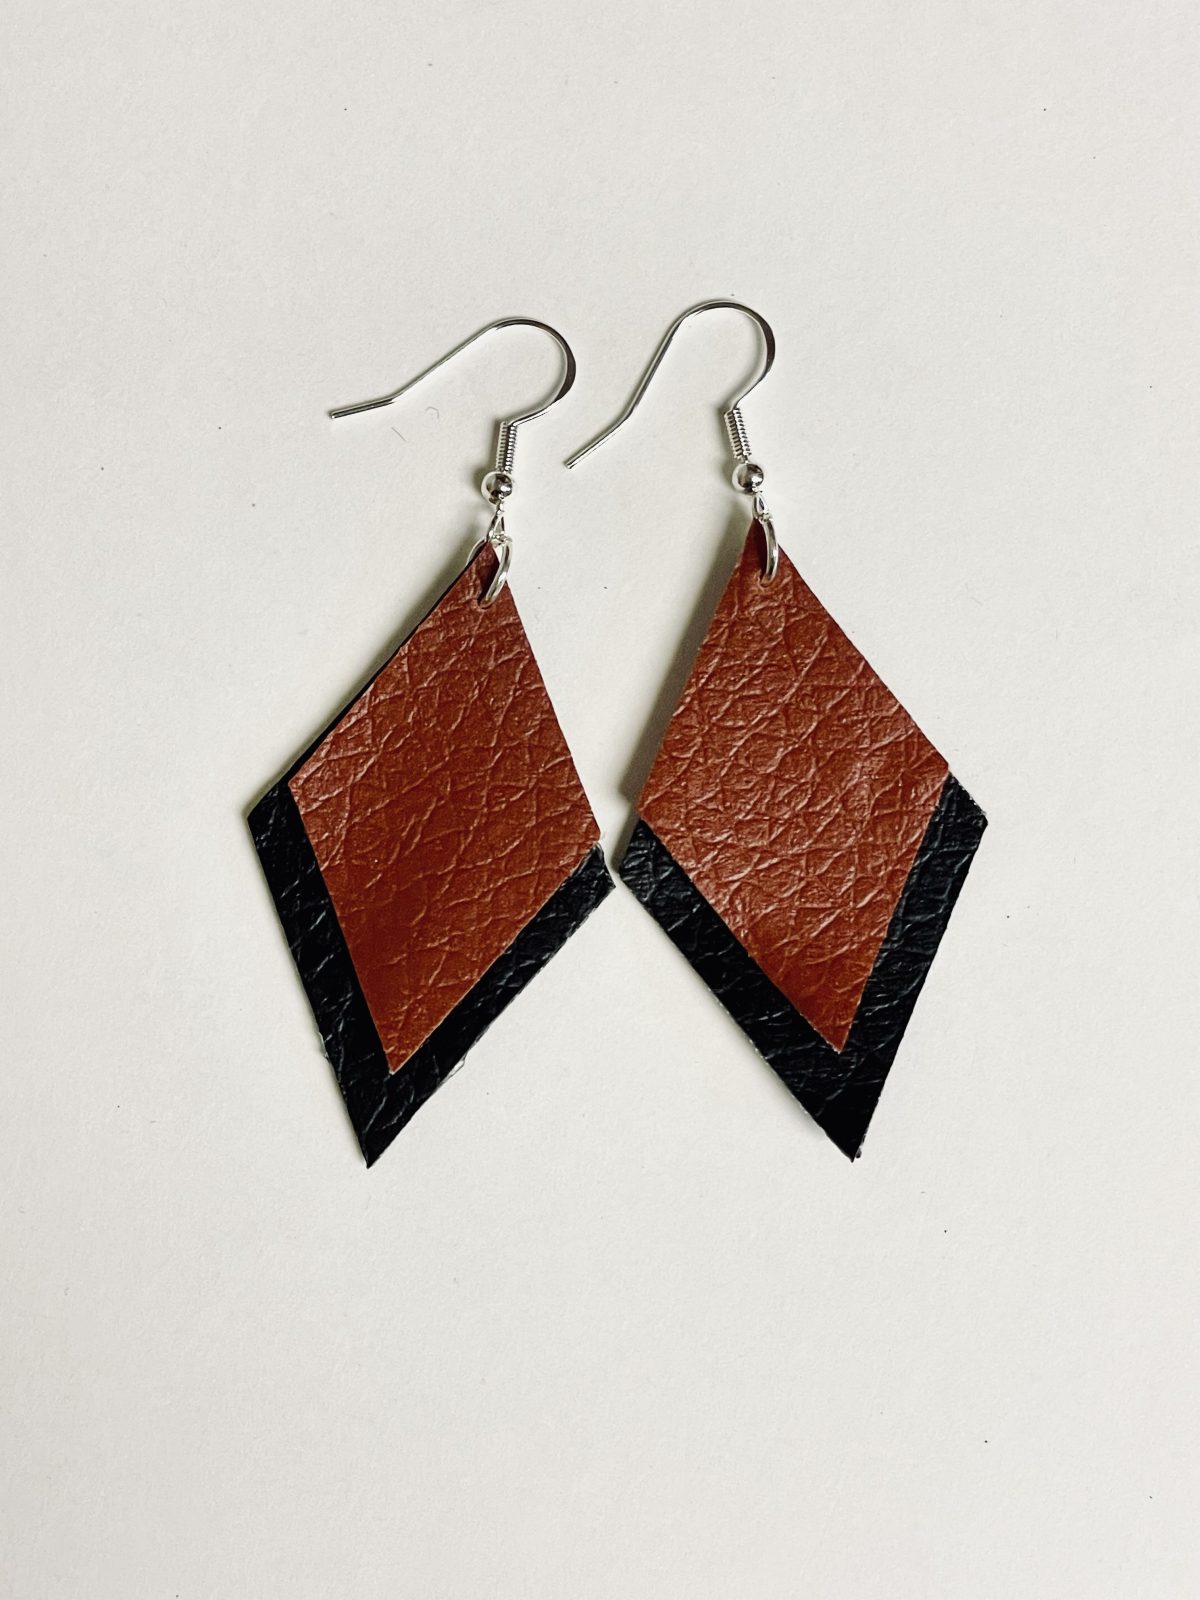
Once the diamonds are cut, you can layer them on top of each other and use the hole punch to make a hole, making sure not to punch too close to the top that it could tear. Then, using pliers, you attach the jump ring and then the earring hook.

This tutorial is easy to follow and includes a detailed list of supplies as well as step-by-step instructions. It’s available on our website Craftbits.com, so you can access it anytime you want. So, grab your supplies and get ready to create your own unique and stylish earrings. These earrings are perfect for any occasion and make a great gift.


What do you think of this project? Let us know!