
Get more details about this project
What you need
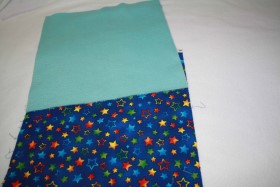
Fleece
Cotton material
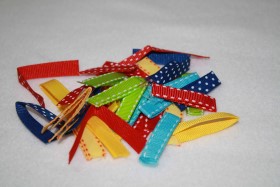
Ribbon
Ruler
Scissors
Iron
Straight pins
Sewing machine
Instructions
Babies do not always need fancy toys to keep them happy. Sometimes a soft little blankie with colorful ribbon tags is just the thing for tiny hands to hold, tug, and explore. This DIY baby ribbon tag blankie is a simple sewing project made with fleece, cotton fabric, and bright ribbons around the edges.
It is a lovely handmade baby shower gift, especially when you want something practical, washable, and personal. The soft fleece gives baby something cozy to snuggle, while the ribbon tags add a gentle sensory element that babies often love. This is also a great project for using up smaller pieces of fabric and ribbon from your sewing stash.
Step 1: Measure and cut a 12-inch square from both fleece and cotton material.
Step 2: Measure and cut 32 3-inch lengths of ribbon.
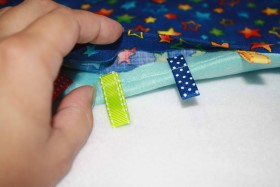
Step 3: Fold each ribbon in half and iron the fold.
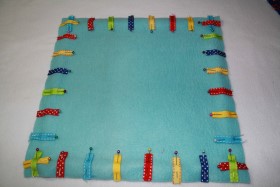
Step 4: Pin one folded ribbon ever 1 1/2 inches along all four edges of the fleece starting 3/4 of an inch in from each corner so you have eight ribbons pinned along each edge. Line the open end of the folded ribbons up with the edge of the fleece. Sew along all four sides of the fleece with a 1/4-inch seam allowance to hold the ribbons in place. Remove the straight pins as you sew.

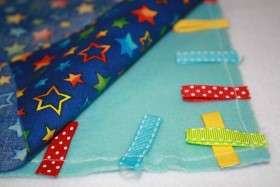
Step 5: Place the fleece and cotton material together with the right sides of both facing each other so the ribbons are sandwiched between the two. Sew the two pieces together along all four edges with a 1/2-inch seam allowance. Leave a 4-inch opening in the middle of one of the sides. Turn the blankie right side out through the 4-inch opening.

Step 6: Fold the raw edges along the 4-inch opening in a 1/2 inch and iron the folds as well as the rest of the sides of the blankie.
Step 7: Top stitch along all four sides of the blankie with a 1/4-inch seam allowance to hold the two layers flat against each other as well as to close the 4-inch opening.
All Done!
![]()


What do you think of this project? Let us know!