
What you need
4 paper plates
Long paper dinner napkins in 3 different colors, 2 napkins of each color (total 6)
Clear Tape
Butcher’s Twine
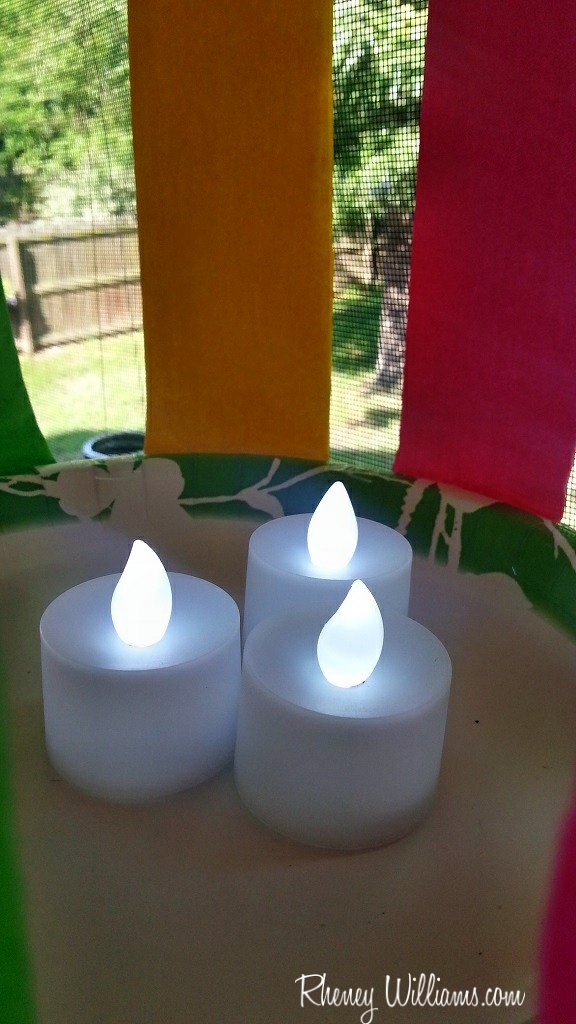
3 LED Tea Lights: These are available from your local home improvement store
Instructions

Begin by cutting your napkins in half lengthwise and arranging them in an alternating pattern. You will end up with 4 individual strips of each color napkin.
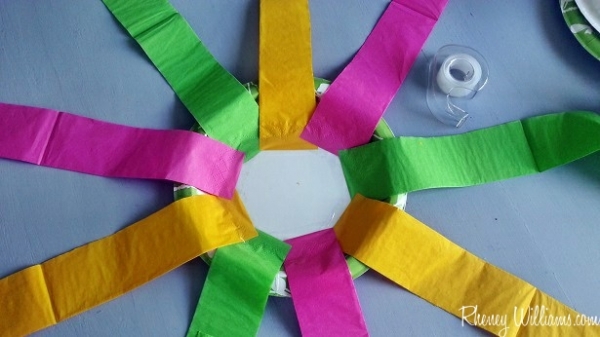
Open each napkin so that they become long, narrow strips. Make sure that the fold is facing out – this way, they will create the illusion of a “balloon” when the lantern is complete.
Work your way around the first paper plates and tape one end of each napkin to the plate. Overlap the edges to create a bit of a fan effect. As you can see in the photo below, I only ended up using 3 of the 4 strips of each color because you need to be sure to leave yourself enough room to reach through the slats (this will make more sense momentarily!).
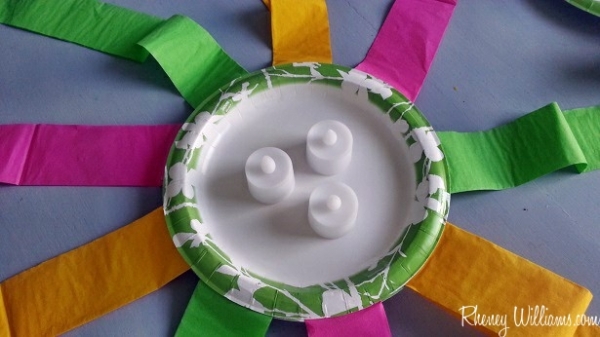
Once you have completed taping around the base plate, place the second plate directly on top of the first plate and tape down the edges. This will create a sandwich of sorts with the napkins between the two plates.
I’ve placed the LED tea lights on top of the plate so that you can see how they will play into the final design.
From here, turn the third plate upside down and line it up with the plate below. Bring each strip on top of the plate and tape it down like you did the first level.
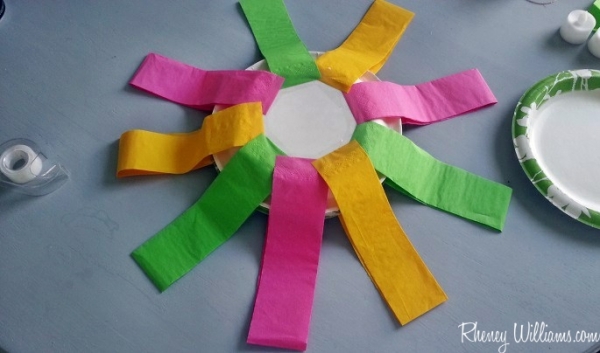
Create your second sandwich by taping the fourth and final plate (upside down) on top of the third plate to finish off the look.
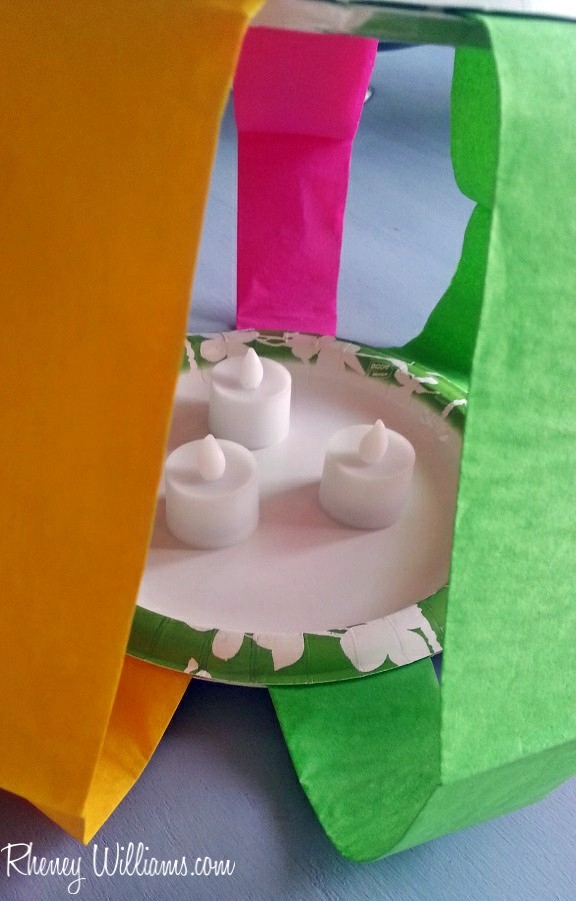
Now that the entire lantern is constructed, you’ll see what I meant about leaving sufficient space in between the stripes to insert the tea lights into the lantern:
Cut two long pieces of twine. You will use these to create two opposite anchored loops from which to hang your lantern. It may help to think of this like a puppet on strings or even wrapping a boxed present!
Use the tip of the knife to push one end of the twine through the plates and pull through the other side. Use the knife again to push the tip of the twine back up through the plates on the opposite end. Do this again with the other piece of twine and the opposite two slits. You could also use a large embroidery needle to thread the twine through the plates but I found the knife tip to be quicker in the end.
After you’ve knotted the two pieces of twine, turn on your LED tea lights, place them inside your DIY landscape lighting and hang your lantern in your yard or patio (but keep in mind that they are not rain-proof).
I took these photos in the daytime so that you receive the full impact of the colors in the lantern. They work great for DIY party décor for a kid’s birthday party or a backyard BBQ.
Plus, you can customize them for holidays and special occasions by simply swapping out the colors you use. And your patio will receive all of the benefit of your DIY efforts!
What creative and colorful materials do you plan to use when lighting up your outdoor gathering places?
Rheney Williams is a DIY crafter in Charleston, S.C., who writes about her projects for Home Depot. She’s been adorning the yard around her home with all sorts of crafts, including these LED-based landscape-lighting lanterns. Home Depot’s complete selection of landscape lighting options can be viewed online.


What do you think of this project? Let us know!