
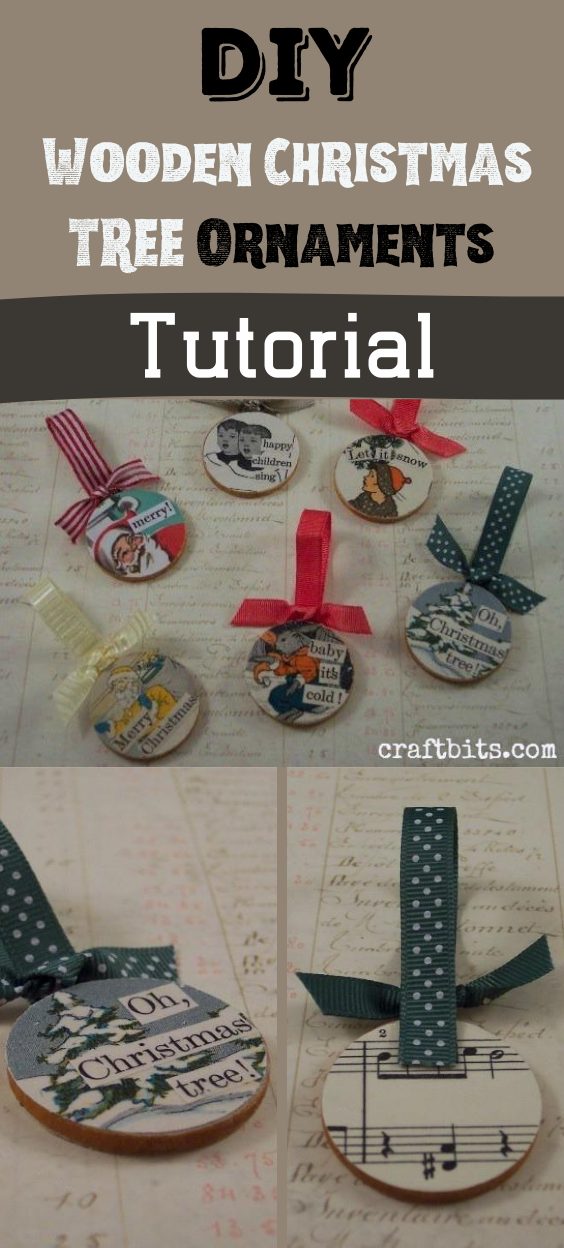
What you need
– Vintage music sheet paper
– Vintage children’s picture books with holiday themes
– 1 1/2″ round wooden discs
– 1 1/2″ round paper punch
– Decoupage glue or matte gel medium
– Ribbons
– Brown Sharpie marker or wood stain
– Foam brushes
– Emery board (if needed)
– Glue Dots or white glue
Instructions
– This project uses vintage pages from children’s books and music sheets but if you don’t want to cut up your vintage papers make copies of your images to use. Test your glue on the copies first to make sure it won’t cause the ink to bleed or run.
– Using the paper punch punch out holiday images, one for the front of each ornament and punch music sheet circles for each of the backs. Tip: turn your punch so the open hole faces you, centering the image to be punched inside the opening, this way you can make sure everything is lined up. Tip: If you don’t have a paper punch lay a disc over the image, trace around with a pencil and cut out with scissors.
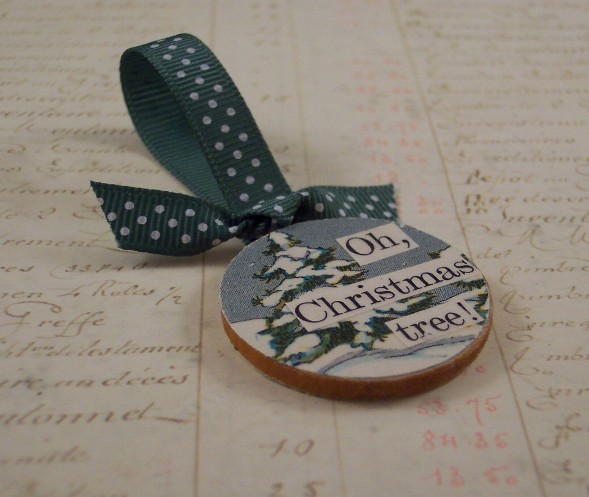
– Cut snippets of text from the vintage books for each ornament. Using a small amount of the glue and a foam brush apply it to the punched circle images, let dry.
– Using the brown sharpie marker color the edges of the wooden discs or apply a small amount of wood stain with a foam brush.
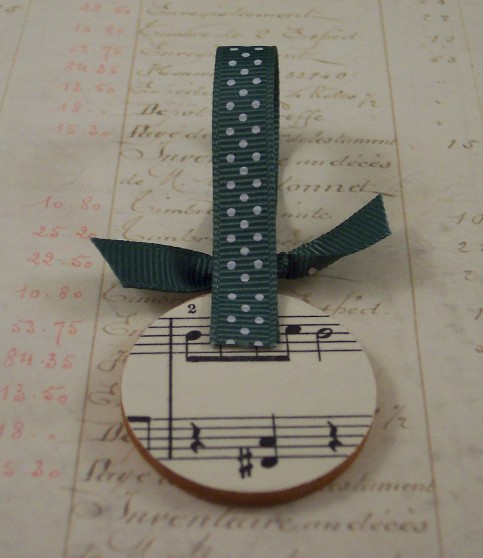
– Using the glue and a foam brush apply glue to one side of a wooden disc, lay a paper circle over top and apply another layer of glue over the paper, let dry and then apply a second coat of glue, let dry. Repeat this step for the front and back of each ornament, images on the front, music sheet on the back, letting them dry between each application of glue. Tip: If your going to be using these as gift tags write the name on the back before sealing with the glue.
– Tip: If your paper hangs over the edge of the wooden disc use an emery board or sand paper to lightly sand the edges.
– Cut two pieces of 4″ ribbon for each ornment. Fold one piece of ribbon in half and glue it to the back of the ornment with glue dots. Tie the other peice of ribbon in a knot and trim the ends, apply the knotted peice of ribbon to the top of the ornament with a glue dot. If you don’t have glue dots regular glue will work too, just let it dry.


I was thinking too of using my old Christmas cards for ornaments
or you could use family photos! I love seeing my kids faces on the tree from when they were little. You could do a new one every year.
Oh thank you! I have never been able to throw away my cards!!
I’m thinking instead of vintage pages and music sheets it would be a cute use for those old Christmas cards – they have such beautiful pictures but I never know what to do with them when the holidays are over.
Wow! These are so neat. I love ’em! : )
a fun project to do with my daughter!!! this is definitely going on my to do list for this Christmas 🙂 http://www.etsy.com/shop/cesttino