
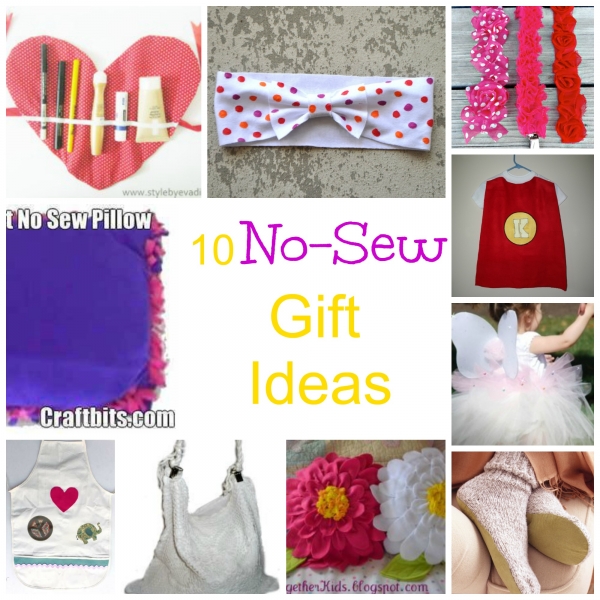
Get more details about this project
What you need
1/3 yd (30.5 cm) patterned quilting cotton fabric
1/3 yd (30.5 cm) solid quilting cotton fabric
1/2 yd (46 cm) muslin for backing and binding, either tea-stained or unbleached
16 x 20 in (40.5 x 50 cm) 100 percent cotton quilt batting
16 in (40.5 cm) mini rickrack braid in complementary color
Embroidery floss, or thread, in contrasting color
1 or 2 skeins white and tea-stained, or variegated beige, embroidery floss
Doily, either vintage or new
Extras:
Rotary cutter, transparent ruler, and cutting mat
Iron-on transfer pencil or carbon paper
Embroidery needle
Freezer paper, craft knife, fabric paint, and sponge brush for stenciling (optional)
Hand-quilting needle
Thimble
Chalk or embroidery transfer pen
Instructions
Cutting:
For the yellow quilt:
- Cut one 13 1/2 x 7 1/2 in (34 x 19 cm) piece of patterned fabric.
- Cut one 13 1/2 x 10 1/2 in (34 x 26.5 cm) piece of solid fabric.
- Cut one 15 x 20 in (38 x 50 cm) piece of backing fabric.
- Cut one 15 x 20 in (38 x 50 cm) piece of batting.
For the brown and pink quilt:
- Cut one 14 1/2 x 10 in (37 x 25 cm) piece of patterned fabric.
- Cut one 14 1/2 x 9 in (37 x 23 cm) piece of solid fabric.
- Cut one 16 x 20 in (40.5 x 50 cm) piece of backing fabric.
- Cut one 16 x 20 in (40.5 x 50 cm) piece of batting.
For both:
Cut 2 in (5 cm) strips of the binding fabric to make approximately 2 1/2 yd (2.3 m) of double-fold binding.
Assembling the Quilt Top
- With right sides together, sew the two pieces of fabric for the quilt top together with your sewing machine and press seams open. Machine or hand sew the mini rickrack braid over the seam you’ve just sewn.
- If you are embroidering your motif design elements, trace your teacup, granny, and false teeth motifs from the templates onto the quilt top. You could use an iron-on transfer pencil or carbon paper to do this. Embroider around the perimeter of the designs with the embroidery needle using an outline stitch of your choice, such as back stitch, chain stitch, or stem stitch. Alternatively, if you are stenciling any of the motifs, then trace the template with freezer paper, cut out the design carefully using a craft knife and iron the design in place. Once the stencil is in place, sponge your fabric paint over the stencil, using thin layers and waiting for them to dry in between, until you have a result you are pleased with. You may need to set the fabric paint with an iron — please be sure to read the manufacturer’s instructions first.
- At this point, decide whether you will do a pillowcase binding or a traditional binding. If you are using the pillowcase finishing method, as on the yellow quilt, follow the instructions below. Once you are finished, hand sew a simple running stitch in a contrasting thread or embroidery floss color around the perimeter of the quilt.
- If you are using a traditional binding, as on the brown and pink quilt, assemble a quilt sandwich (backing face-down, batting and quilt top face-up) and safety-pin baste the layers together. The binding will go on at the very last step.
Finishing the Quilt
- For either quilt, the next step is to add any additional hand quilting or embroidery and
embellishments. - Using the tea-stained or beige floss, embellish the patterned fabric with running stitches, split
stitches, French knots — whatever suits the pattern on the fabric. - Pin the doily to a corner of the solid fabric, and attach it to your quilt with a whip stitch or blanket stitch around the edge to hold it in place. Sew on your button.
- At this point, if you used the pillowcase finishing method, press with an iron set for hot steam, and
you’re done. - If you chose to do a traditional binding, then you still need to attach the binding. Follow the double fold mitered corner binding instructions here.


Instructions don’t match the miniquilt showed in picture.
this is really cute..I may make one for my laundry room….