
Get more details about this project
What you need
Polymer clay – any brand – colors of your choice (I used red & black)
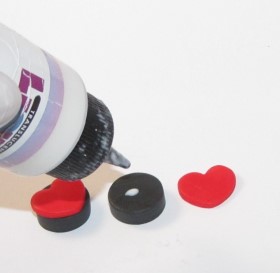
Liquid polymer clay
Acrylic roller or wooden dowel
Clay knife or plastic knife
Toothpick or bamboo skewer
Eye pins or wire/pin backs or magnets (optional)
Cookie or Fondant cutters – heart & circle
Work surface – ceramic tile, file folder or wax paper
Instructions
Condition each color of clay by rolling and squeezing in your hands. Test to see if it cracks when you bend it – that means it needs more conditioning!
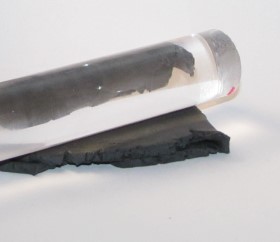
Roll both colors into a ball, flatten & roll out to desired thickness with your acrylic roller or dowel (You can also use a clay dedicated pasta machine).
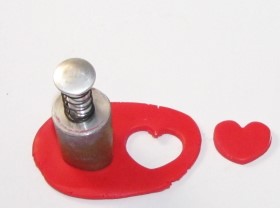
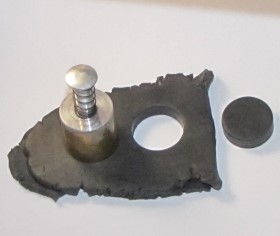
Using your cookie cutters, cut circles in 2 sizes for the body & head) from the body color of your choice. Cut hearts from the wing color of your choice.
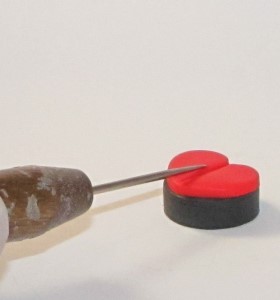
Use a dab of Liquid polymer clay to attach the wings to the body & press the center with a toothpick or pin to define the “wings”.
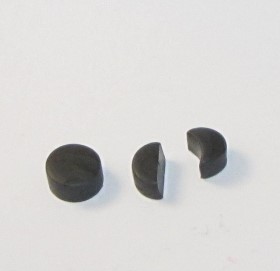
Cut one of the smaller circles in half and gently round the flat edge with your finger – this will help it attach without gaps.
Dab a bit of Liquid polymer clay and attach the head to the body.
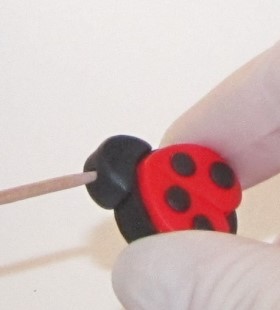
Roll a thin snake of black clay & cut into equal pieces to roll into “spots” for the wings.
Press firmly on the spots and you won’t need liquid clay.
Using a toothpick, poke holes in the head – not all the way through!!!! Add a tiny drop of liquid polymer clay to each hole.
Roll 2 tiny balls of black into a cone shape & insert the skinny end into the holes. ***Keep these short so they won’t break later or reinforce with wire.
These make great stud earrings, pins or magnets – no holes needed. Or Poke a hole or insert eye pin/wire for hanging.
NOTE: if using wire – after baking, remove & place a drop or Crazy Glue and reinsert. Clay will not adhere to the metal! Bake according to manufacturer’s directions and let cool.
If making magnets, etc glue on jewelry findings or magnets once cooled.
*** TIP ***
Red or dark colored clay can leave some pigment on your hands. To help keep the white clay from turning pink, handle most of the white clay first. You can also use baby wipes to clean your hands and tools (alcohol is a solvent for the clay) or wear latex gloves & switch in between colors.
Once you use cookie cutters, pasta machine, etc for clay, it is recommended to no longer use it for food. Shop around for inexpensive cutters at your local craft store.


This sounds sooooooooooooooooo cute!!! I really want to try this!