
Get more details about this project
What you need
Felt, Fabric
Toy Wadding
Sewing supplies
Embroidery Thread
Toy Filling/Wadding
Instructions
Big Pyramid Pete is one of those handmade plushies that instantly makes you smile. With his pyramid-shaped body, floppy dangle legs, soft boots, tiny hat, and built-in handle, he is part soft toy, part quirky little companion, and completely full of personality.
This free plushie sewing pattern shows you how to make a large handmade soft toy using fabric, felt, toy wadding, embroidery thread, and basic sewing supplies. Pete measures around 18 inches tall, not including his legs, making him a lovely size for cuddling, gifting, decorating a child’s room, or sewing as a special handmade keepsake.
The built-in handle makes him especially fun for kids because he can be carried, dragged around, or hung up when playtime is finished. You can personalize him with different fabrics, bright fleece, felt details, lace, flowers, ribbons, or embroidered features to give your own Big Pyramid Pete a totally unique look.
This project is ideal for sewists who enjoy making soft toys, handmade dolls, fabric characters, or whimsical plushie gifts. It is also a great stash-busting project if you have leftover fleece, felt, fabric scraps, ribbon, or embroidery thread waiting to be used.
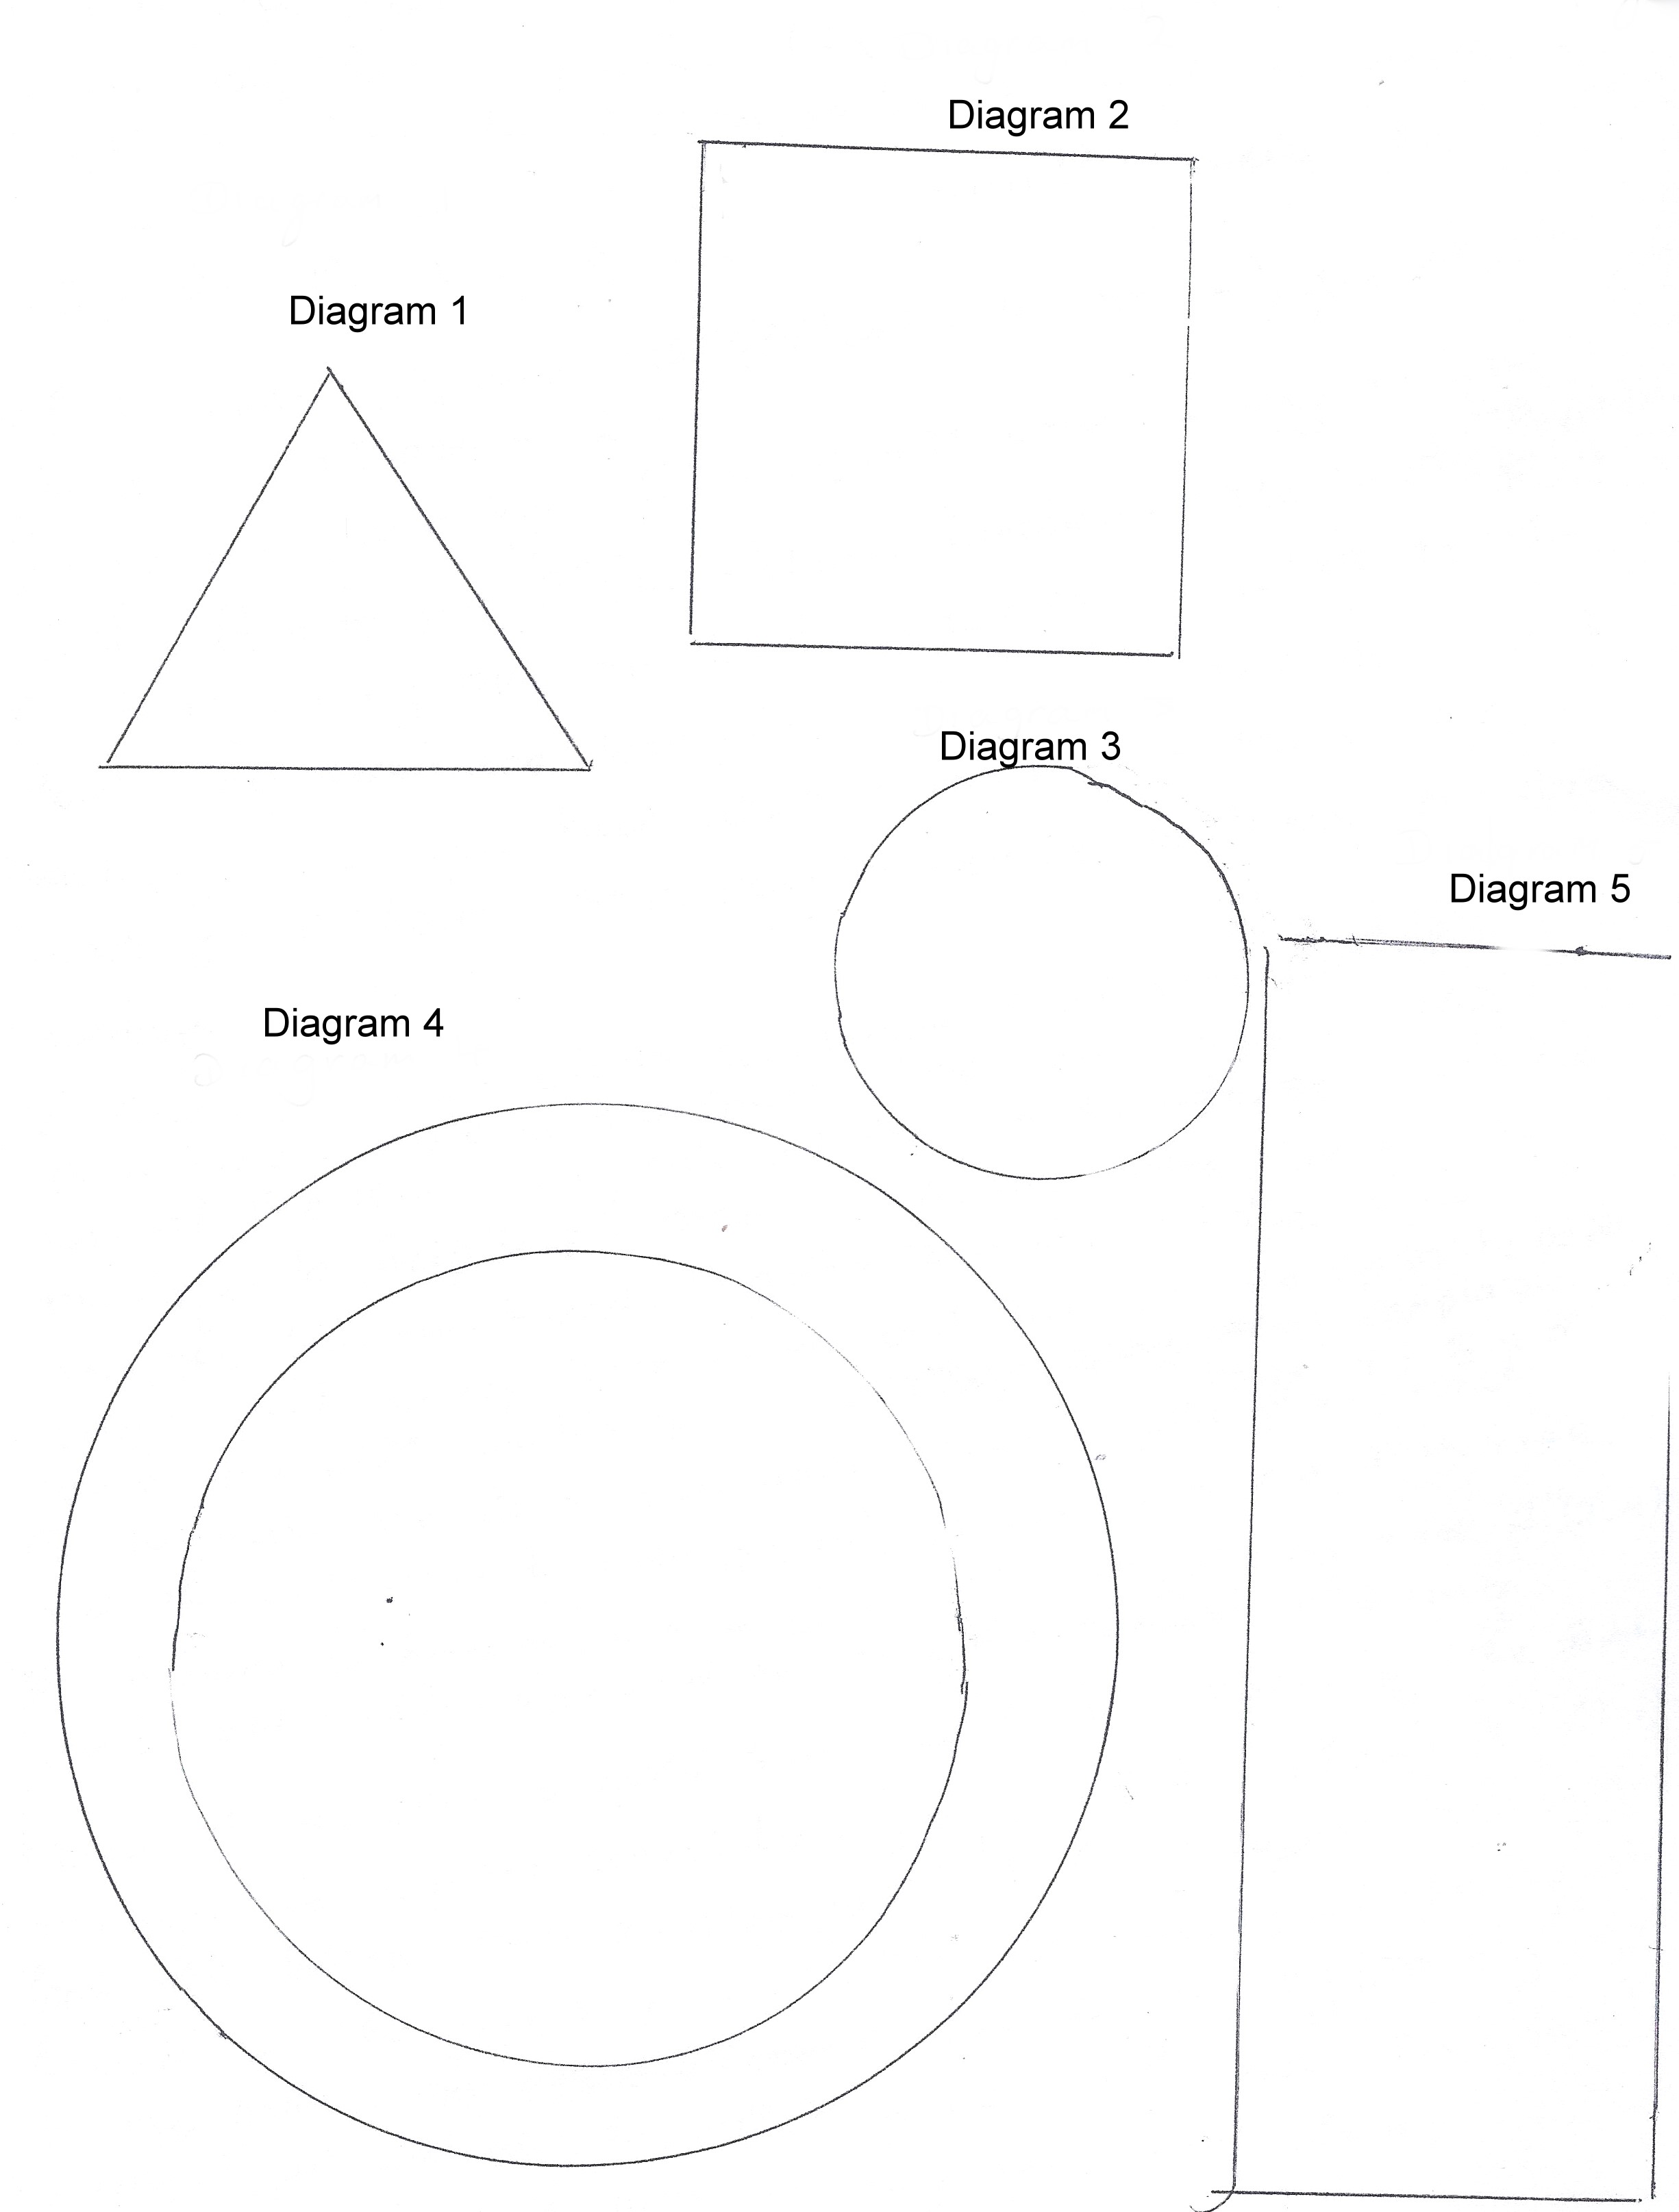
Start by printing the pattern here.
Cut 4 triangles for the body. Cut 3 14″x 12″ wide (35.5 x 30.5 cm) and cut 1 2″x 14″ (5 x 35.5 cm) and cut it down the middle to separate the two halves. This is the back of the body.
Cut 2 legs 6″ x 17″. (15 x 43 cm).
Cut 2 boots, placing the back of the boot to the fold.
For the hat cut 2 large circles and 1 small.
Cut 1 base 12.” x 12″ (30.5 x 30.5 cm) for the base.
Stitch the legs down the length and turn inside out and fill with toy wadding.
Stitch the boots together placing the legs into the boots around 1/2″ inside and securing with stitches.
Make a hangup with felt by cutting a piece 12″ x 2″ (30.5 cm x 5 cm) fold it width ways and stitch with a blanket stitch.
Sew 3 triangles together, then sew the two half triangles together leaving a gap 3″ (7.5 cm) from the bottom and a second opening 5″ above that.
Sew the handle into place.
Sew your legs into place at the front when your sew your base into position.
Fill with wadding and stitch closed.
Hat: Stitch the 2 large circles together using blanket stitch , cut a hole into the center Stitch the small circle to the oblong piece to form a tube. Fill with wadding and stitch to the large circle. Push it through the hole slightly for a better finish. Place it on top of the head and stitch into place.
Decorate with some flowers or lace if you like.
Add shoe laces to the shoes with embroidery thread or ribbon.
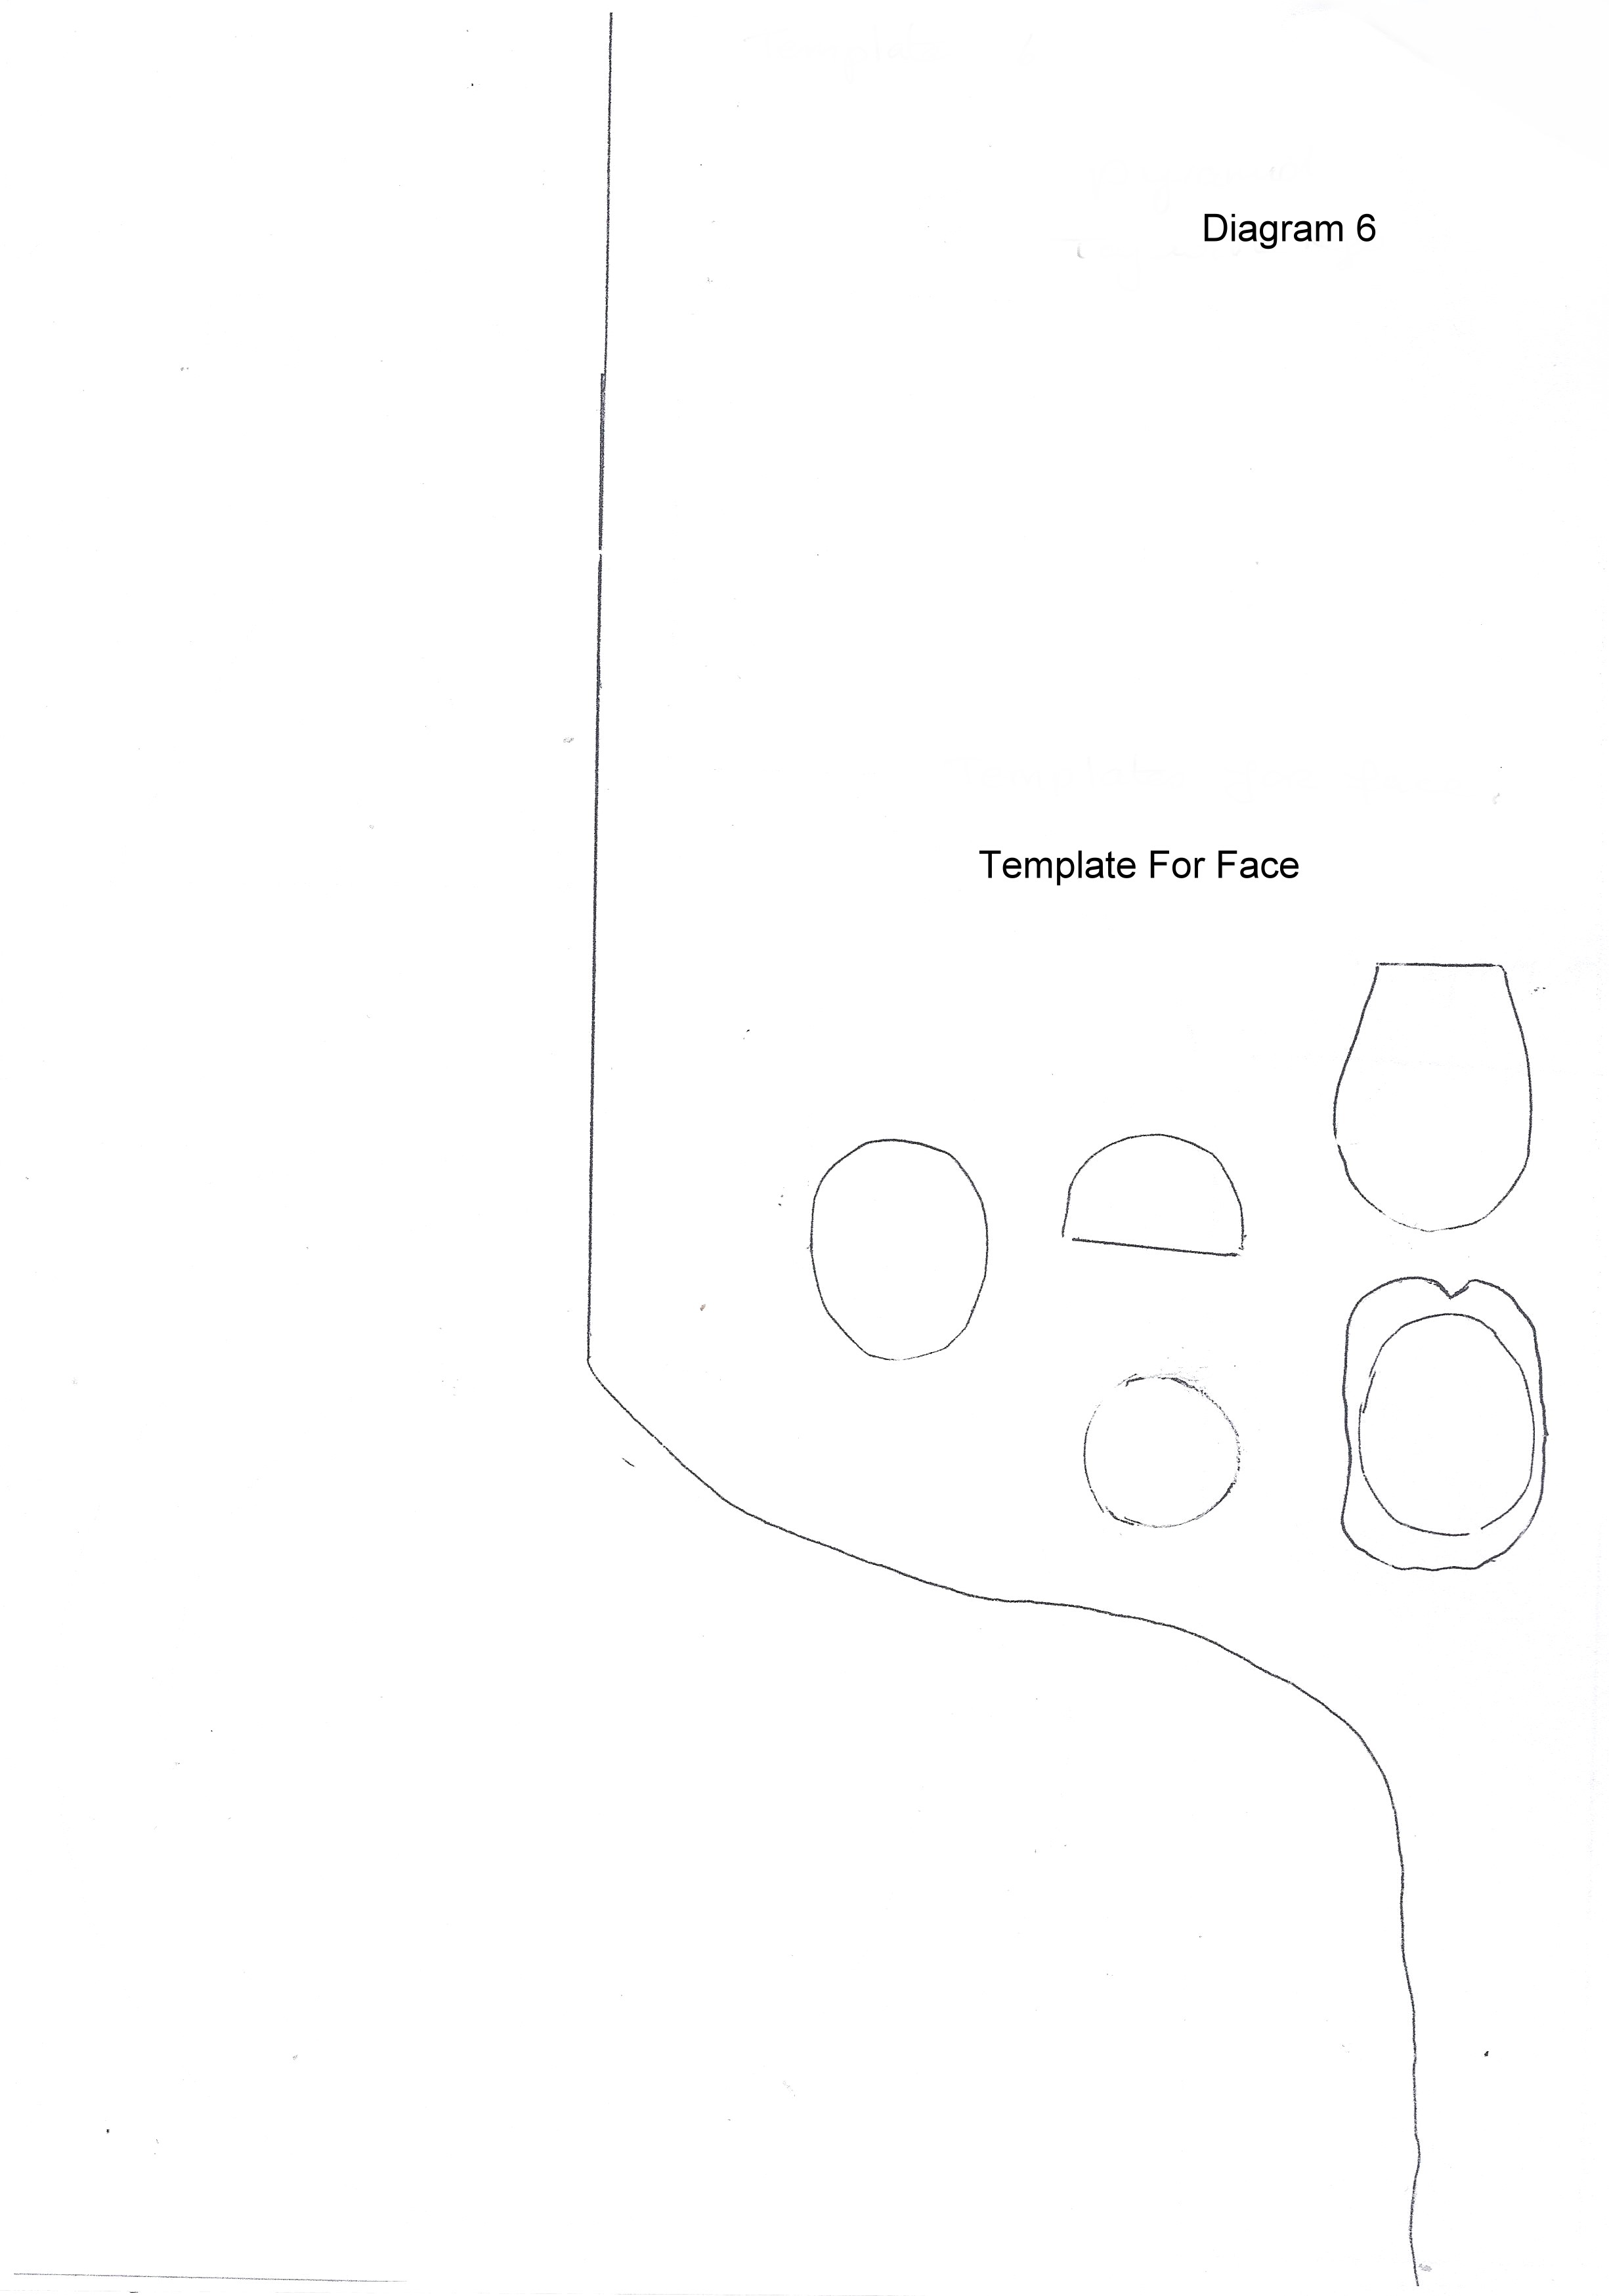
Finish the face by sewing the pattern pieces into position as shown in the photograph.




SO CUTE
Awsome! Thank you for sharing such a cute pattern!