
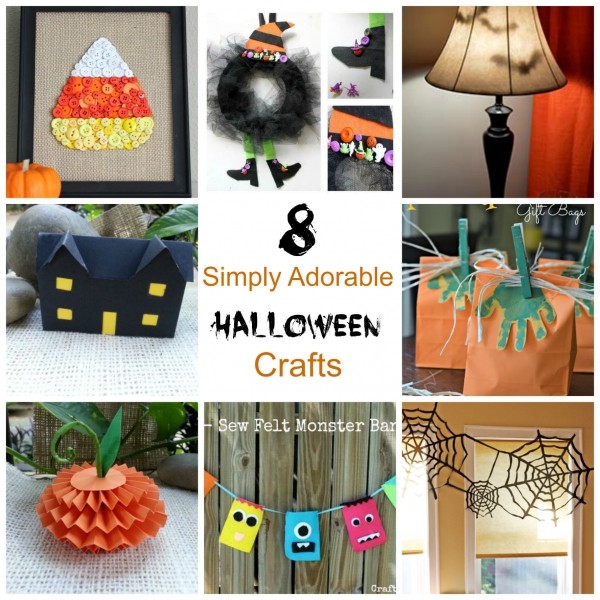
The walls are folded and joined using a side tab before the main roof and two small dormer roofs are glued into place. The completed house can be displayed alone or used as the beginning of a handmade Halloween village
Get more details about this project
What you need
Black cardstock
Yellow cardstock
Miniature house template
Plain printer paper for testing the template, optional
Pencil
Ruler
Scissors
Craft knife
Self-healing cutting mat
Blunt scoring tool or empty ballpoint pen
Craft glue or strong paper glue
Glue applicator or toothpick
Small clips, paper clips, or clothespins, optional
Template – a4-landscape-miniature-haunted-house-template
Instructions
Miniatures have a way of making even the simplest Halloween decoration feel enchanting. This little haunted house does not require complicated modelling supplies or elaborate architectural details—just black cardstock, yellow paper, glue, and a basic house template.
Yellow cardstock placed behind the window and door openings creates the appearance of glowing rooms without requiring lights. The wide black roof and two pointed dormers give the simple rectangular house its haunted character.
Make one house for a small shelf decoration or create several in different sizes for a miniature Halloween village. You can also add fences, paper trees, gravestones, or a painted background after completing the basic house.
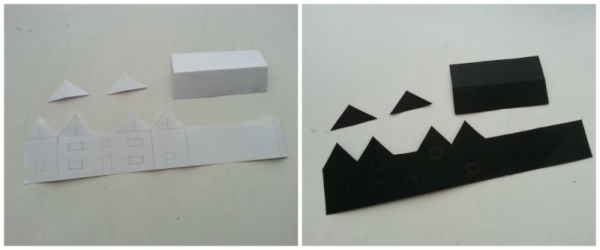
Step-1: You can draw a template of your own or simply collect and print one from the internet. Trace the template on a black cardstock and simply cut the pattern out from the cardstock using a scissor.

Step-2: Cut out the windows and the door using an x-acto knife.
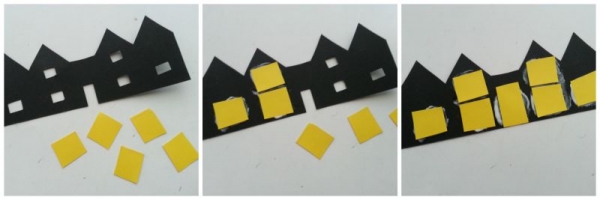
Step-3: Cut out some small square pieces from a yellow cardstock. Glue them on the back side of the pattern and cover all the windows and the door.
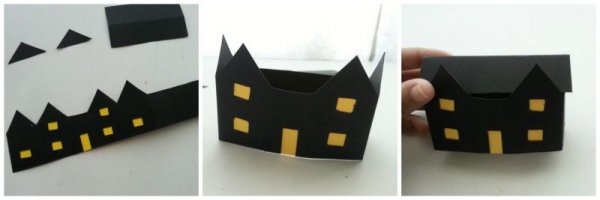
Step-4: All parts are ready now, time to attach them and complete the house! Fold the pattern and join the side by gluing the extra part with the main pattern. Glue the roof neatly.
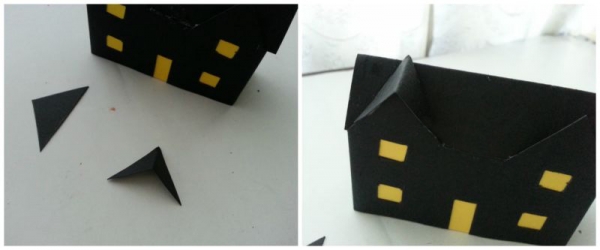
Step-5: Now finally glue the small roofs of the top windows. You may add more details and make a background for the house.



What do you think of this project? Let us know!