
Get more details about this project
What you need
14-inch wire wreath form (mine was from Dollar Tree)
Burlap ribbon (Dollar Tree)
Black and white check ribbon
8 Boxwood picks
Zip ties
Hot Glue Gun
Instructions
A boxwood wreath is one of those classic front-door decorations that never really goes out of style. The fresh green look works beautifully with farmhouse, rustic and traditional decor, and because it isn’t tied to one particular holiday, you can leave it hanging for much of the year. This DIY boxwood door wreath is especially appealing because it gives you that full, expensive-looking finish using inexpensive craft-store supplies.
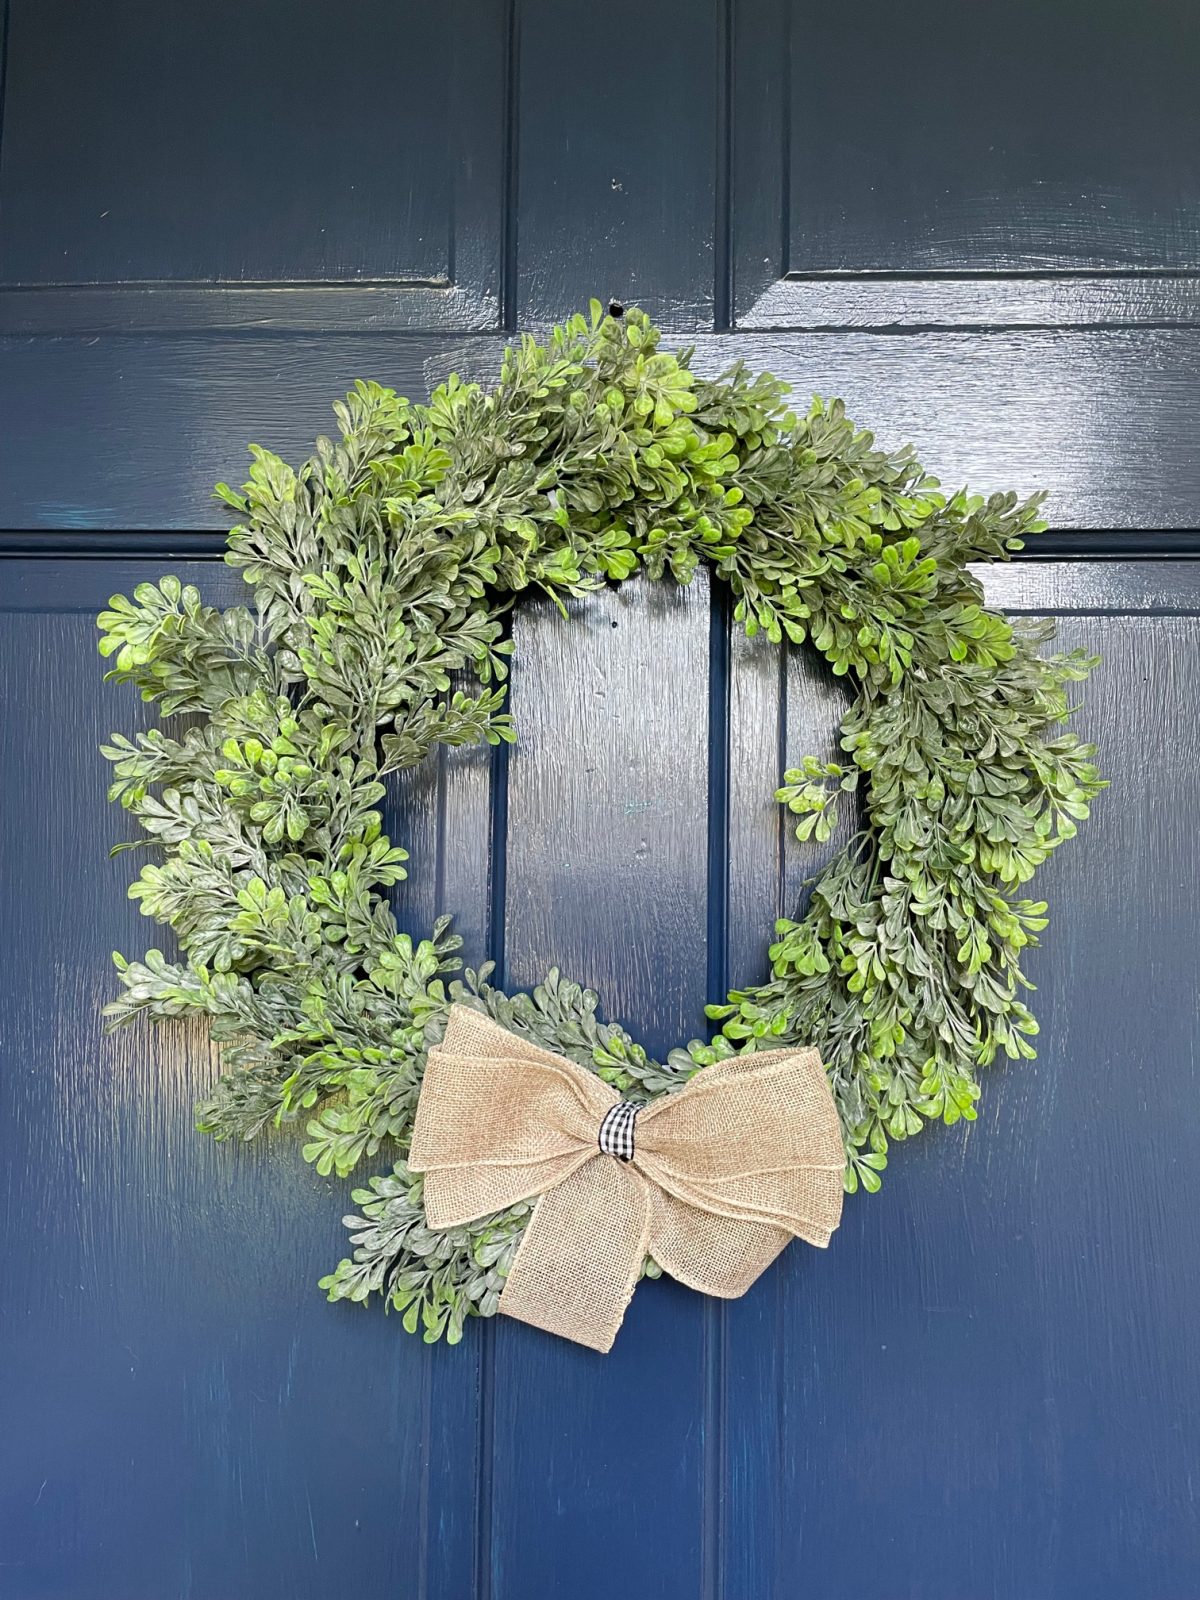
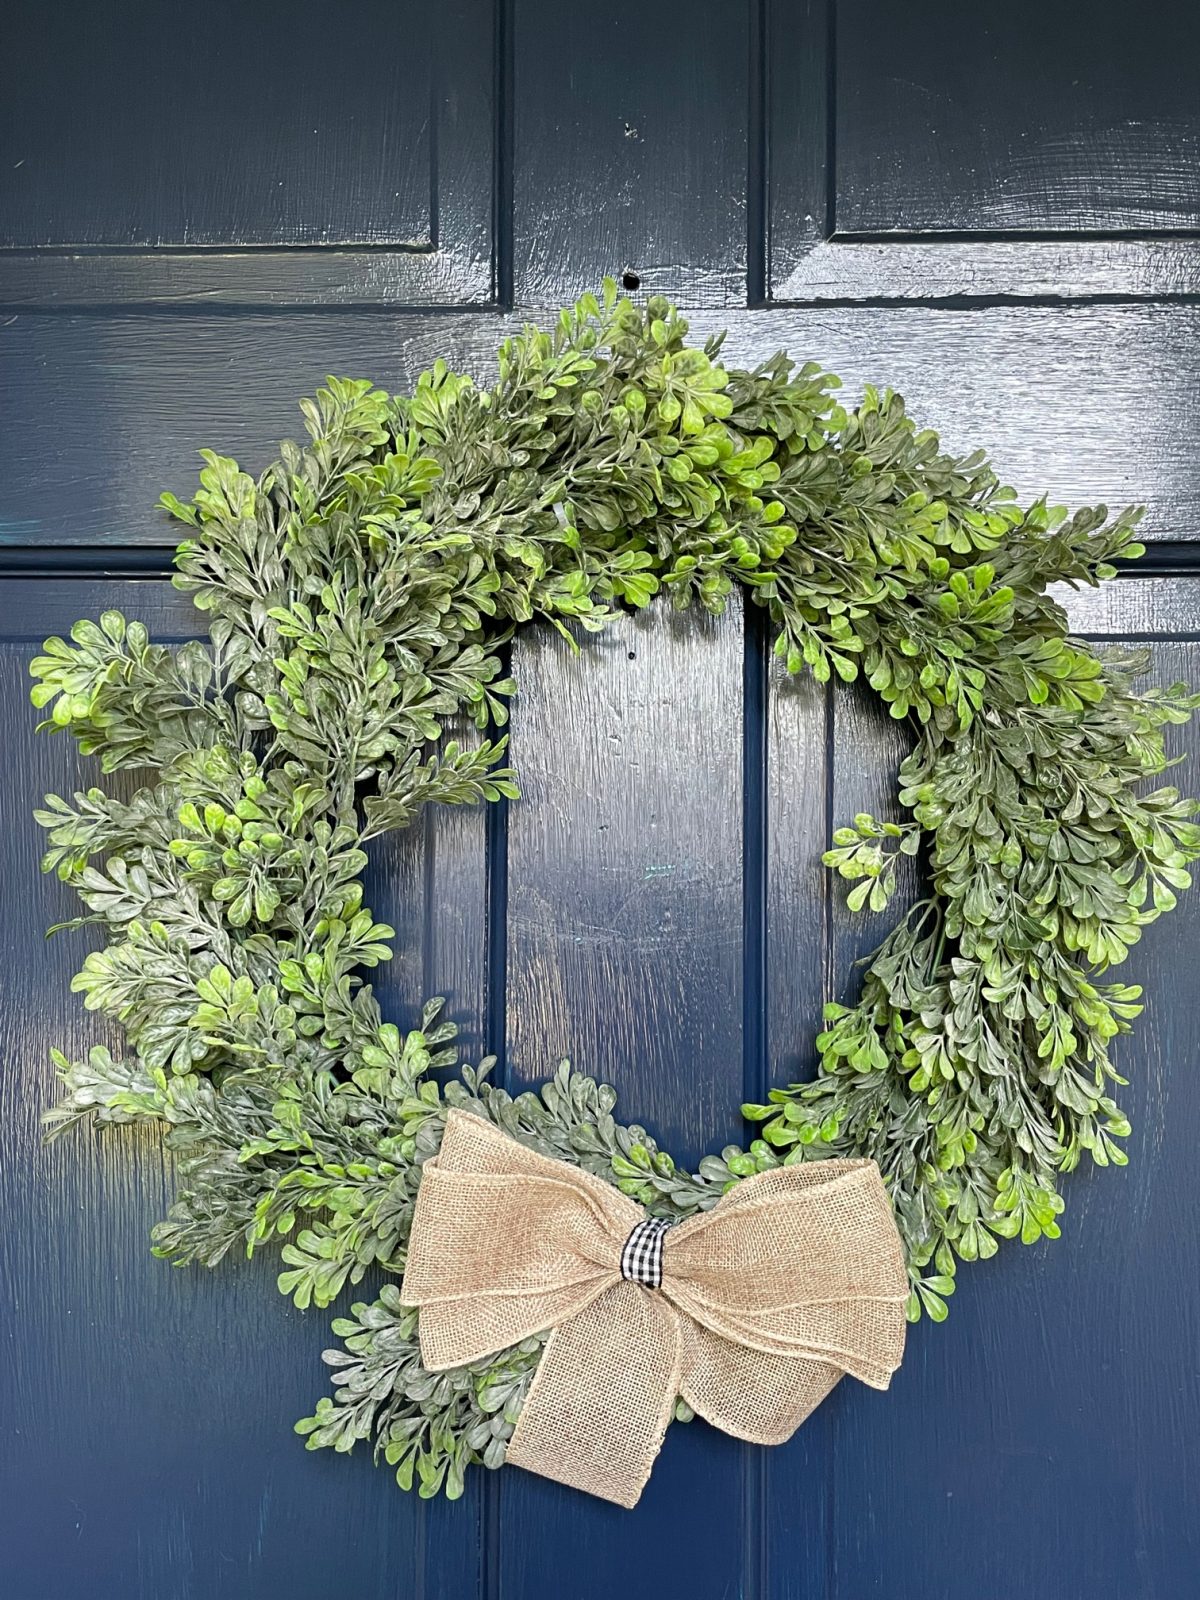
For this project, boxwood stems are attached to a simple wire wreath form and layered until the wreath looks lush and full. A burlap bow adds just enough rustic texture without taking attention away from the greenery. The original tutorial was created as a budget-friendly project using Dollar Tree and other inexpensive supplies, making it a great option if you want a beautiful farmhouse front door wreath without paying boutique prices.
I love how adaptable this wreath is, too. Keep it simple for everyday decorating, add a checked ribbon for farmhouse style, tuck in berries for Christmas, or swap the bow for something softer in spring. Once you know the basic technique, it is an easy wreath design to customize again and again.
If you have never made a greenery wreath before, this is a very approachable place to start. The boxwood picks are simply trimmed, secured around the wreath form and fanned out to disguise the wire underneath. Once everything is filled in, the bow finishes it off and gives you a polished wreath that looks much more complicated than it actually is.
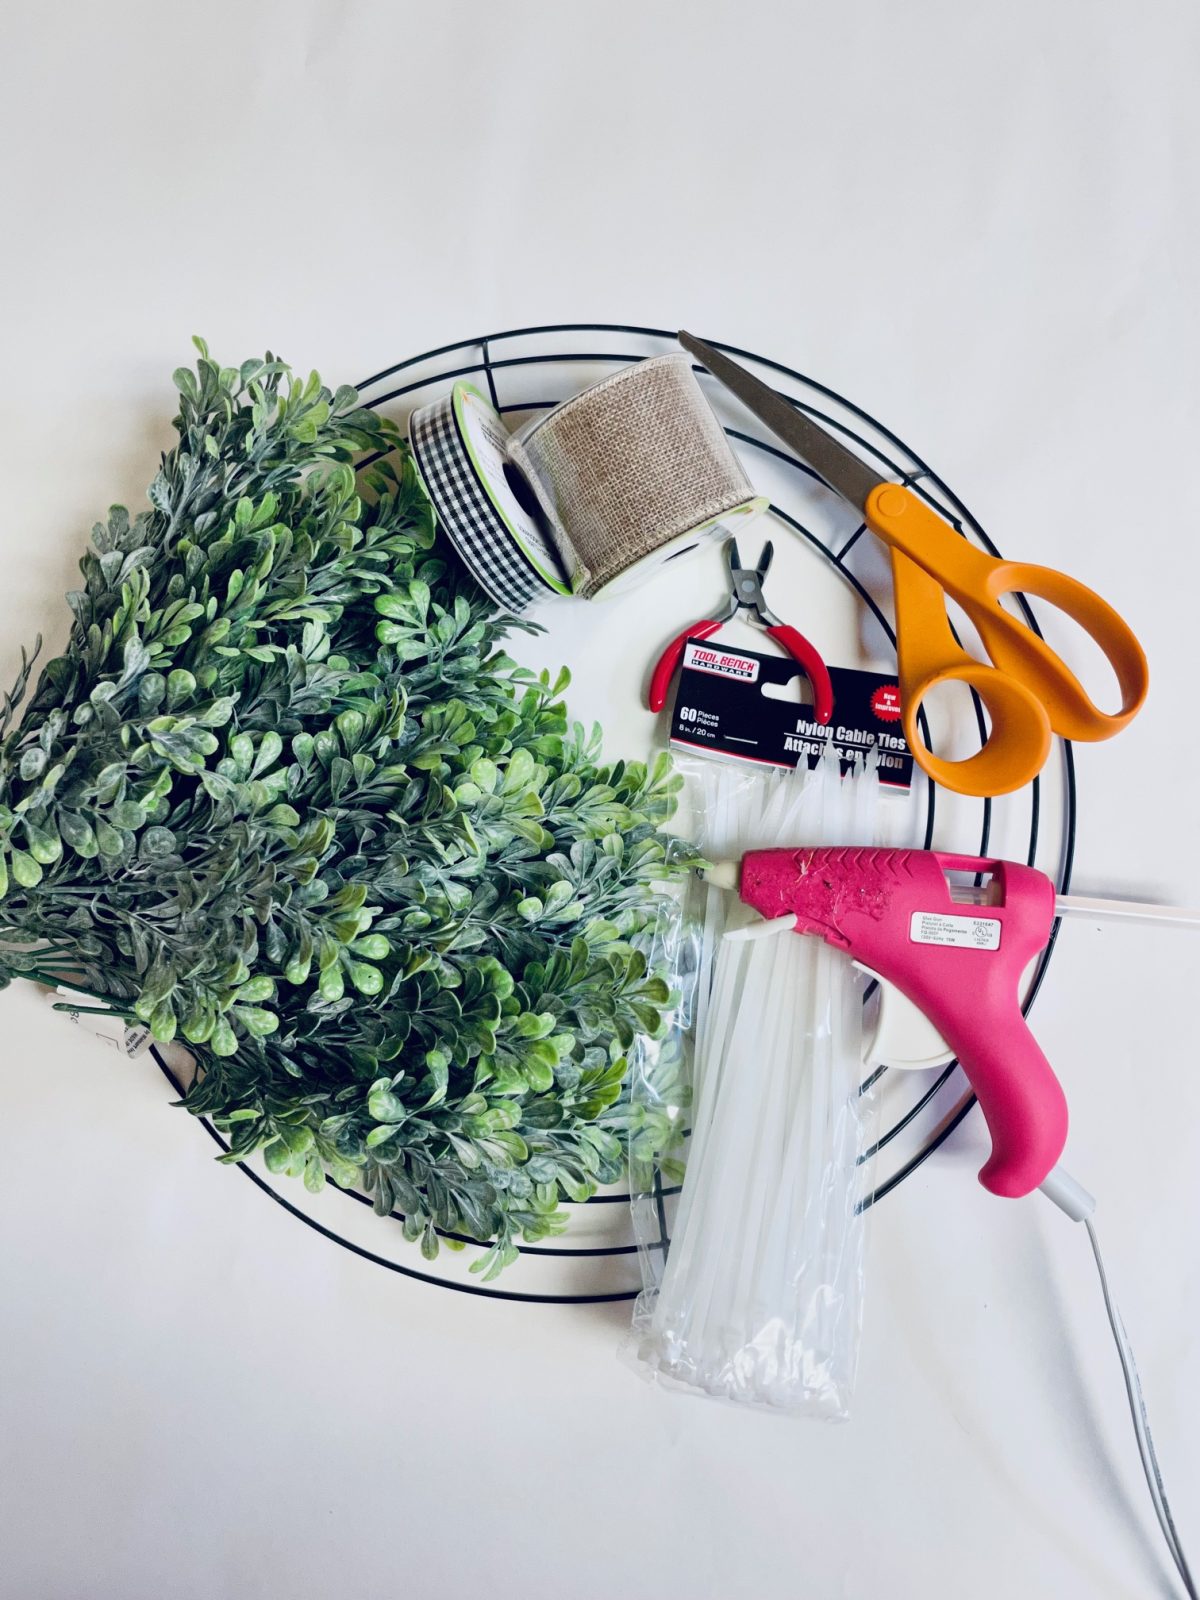 Using the wire cutters, start by cutting the stems of the boxwood. You want to leave a few inches of the stem so you have enough to be secured by the zipties

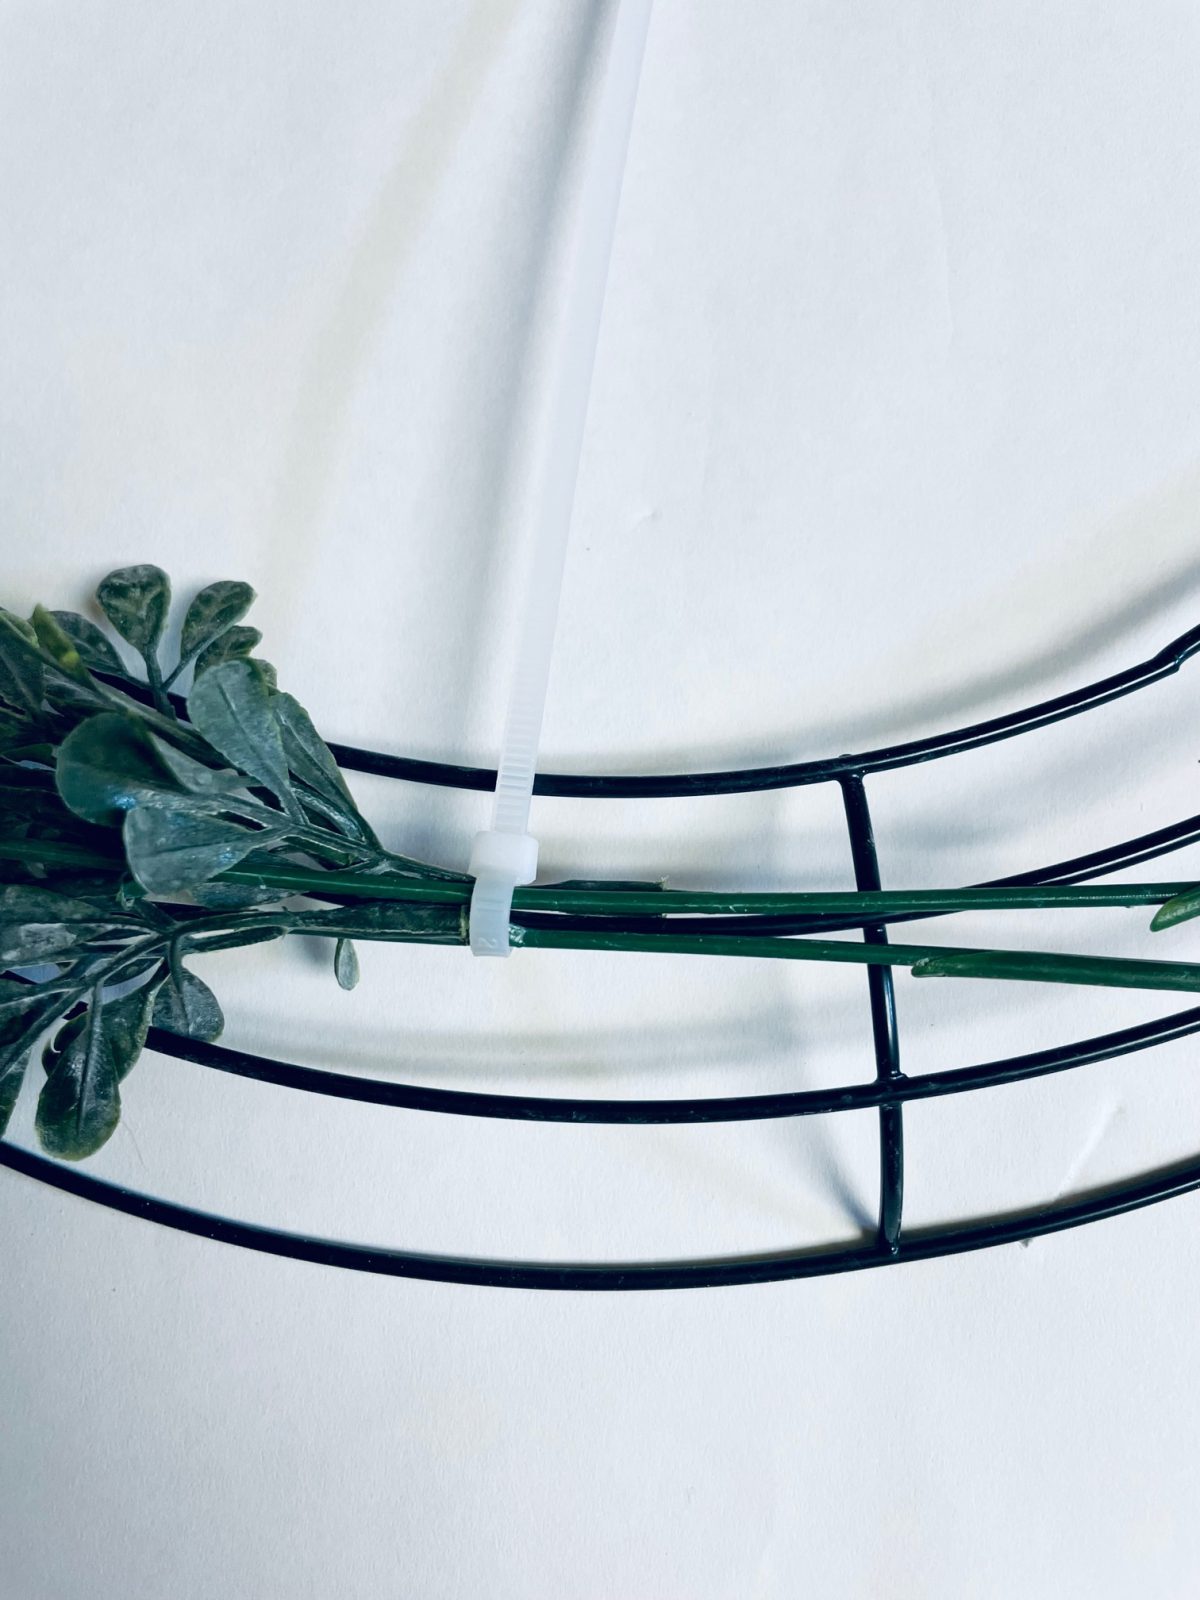

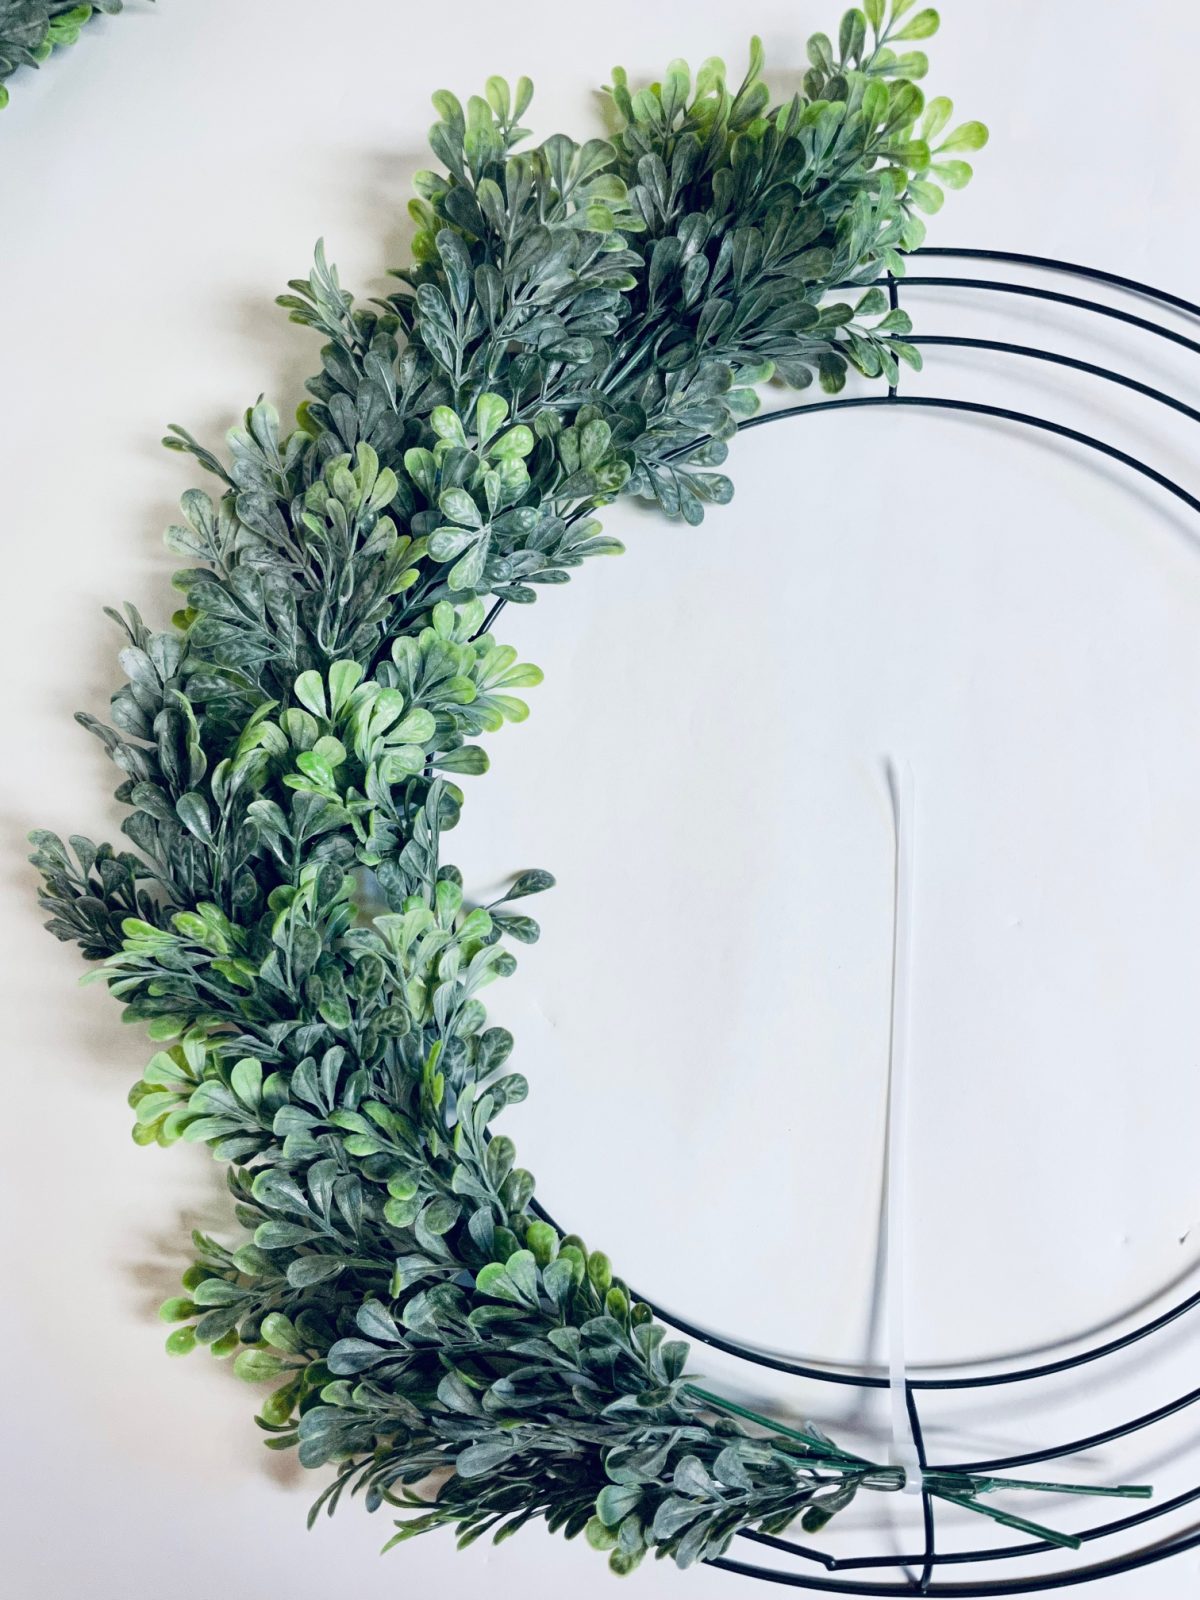
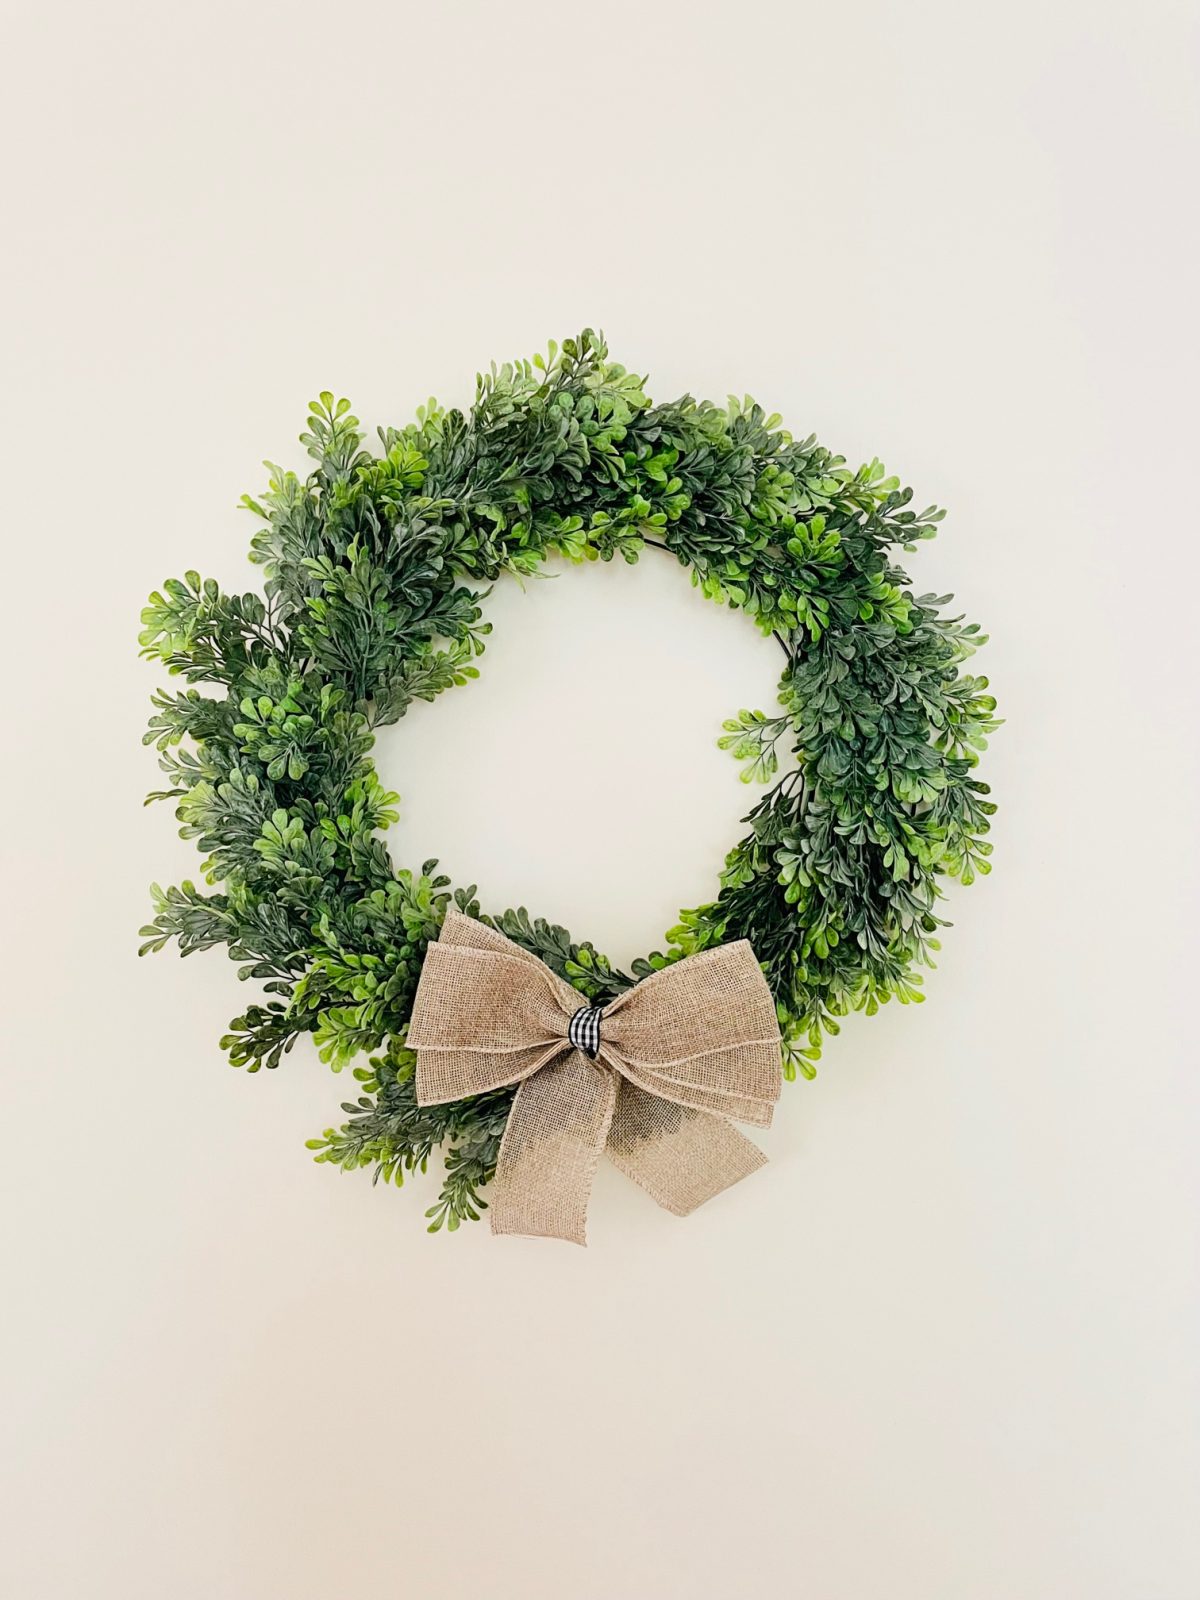 Take 2 of the stem pieces of zip tie them to the center of the wreath form. Fan the stems out a bit so that the boxwood covers the other wreath rings. Repeat this process around the entire wreath. Add pieces to fill in if you feel like there are open spaces. In a few spaces I zip tied the stems to the inner or outer ring of the wreath form.
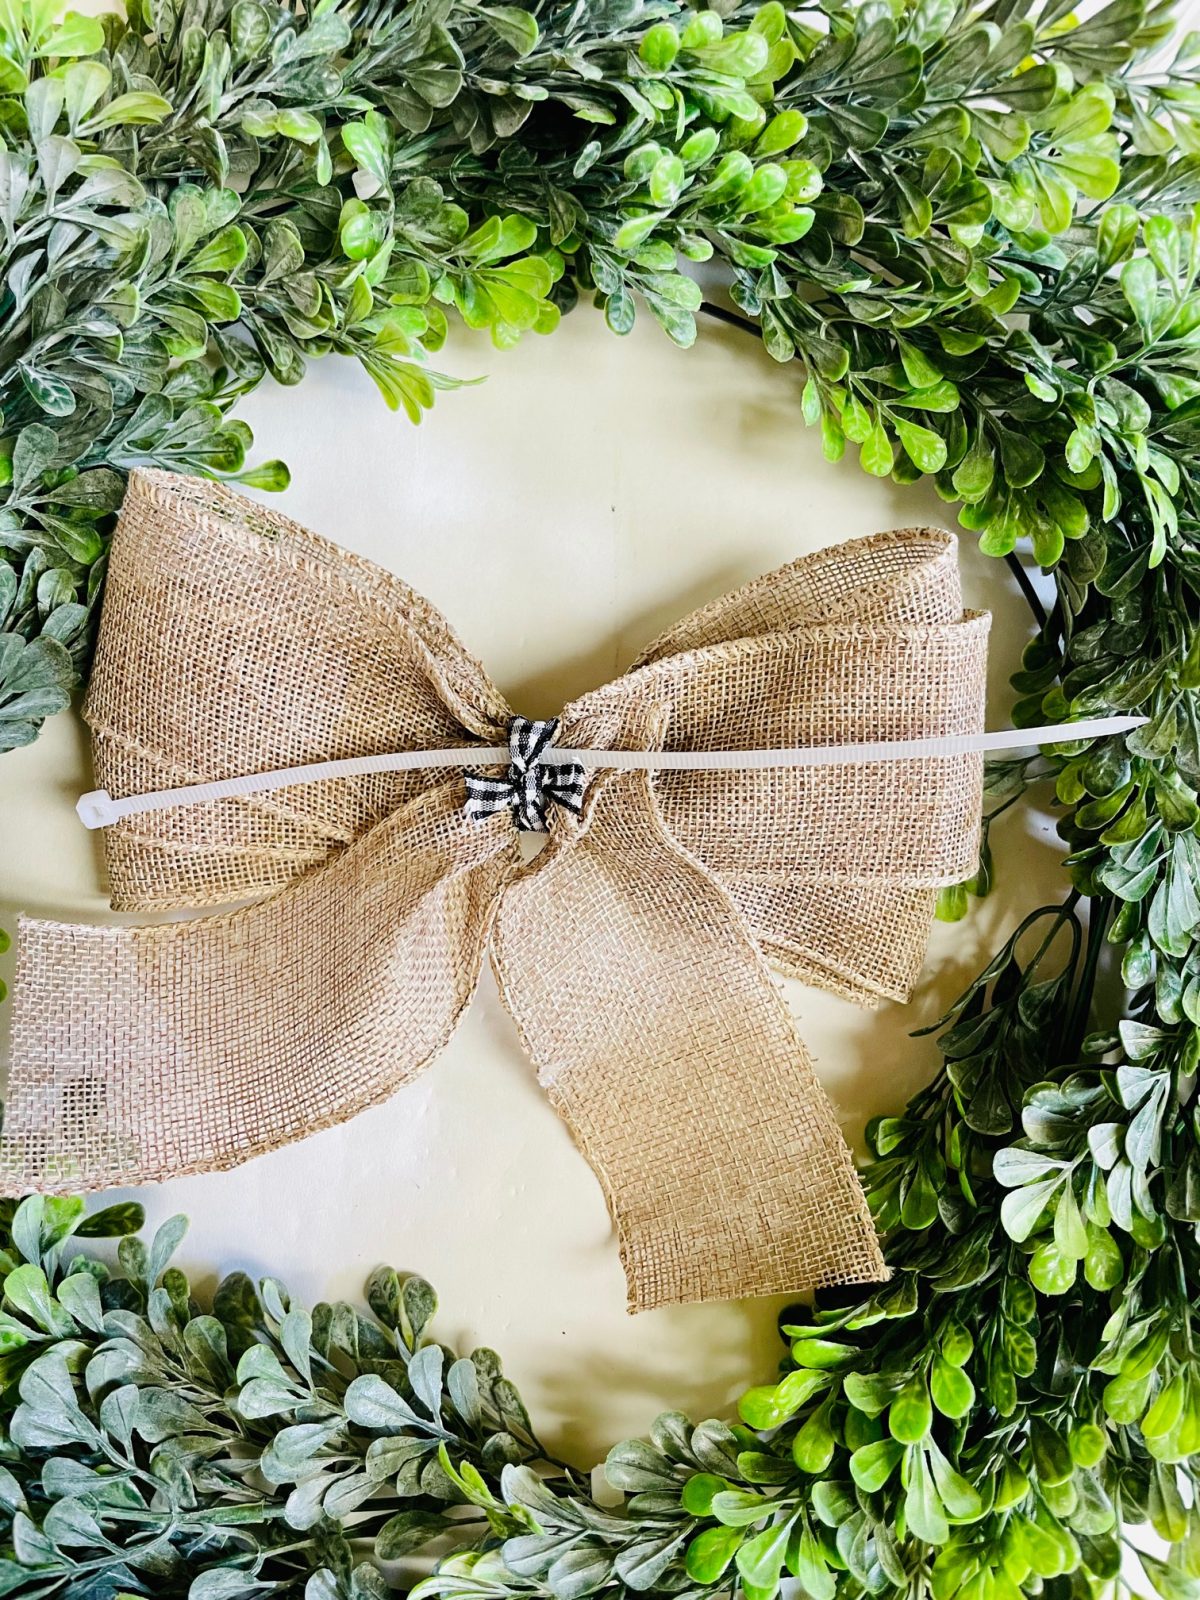
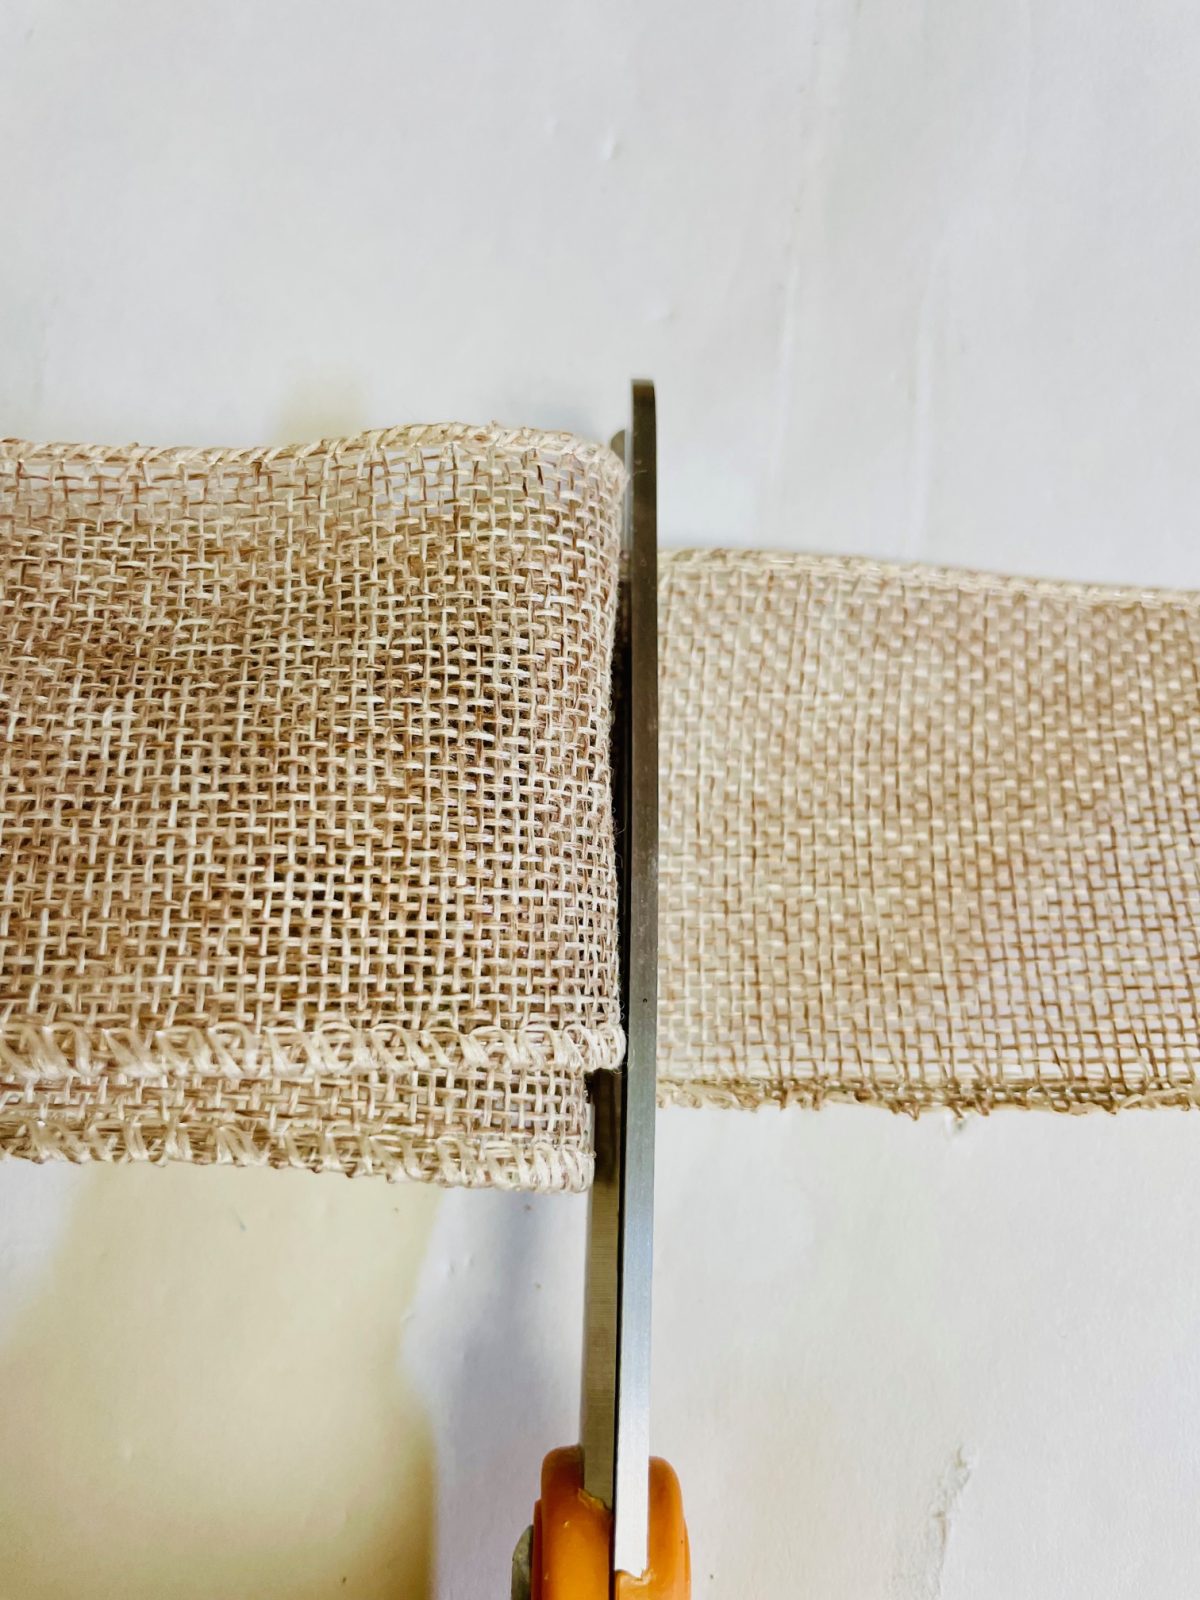
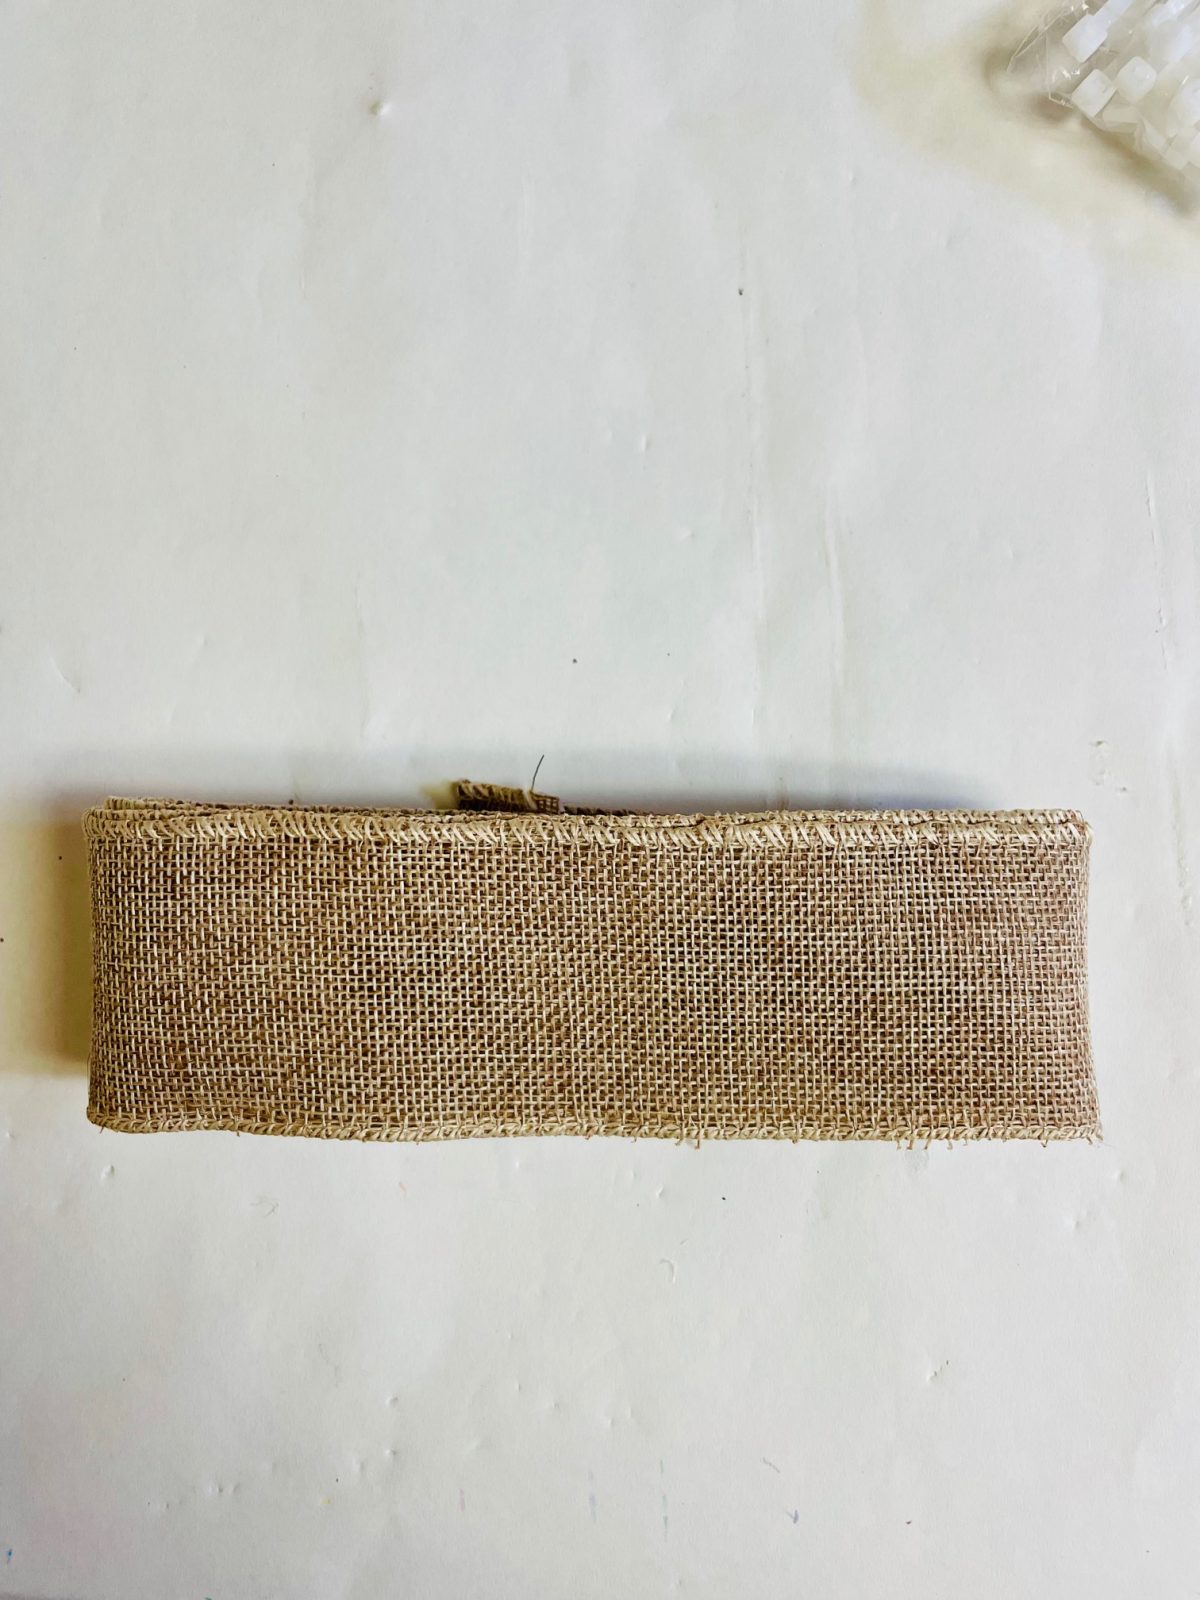
With the burlap ribbon. Take a 6 inch pieces and wrap it around itself 3 full times. Next cut a piece that is 10 inches long. Fold that pieces in the middle and place it on the backside of the folded burlap ribbon piece. (The backside would be the side with the ending piece you cut). Secure all of this with a zip tie in the center.
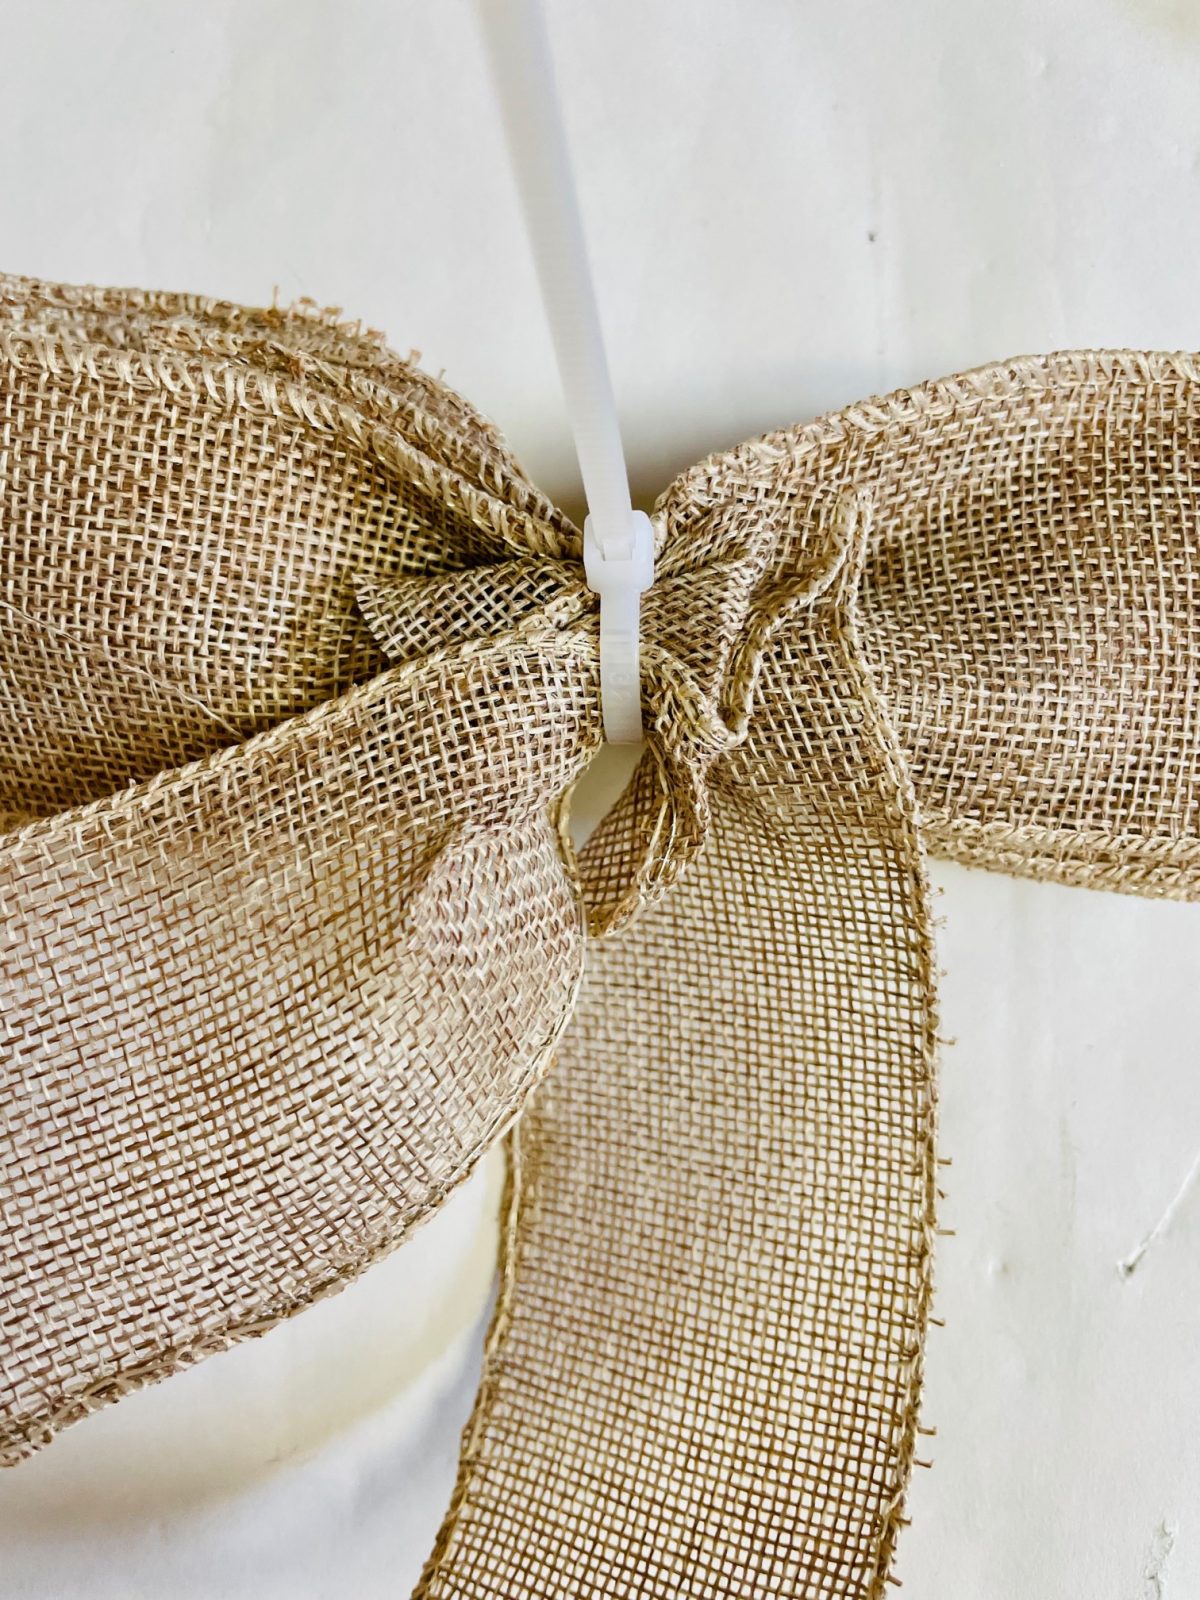
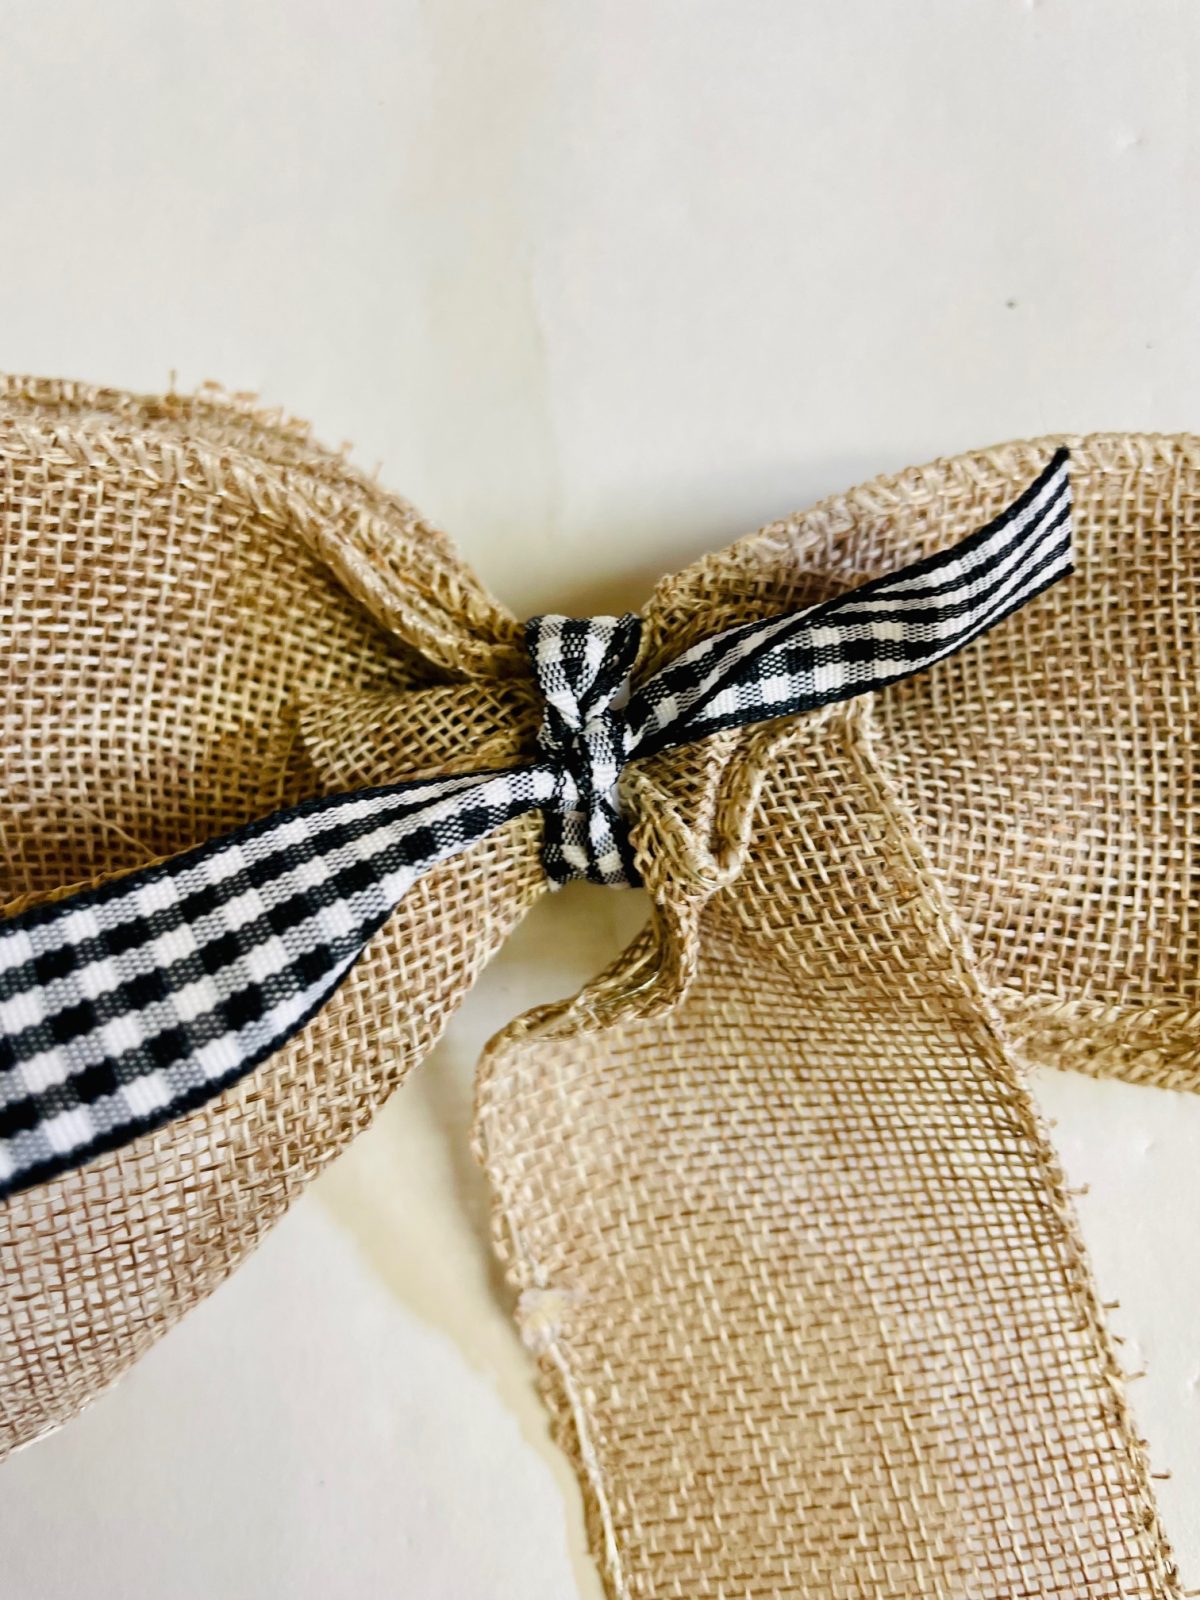
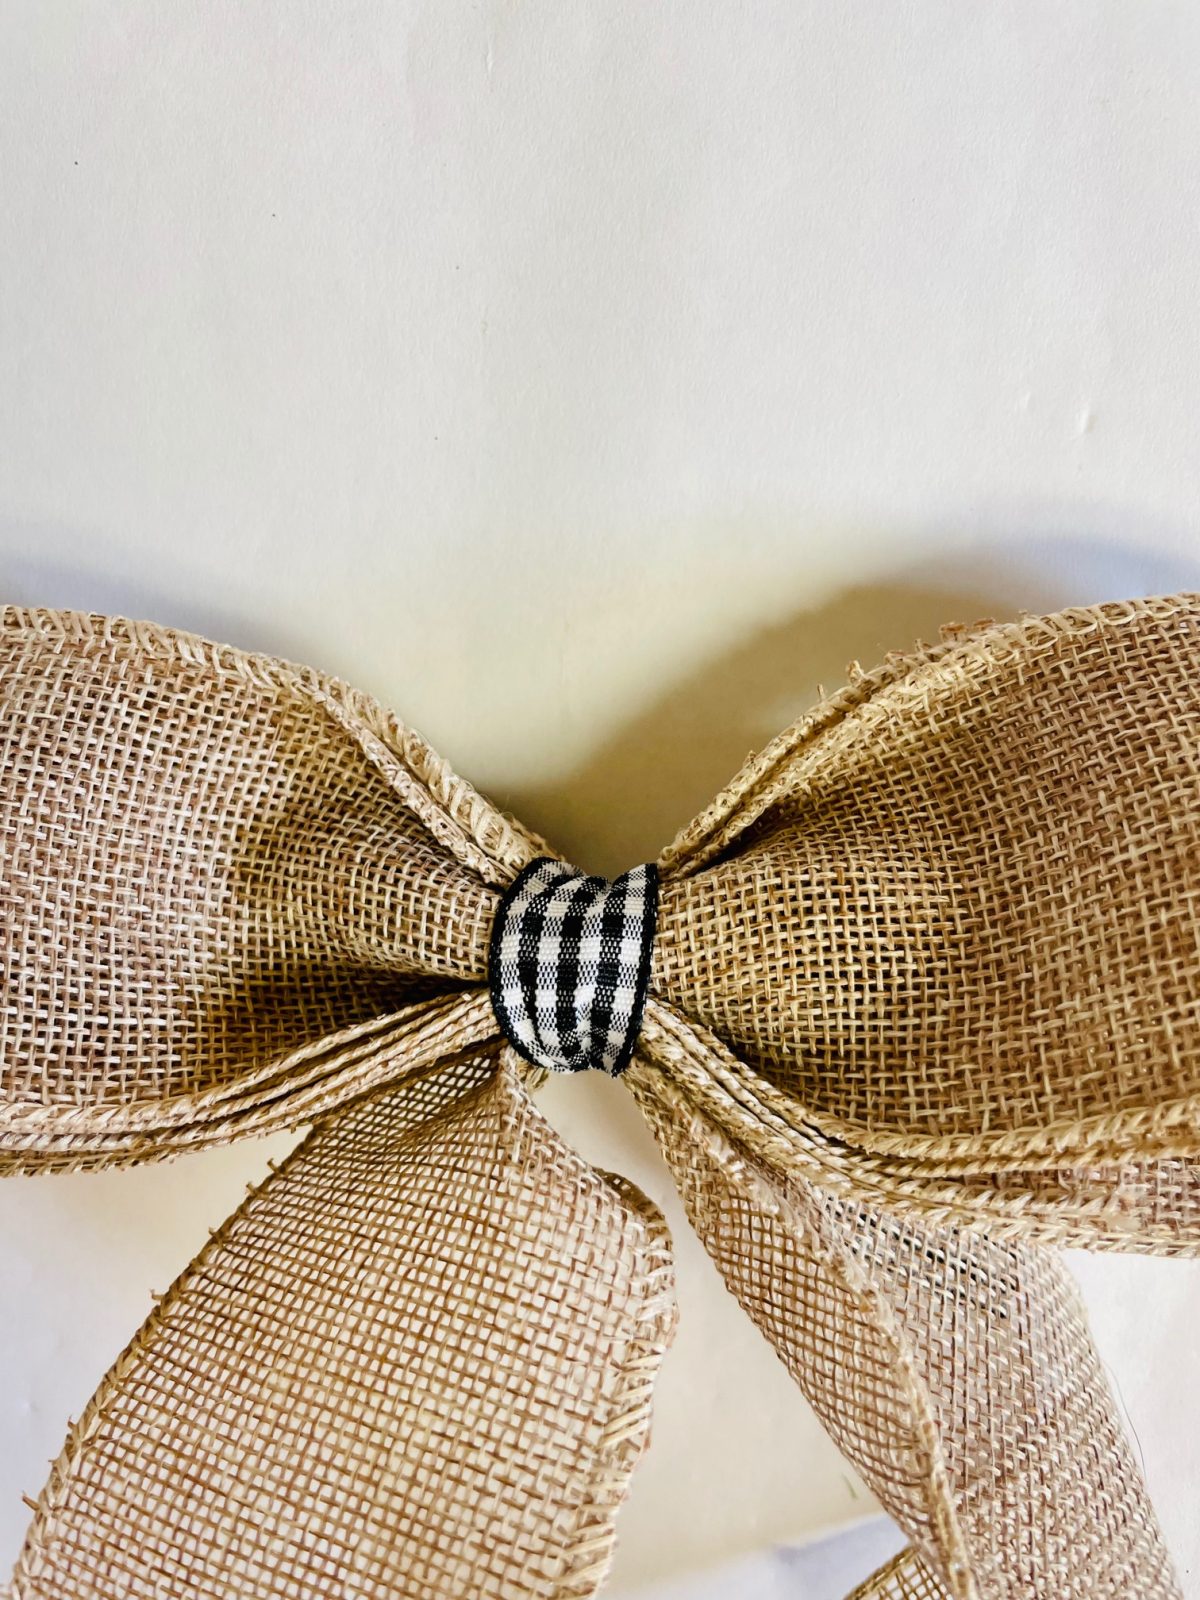
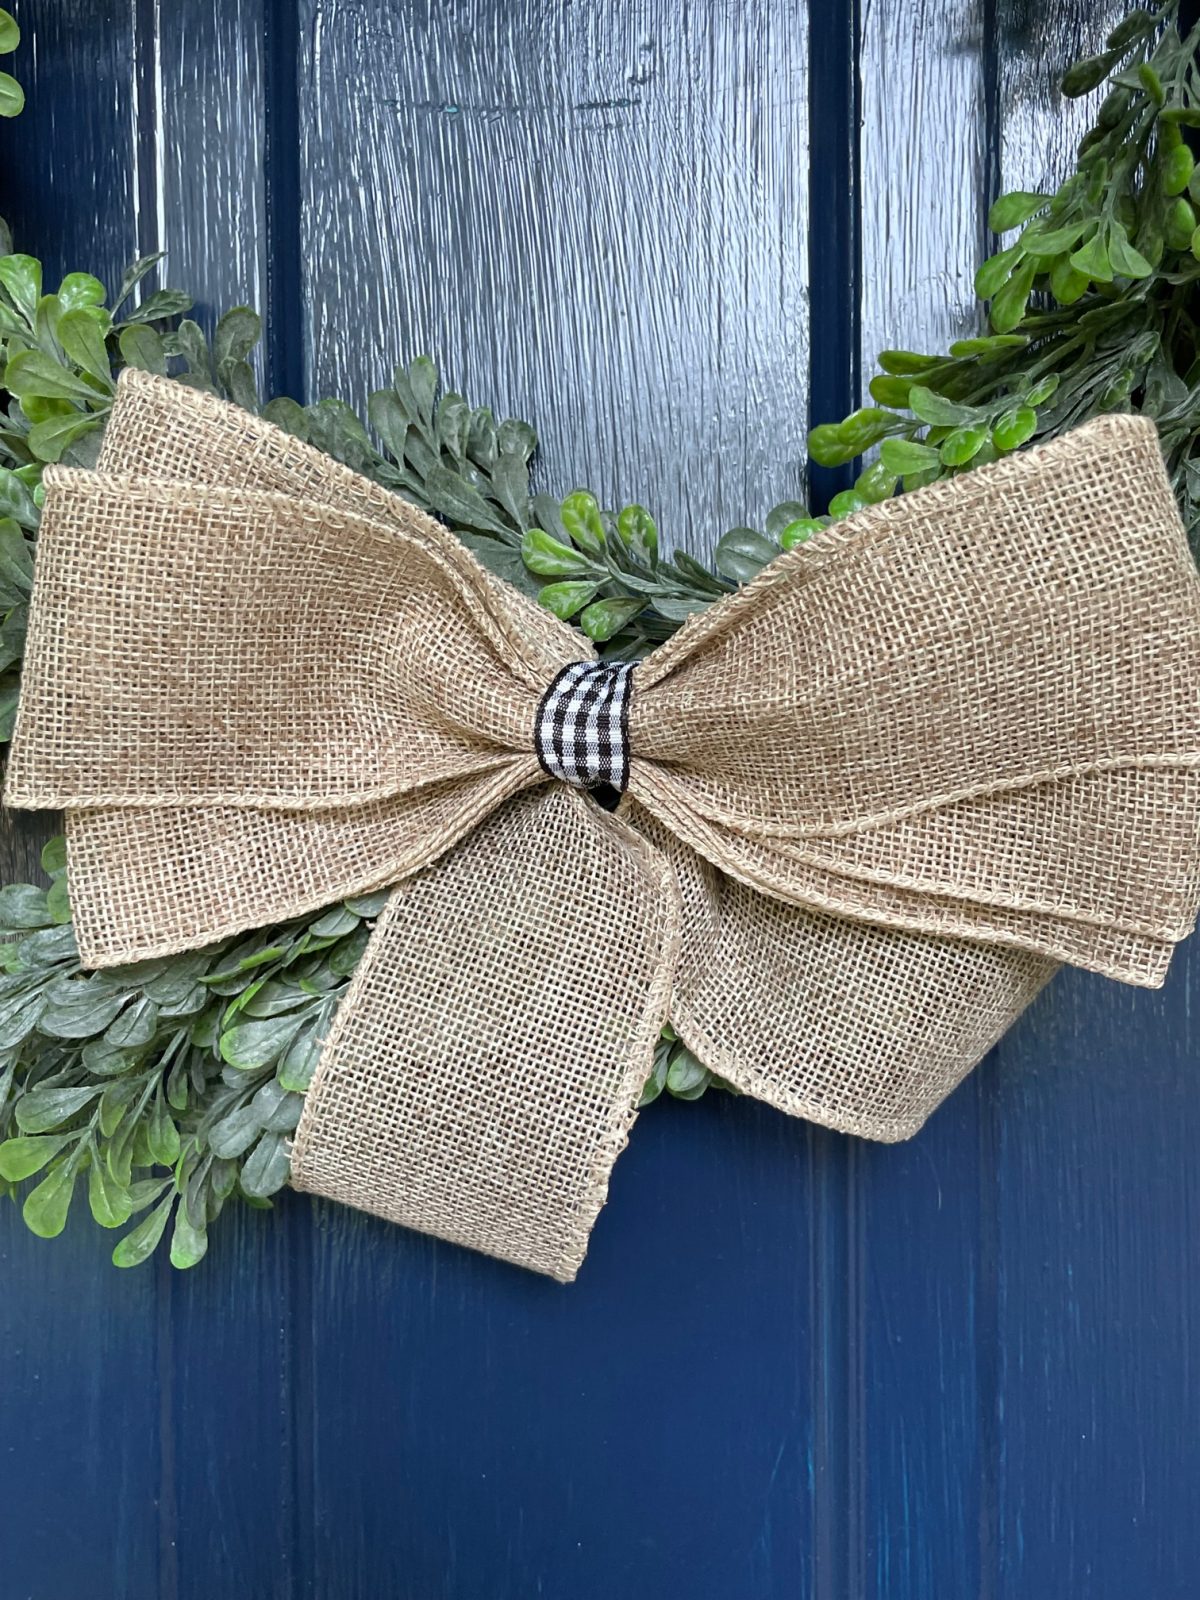
Cut a piece of the black and white checkered ribbon about 5 inches long and use it to cover the zip tie in the middle of the bow and tie it in the back. Slide a zip tie through the black and white ribbon in the back and use that to secure it to the wreath form.





What do you think of this project? Let us know!