
What you need
Supplies:
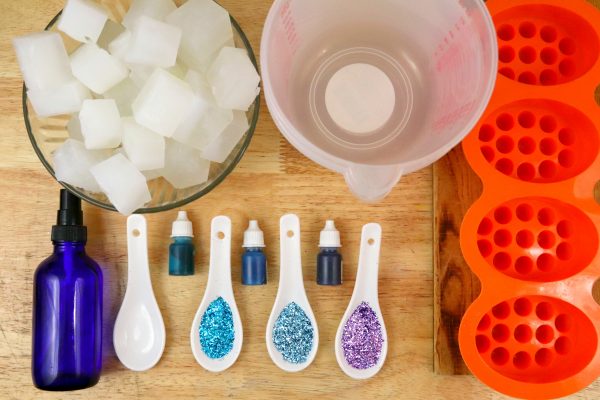
1-pound suspension soap base
1-2 teaspoons Pina colada scented oil
1-3 drops of teal, light blue and purple soap colorant
1-2 teaspoons of teal, light blue and purple chunky cosmetic glitter
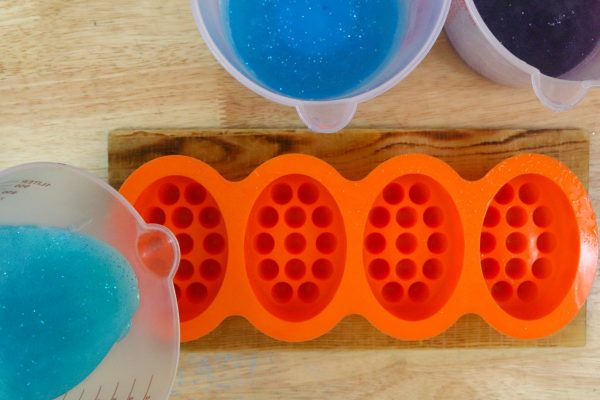
1 large microwave safe bowl or measuring cup
3 smaller measuring cups to separate for coloring
Massage soap mold (I got mine on Amazon)
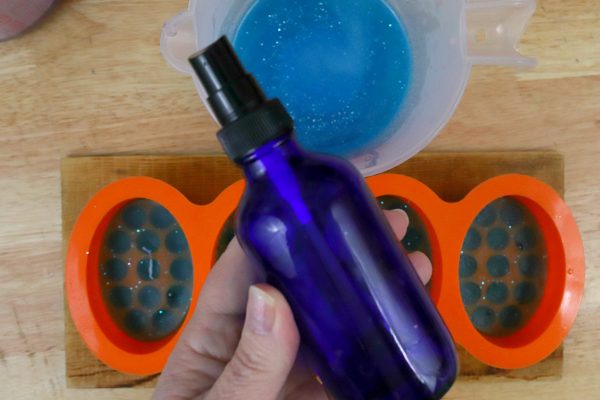
Spray bottle of rubbing alcohol
Instructions
Supplies:
1-pound suspension soap base
1-2 teaspoons Pina colada scented oil
1-3 drops of teal, light blue and purple soap colorant
1-2 teaspoons of teal, light blue and purple chunky cosmetic glitter
1 large microwave safe bowl or measuring cup
3 smaller measuring cups to separate for coloring
Massage soap mold (I got mine on Amazon)
Spray bottle of rubbing alcohol
Yields 4 soaps
Instructions:
Step 1: Cut the soap base into squares and place into a microwave safe bowl or measuring cup. Heat for 30 seconds.
Repeat, stirring after each, until melted. Add scented oil to the bowl/measuring cup. Separate mixture evenly into the 3
smaller measuring cups. Mine came out to be about 30 ounces once melted, so there was 10 ounces in each measuring
cup.
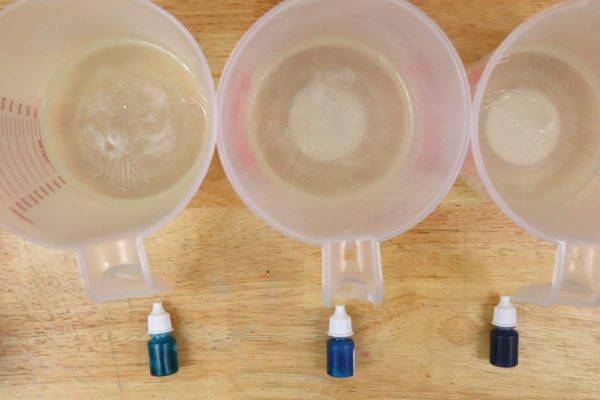
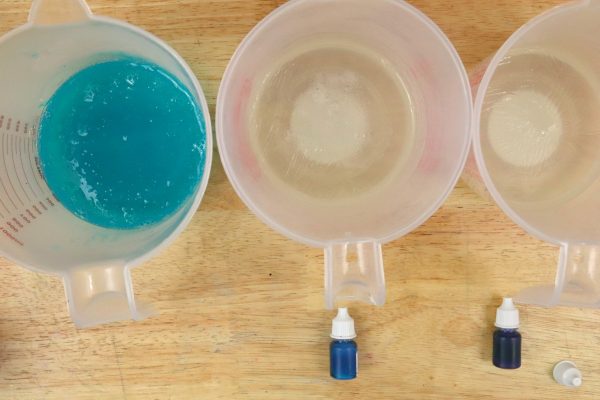
Step 2: Put 1-2 drops of color, one in each of the three measuring cups. Because I did an ombre, I used more color in the
purple than the other two. [In retrospect, I would have made either the teal or light blue a bit darker to show more
difference in the two layers.]
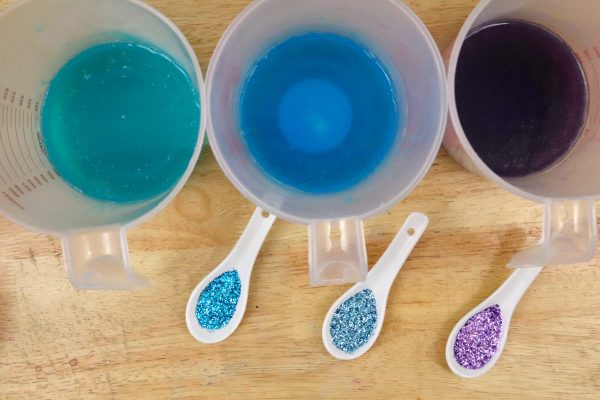
Step 3: Mix in the coordinating colors of glitter to each of the measuring cups.
Step 4: Spray the mold with the rubbing alcohol and pour the teal soap into each mold. I poured mine so it just covered
the openings in the cavities of the mold. Spray the top with the rubbing alcohol. This prevents bubbles from forming.
Allow to harden at least one hour. To test if the soap is ready for the next pout, blow on it. If you see ripples, it is not
ready.
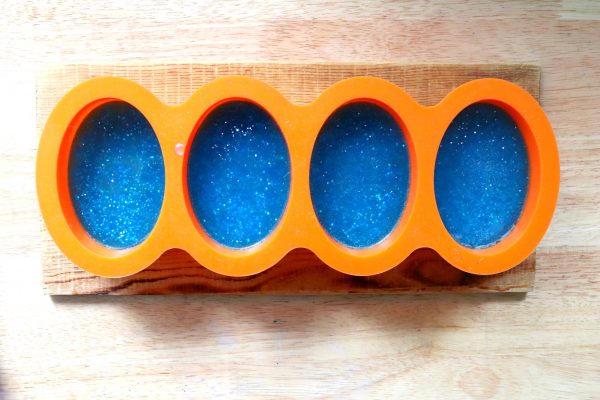
Step 5: Spray the teal layer of soap with the rubbing alcohol. This helps the layers adhere to one another. Pour the light
blue, stopping at the halfway point from the top of the first layer and the top of the mold. Spray the light blue layer with
the rubbing alcohol. Allow at least 2 hours for this layer to harden. If you pour the last layer too soon, it will bleed into
the second layer.
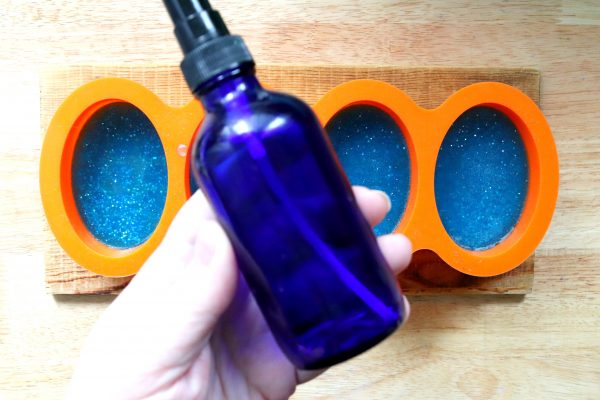
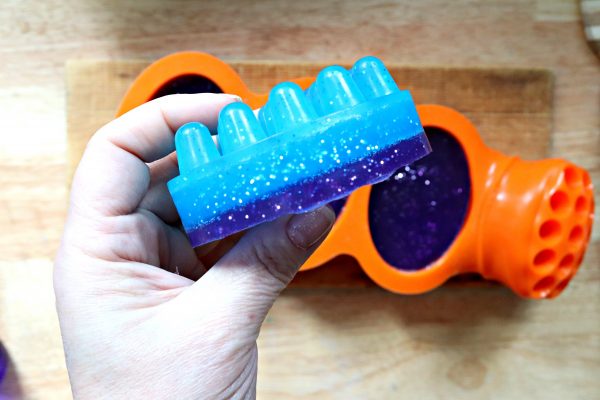
Step 6: Spray the light blue layer of soap with the rubbing alcohol. Pour the purple soap, stopping just shy from the top
of the mold. Spray the purple layer with the rubbing alcohol. Allow at least 24 hours before you remove the soaps from
the mold.
Step 7: To remove, gently pop the soaps out and store in an airtight container or Ziploc bag until ready to use


What do you think of this project? Let us know!