
Get more details about this project
What you need
Supplies:
1. White string
2. Wooden board or foam board
3. Black acrylic paint and brush
4. Nails and hammer
5. Skull template
6. Scissors


Instructions

Step-1: Select a template. If you’re a beginner it’s better to select a simple pattern. You can simply do a free hand drawing of a skull, not adding too much details, only the eye holes, nose hole and mouth. Once you’re drawing the skull use a pen trace the points for nails along the skull pattern.
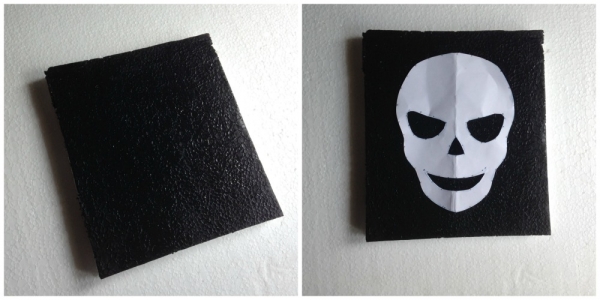
Step-2: You can either use a wooden board or a foam board as you wish. I used a foam board. The board should be square. Paint any one side of the board with black acrylic paint. Allow the paint to dry. Cut out the skull pattern and also cut out the eye holes, nose hole and mouth from it.

Step-3: Simply hammer the nails on their position as marked along the skull template. Once you’re done hammering the nails carefully remove the template from the board.
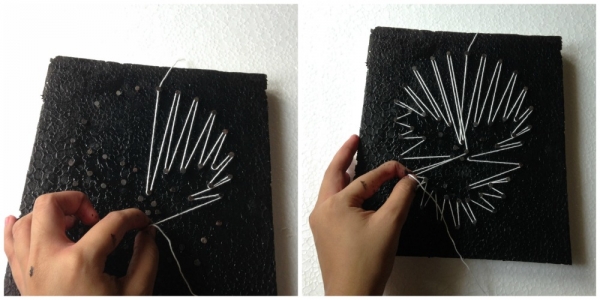
Step-4: Use white string for the string art. Start from the top of the skull, or from any point you feel comfortable to start from. You can create a random pattern or a geometric pattern, I went for a geometric pattern at first and did a random pattern later.
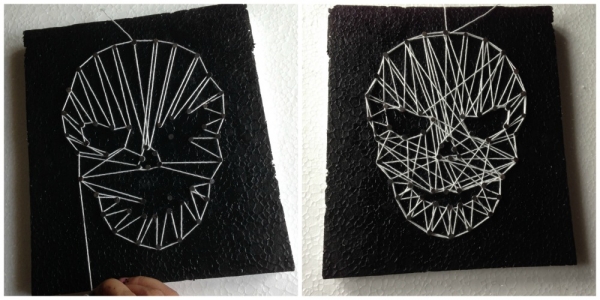
Step-5: After filling the skull with geometric pattern I traced the sides of the skull and the eye holes, nose hole and mouth. Then I did a random pattern to fill the large gaps.
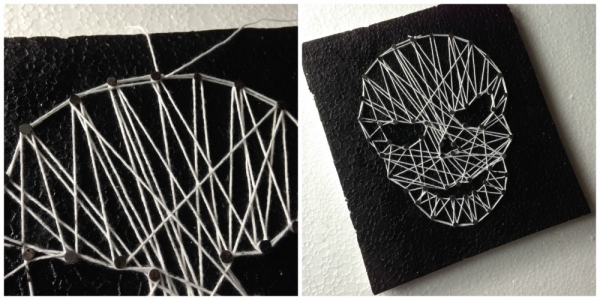
Step-6: Once you’re satisfied with the string art go through nails and bring you string to the starting nail. Tie a knot and cut off extra thread.
Attach a hanging mechanism or a stand at the back side of the board.
Enjoy!


What do you think of this project? Let us know!