
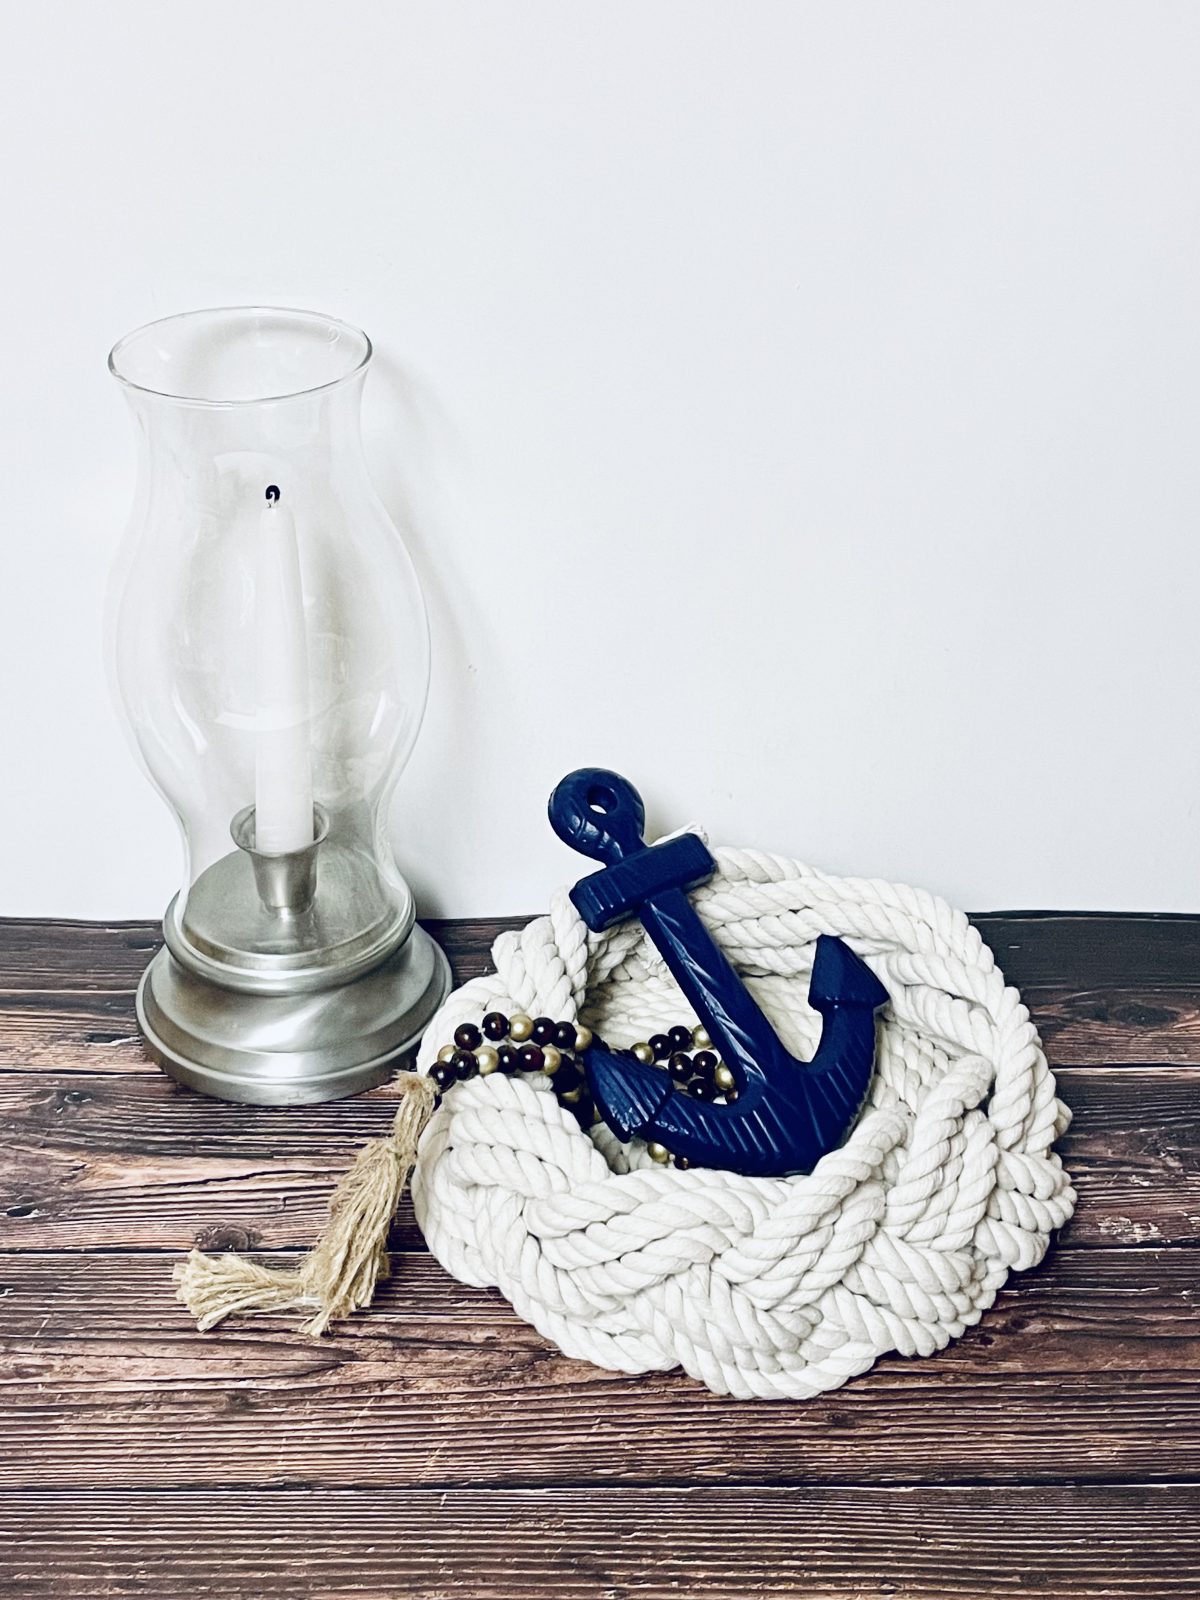
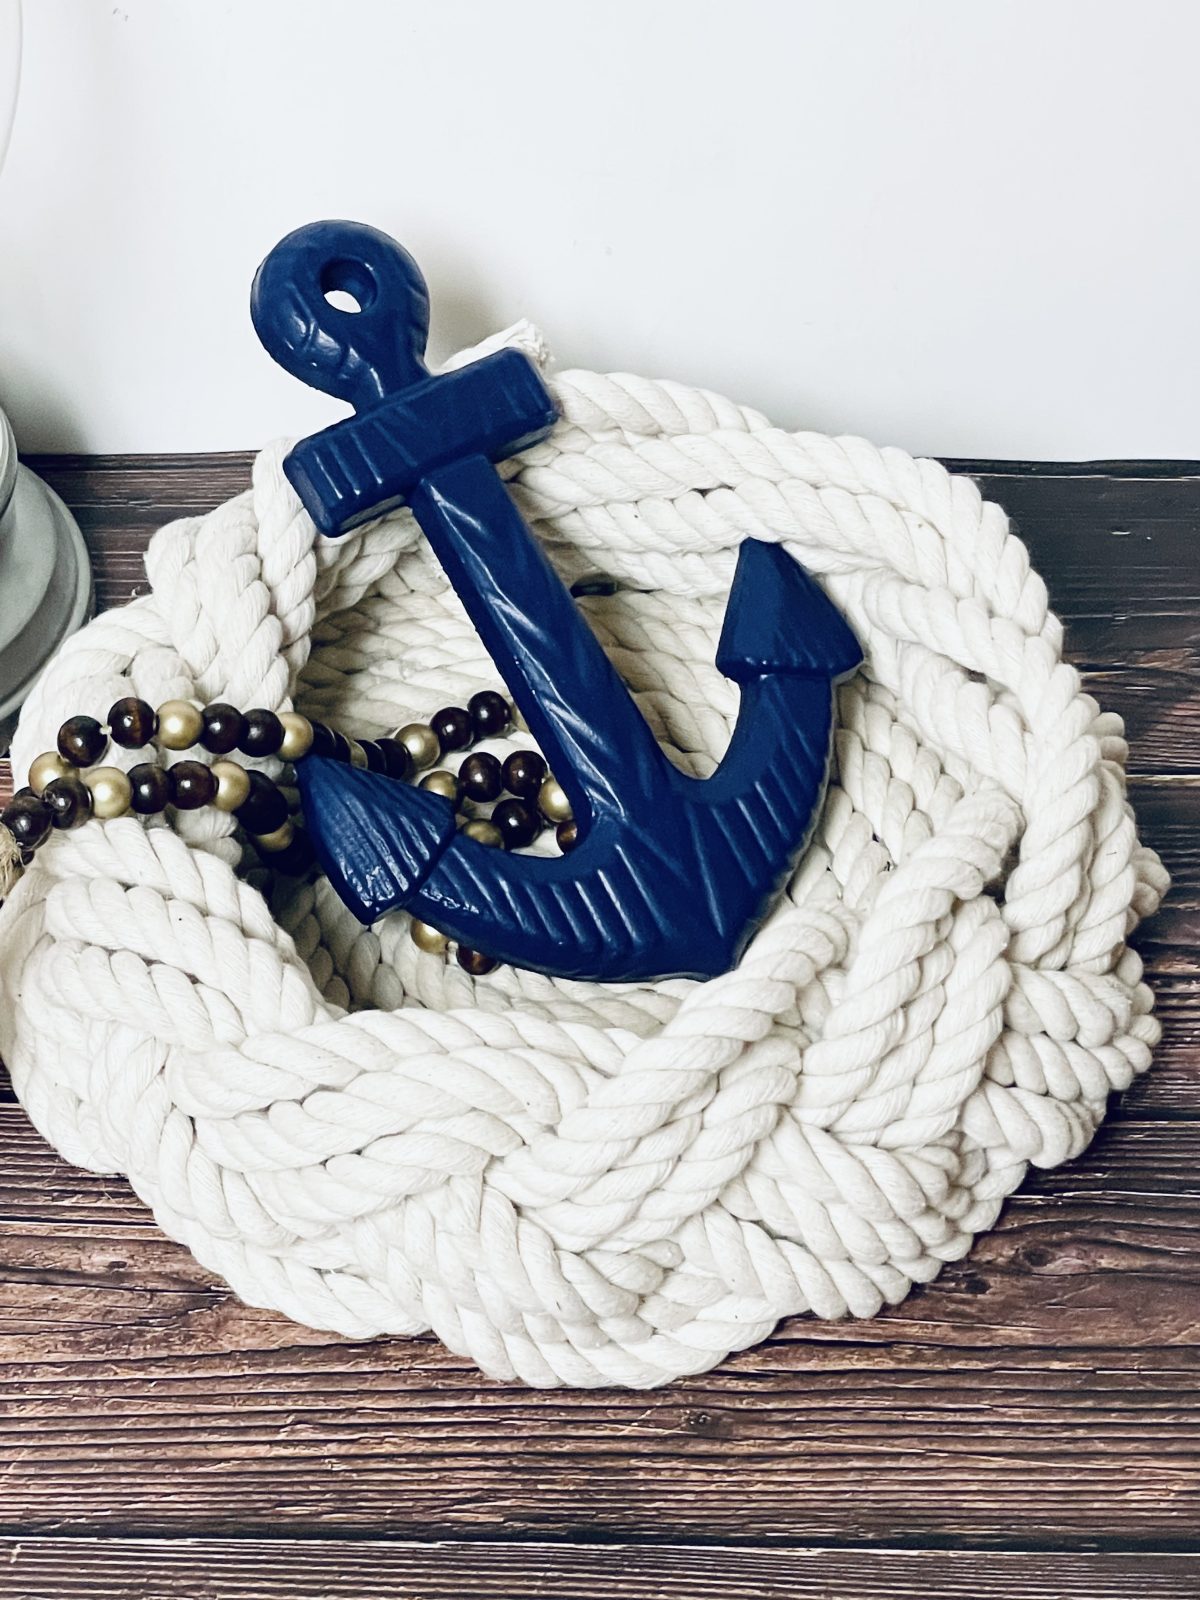
Using sturdy nautical ropes and a few simple crafting techniques, you'll create a stunning basket that is both stylish and practical. The combination of braided and coiled textures gives this basket its unique character, making it a standout piece for any room in your home. So gather your crafting supplies and prepare to set sail on this nautical adventure. Let's dive in and weave together this beautiful and versatile nautical rope basket!
Get more details about this project
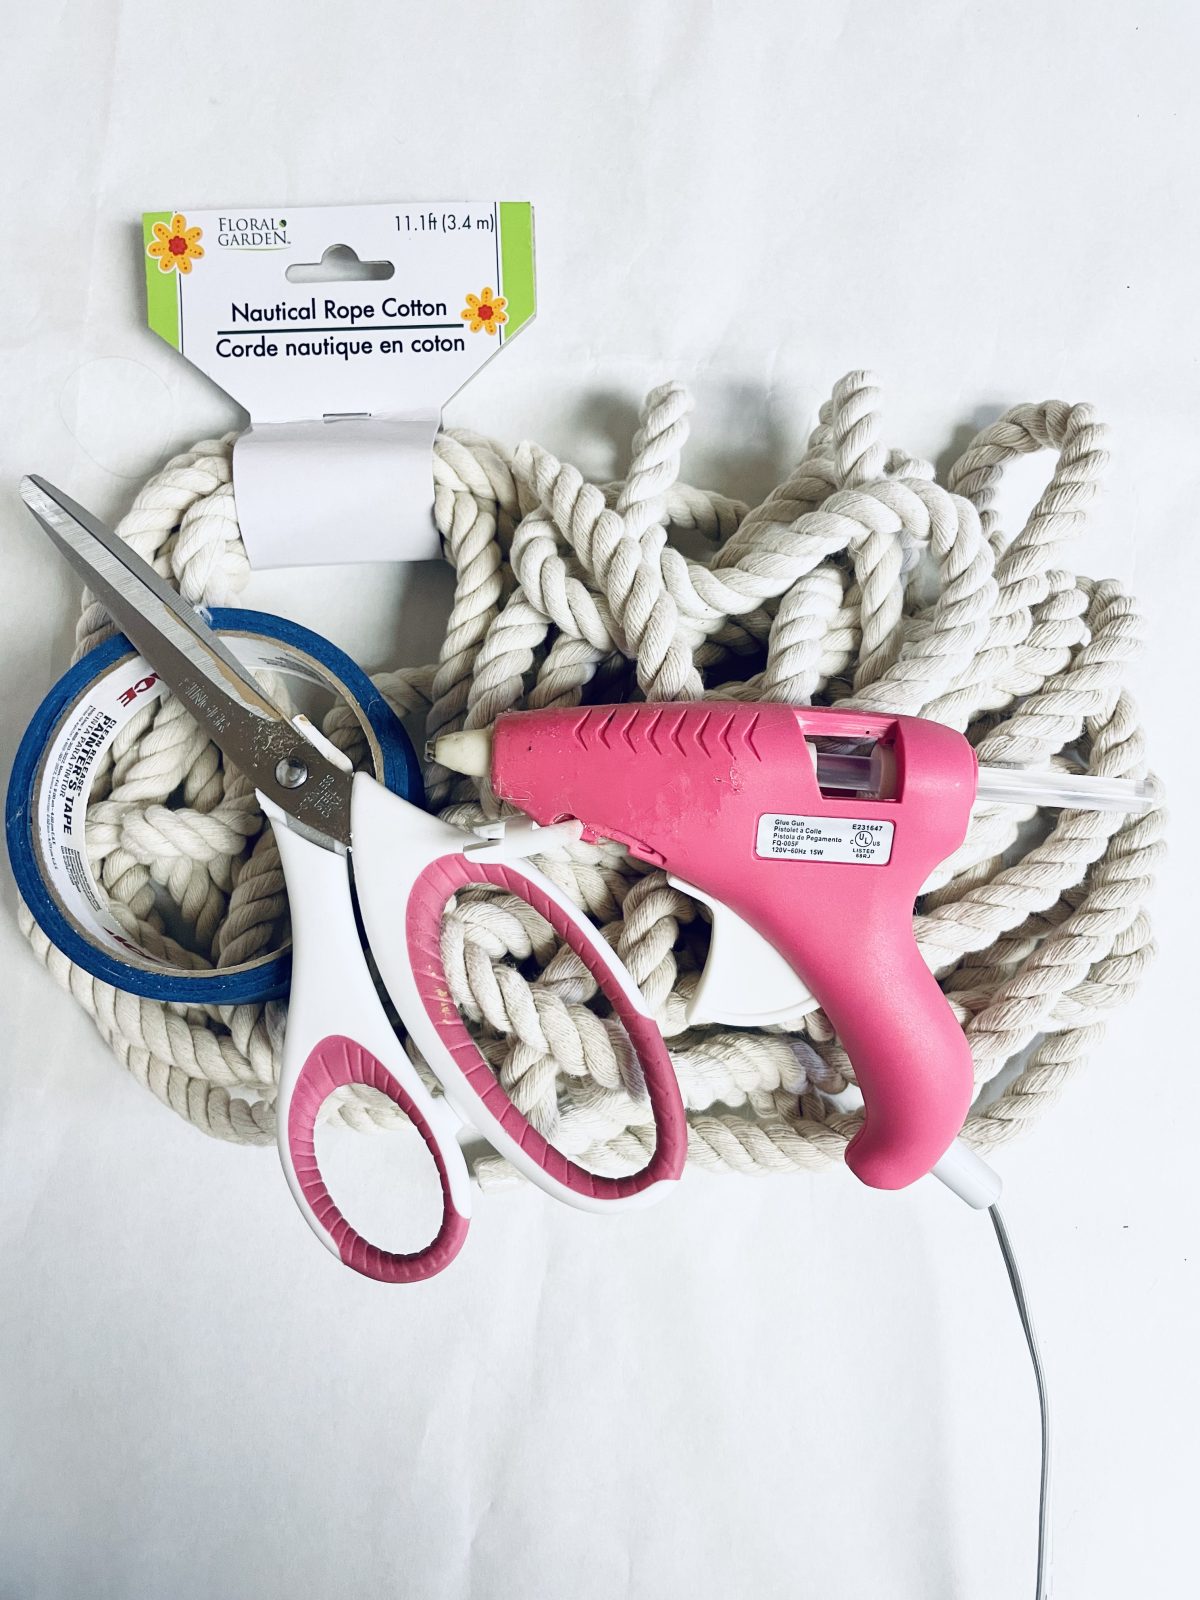
What you need
4 x 11.4 ft nautical ropes from the dollar tree
Scissors
Hot glue gun/ glue sticks
Masking tape
Instructions
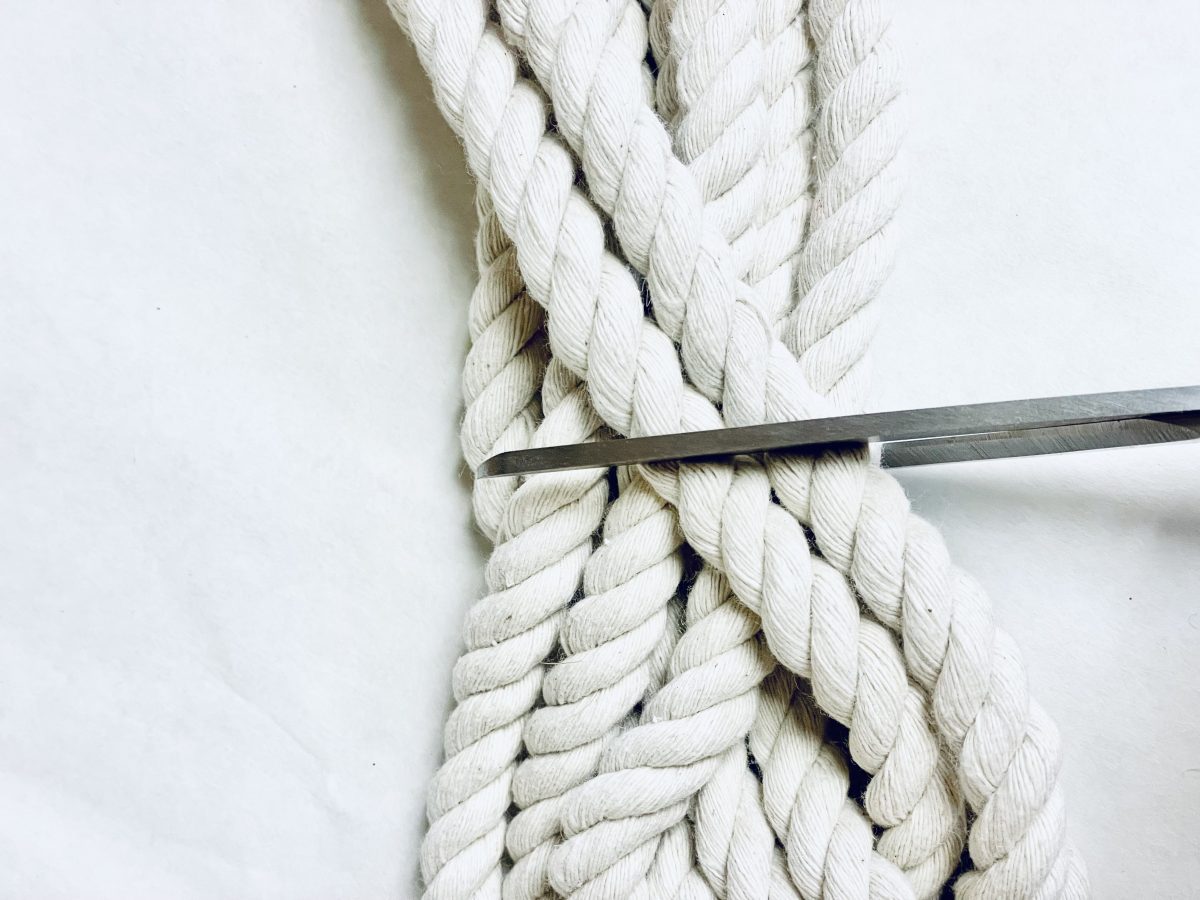
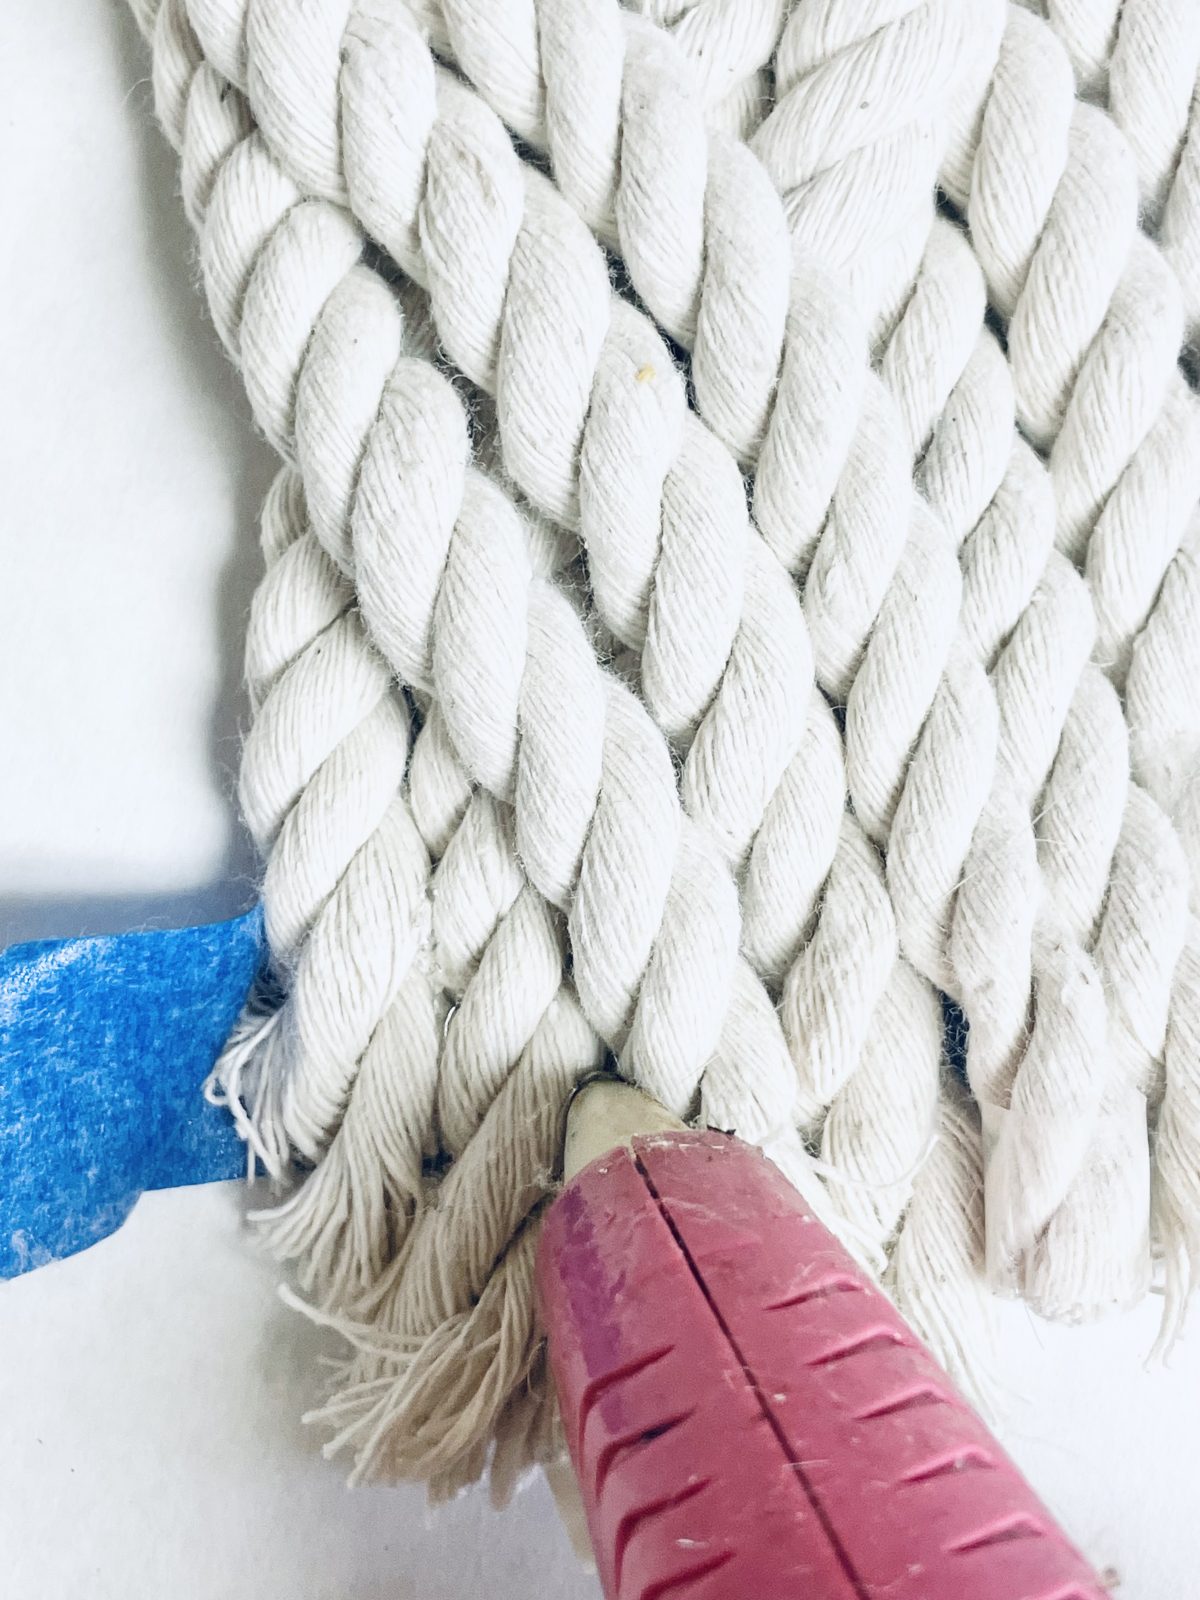
To begin, gather three nautical ropes and align their ends together. Using a cutting tool, carefully cut the ropes in the middle, resulting in six individual pieces. Lay these pieces flat on a surface and secure them in place by adding a strip of masking tape. Leave approximately two inches of rope on one end before applying the tape, ensuring that the tape holds the ropes together firmly.
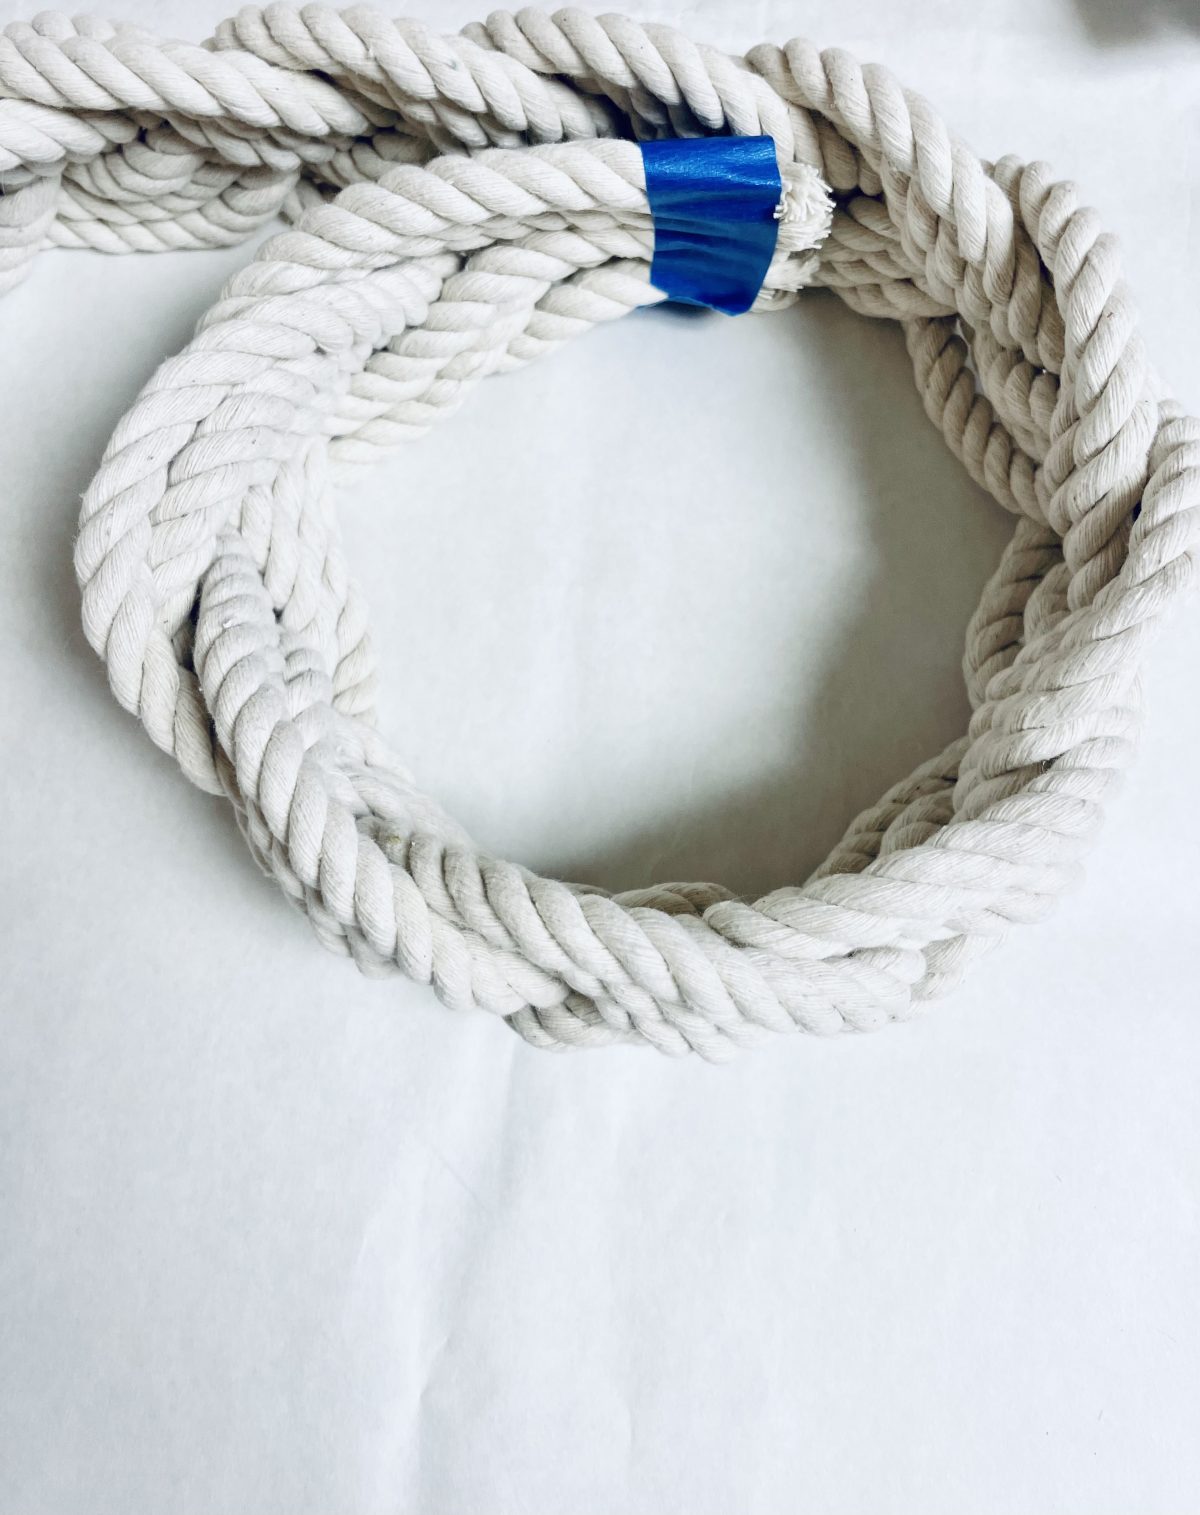
Continue braiding the rope until you have reached the desired length for your basket. If you prefer a smaller bowl, you can stop braiding at any point that suits your preference. Once you have reached the end of the braiding, apply a small amount of hot glue in between each rope to secure them in place. Trim off any excess rope to ensure a neat and tidy finish.
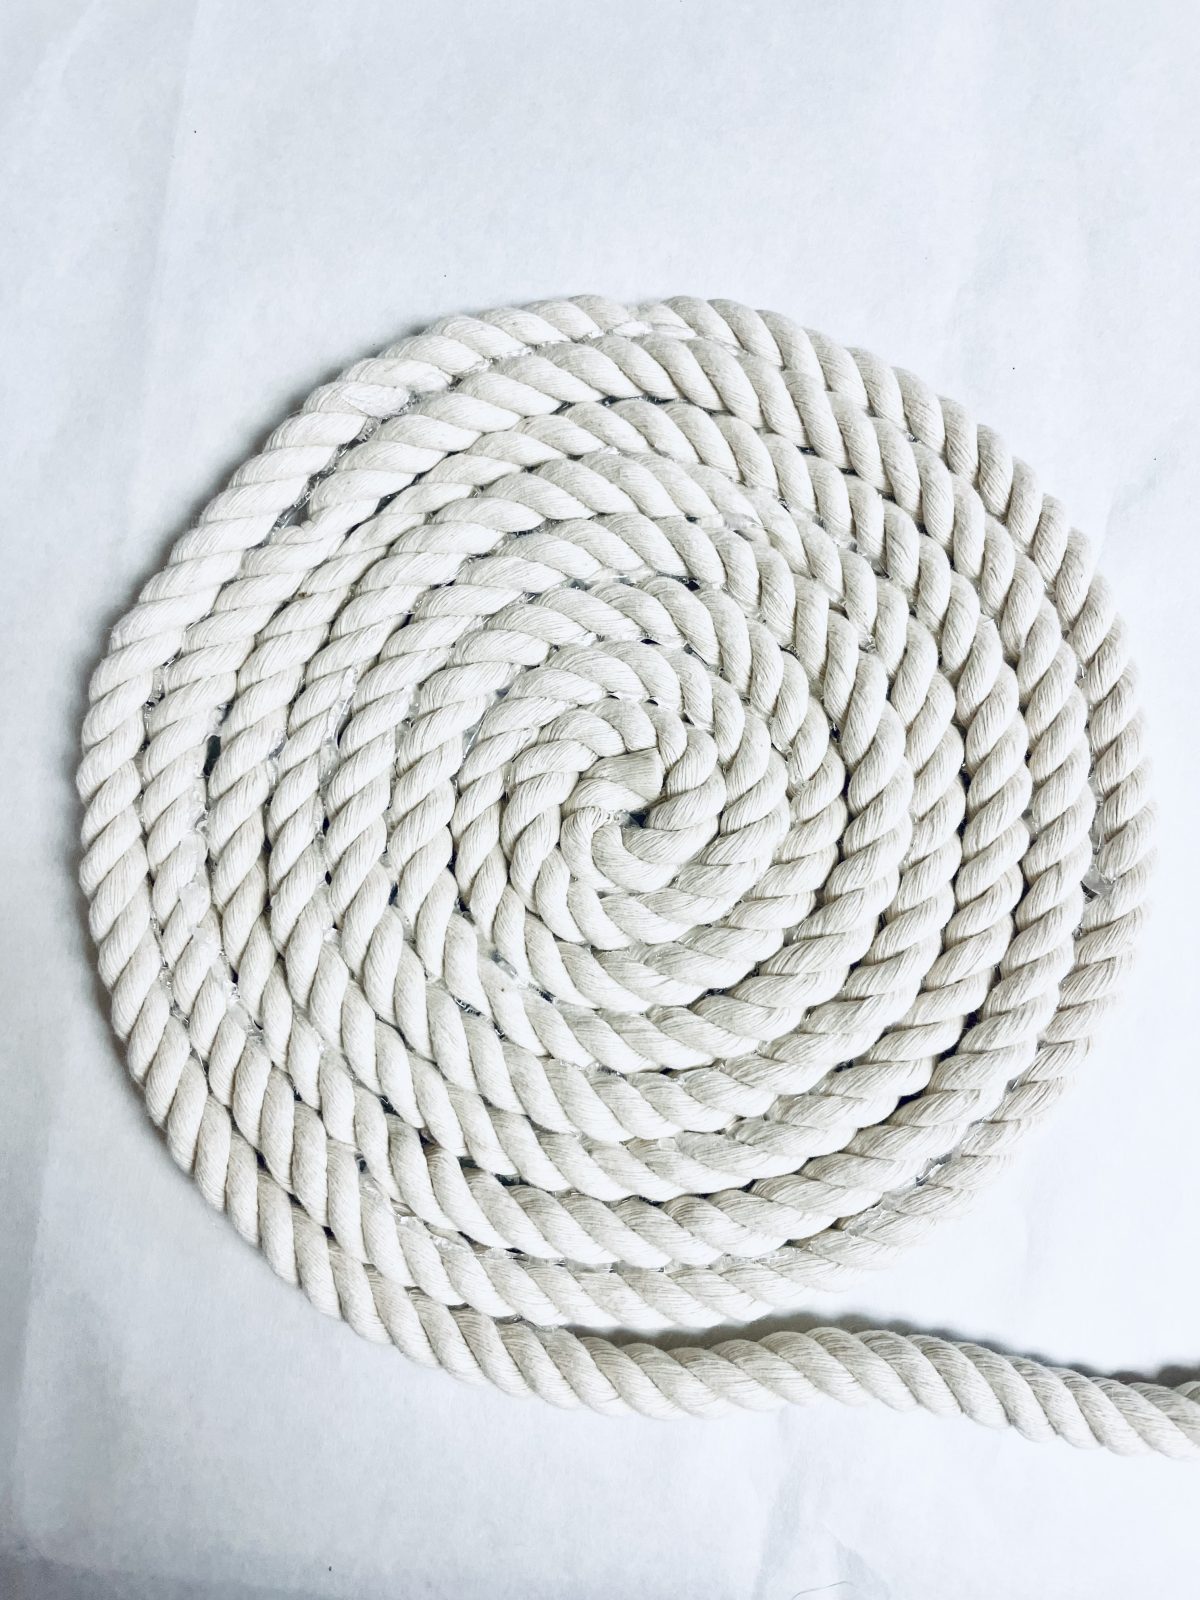
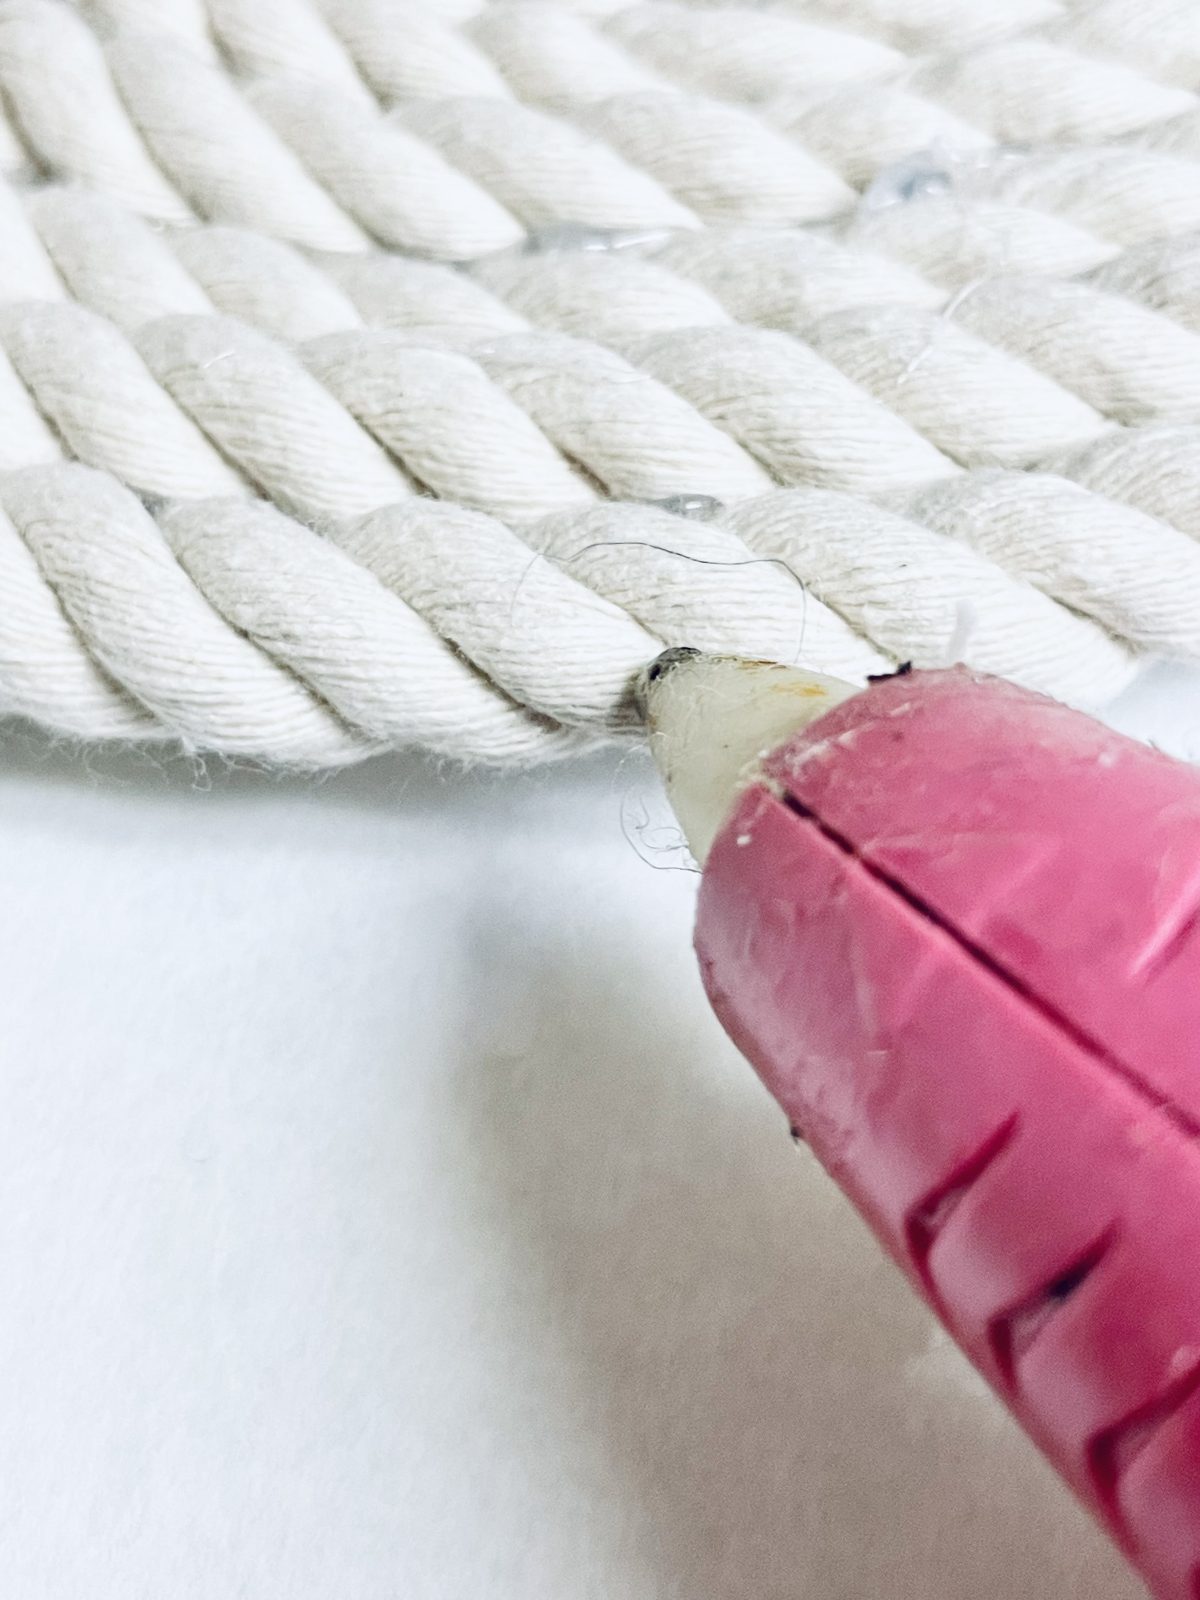
To create the base of the basket, take the fourth nautical rope and apply a small amount of hot glue to one end. Begin coiling the rope around itself, making sure to hold it in place until the glue sets. As you continue coiling, add a line of glue along the rope, taking care not to apply too much at once to prevent it from drying before you reach the next coiling spot. Repeat this process until you have used the entire length of the rope, ensuring that the coils
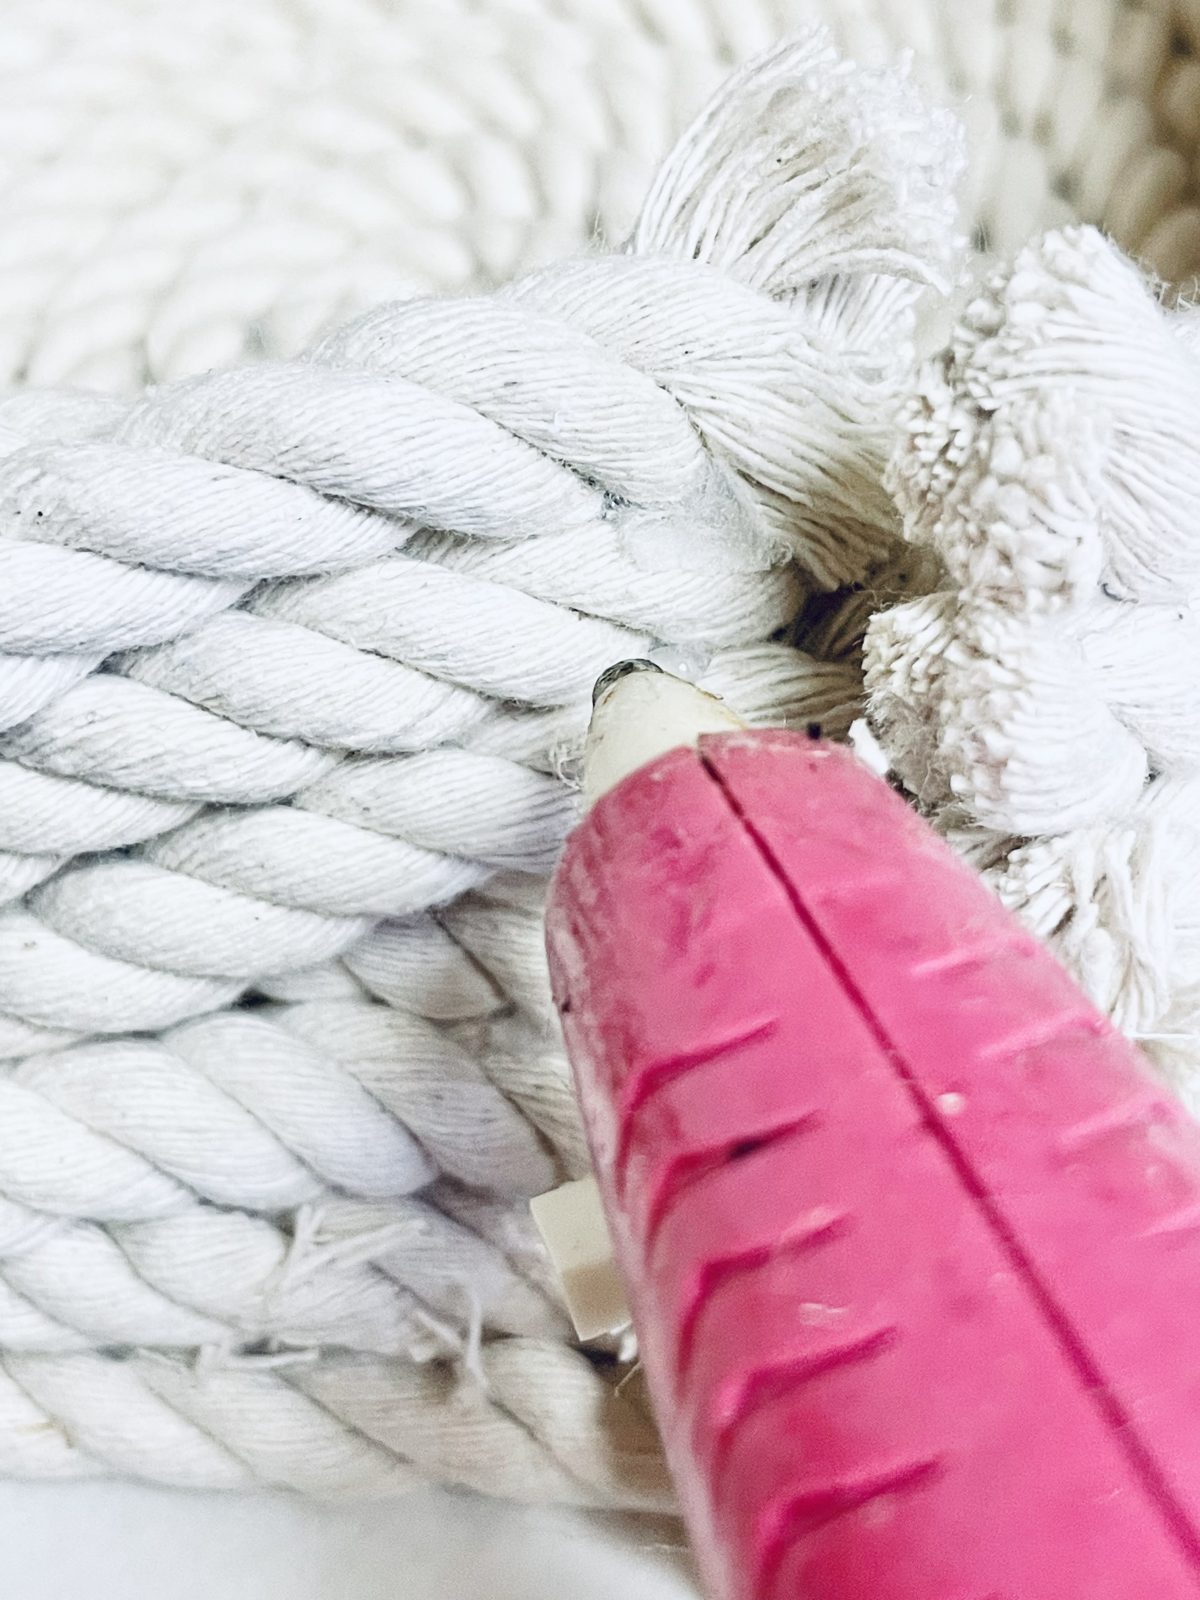
Apply hot glue to the sides of the coiled section, ensuring even coverage along the surface. Then, take the braided section of rope and carefully wrap it around the coiled section, making sure to align the edges and press firmly. The hot glue will help the braided rope adhere to the coiled section securely. Apply gentle but firm pressure to ensure a strong bond between the two sections of rope.
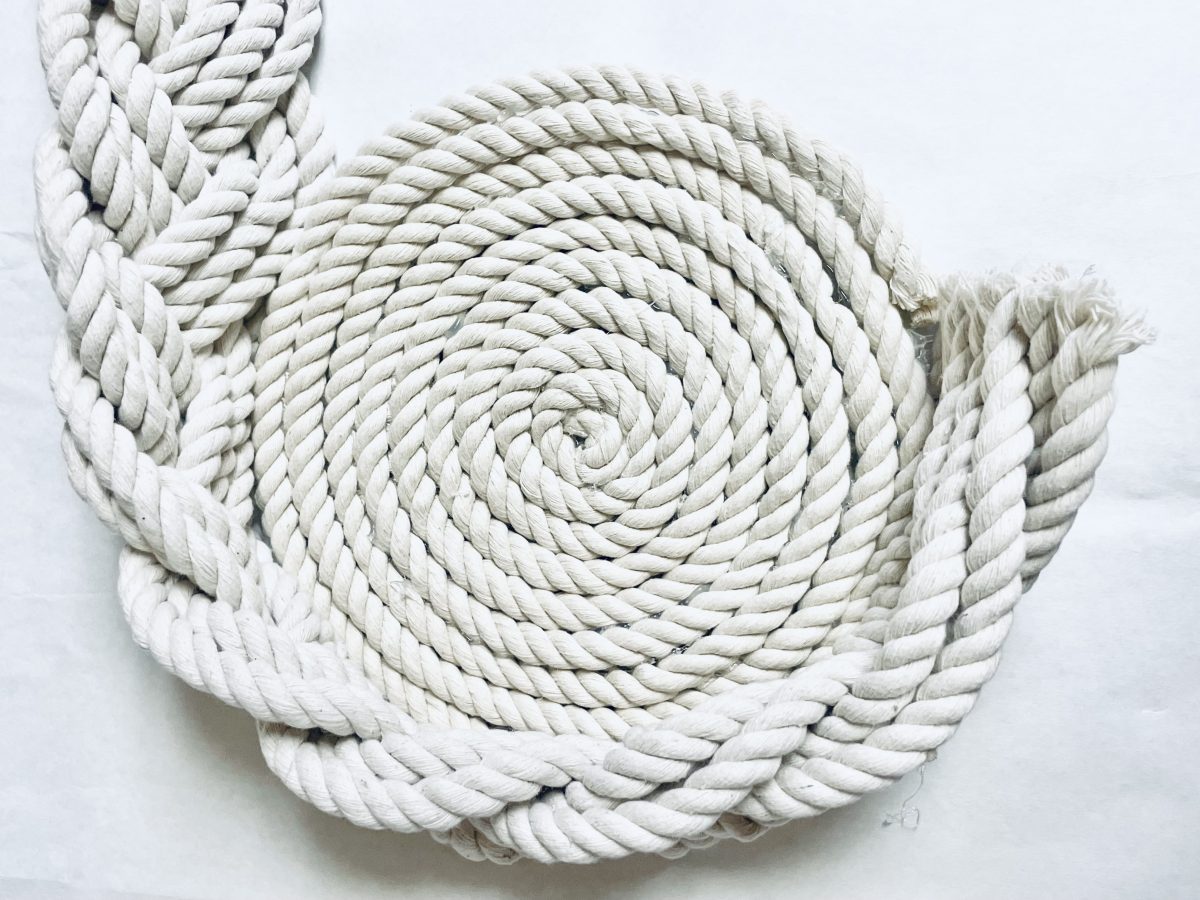
Overlap the ends of the braided section slightly and apply hot glue to secure them in place. The overlapping portion will create a seamless transition between the ends of the rope. Press the overlapped area firmly to ensure a secure bond. Once the glue has dried, carefully trim any excess rope protruding from the ends to create a clean and neat finish.


What do you think of this project? Let us know!