
Get more details about this project
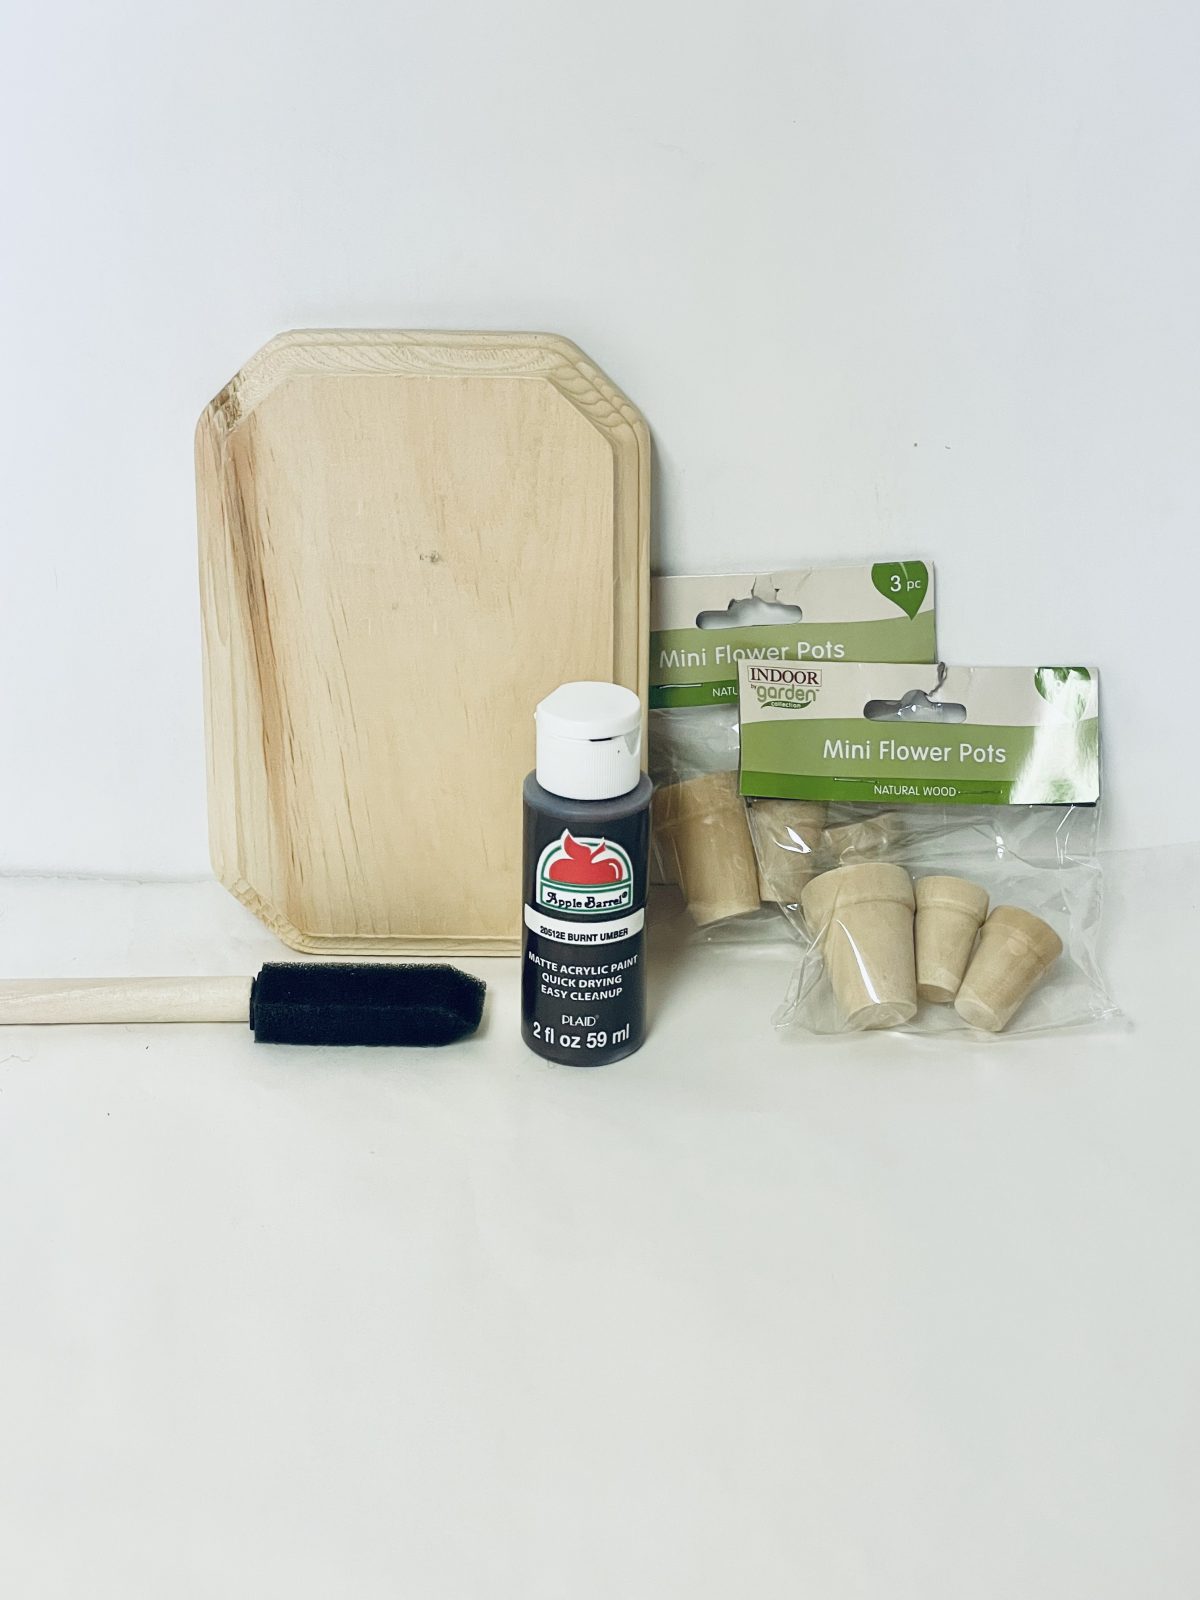
What you need
Hot Glue Gun

Paint brush
Water/ small bowl

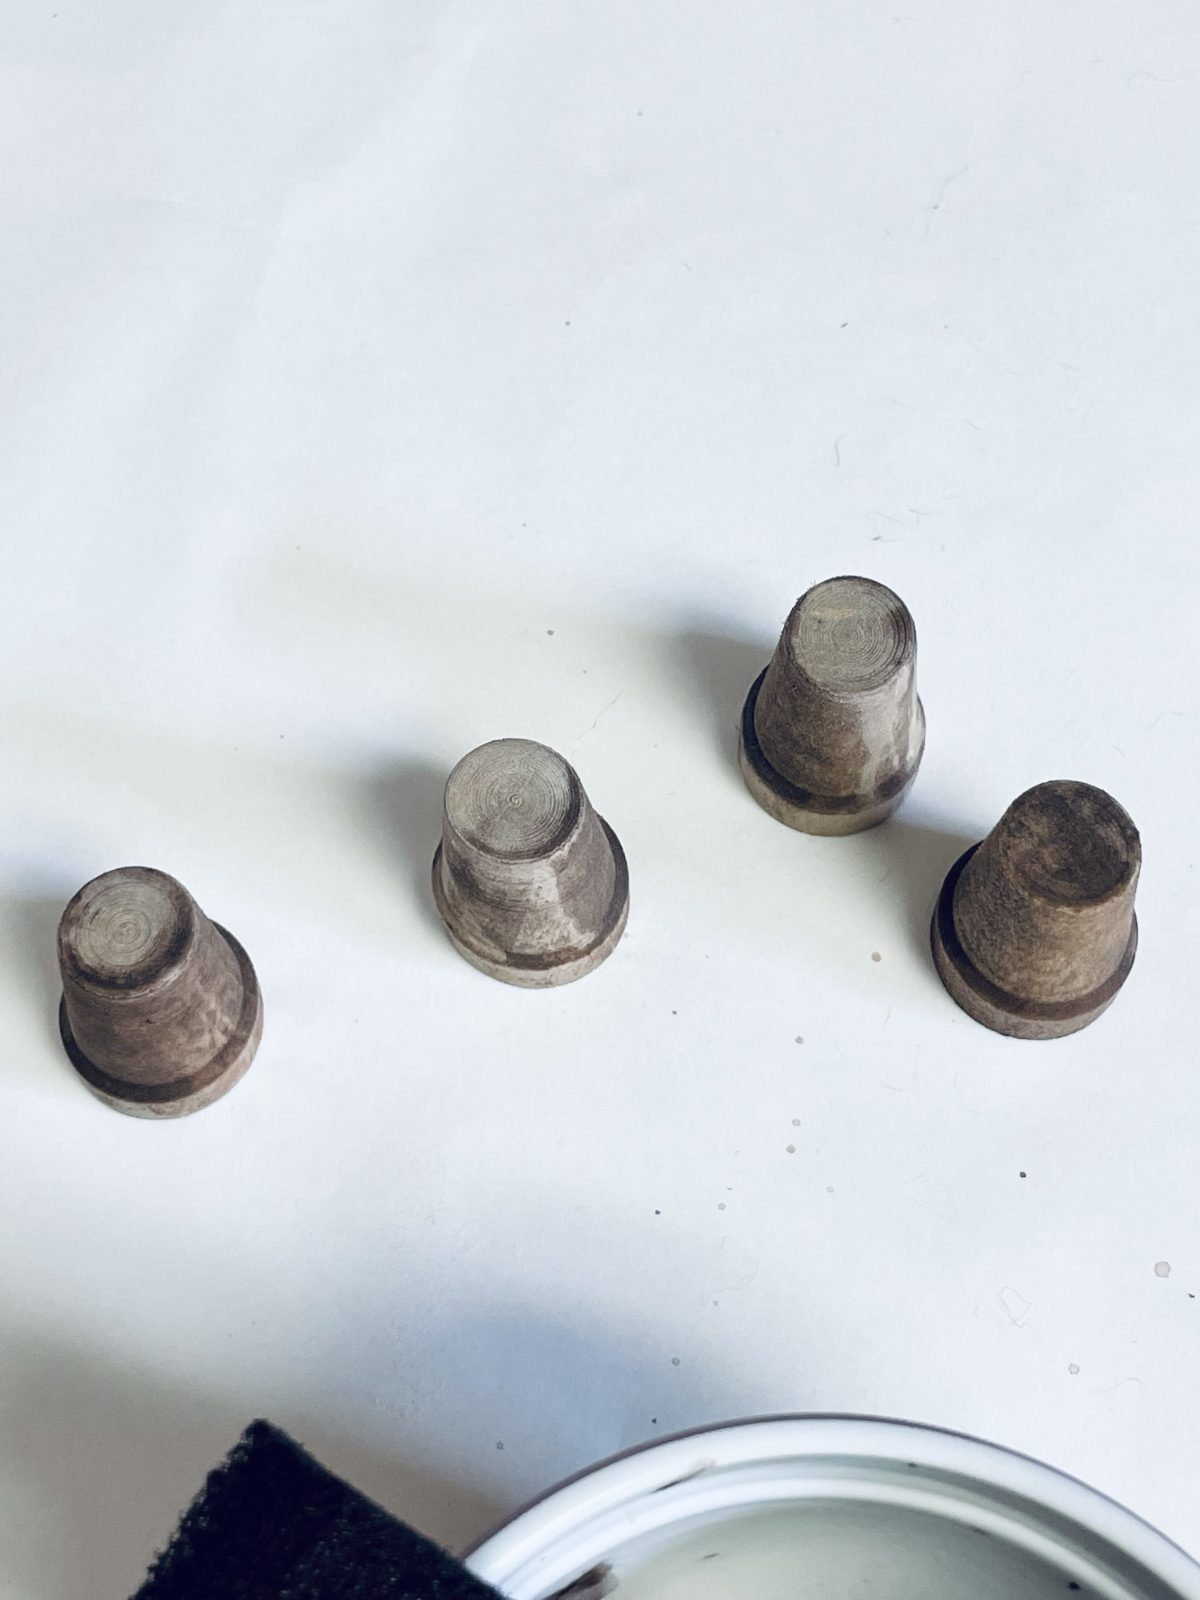
Wooden beveled edge plaque from dollar tree
Instructions
 To achieve a beautifully weathered and distressed look on your wooden plaque and smaller pots, we’ll guide you through a simple technique using burnt umber acrylic paint. By diluting the paint with water, we’ll create a subtle wash that will enhance the natural texture of the wood and give it that coveted aged appearance.
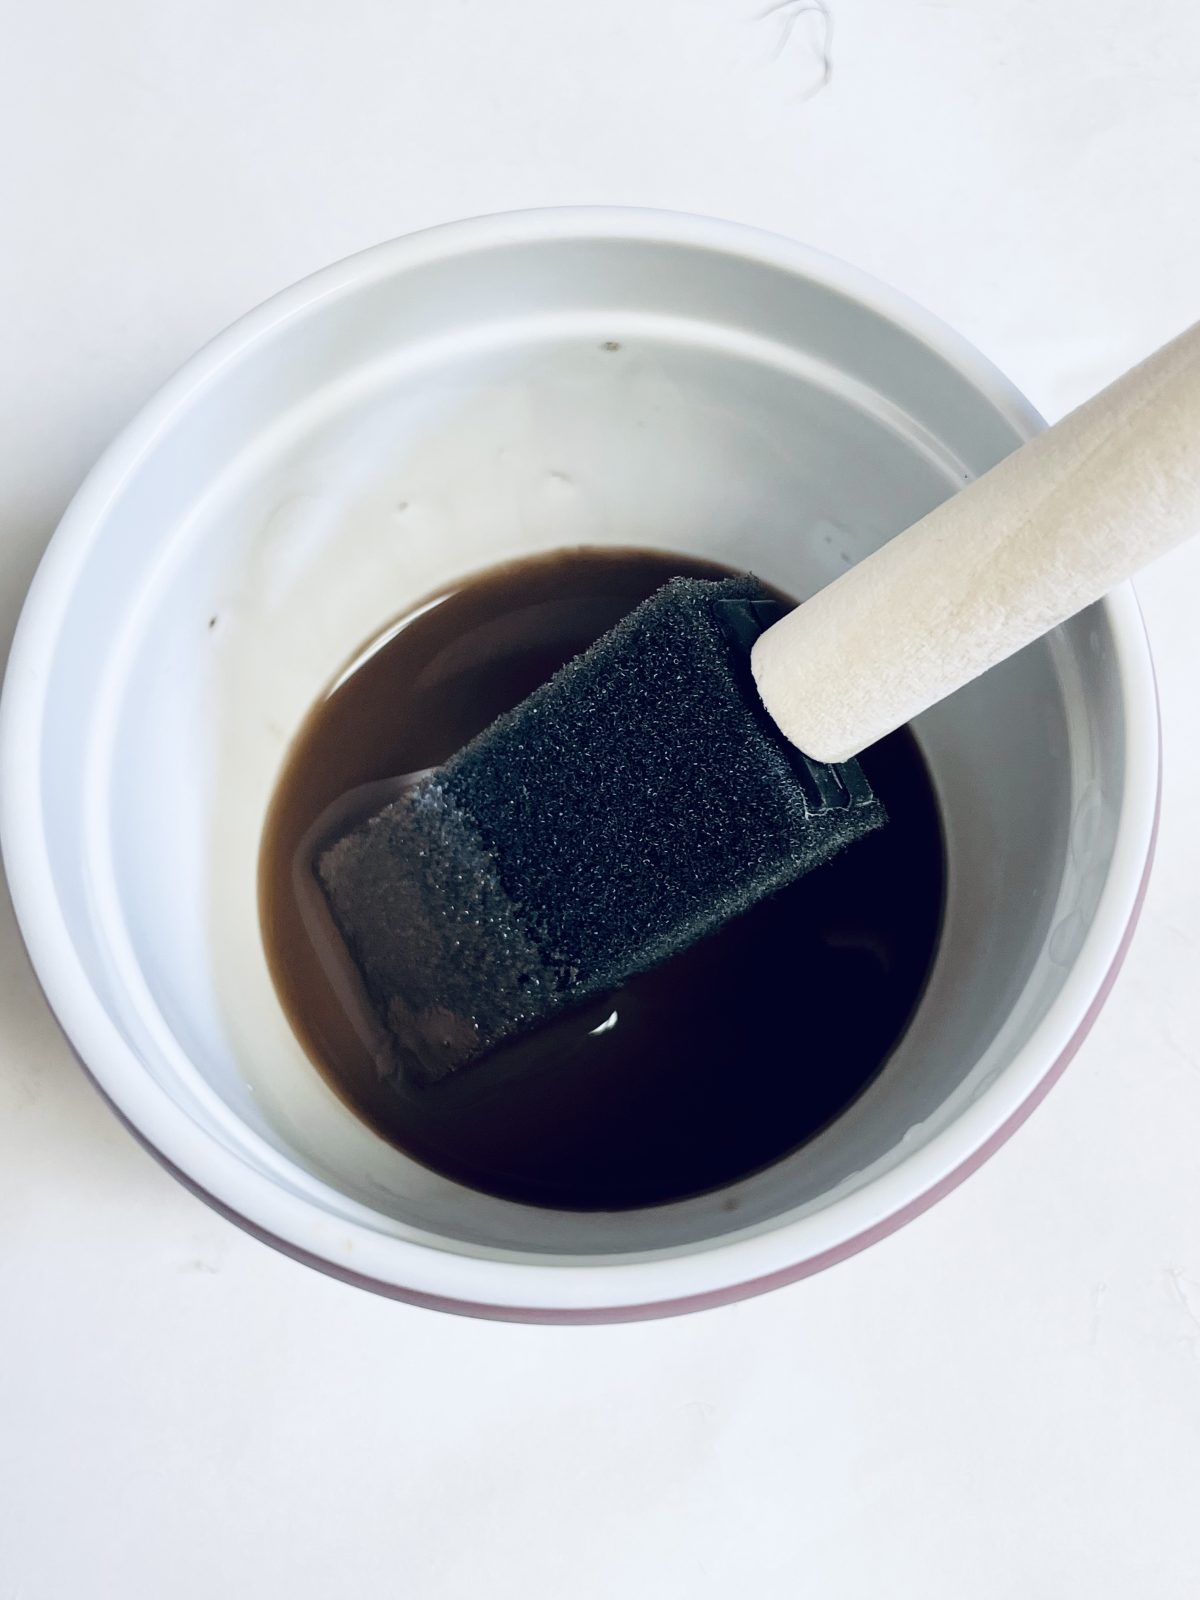
Start by preparing your mixture. Take a few drops of burnt umber acrylic paint and combine it with 2 tablespoons of water. Use a paintbrush to thoroughly mix the paint and water together, ensuring a smooth and consistent consistency.
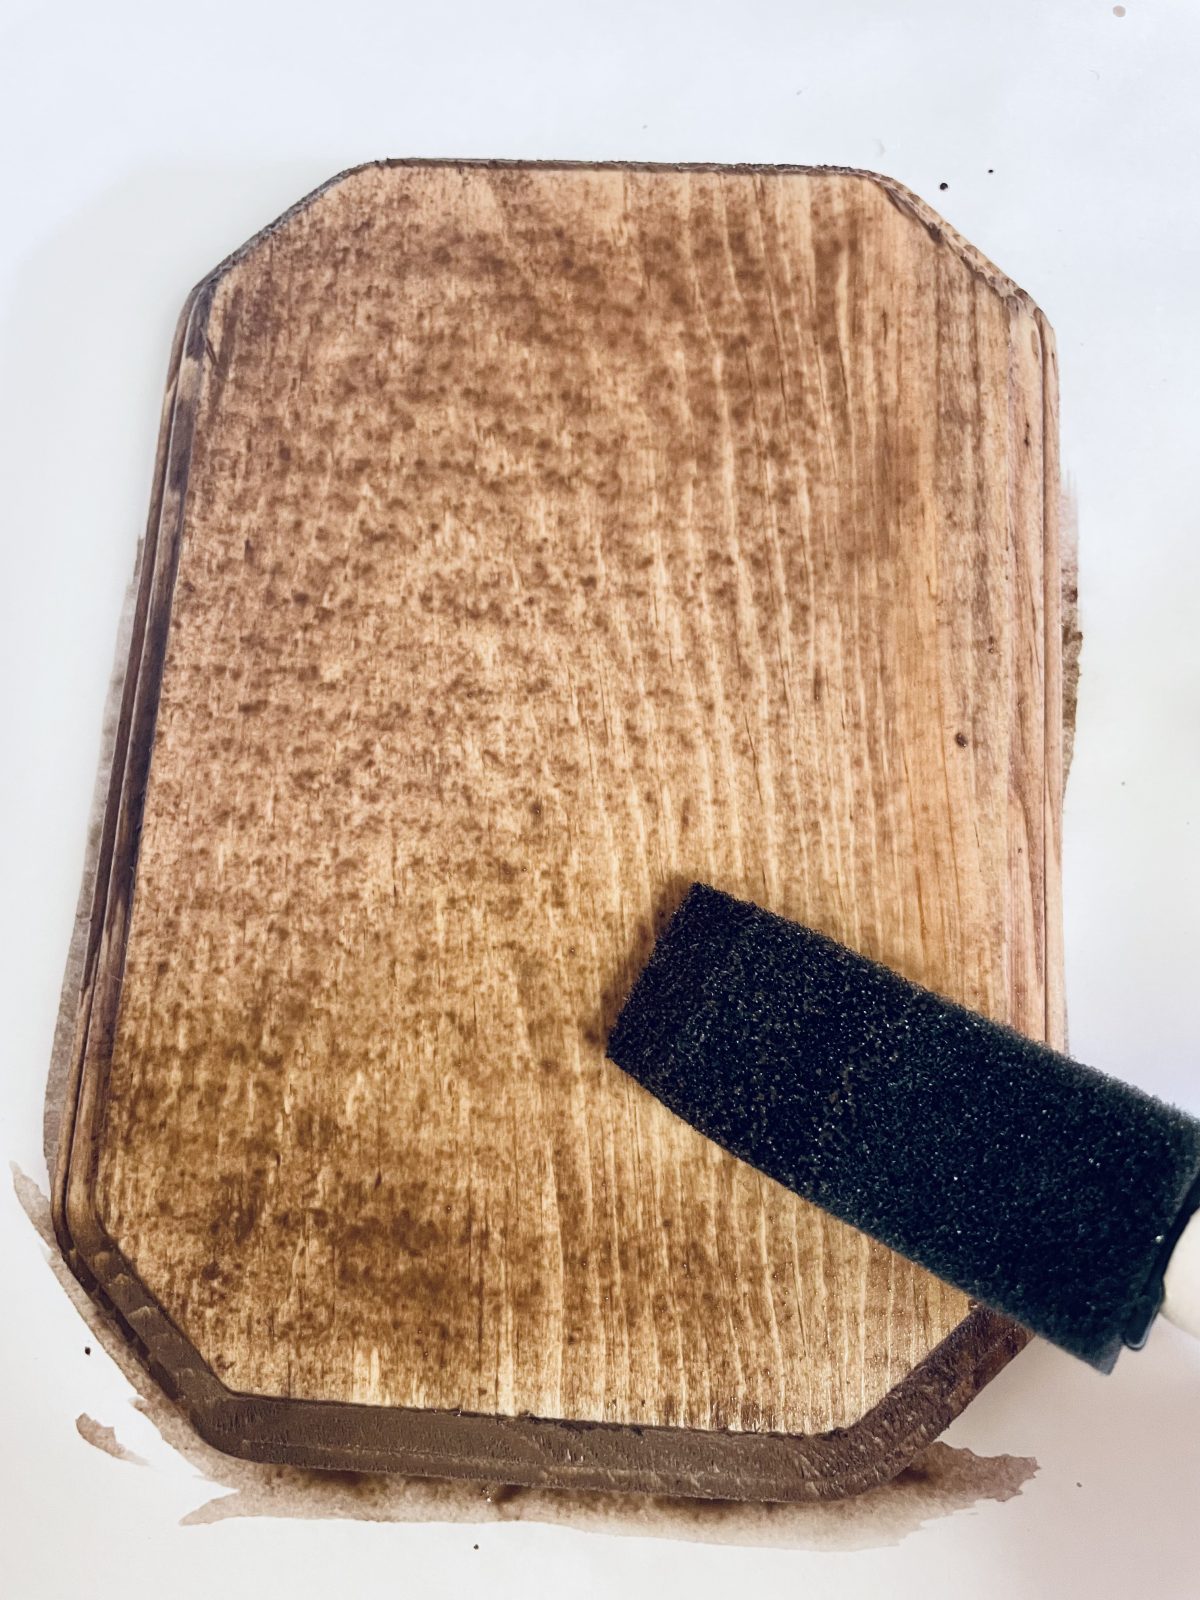
Once your mixture is ready, it’s time to apply it to the wooden plaque and smaller pots. Using the paintbrush, lightly brush the diluted paint onto the entire surface of the plaque and four of the smaller pots. The goal is to create a thin layer of the paint wash that allows the natural wood grain to show through while adding a touch of antiquity.
As you apply the paint, be mindful of the desired level of distress you want to achieve. You can focus on certain areas or brush lightly across the entire surface to create an authentic weathered effect. Take your time and work in small sections, ensuring an even application.
Remember, the purpose of this technique is to add subtle hints of color and distressing, so less is often more. If you feel you’ve applied too much paint, you can gently blot it with a clean cloth or paper towel to create a more faded and worn appearance.
Once you’ve finished brushing on the paint wash, allow it to dry completely. The drying time may vary depending on the climate and the type of paint you’re using, so be patient and ensure it’s thoroughly dry before moving on to the next step.
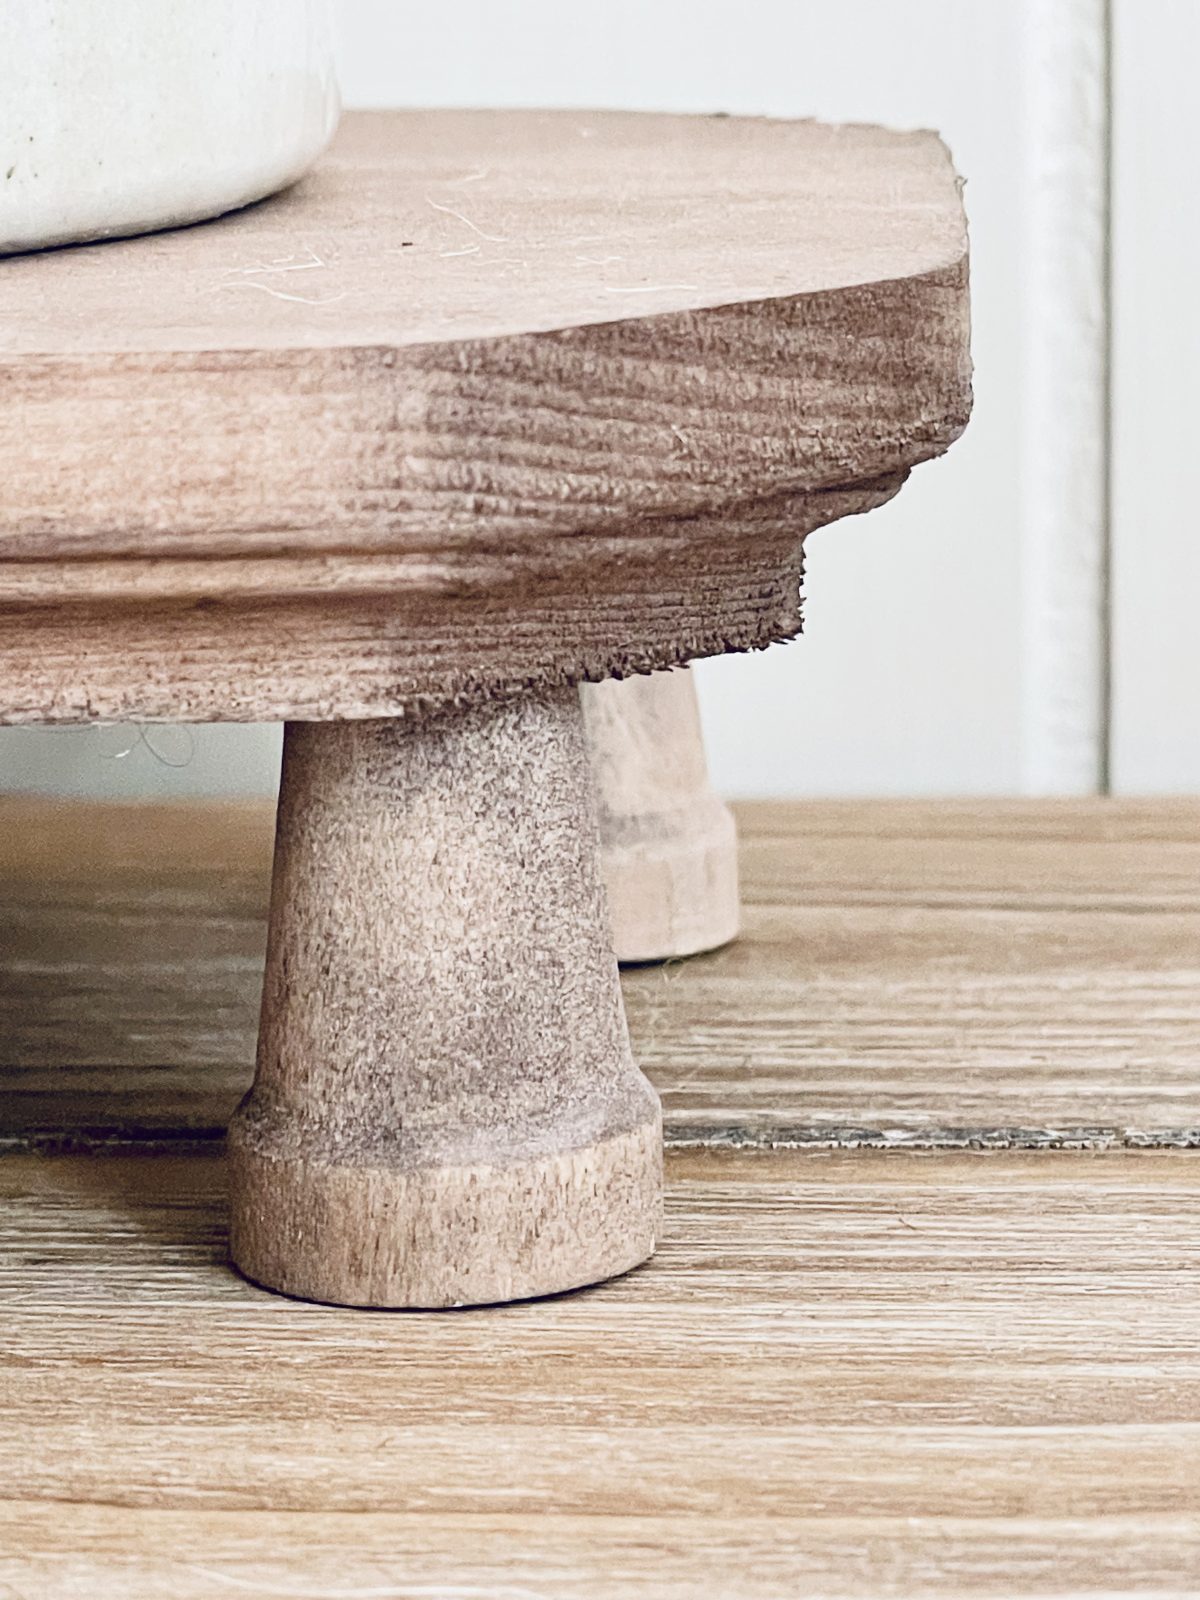
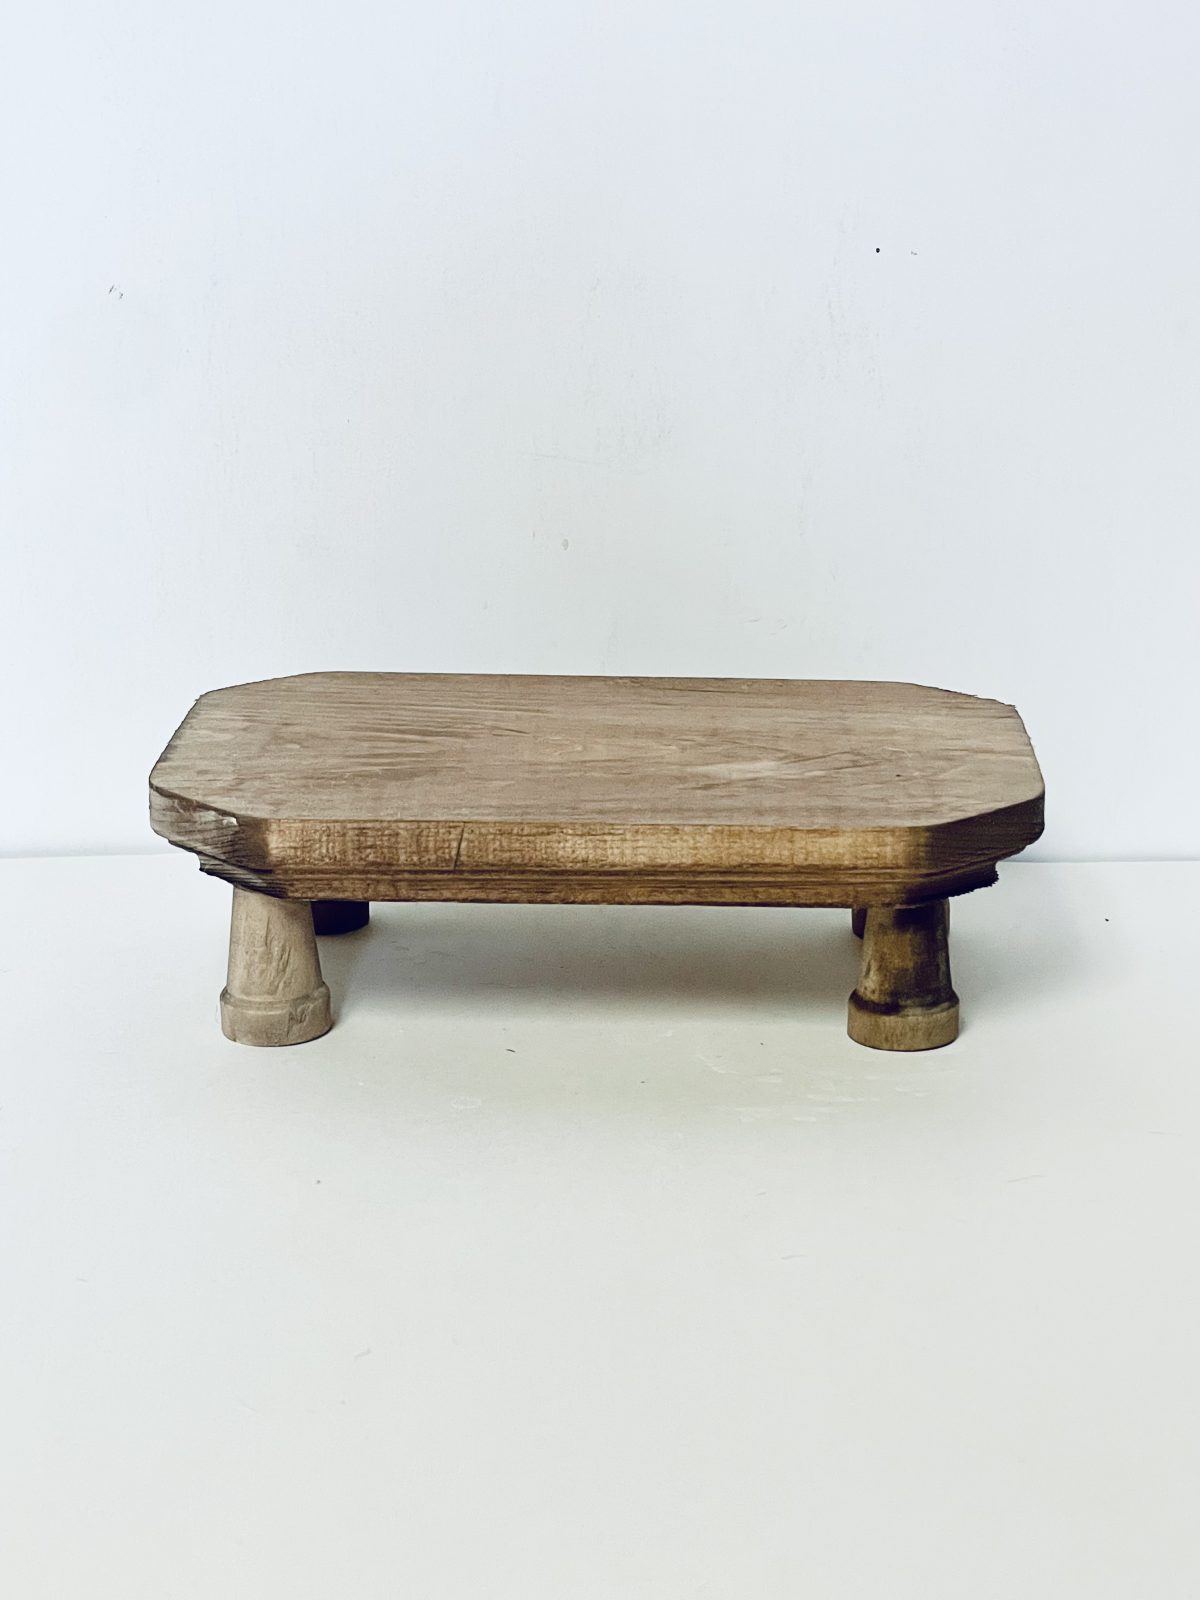
With the burnt umber paint wash, your wooden plaque and smaller pots will take on a beautifully weathered and aged look, adding a rustic charm to your farmhouse decor. It’s a simple yet effective way to enhance the natural beauty of the wood and give your DIY project that authentic farmhouse appeal.
Now that you’ve completed this step, you’re ready to move on to the next stage of your farmhouse wood riser project. Let’s continue creating and transforming ordinary materials into the extraordinary farmhouse-inspired decor.
After patiently waiting for the paint to dry on your wooden plaque and smaller pots, it’s time to assemble your farmhouse wood riser. This step will securely attach the pots to the front side of the plaque, creating a sturdy and visually appealing arrangement.
Ensure that both the pots and the plaque are completely dry before proceeding. This will ensure a strong bond when using the hot glue gun.
Now, grab your trusty hot glue gun and plug it in to warm up. Once it’s heated and ready, carefully apply a generous amount of hot glue to the bottom of each pot. Be cautious as the glue can be hot and could cause burns.
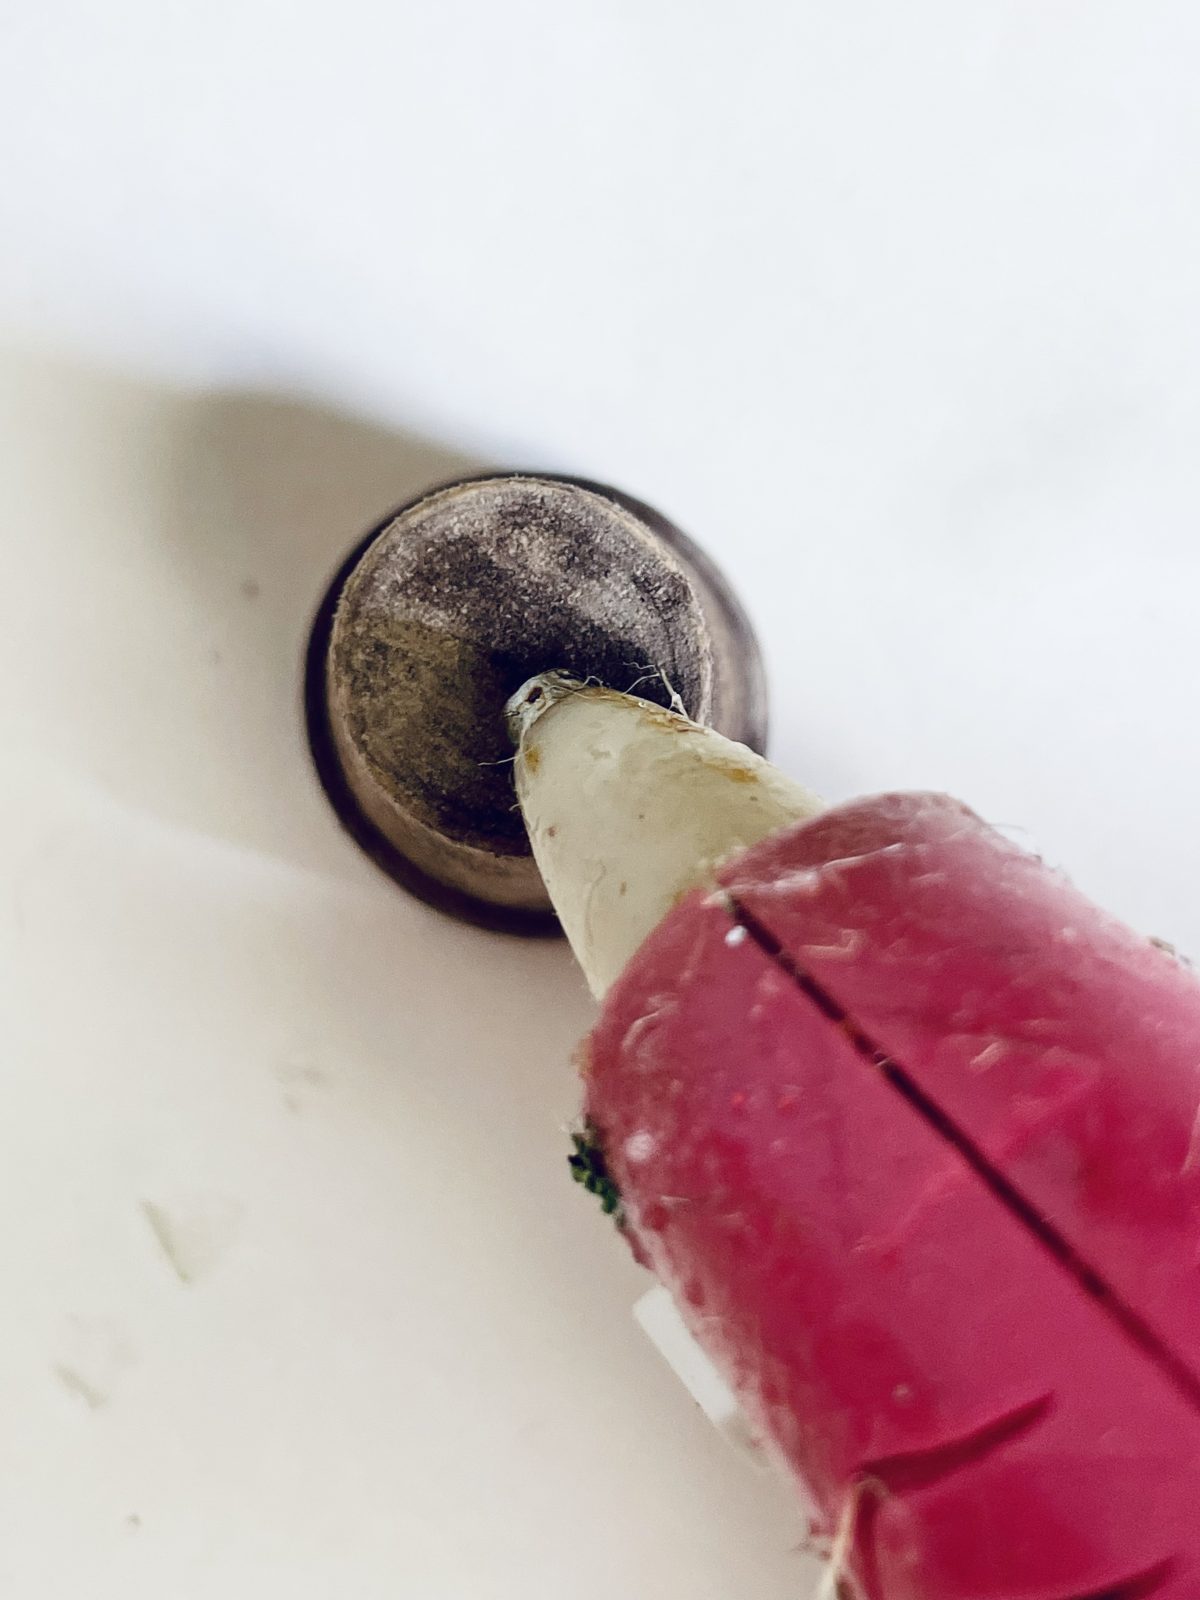
With the hot glue applied, promptly but carefully press each pot onto the front side of the plaque. Aim to align them in a visually pleasing arrangement. The pots should adhere firmly to the plaque, forming a secure attachment.
Remember, the front side of the plaque refers to the side with the beveled edge, while the flat side should be facing upwards to serve as the top of the riser. This arrangement will provide stability and ensure that your riser sits evenly on any surface.
Take your time during this process to ensure proper alignment and a secure bond. Press down firmly on each pot to help the glue adhere effectively. Allow the hot glue to dry completely before handling or moving the riser to prevent any accidental detachment.
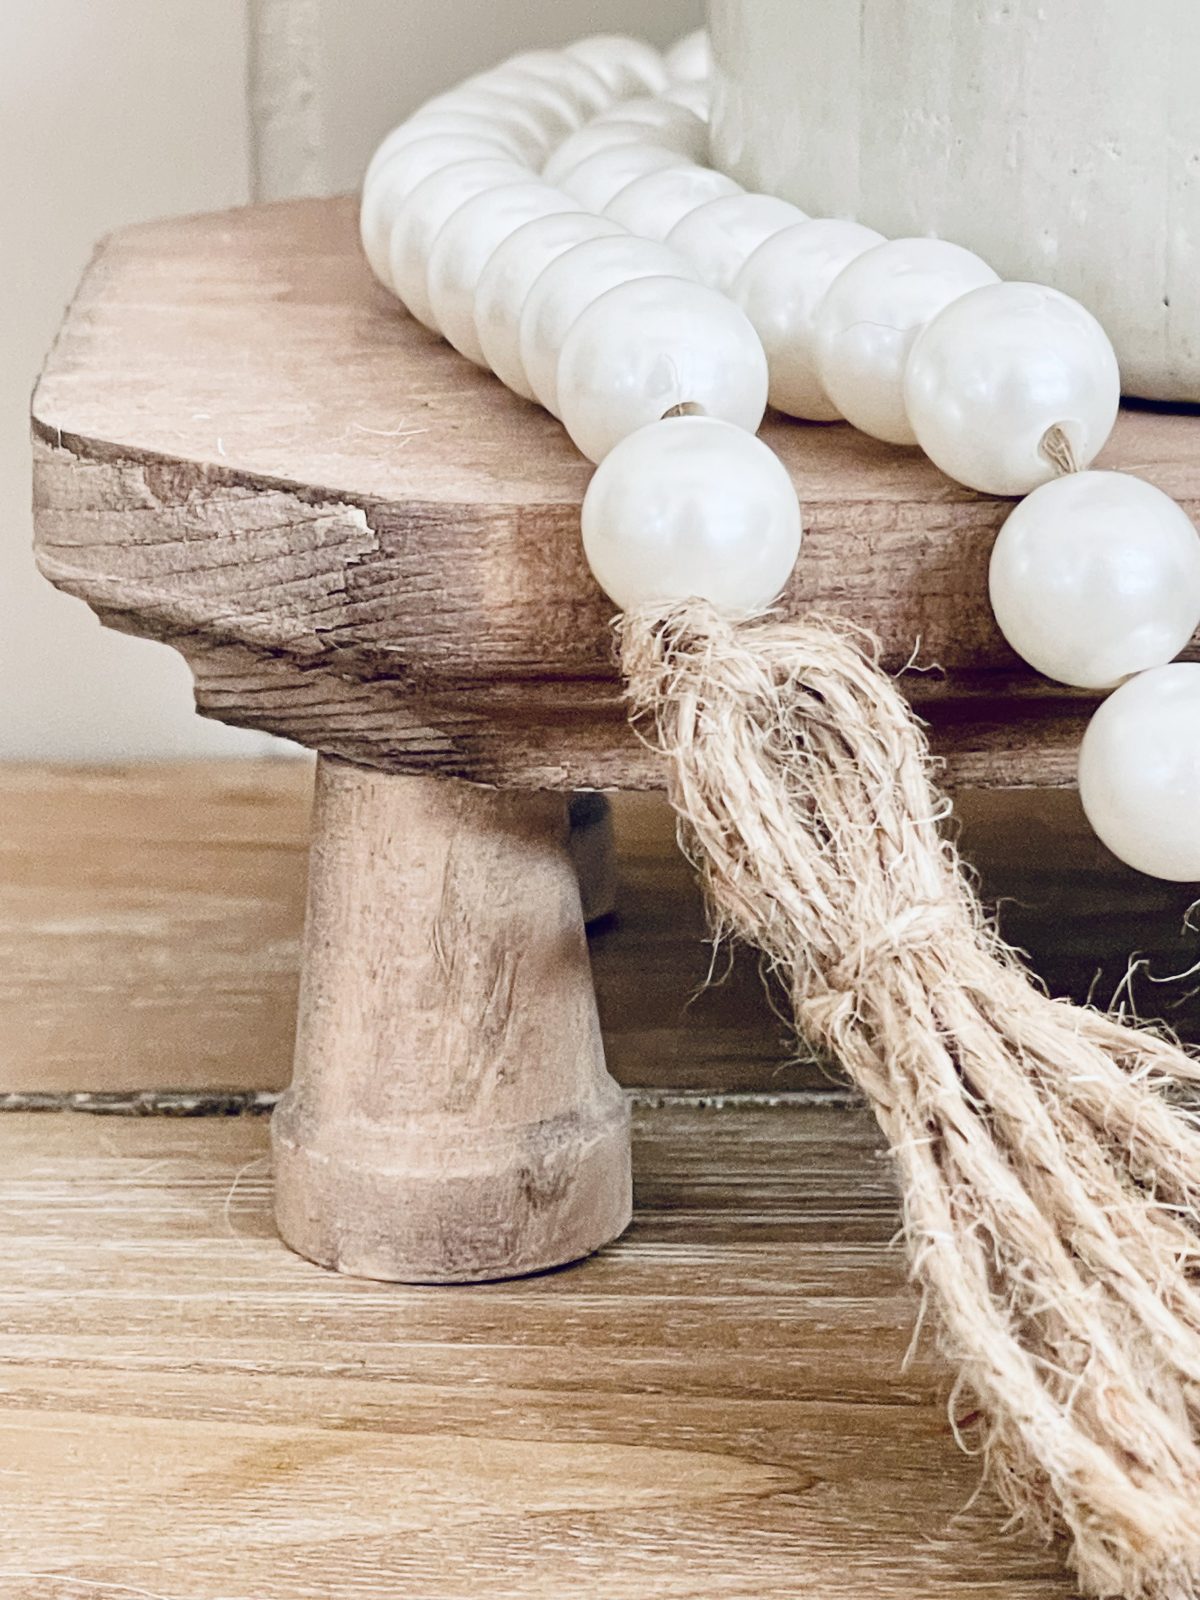
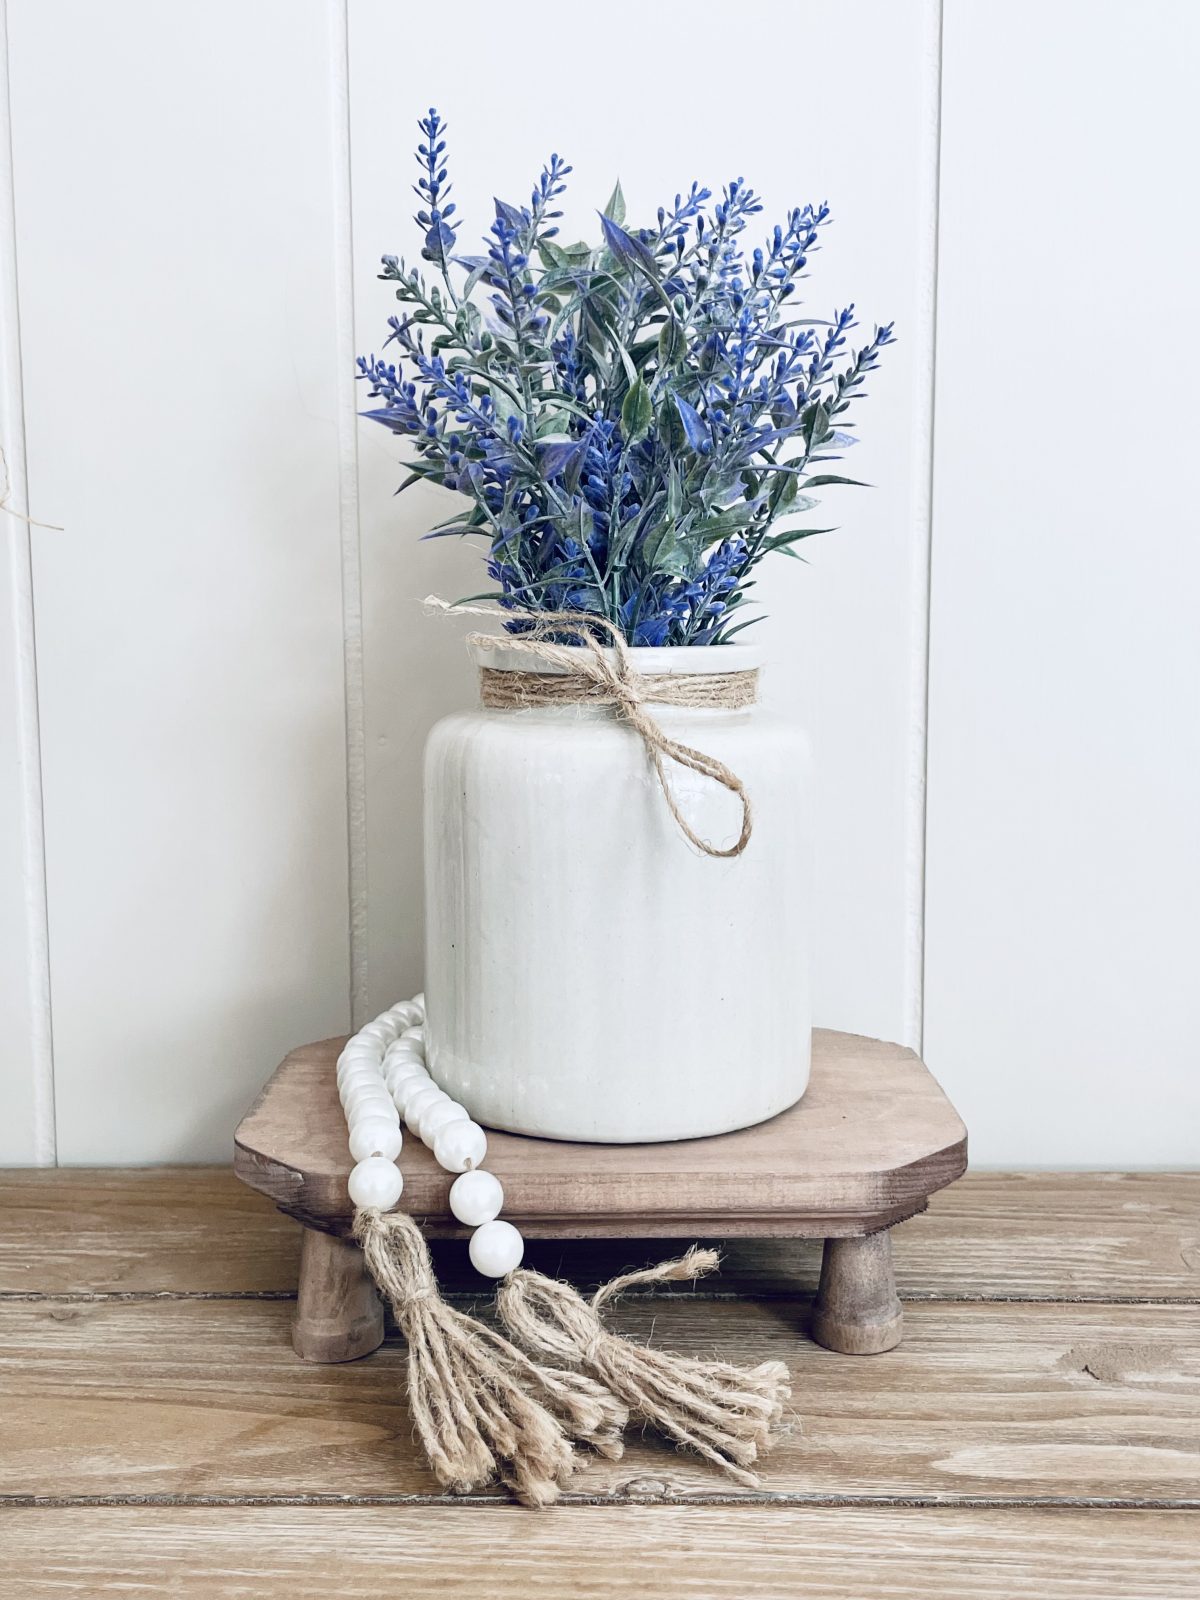
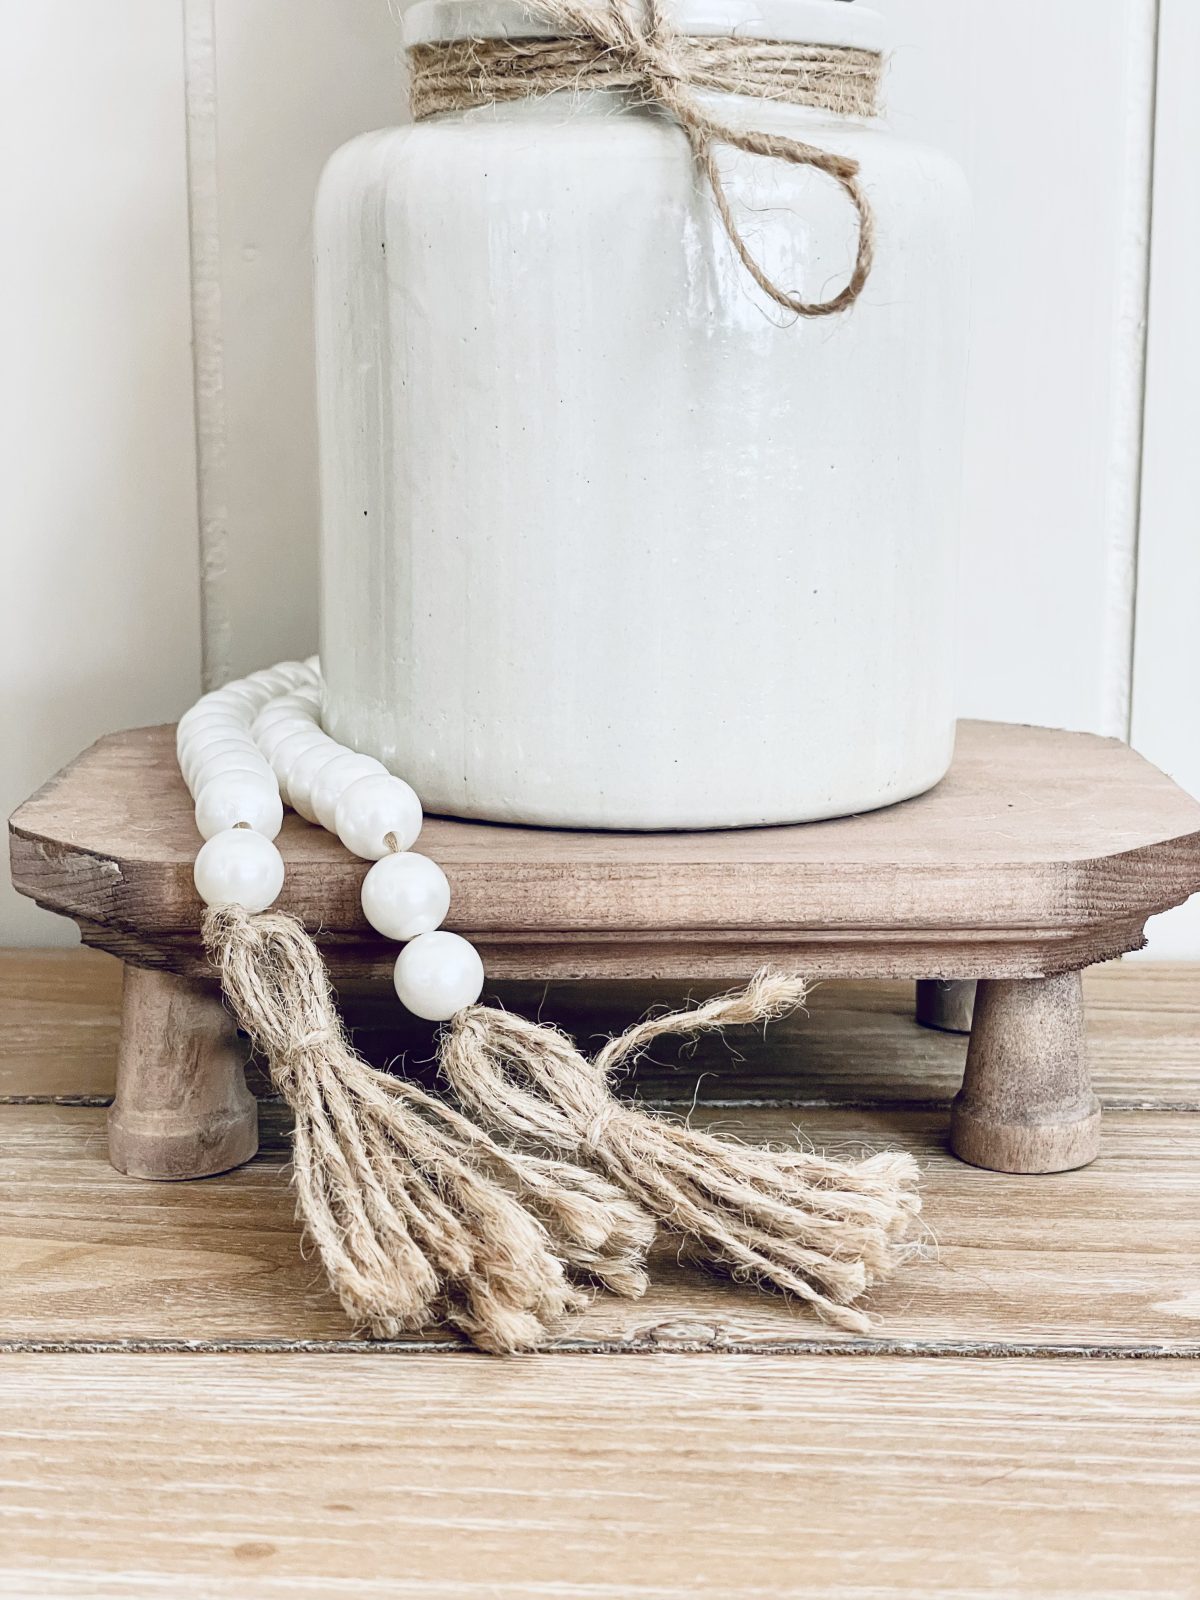
Once the hot glue has fully hardened, your DIY farmhouse wood riser is ready to be showcased. Its charming rustic appeal and functional design make it a versatile piece that can be used to elevate and display various items in your farmhouse-inspired decor.


What do you think of this project? Let us know!