
Get more details about this project
What you need
Materials:
Crochet yarn or thread
Crochet hook
Scissors
Clothes hanger
This project include the following stitches (US terms) –double crochet (dc); slip stitch (sl st) and chain (ch).
Instructions
Chain 8, form a ring and work 12 dc around it. Work a slip stitch into the first chain and bring yarn to top.
Chain 2 (counting as 1 dc) and work 1 dc into the chain near hook. Work 2 dc into each next chain for round-2. When you’ll crochet all around work a slip stitch into the first chain and bring yarn to top.
For each round work dc and increase number of chain to increase the size of the circle pattern. When the size of the circle will reach the required bottom size of the picket you can stop increasing the chain number.
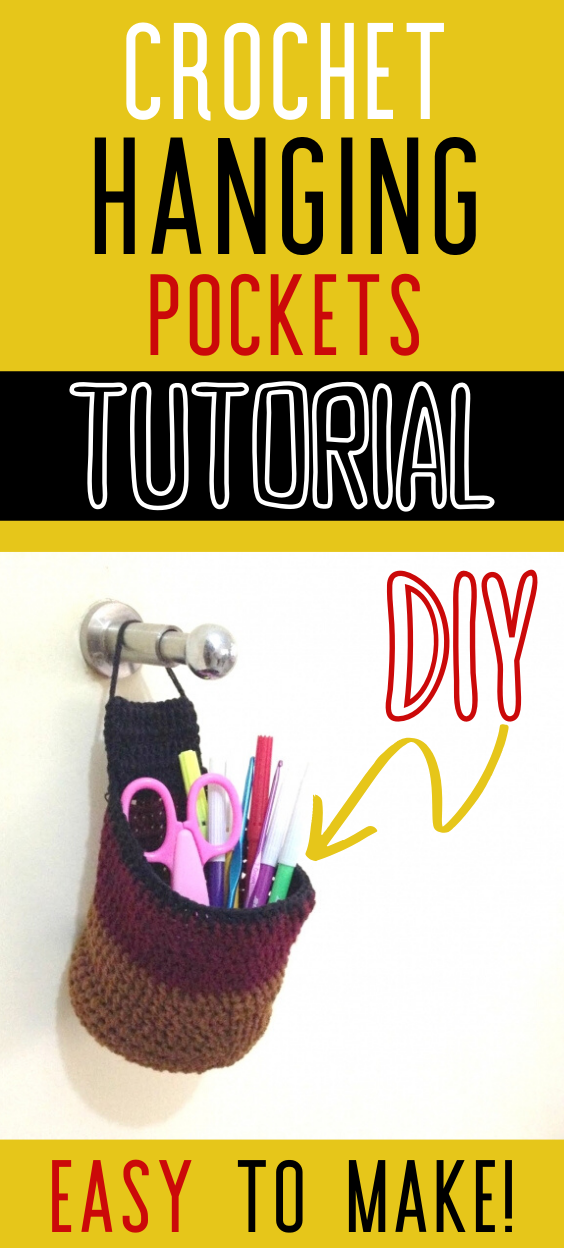
Now to build the sides of the pocket keep the number of chain same and crochet upwards. I used only dc to build the sides and stopped once I reached the required height for the pocket.
For the handle you can use a different coloured yarn or use the same as you wish. Chain 2 and work 5 dc into the chain from the border. After reaching the last dc stitch chain 2 and work 5 dc into the chain from previous round. Repeat *ch2, dc5* for each row 10 times.
After working the last row fold the pattern and work sc to attach the end with the border of the pocket. This will form a loop and create the hanging mechanism for the pocket.


Looks like a great project. Would like to see a video to go along with it. Helpful for those of us who are visual learners.