
This post contains affiliate links which means we are being compensated for this sponsored post and purchases made from the links below.
What you need
Cricut Explore Air 2 machine
White Coffee Mug (Used Walmart Mainstays OPP White Mug)
12” x 12” Cricut Cutting Mat
Black permanent vinyl
Transfer paper
Rubbing Alcohol
Scissors
Weeding tool (Can use tweezers if you don’t have a Cricut tool)
Scraping tool (Can use a credit card if you don’t have a Cricut tool)
Computer/Tablet with Cricut Design Space Account (free)
Instructions

White Coffee Mug (Used Walmart Mainstays OPP White Mug but any white mug will do)
12” x 12” Cricut Cutting Mat


Transfer paper
Rubbing Alcohol
Scissors
Weeding tool 
Scraping tool (Can use a credit card if you don’t have a Cricut tool)
Computer/Tablet with Cricut Design Space Account (free)

Instructions:
Sign in to Cricut Design Space and start a new project. Save the png file below for your new project (right click the image below and select “Save As”).

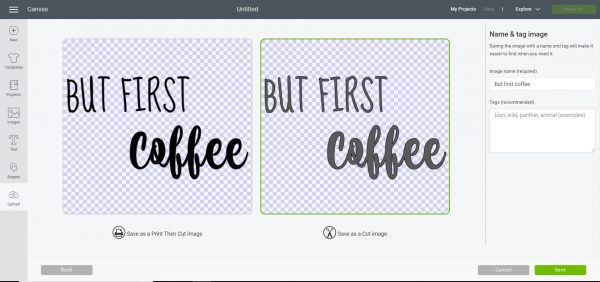
Upload file and select “Simple” as the image type and click “continue”.
Select “Save as a Cut Image” and hit save.
Now, the image is ready to select and use.
It will be larger than you need, so you will need to resize it.
On the box that surrounds the text, you will see arrows at the bottom left.
Click and drag to resize it smaller.
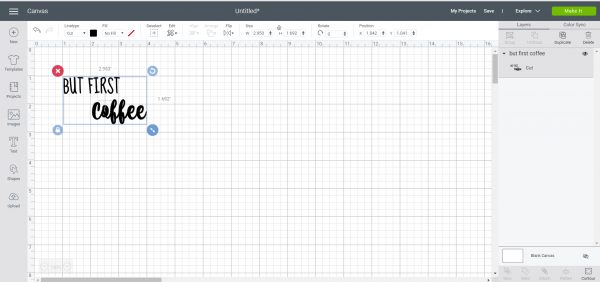


I sized it to fit between the top 1 and 3 on the grid (2.953” x 1.692”) so it would fit the mug I used.*
Place the vinyl you are using on to the mat and press to assure it is on well. 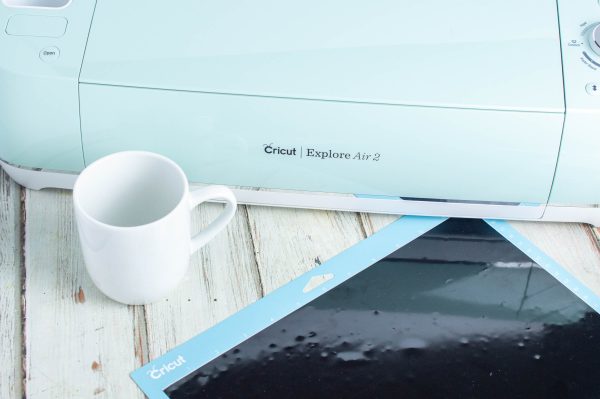
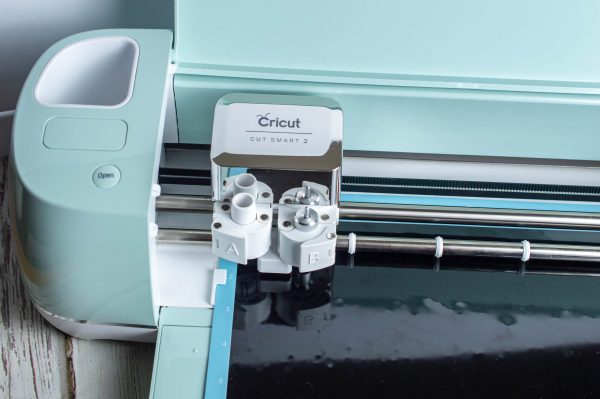
Load into the Cricut and start.
Cut out a rectangle around the text, and save the remaining vinyl.
Gently pull off the vinyl surrounding the text and ensure that the text stays, pressing it or pushing it down with weeding tool/tweezers as needed, also taking out anything from the text that will not be used, like the middle of the “O”s, and discard.

Cut a piece of transfer tape a little bigger than the text.
Pull off the backing and place on top of the text.
Using a scraping tool, or even a credit card, press down and pull back and forth, applying pressure as you go.
Start gently peeling back the transfer paper ensuring that all the letters are adhering to it. (If they aren’t, gently put it back and go over it again.)
Clean your mug with rubbing alcohol and dry with something that is lint-free.
Place the transfer paper where you would like it to be on the mug and apply it. (It’s easier to start from one side and slightly bend the transfer tape and press as you go.)

Use the scraping tool/credit card and use the same technique as before, applying pressure as you rub over it back and forth, ensuring you do it well so it sticks.
Gently pull the transfer tape off, ensuring that all the letters have stuck. (You can go over it again if needed.)
This DIY tutorial and SVG file would be great for creating gift baskets for friends and family, add some ground coffee or a plunger for a beautiful housewarming gift.
Tips/Tricks/Notes:
*You can adjust to fit the type of mug you are using, if different. You can eyeball it by placing your mug over the mat and judging how much larger/smaller you would like the text, then adjust it on the grid in Design Space.


What do you think of this project? Let us know!