
Get more details about this project
What you need
Green Men’s Sock
Dollar Tree Microfiber cloth
Dollar Tree Berry Garland
Foam Cone
Wooden Bead
Hot Glue Gun
Scissors


Instructions

Sock Preparation:
Start with your Dollar Tree green men’s sock. To begin crafting your gnome, you’ll want to cut off the bottom section of the sock. This cut section will be used to cover a substantial part of the foam cone.
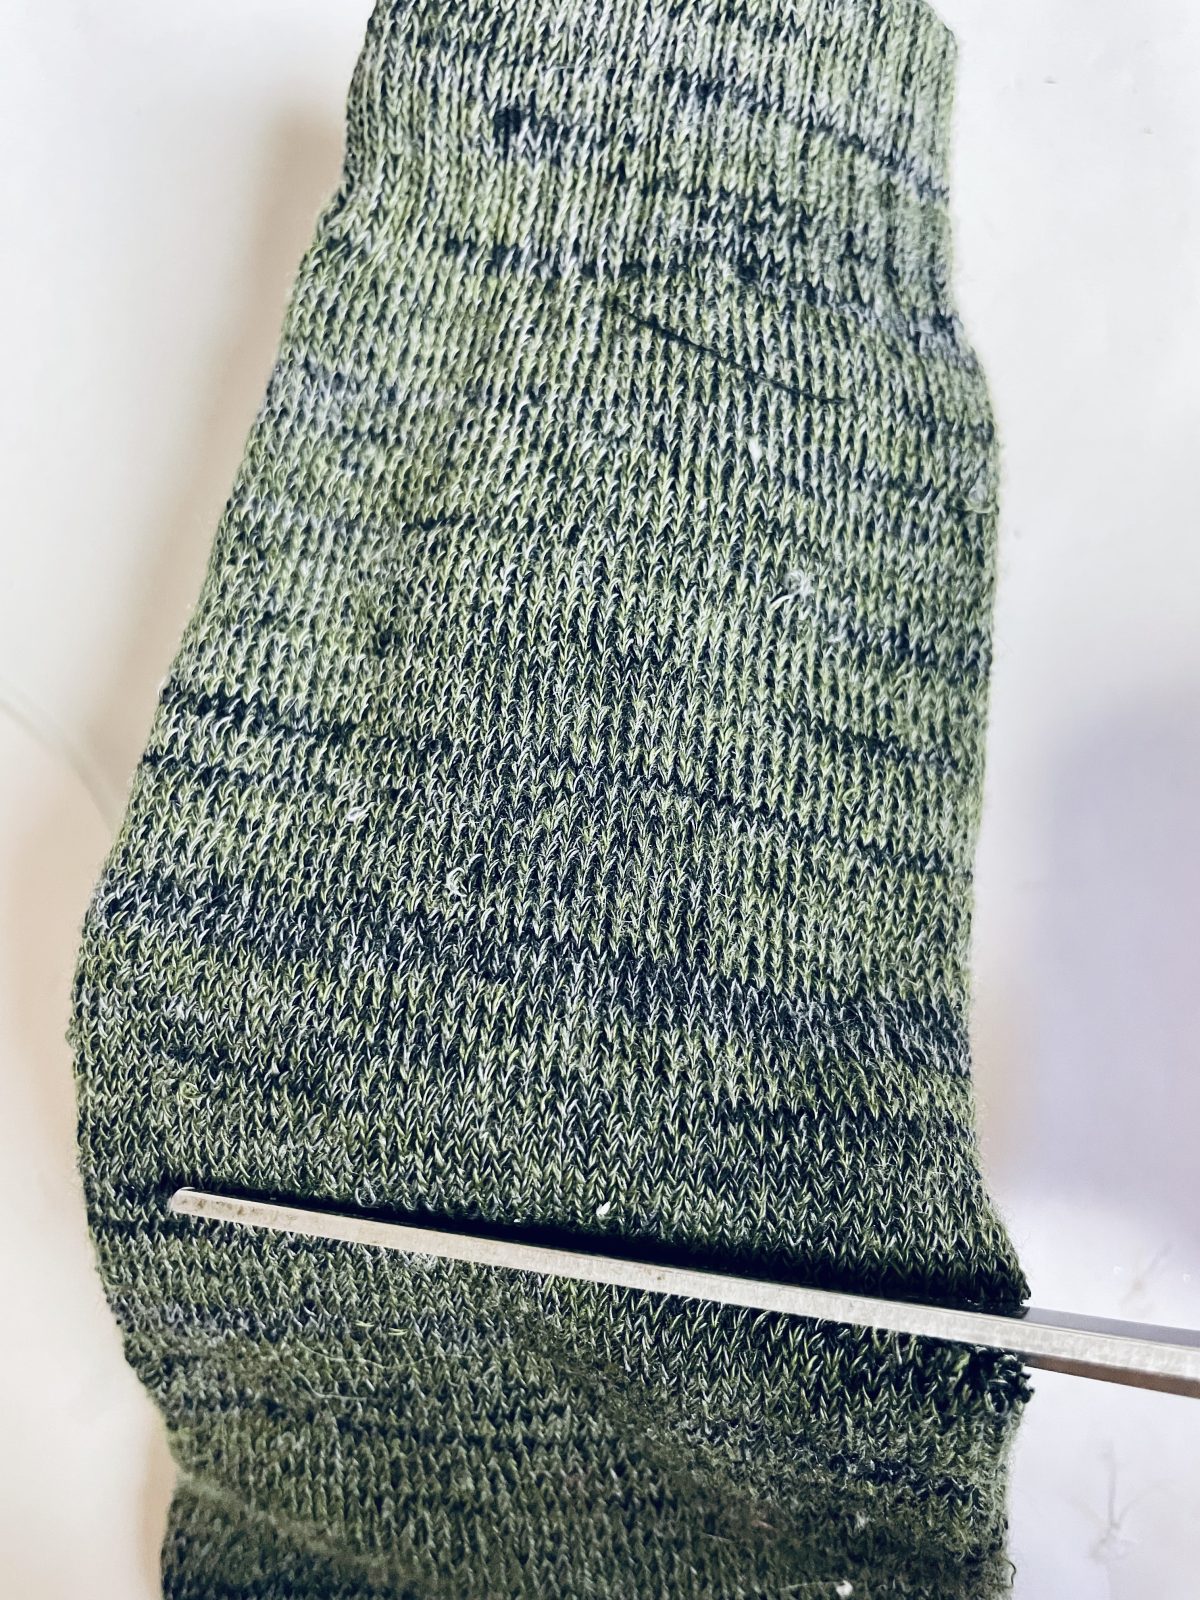
With the excess fabric at the top of the sock, you have two options for a neat finish. You can either trim the excess fabric, ensuring it lines up nicely with the top of the cone, or you can wrap the excess around the cone and apply hot glue to secure it. The choice is yours, depending on your preferred gnome style.
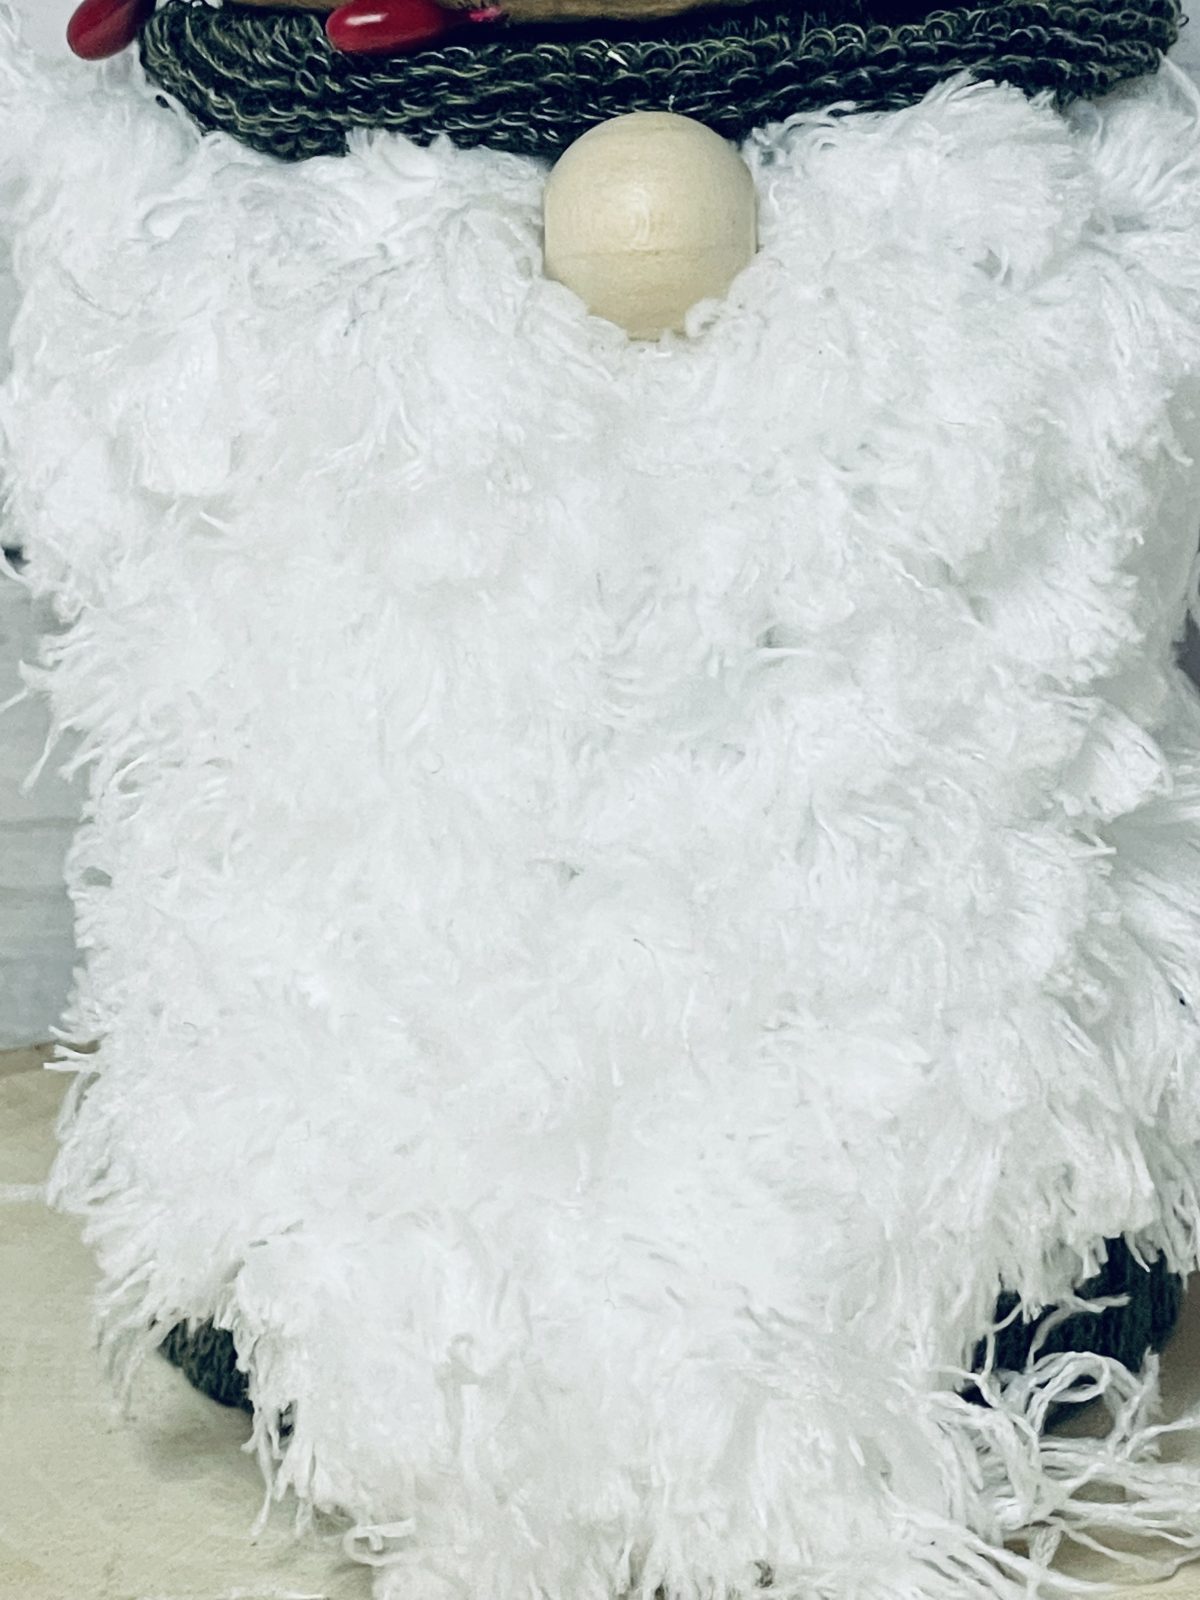
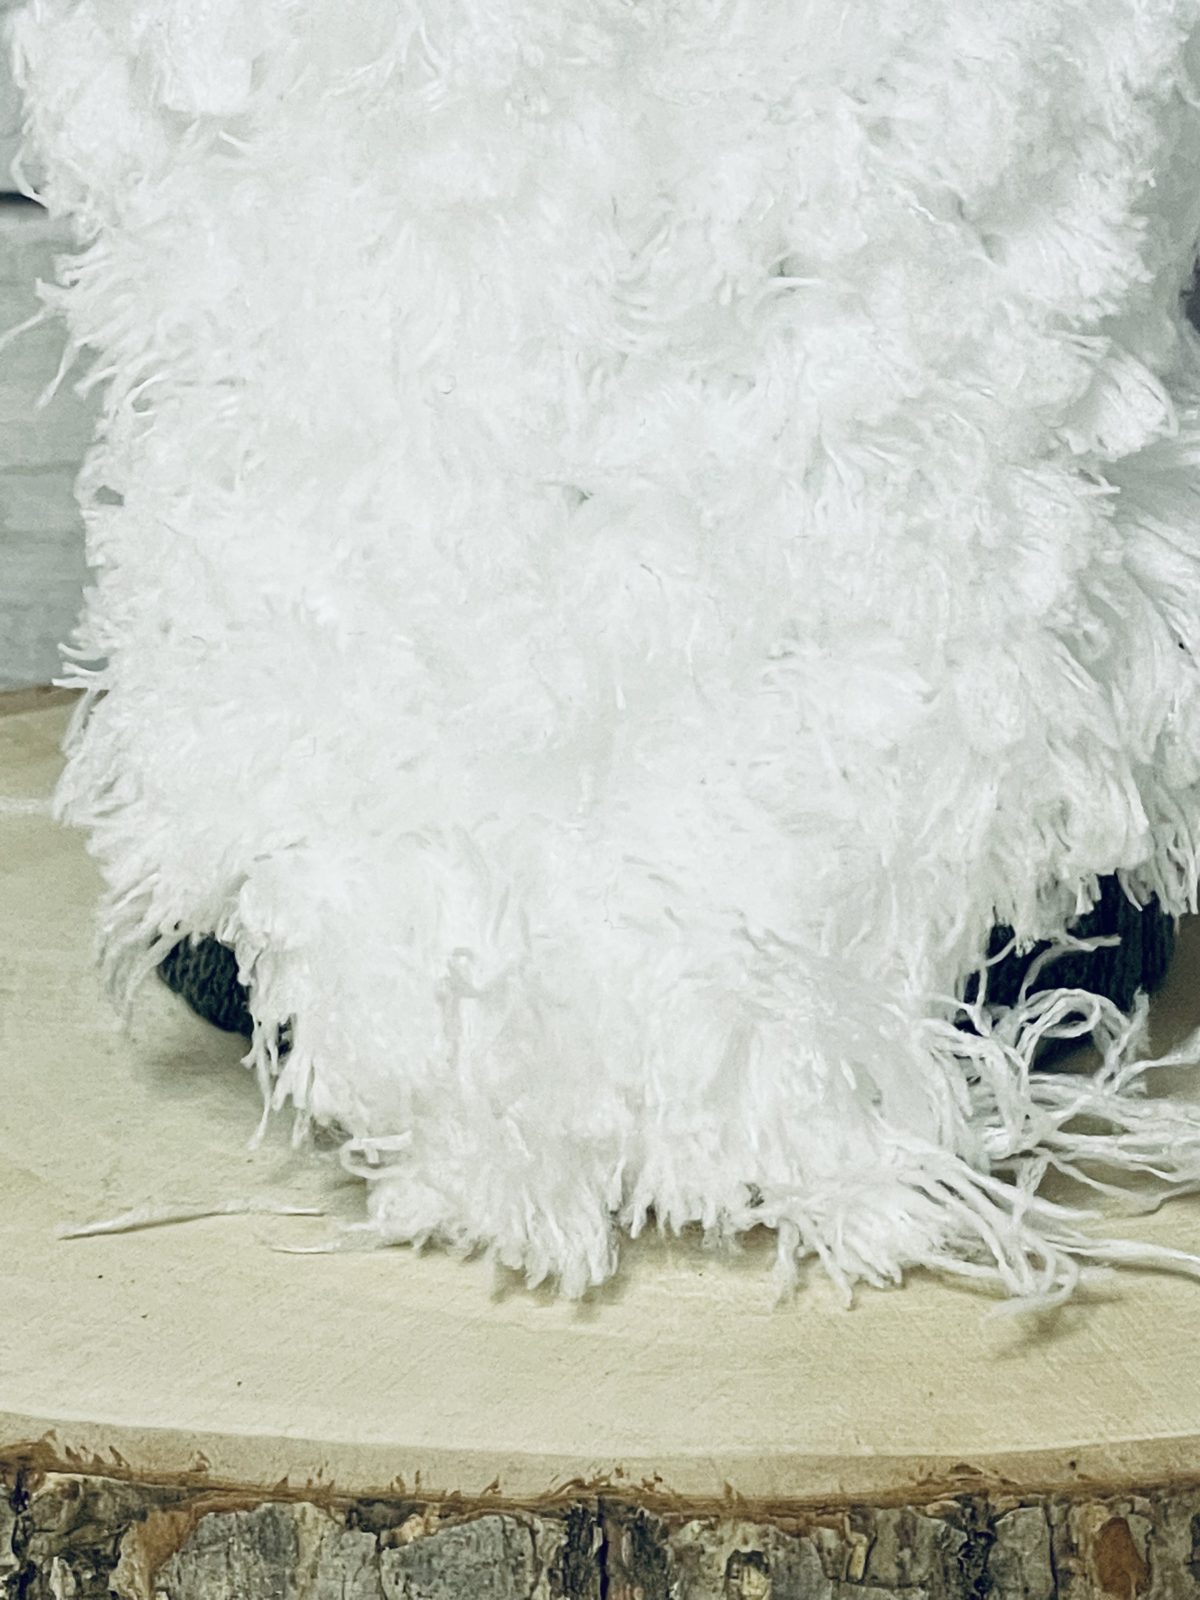
Creating the Beard:
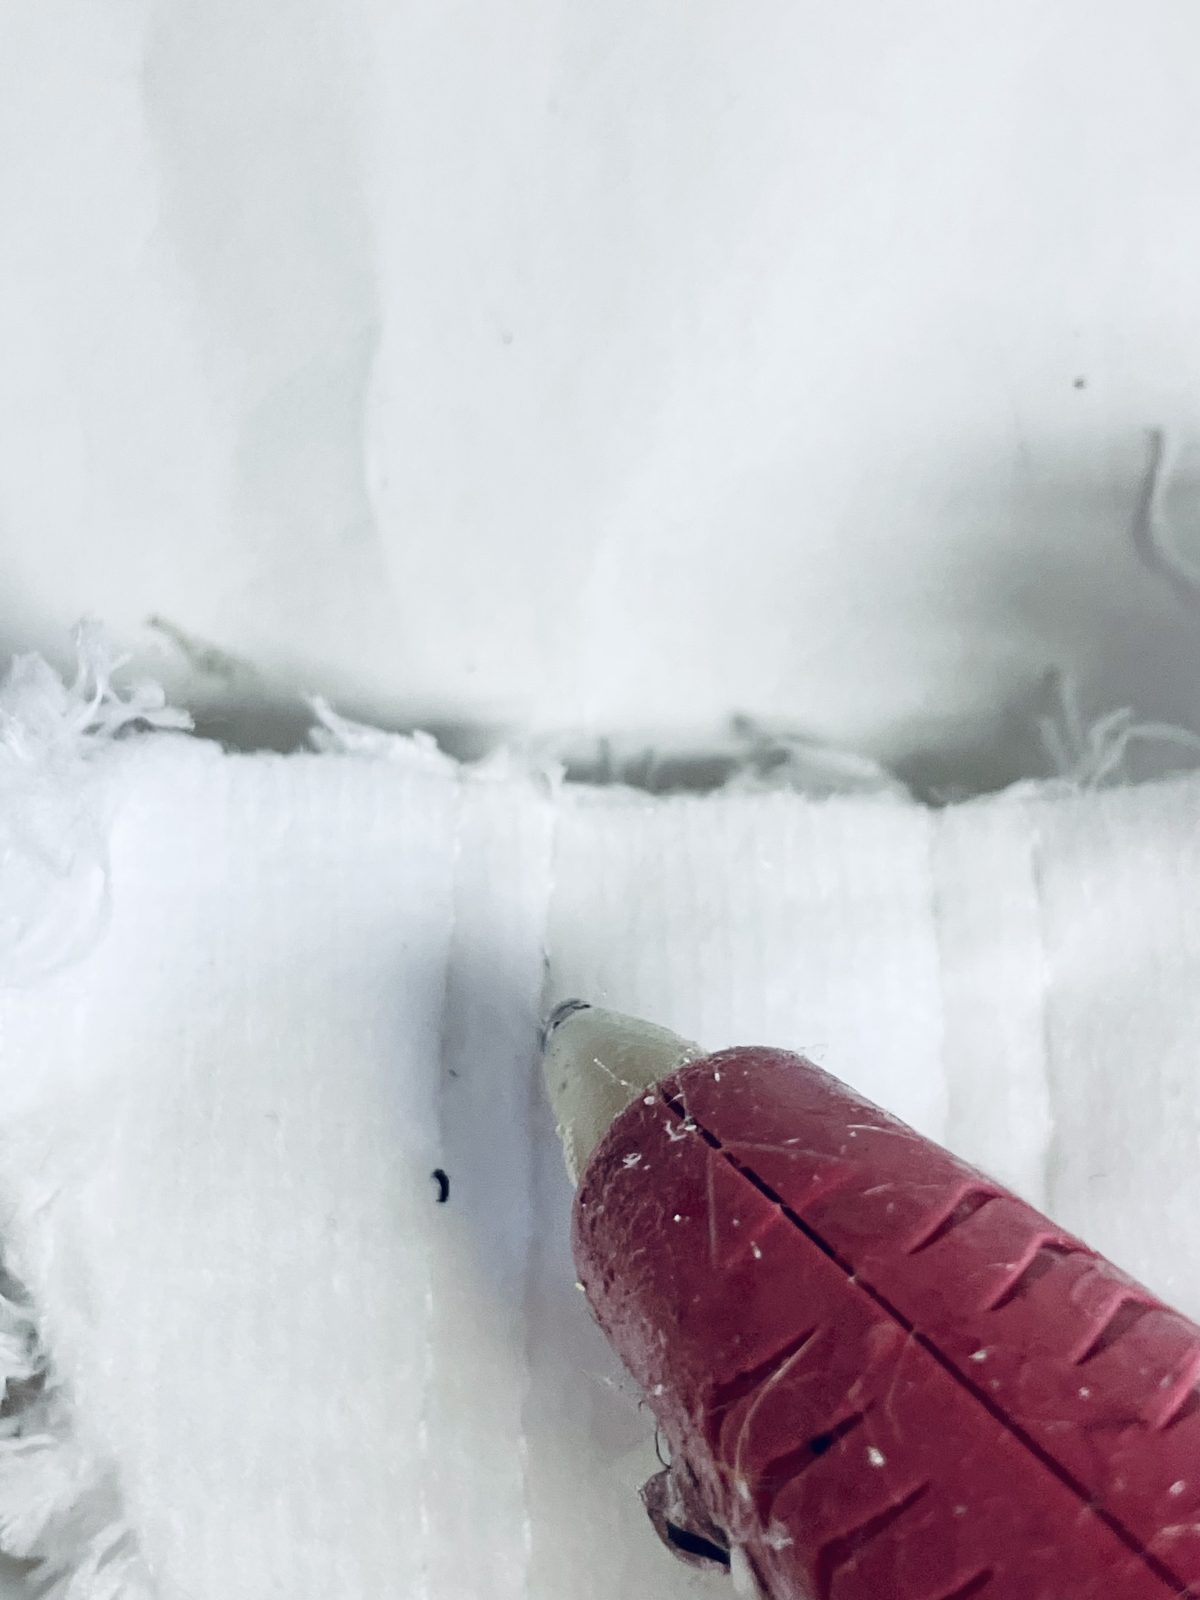
Next, take your scissors and cut a piece of the microfiber cloth measuring approximately 4 x 5 inches. This piece will serve as the gnome’s beard.
To give the beard a more authentic and whimsical appearance, you can trim it down into a triangular shape. This helps it resemble a classic gnome’s bushy beard.
Apply hot glue to the upper ¾ section of the foam cone. Carefully attach the trimmed microfiber cloth to this glued area, ensuring it sticks securely. This placement creates the endearing beard for your gnome.

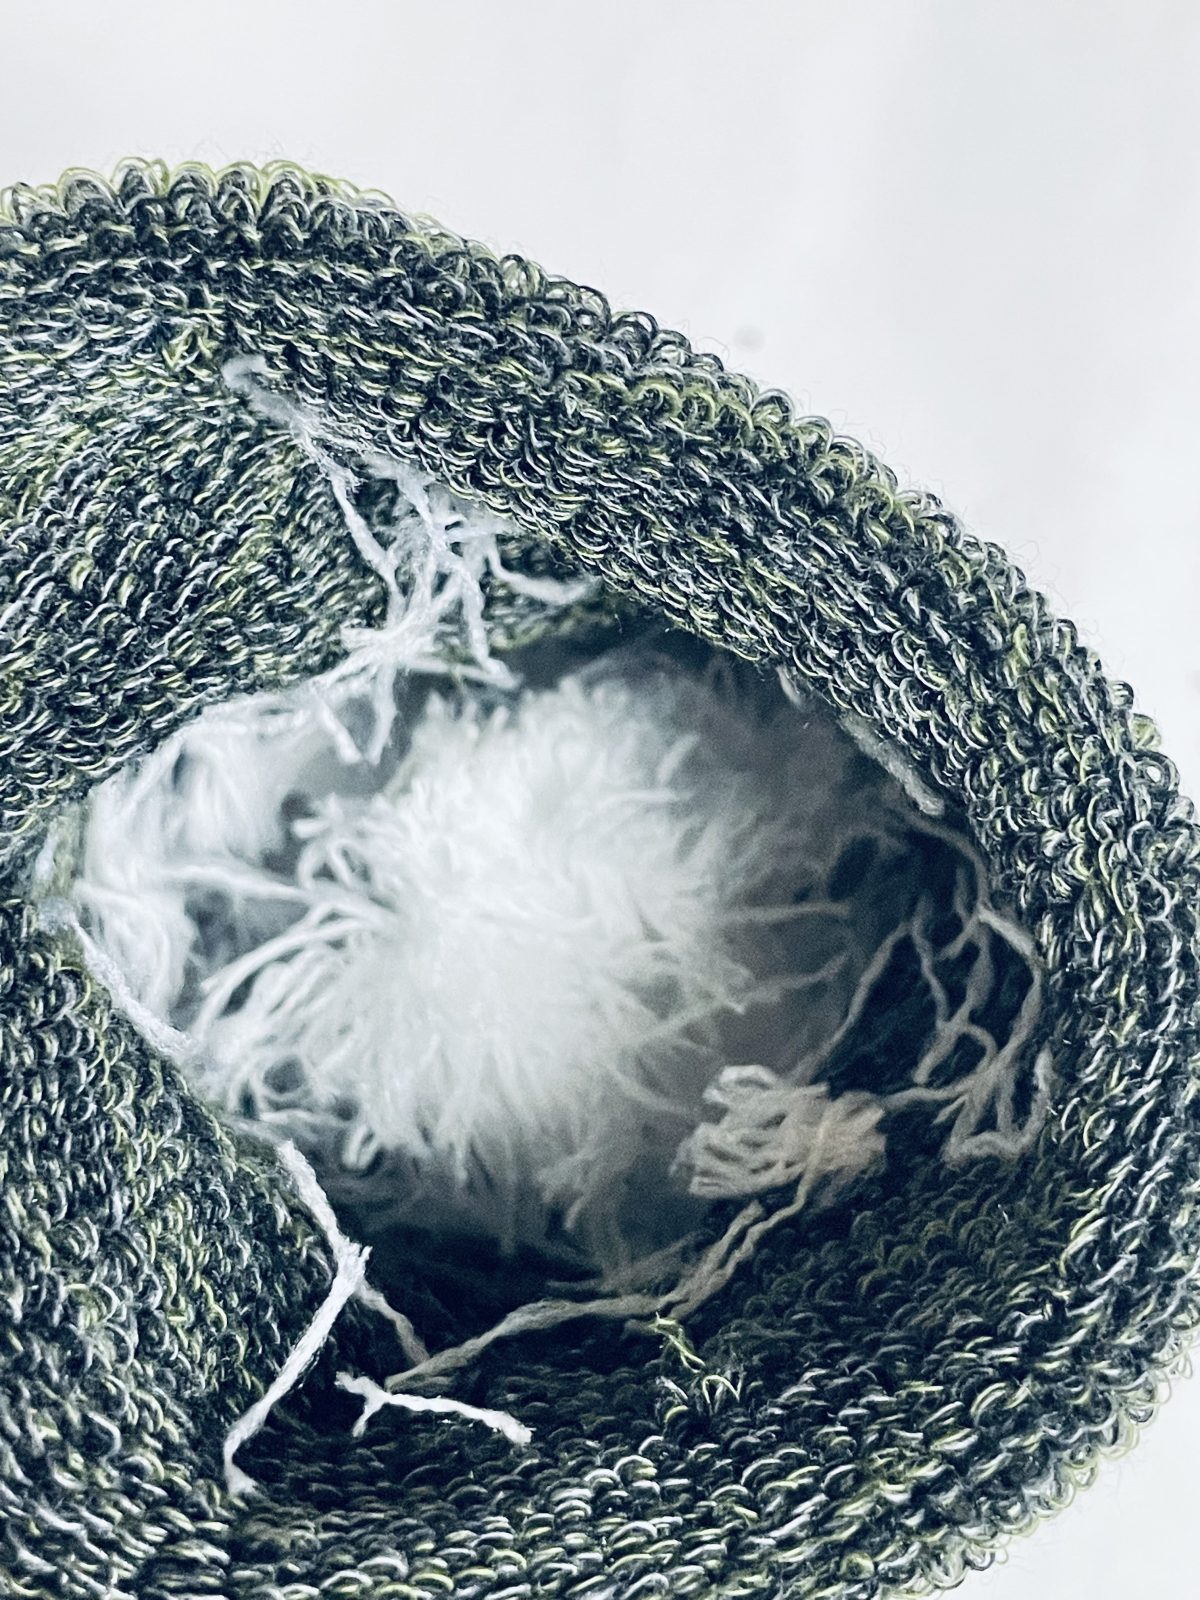
Hat and Hat Trimming:
For added stability and to give the gnome’s hat a defined shape, stuff some pieces of the microfiber cloth into the foot portion of the sock. This step not only adds structure but also gives the hat a delightful sagging effect.
Roll up the bottom edge of the sock. This rolled portion will serve as a charming trim for the gnome’s hat. Carefully place the rolled edge onto the top portion of the foam cone.
Use your trusty hot glue gun to secure the hat in place, ensuring it covers the gnome’s head snugly.
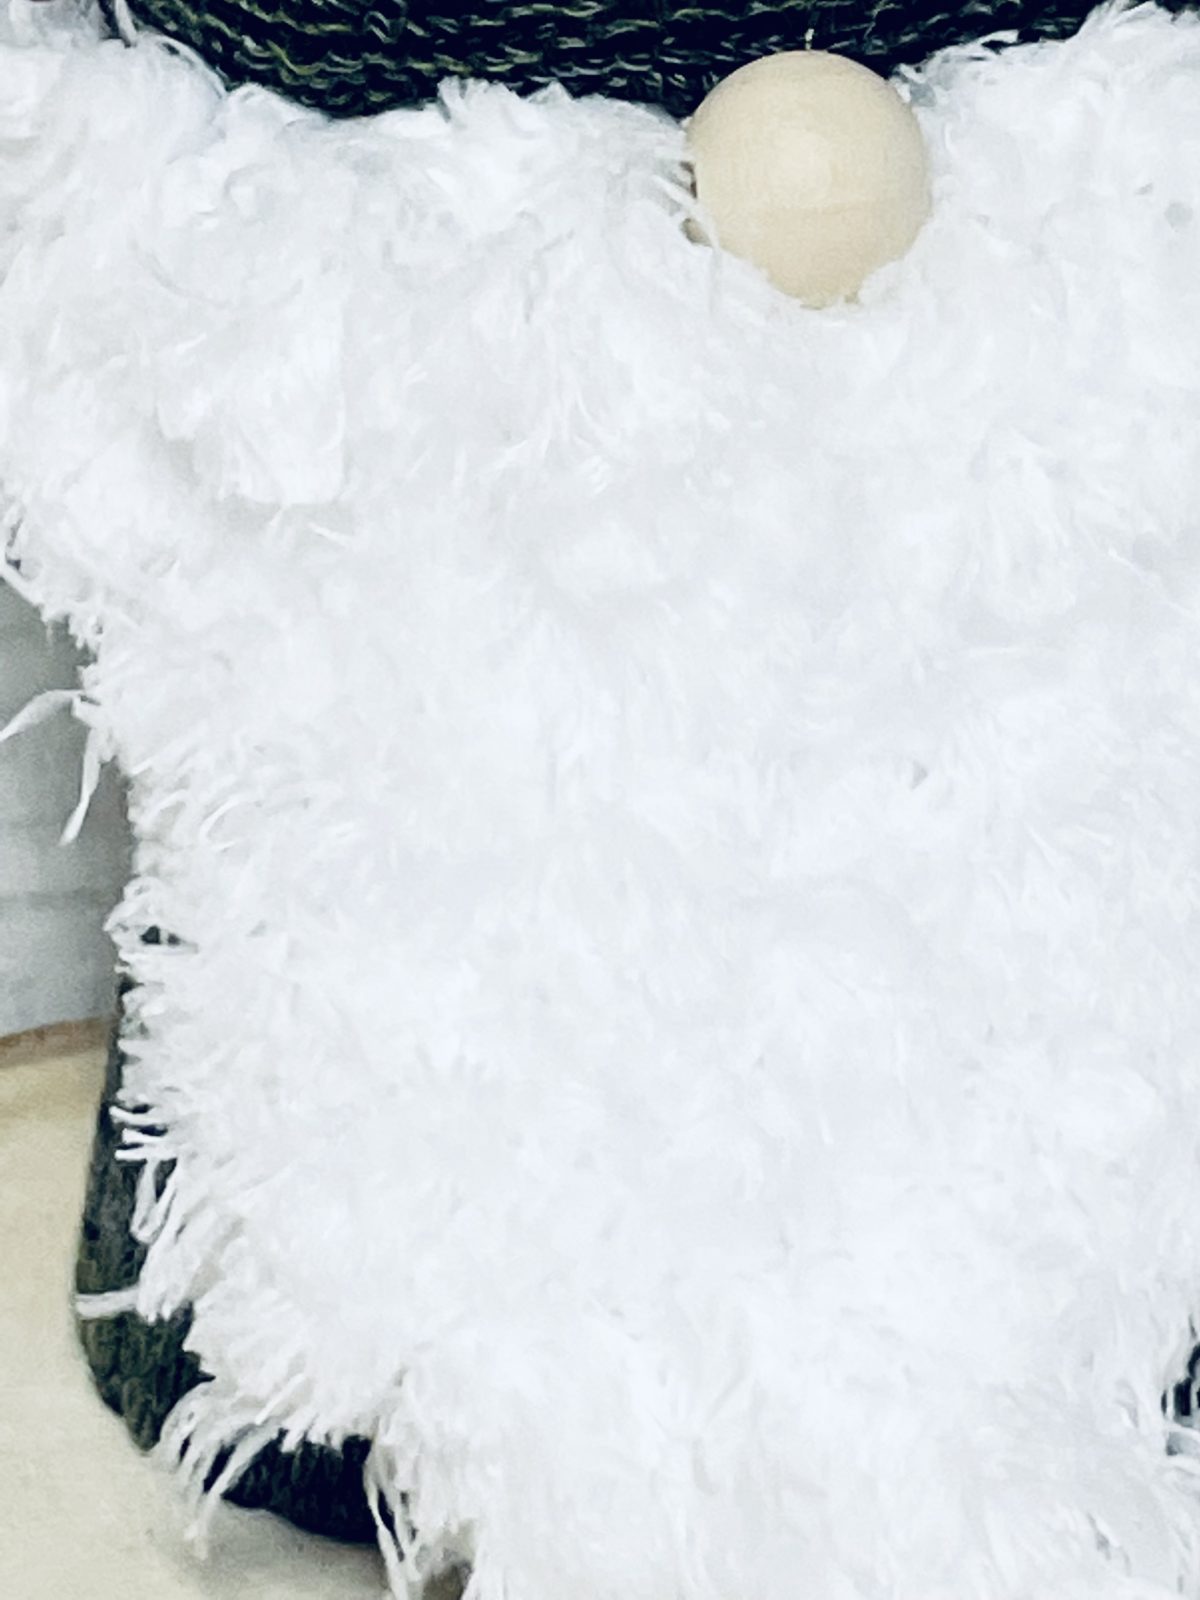
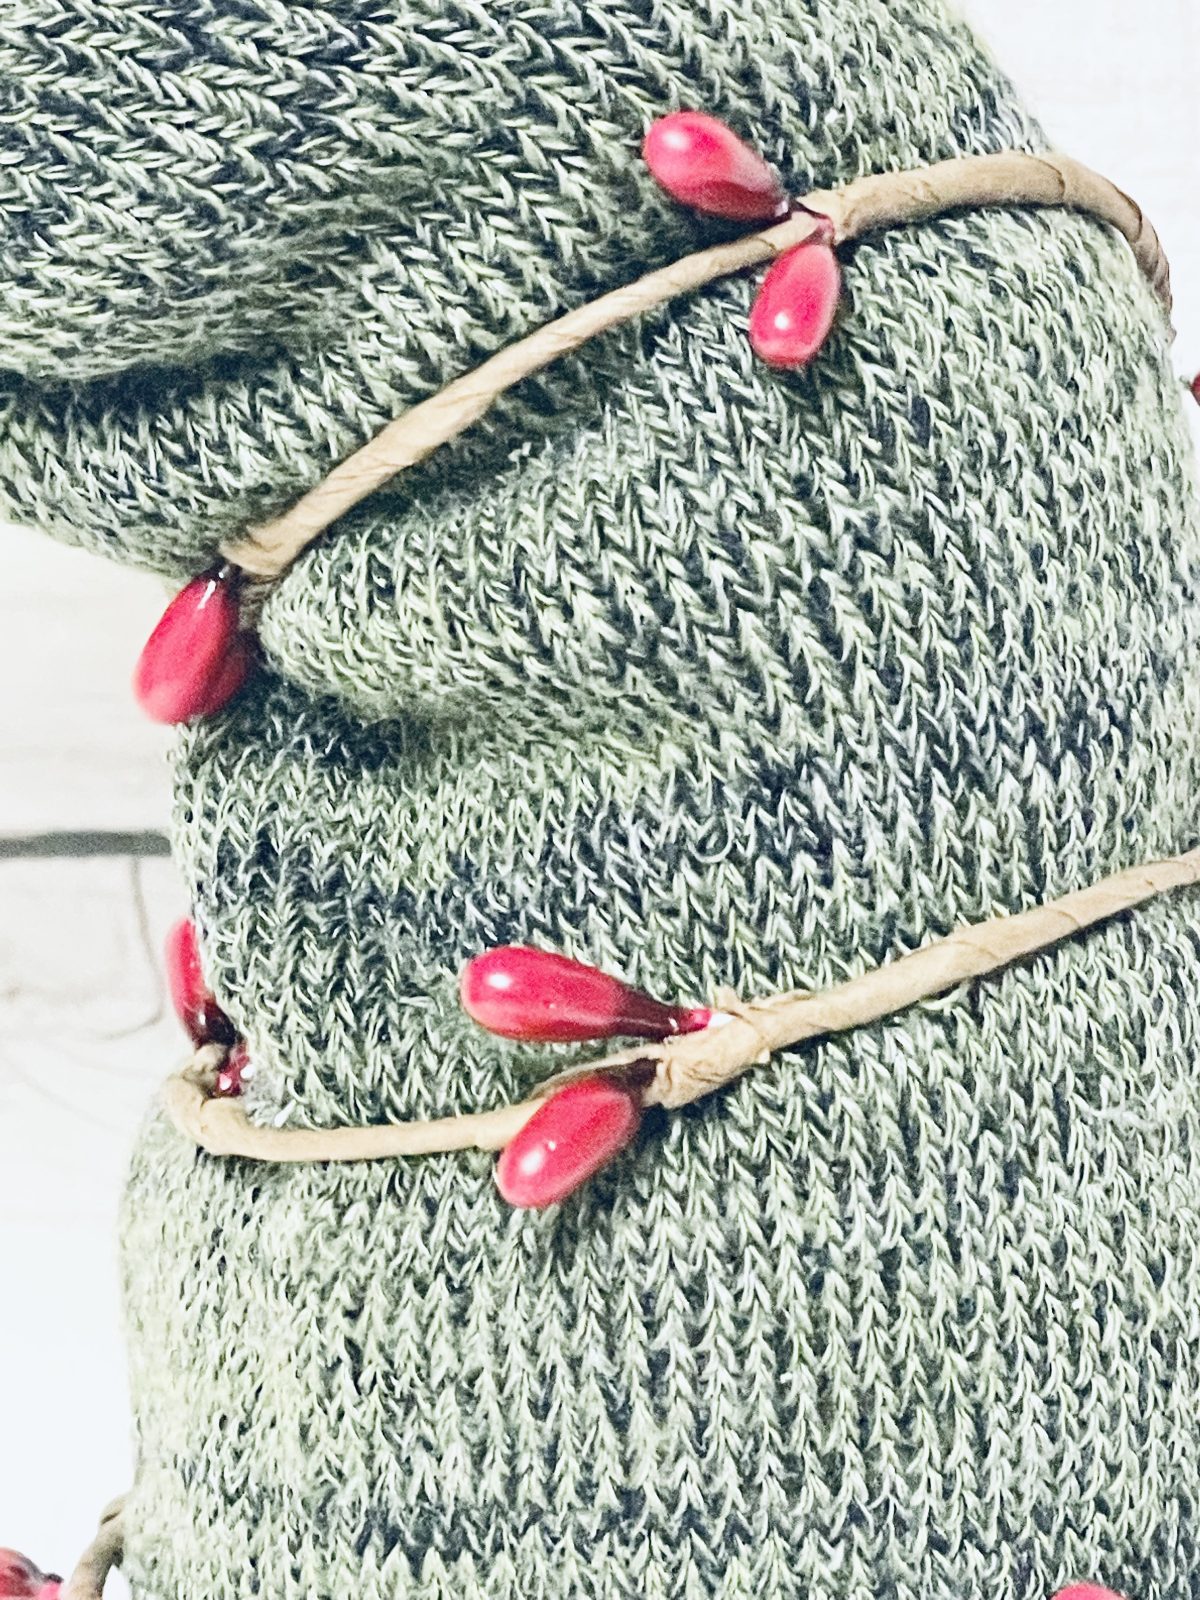
Wintery Hat Accent:
To infuse a wintery touch to your gnome’s hat, trim about a 16-inch section of the berry garland.
Gently wrap this garland around the gnome’s hat, starting from the base and working your way upwards. This not only helps maintain the hat’s shape but also adds a festive and seasonal feel to your creation.
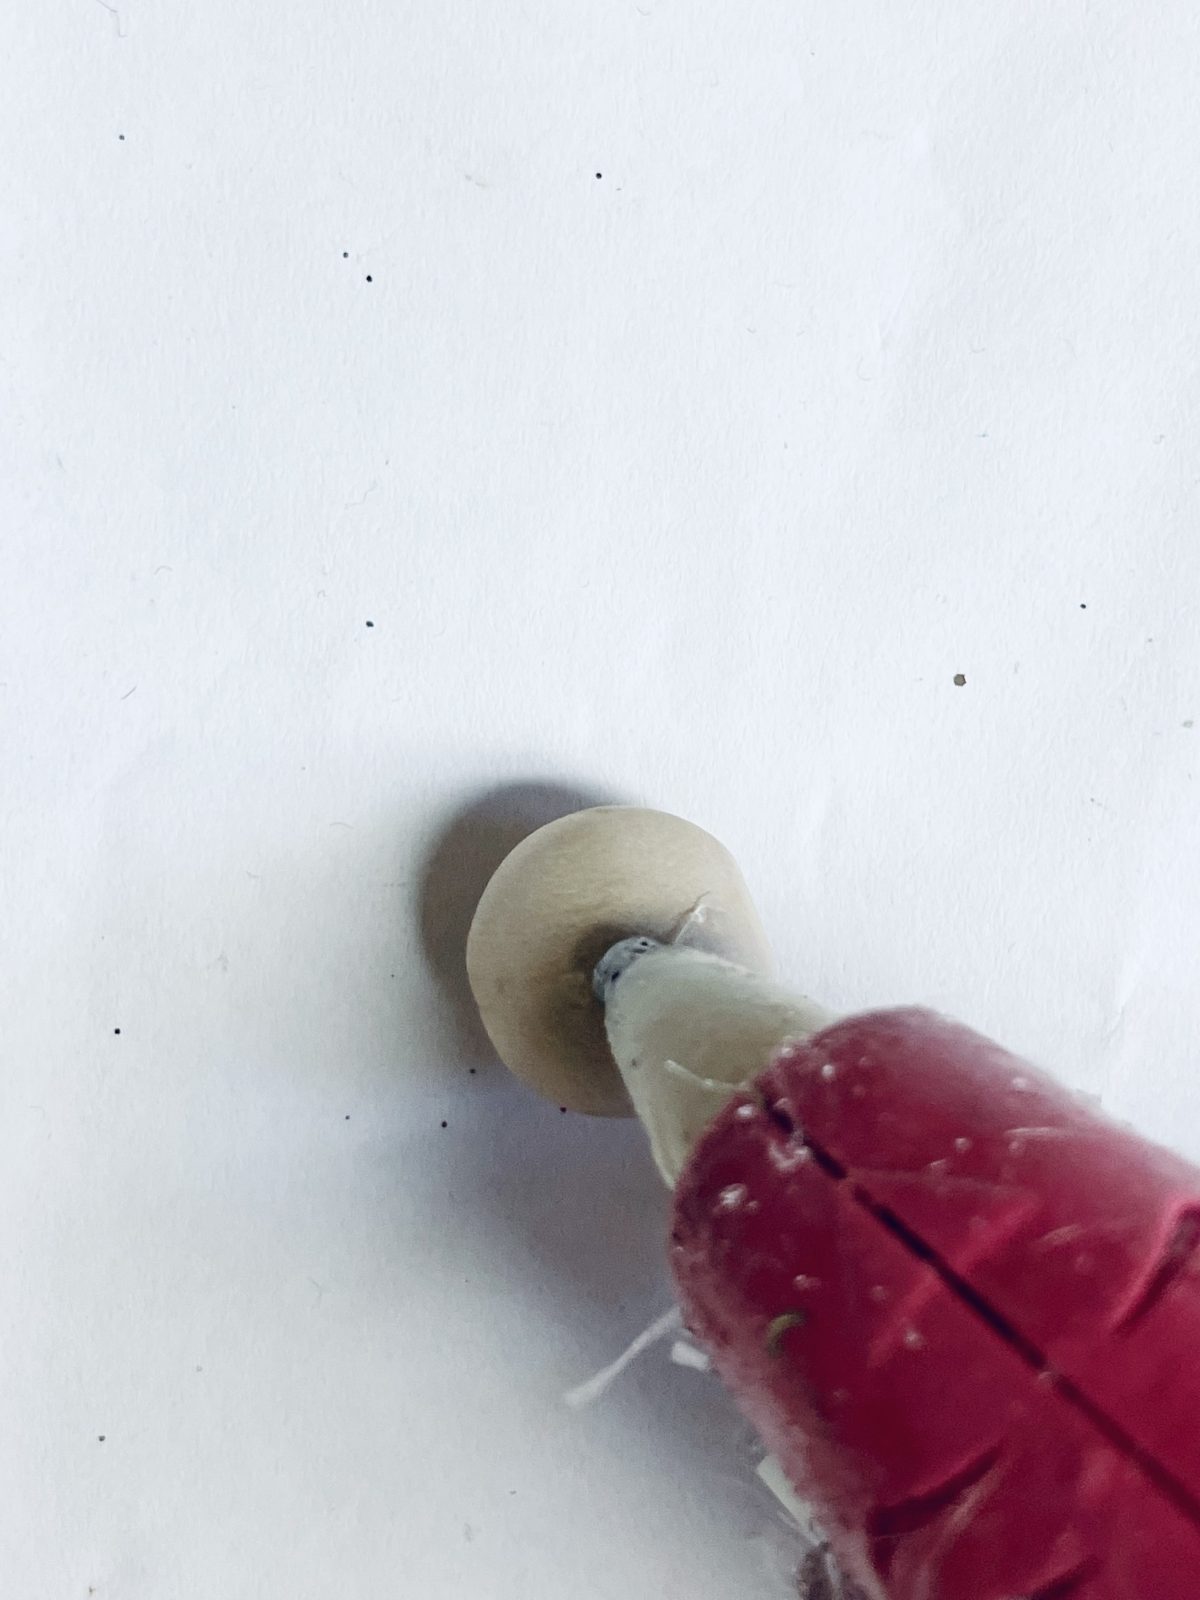 Finishing Touch with the Wooden Bead:
Lastly, grab your wooden bead and apply hot glue to it.
Carefully place the bead at the bottom of the hat’s trim. This bead serves as a charming accent and completes the look of your Dollar Tree Winter Sock Gnome.
With these detailed instructions, you’ll have your very own whimsical gnomes ready to bring a touch of winter magic to your home decor. Enjoy the crafting process and the delightful result!


What do you think of this project? Let us know!