
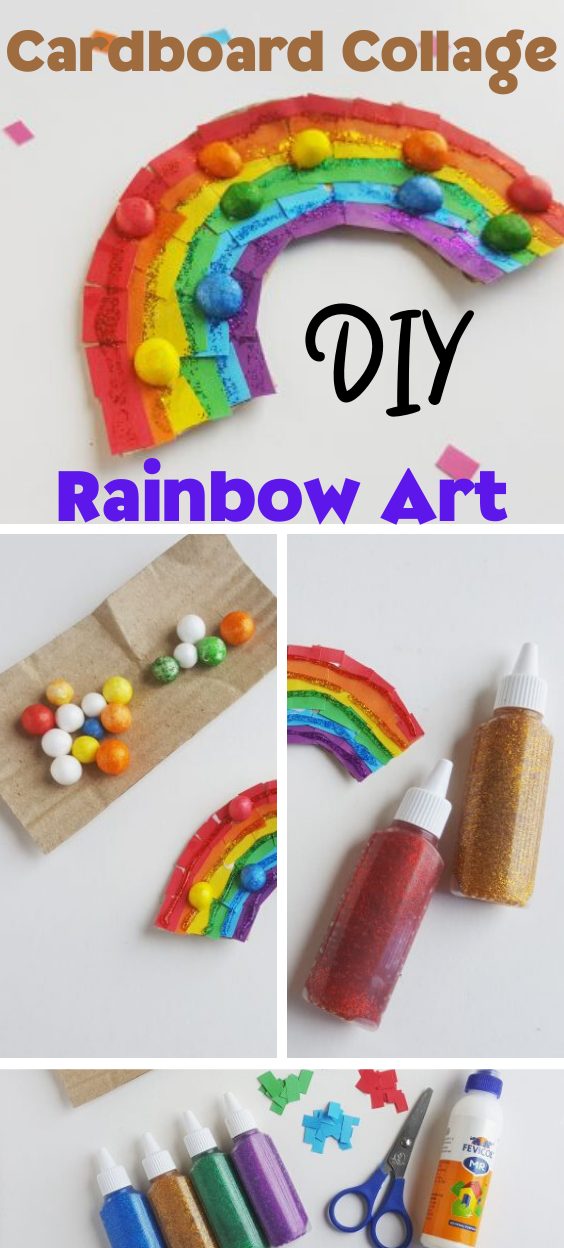
Get more details about this project
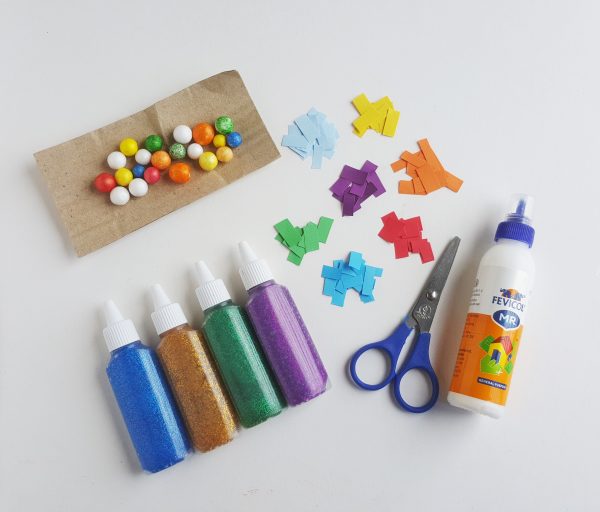
What you need
Cardboard – leftover
Scissors
Colored craft paper – cut into small square pieces
Glitter
Colored styrofoam balls – cut into half.
Craft glue
Instructions
Instruction:
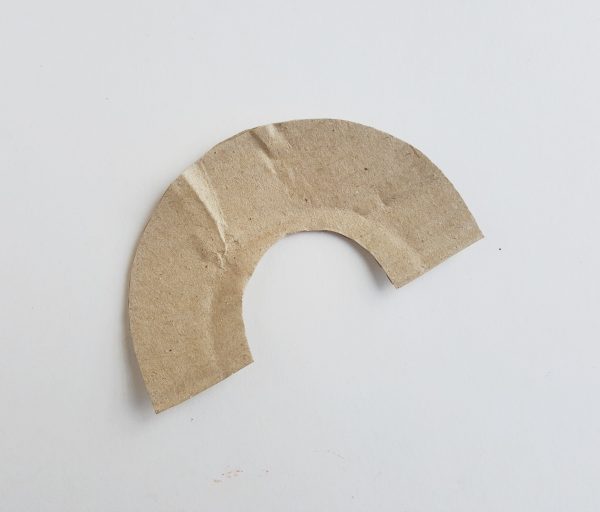
Step (1)
Cut the arch pattern from the template. Trace the pattern on a piece of cardboard and use scissors to cut out the traced pattern from the cardboard. This will be the base of the rainbow.
Step (2)
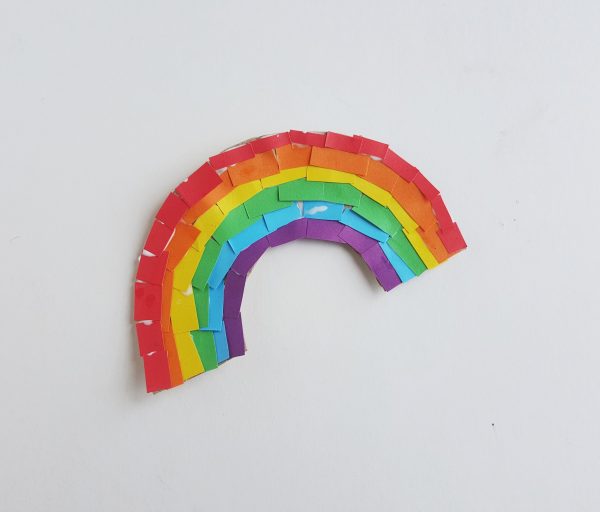
Take the colored craft papers and cut them into small square pieces. Glue the square pieces on the rainbow base. You can either apply glue on the small square papers and stick them on the base or apply glue on base and place the square papers on the glue of the base.
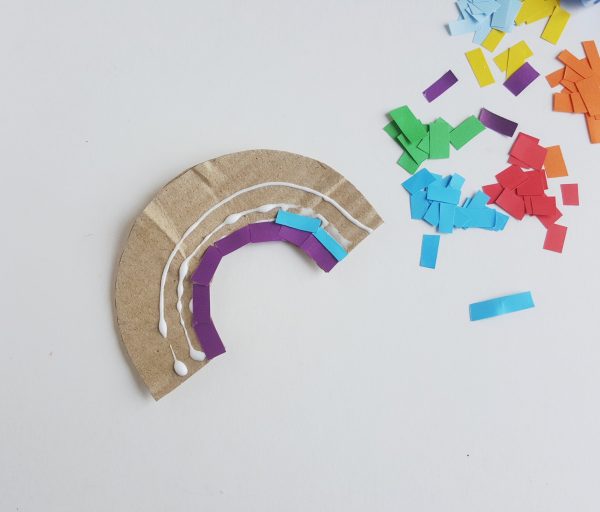
Step (3)
Fill the whole base with the small square papers. Glue them randomly or keep a pattern, however you want!
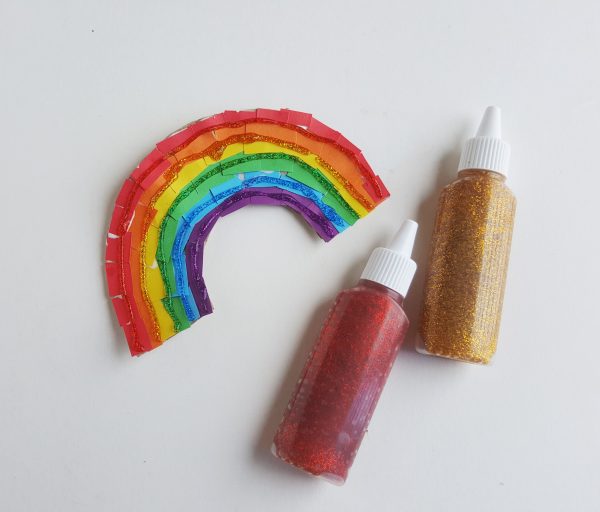
Step (4)
Time to decorate the rainbow! Apply glitter glue over the patch art rainbow.
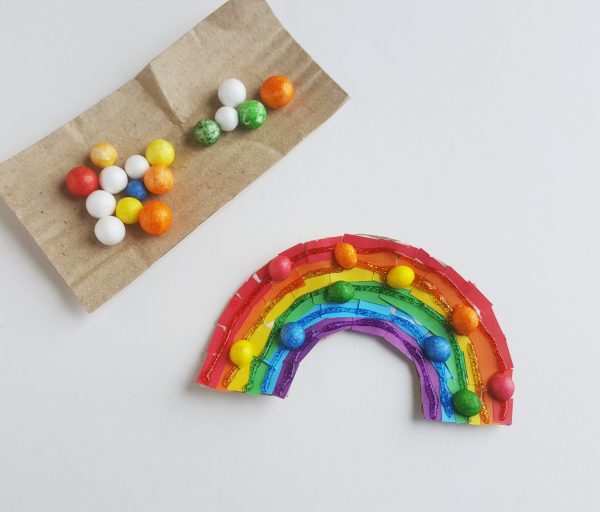
Step (5)
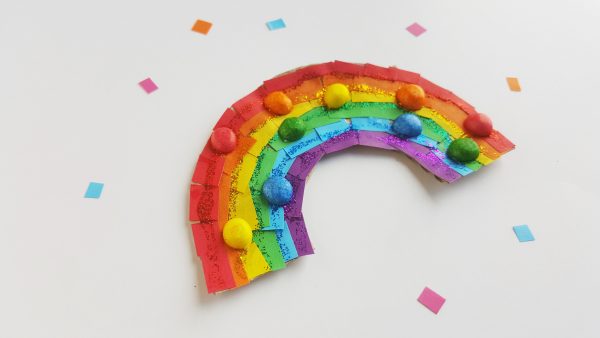
Want to decorate more? Add small Styrofoam balls by simply cutting them into half and then gluing them on the patch art rainbow. You can add loads of other stuffs, like confetti, pompoms, punched shapes and much more!
Step (6)
Attach a hanging mechanism at the back side of the rainbow. Simply cut a small piece of thick thread or ribbon, fold it into half and attach the open ends with adhesive tape at the back side of the rainbow base.
Gather all the supplies and get creative!


What do you think of this project? Let us know!