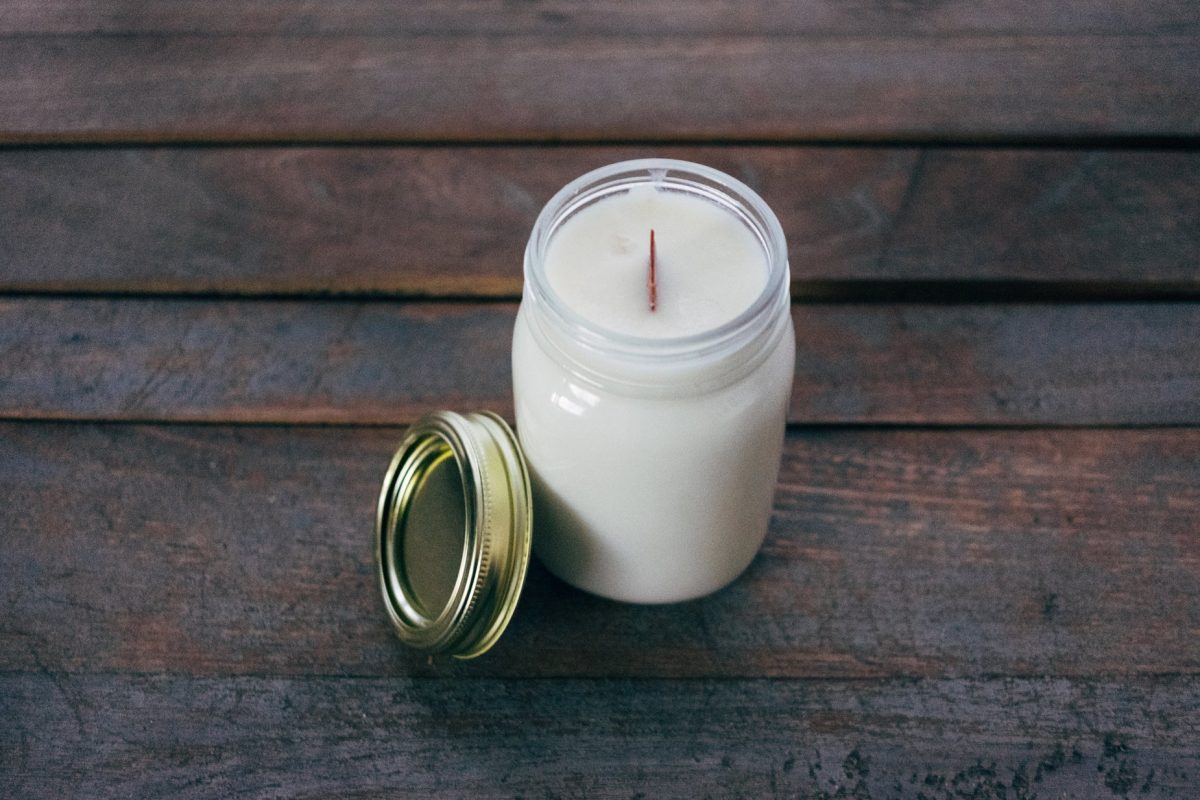
What you need
Candle wax or Soy Wax
Candle Dyes (optional)
Candlewick
Heavy Candle Pot (to melt wax)
and a suitable mold
Suitable Molds Are:
Purchased Molds specifically for candle making or household items that are flexible and will release the hardened candle, some of these are:
Lightweight plastic molds like bowls or cups.
Polystyrene or heat resistant cups where can be torn away from the hardened candle wax.
Milk Or Drink Cartons.
Instructions
How to melt the Wax: Place your required wax amount into the heavy pan and place it on the heat. Slowly heat the pan till all the wax in your pot melts. Don’t allow the wax to get too hot. If you do not have a heavy pot such as a cast iron pot then we recommend using a double boiler method for safety.
Adding the Dye: Once you have melted your wax you can add your dye. Add a small amount at a time as it is very strong. Note: When dried, the color is much lighter.
Getting the wick ready: Dip your wick several times into the melted wax to give it a wax coating to insure it burns evenly.
Getting the mold ready:
Start by cutting down your milk carton so that your candle mold is of appropriate size for the candle (or use other mold).
Next attach your wick to a pencil or length of wood that will sit across the top of your candle mold (top is the open end).
Next make a small hole in the bottom of the carton to thread your wick through. Pull it tight so that the wick from the pencil to outside of the carton is firm. A loose wick will cause your candle to have problems burning later on.
Now stick down the wick at the bottom with some sticky tape and using a piece of blu-tack or Plasticine close up the hole so no wax can seep out.
Pouring your wax: Be careful you do not spill the wax onto yourself and gently pour the wax into the mold. Fill it to the top but save a small amount for top ups in case of shrinkage and allow to cool.
Cooling the candle: As it cools you will notice that the top will sink inwards, this is called shrinkage. Pour a small amount of wax on top of this to fill it up. Continue to allow to cool.
Removing the mold: If it is a single use mold (such as a milk carton) then just tear it away. If it is plastic then run the outside of the mold in hot water, this will melt the outside wax helping it to adhere to the mold and it should just slip out.
Finishing it off: If your mold it not flat at the bottom then place it directly onto a hot pan surface and melt it down flat to tidy it up and finish it off.
Variations:
Rainbow Candles: These can be made by pouring a small section of wax one color then allowing to cool completely and adding a second color.
Shell Candle: Before pouring your wax, line your mold with shells to give it a nice decoration.


FUN
is the candle making a hard craft? i dont consider myself to be a smart person but love candles and the thought of being able to make them would be wounderful.
it can also been done by corn flour
wow!!!!!!!!!!!!!!!
it’s sooo wonderful and beatiful and useful!!!!!!!!!!!!
thanks guys!!!!!!!!
gud job….
I filled the milk carton with ice cubes and poured in the wax. When I tore the milk carton away after cooling, I discovered the candle had formed into a beautiful and unique shape as the icecubes slowed down the wax so holes and shapes were left in the finished product. The kids really enjoyed doing this and no two were alike.
nice way of making candles thanks for it , jude
thank you for this information , it covered the process step by step and was very helpful thank you again .
thanks,i’ve wanted to learn on how to make candles. edloi
Thank you!
wow cool ty 🙂 O.o
very helpful for a beginner
quite easy and understandable
nice one
i have never made candles, so i think i will try it. you should check out my crafts.
this is NEAT!
easy to understand
I LOVE THIS PROJECT
IT IS SO FUN
This help me make somthing for my mom
a very easy one to get comfortable with!
Most candle wax does shrink, you will need to top up or fill the candle to fill in hollows. It is always best to make your pouring top actually the underside of the finished candle so it can not been seen
Most candle wax does shrink, you will need to top up or fill the candle to fill in hollows. It is always best to make your pouring top actually the underside of the finished candle so it can not been seen
I have posted a message asking why do my candles tend to have a hollow n top after getting cold, but I must have missed the message somewhere… I would be glad if someone can tell me how to prevent it from getting hollow. thanks
I have followed the instruction, but I still get the shrinkage.
terrific for a green horn like me. keep it up!
very informative in layman’s language
Thanks a lot .It was great help.
i was going to take a candle-making class… but it got canceled! thanks for the basic recipe. now i can make some candles!
very good details.
Good information. It cleared everything right up for me!
awesome
Good basic info, to get going with
This is clear and informative.
Easy to read, and to follow.
Thank you.
D
great! it’s for my project!
lurve it
fantastic site just found and will refer to again and again
very helpful
it info given was really helpful. thanks.
looks good I think we might try it
it info given was really helpful. thanks.
I’ve also lined my candle molds with a very tiny amount (Just barely brushed on) vaseline or in a pinch butter. If you make it super thin your candle won’t distort and it won’t stick to your mold. 🙂
EXCELLENT
I’ve always wanted to learn how to make candles
WICKed lol! Very informative and helpful…cheers 🙂
i love it
i love the idea
Where can I get candle making supplies?
this tells you every thing you need to know about candle making and more but it should also talk about candlemaking histary
Decent Basic Info thanks.I think I can make a start now