
Get more details about this project
What you need
Worsted weight cotton yarn.
2 small balls, 2 colors A and B.
Most worsted weight yarns should work.
My thoughts are acrylic might be a good choice for dry dusting, especially in the winter with all that static electricity flying about. Just rub briskly before using, but beware there might be sparks! I have not tried doing this, but it is on my to do list!
Size 7 circular 16″ needles, or size 7, double pointed needles
Crochet hook, size 5 or H
4 stitch markers
Instructions
If you love practical knitting projects, this reusable knitted mop cover is a wonderfully useful make for your home. Instead of buying disposable mop pads over and over again, you can knit your own washable cover using worsted weight yarn and a simple drawstring closure.
This free knitting pattern is designed to fit a standard-size mop, but it can easily be adjusted for a larger mop head. The textured ball band-style design gives the cover grip and surface texture, making it handy for everyday floor cleaning, dusting, and quick household touch-ups. The original project uses two colors of worsted weight yarn and includes instructions for knitting the cover, adding ribbing, creating eyelets, and threading a crocheted drawstring through the top.
Gauge: 18 stitches / 32 rows / 4″ in pattern stitch
With A cast on 45 stitches, loosely. Work Ball Band pattern( ** see above for pattern stitch information) for 6 bands.
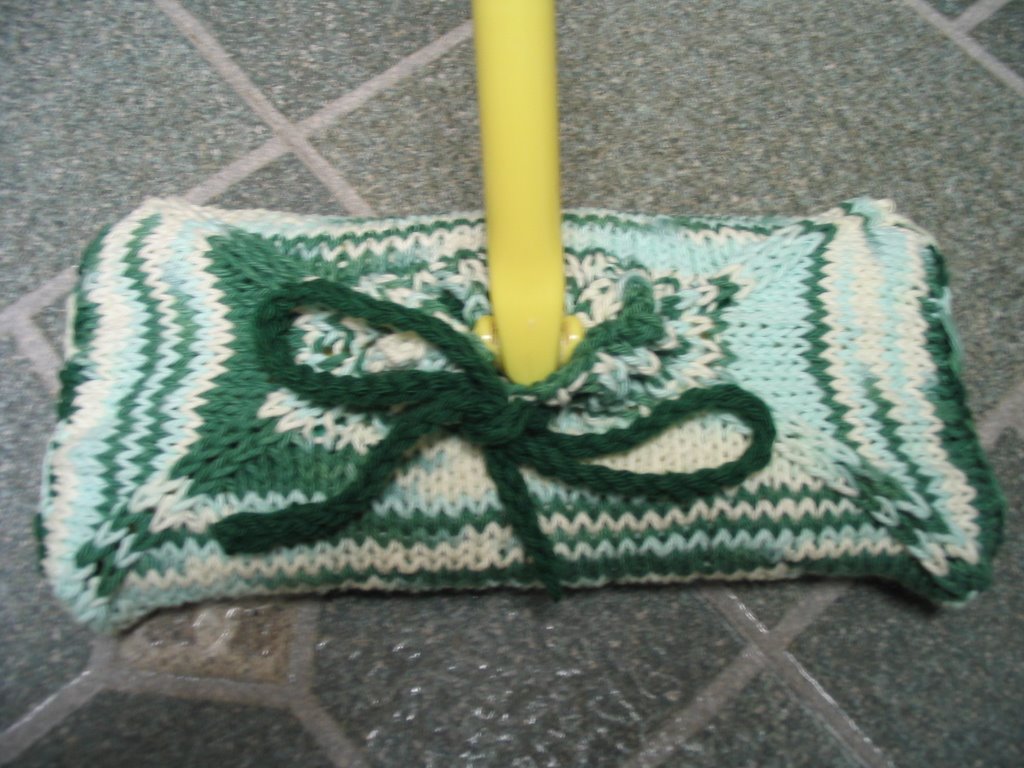
With the yarn you began with, knit one more row. You should have 45 stitches on your needle. Place marker on needle, pick up and knit 32 stitches (short side), then place another marker on needle and pick up and knit 45 stitches, place another marker on the needle and pick up the last 32 stitches and put the last marker on the needle. You will continue from now on in the round.
Knit one round.
Decrease rows: Beginning with the next round * SKP(slip a stitch on the needle, knit the next stitch and then pass the slip stitch over the knit stitch) after marker, continue to knit until 2 stitches before next marker. K 2 tog (knit those 2 stitches together), repeat from * until there are 6 stitches left on your needle on the short sides.
Ribbing: At the beginning of the next round do K1 P1 ribbing for 3 rows.
Eyelet round:*K1, YO(yarn over) k2 together, repeat from * for one round ending with a p1
After eyelet round do K1 P1 ribbing for 2 more rows.
Bind off loosely in ribbing, join last stitch to complete ribbing.
Weave in ends.
Drawstring: With crochet hook, loosely crochet a chain of desired length, turn, skip one chain and crochet a slip stitch in each of the chain stitches until the end. Weave in ends and thread drawstring through eyelets.
Happy mopping!
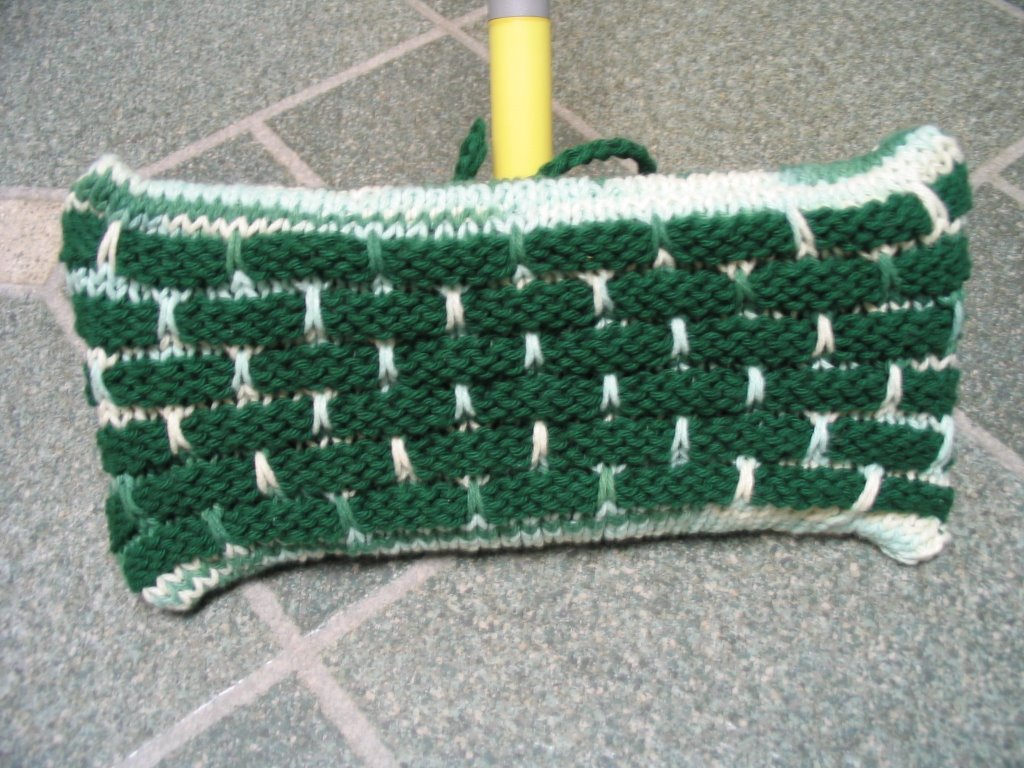
Be advised: I would not recommend washing the dirty mop heads in with my regular wash. Brush off dirt and dust with a brush or wisk broom first and then wash separately.
This project was contributed by Deb from hakucho.blogspot.com




What a great idea!
And how eco-friendly, thanks 🙂
Very nice! would be neat to add a little mesh for extra scrubing power!
That’s interesting..I will have to tell my mom about that, I think she would like it!