
What you need
For this project you’ll need:
1. Felts (Any three colours of your choice).
2. Scissors.
3. Pencil.
4.Thread and Needle.
5. Pearl Beads.
6. Chain.
7. Wire.
8. Pliers.
Instructions

Use a round paper template or anything round to draw circles on the felt. in this way you’ll be able to get equal sized circles.
Cut out
6 dark blue circles of felts
4 Light Blue circles of felt and
3 white circles of felts.
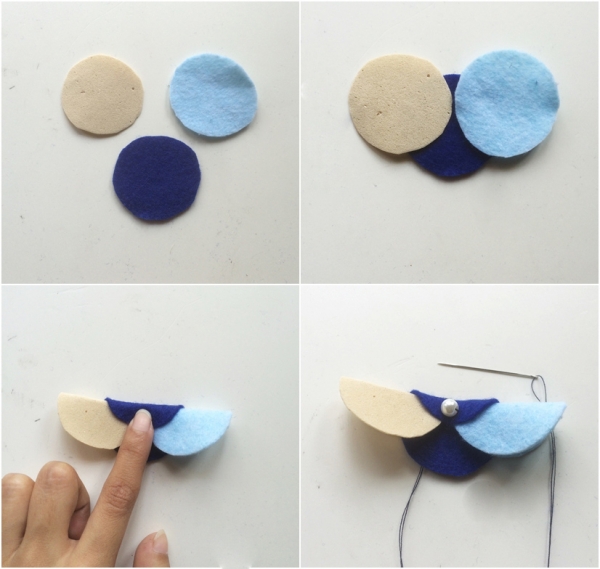
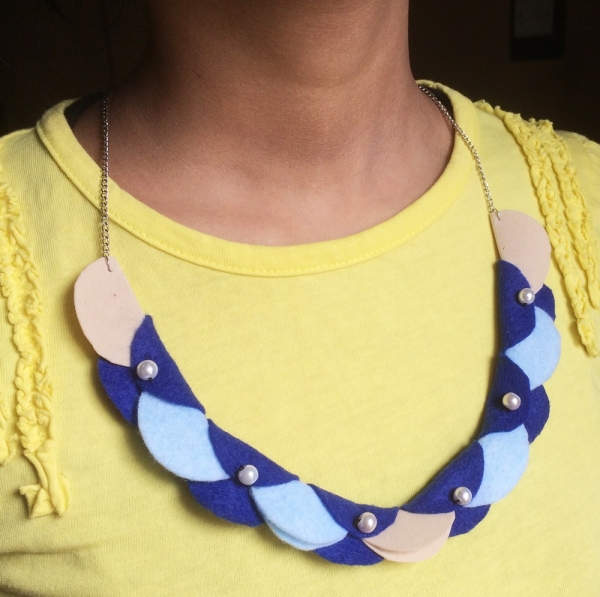
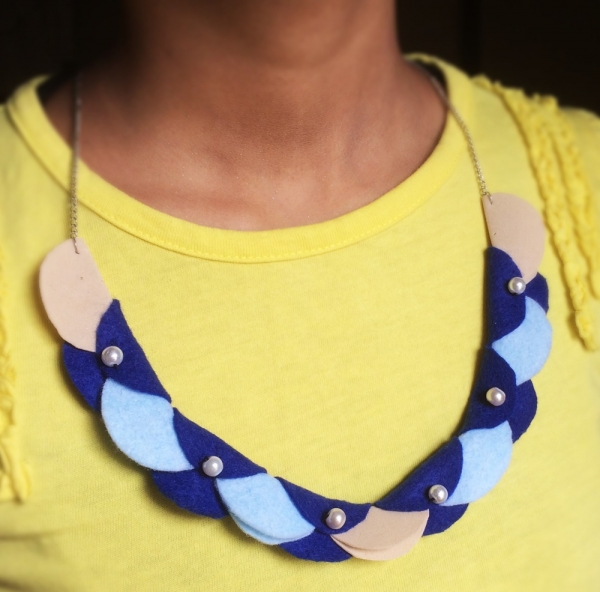
Put the 3 circles together and fold them together as shown in the picture Make sure the dark blue circle covers the joint of the other two circles.
Then take a pearl bead and place it in the middle of the dark blue felt and sew it there. Also make sure you sew the other two circles tightly with the dark blue one.
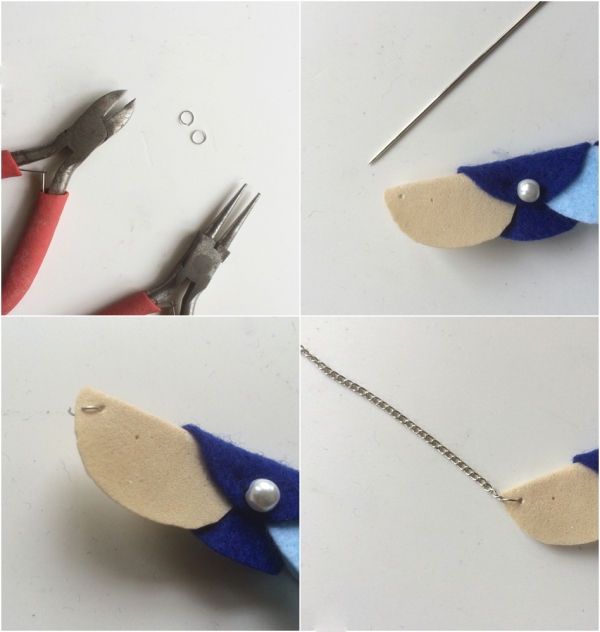
Make two jump rings. Poke3 two holes on the felts at the two ends using a thick needle. Then attach the jump rings thre. Then attach chains on the jump ring.
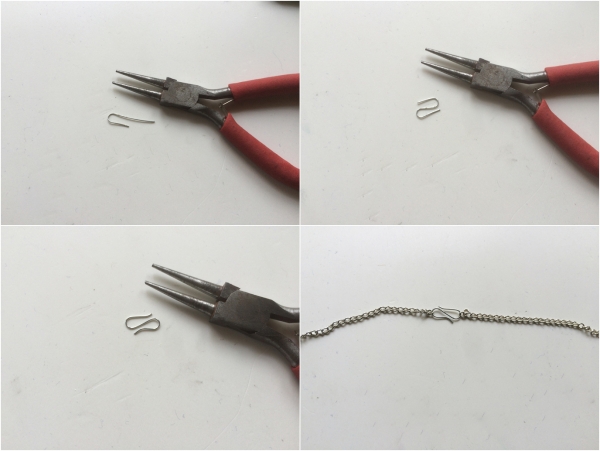
Hold the wire from an end, . Use the looping pliers to bend the wire as shown in the picture. Similarly bend the other side of the wire to create an ‘S’ pattern.Use the flat nose pliers to bend the half of the bent part to 90 degrees or so. Now press the bent part towards the middle wire and join them together. Then use this hook to join two ends of the chain.
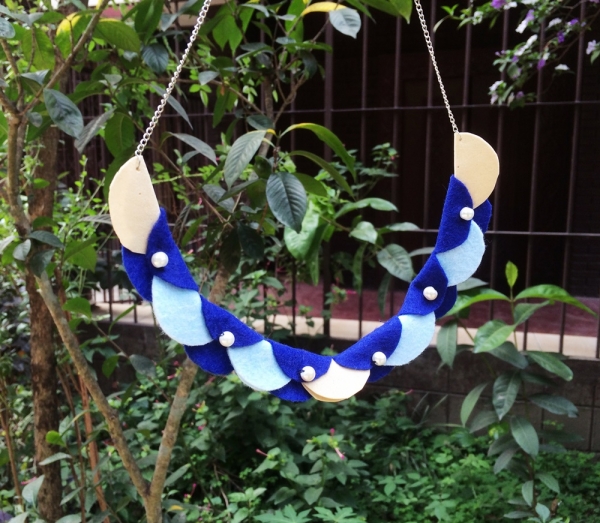


What do you think of this project? Let us know!