
What you need
white lace, red ribbon, blue fabric, sewing machine
Instructions
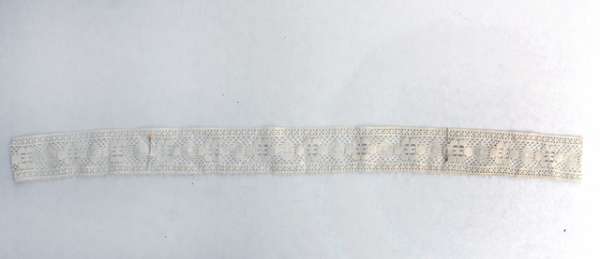
1.For the top strip of the banner, cut a 30″ piece of lace. You want this piece to be a fairly wide piece, mine is 2.5″ wide. Pin off a 15″ section in the center of the strip.
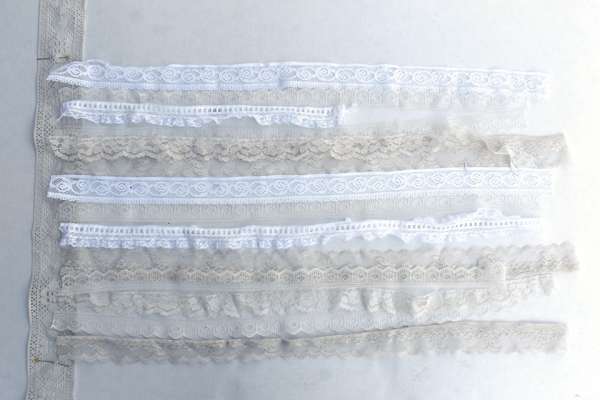
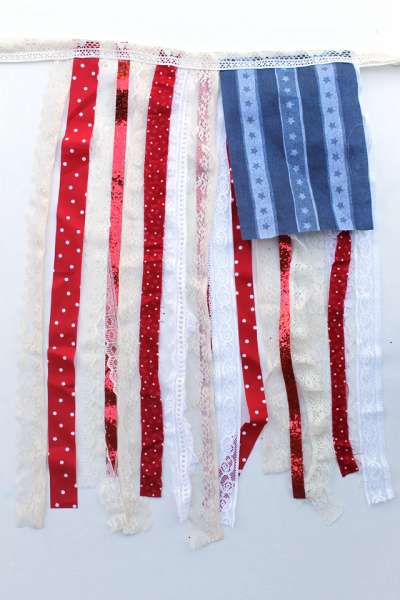
2. Cut out white/cream lace patterns that are approximately 25″ long. I have about 14 strips of varying widths. Place the top edge of the strips about 1/2″ over your top strip.
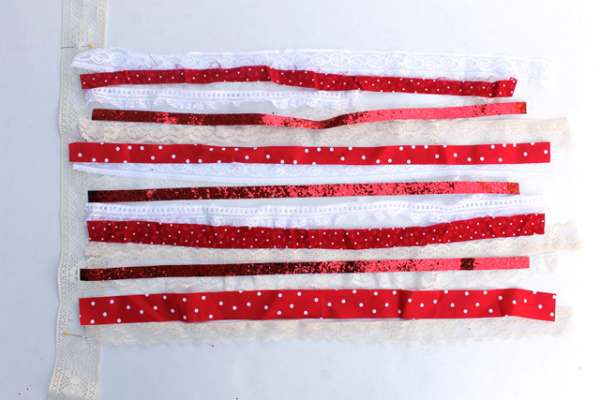
3. Cut 7 pieces of red ribbons or red fabric strips 25″ long. Place the top edge of the red ribbons/strips about 1/2″ over your top strip.
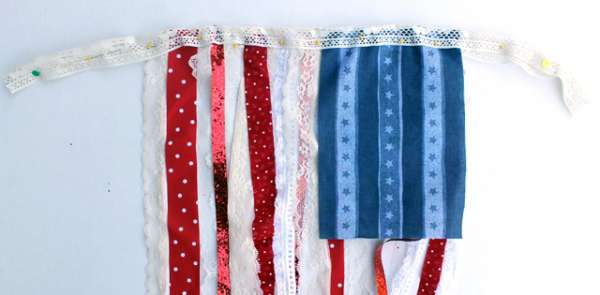
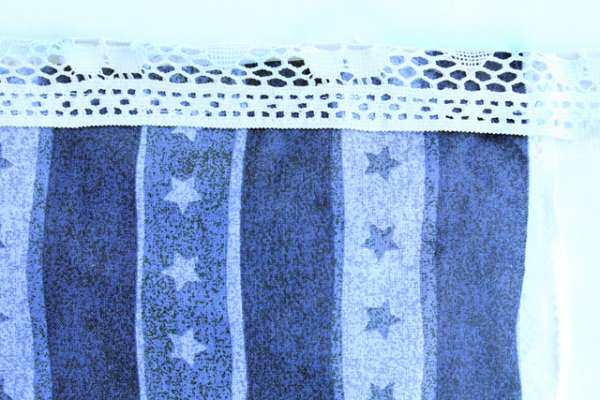
4. Cut a 7″x10″ rectangle from a piece of blue fabric, place it over the top of your strips.

5.Fold the top strip down over the lace strips/ribbons/fabric and pin them all together.
6. Sew along the top strip, stitching through all of the layers of lace and ribbons.


I love this project! I do hope you ignored the comment from “Jessica” regarding the proper way to display “our flag”. Apparently she thinks you are the new Betsy Ross and doesn’t realize you were making an ART PROJECT!! Some people always have to be correcting everyone in a twisted desire to create utopia, when all they need to do is let go and just enjoy and appreciate the pure creativity. I’m going to make two of these with the union on either side, thanks Jessica for the great idea.
Have a happy life, Julie
I love this idea! However, if you are going to display the flag as in the photo, the union (blue section) is to be displayed on the left – not right. Please, redo your instructions and photo to reflect the correct way of displaying our flag. Thank you.