
Get more details about this project
What you need
Chalk Paint
Glass plate
Mod Podge
Easter Print out
Foam brush
Instructions
Easter is a time for celebrating new beginnings, and what better way to add some festive cheer to your home than by creating your own Easter Bunny-themed decorations? This free tutorial shows you how to turn a glass plate from the Dollar Tree store into a beautiful and unique decorative plate using watercolors. Not only is this project easy to make, but it’s also a great way to add a touch of springtime to your home.
This tutorial is perfect for both beginners and experienced crafters. It’s a simple project that uses watercolors and a glass plate from the dollar store to create a decorative plate that is perfect for Easter. The tutorial includes detailed instructions and step-by-step photos to guide you through the process of creating the Easter Bunny design on the plate.
This watercolor Easter bunny decorative plate is a great way to add a touch of Easter cheer to your home. It’s perfect for displaying on a mantel or on a wall. You can also use it as a serving plate for Easter brunch or to hold Easter candies. It’s a great way to add a touch of Easter cheer to your home and it’s also a practical item that you can use throughout the year. Plus, with the end result being a cute and cuddly Easter bunny, it’s sure to bring a smile to the face of whoever sees it.
So why not gather your watercolors and a glass plate and give this tutorial a try? Not only will you have a blast creating it, but you’ll also have a finished product that will be treasured for years to come. With Easter just around the corner, this watercolor Easter Bunny decorative plate tutorial is the perfect way to get into the festive spirit and create a special keepsake for your home or for a loved one.
For this tutorial you will need a glass plate, this one is from the Dollar Tree but you can pick up any glass plate. You could also do this with plastic if you have small children.
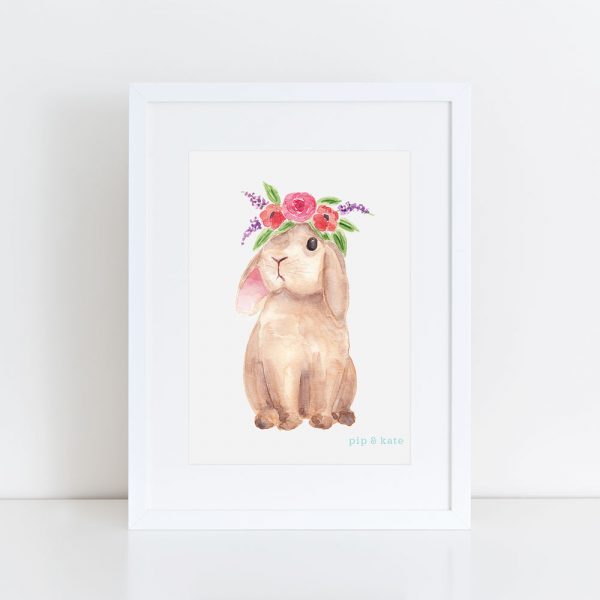
To begin with you will need a suitable printout. This craft was contributed by Tonya P. She grabbed this image by searching on google for watercolour bunny. I managed to find a similar version here. which is just as adorable. There are lot’s of designs on Etsy too.
To begin with clean your glass plate and dry well. Apply a coat of mod Podge
Coat the back of the plate using a soft foam brush
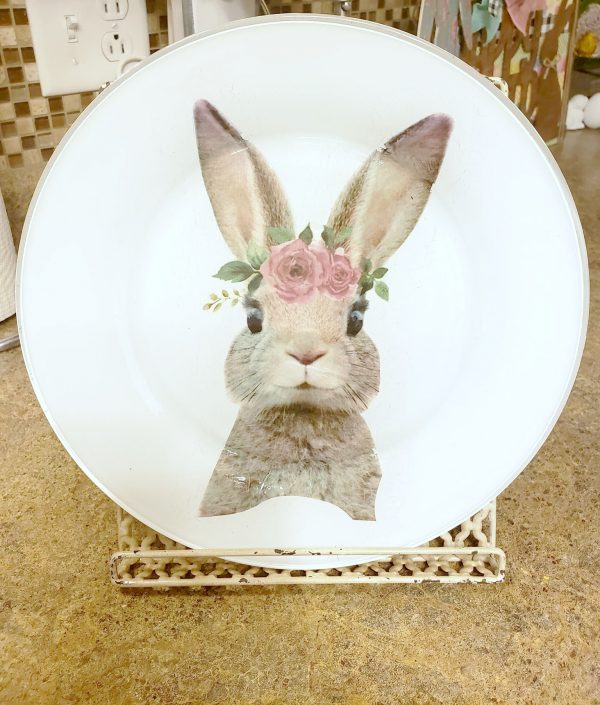
Carefully cut out your bunny image and place it onto the wet mod podge layer, when placing it down press in the middle only, then work your way out to the edges, this prevents air getting trapped under the design. Then gently press from the middle out to the edges until it is firmly down. If you do get an air bubble the best trick is to use a fine needle and pop the bubble. then press it down again. It won’t be perfect but the alternative to a bubble fix is to remove the complete image and start again.
Once this layer is in place allow it to dry. Then apply another coat of mod podge.
Once your image has to layers of mod podge you can add your background color, this project a white chalk paint
Once the paint has dried seal again with mod podge and allow to dry.
You can eat off these plates, but don’t submerge them in water to clean them, just wipe down.


love it!