
Get more details about this project
What you need
For this project you’ll need
1. Leather/Racine
2. Sewing Machine.
3. Thread and Needle.
Instructions
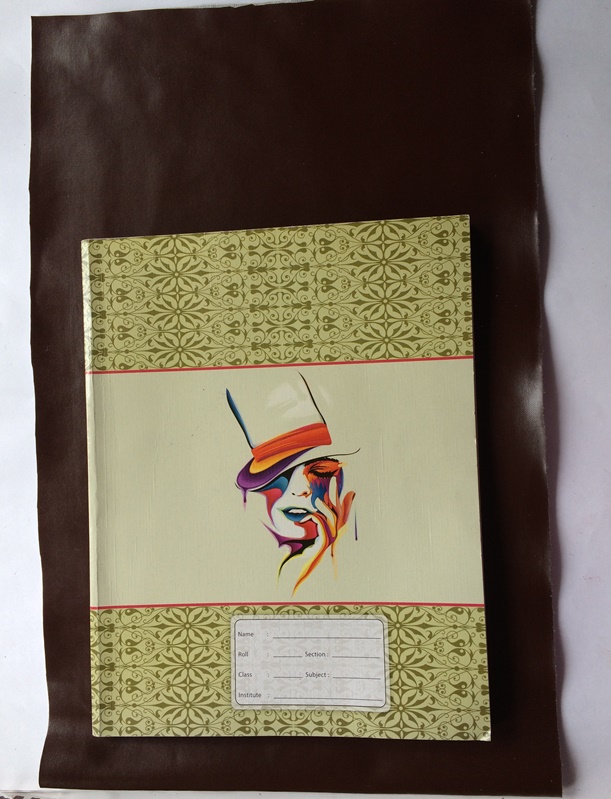
Take the fabric you will be using to make the bag. I’m just using one of my regular notebook to get the measurement for the bag. (the fabric is folded in half).

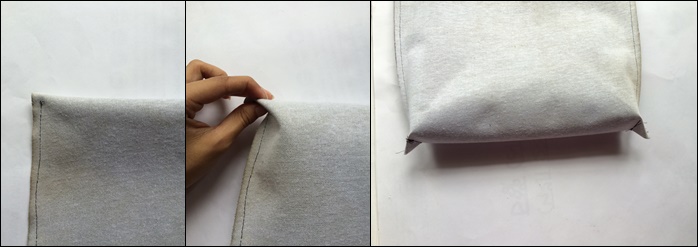
Make a tiny fold on both ends of the fabric, secure the fold using berry pins, then sew along the folds.
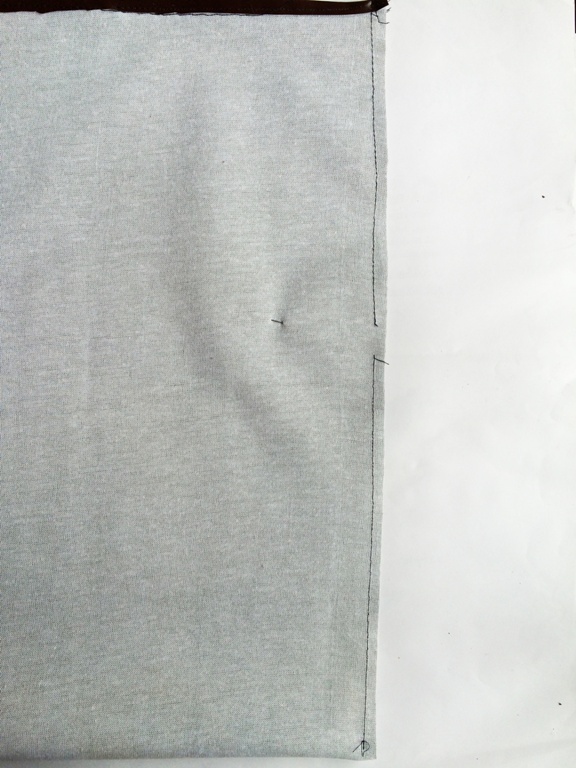
Now sew the both sides of the bag, keep a 1-2 cm gap as you sew the sides.
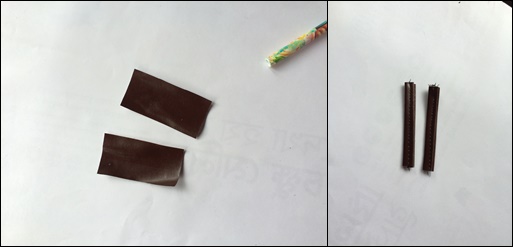
Take two pieces of the fabric you are using, fold them and sew them like a strip.
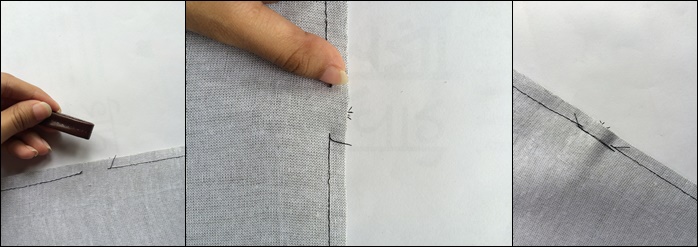
Fold the strip in half, and put in thorough the gap we made earlier when we sew the sides of the bag. Then sew the gap to secure the strip. Do thye same on the other side as well. This will be where we hang our bags strap.
Take the bottom of the bag, make a triangle as shown in the picture, then sew the triangle, this will help to give our bag a base.
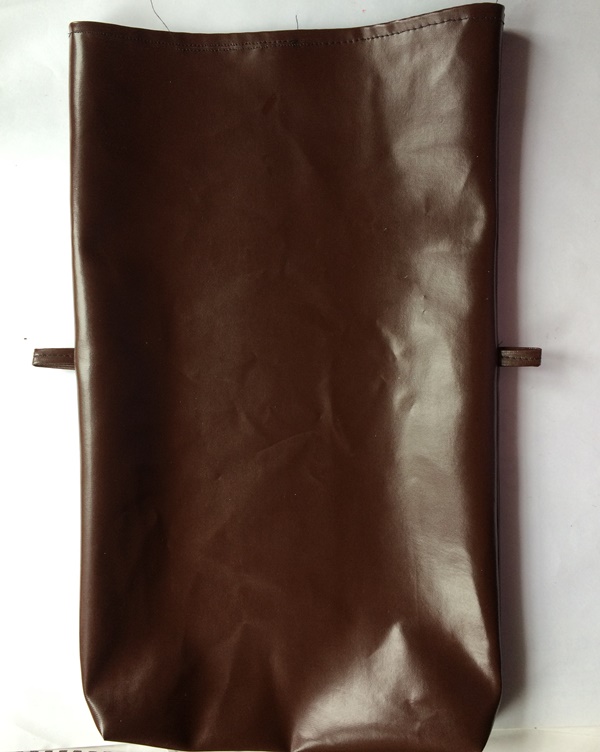
This is how the bag looks like when you fold the right side out.
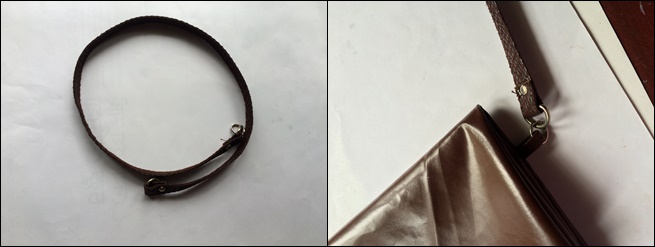
Take a strap.belt for the bag and attach it on the strips on the sides. If you don’t have a belt like this, you can always make a belt out of the fabric you used to make the bag, then attach two jump rings at the ends.
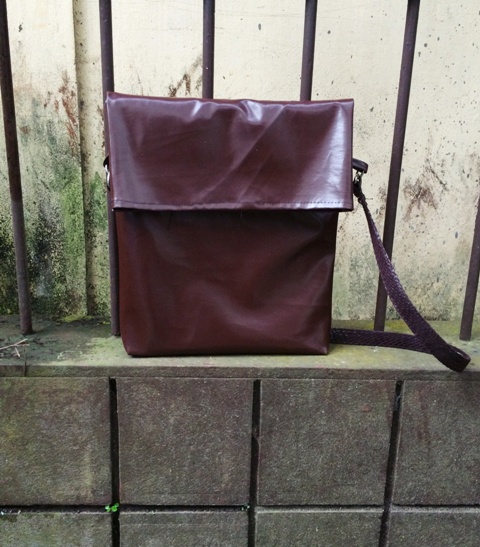


I love this bag! Just finished one using some leather I cut from an old chair – worked brilliantly! Thank you!