
Get more details about this project
What you need
Quilter’s cotton fabric
Ruler
Scissors
Ribbon
Straight pins
Sewing machine
Iron
Instructions
A handmade baby playmat is one of those practical sewing projects that gets used again and again. This roll-up baby playmat is soft, colorful, and easy to take along, making it perfect for tummy time, playtime, visits to Grandma’s house, or simply giving baby a clean and comfy space on the floor.
Made with bright fabric squares, this simple DIY baby playmat is a lovely way to use up fabric from your stash while creating something useful for a new parent or baby shower gift. The roll-up design makes it easy to store when not in use, and it can be tucked into the car or nursery basket for everyday use.
This project is beginner-friendly and can be customized with any fabric colors or prints you like. Choose bold contrast fabrics for a playful look, soft pastels for a nursery-style mat, or themed cottons to match a baby’s room. However you make it, this easy sew baby playmat is a sweet handmade project that is both practical and thoughtful.
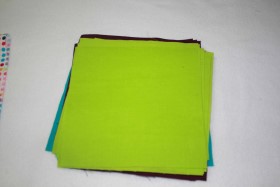
1. Measure and cut 25 6 1/2-inch squares of fabric and a 30-inch square of fabric.
2. Divide the 6 1/2-inch squares of fabric into five piles of five squares each. Sew each pile of squares into a strip by sewing the squares together side-by-side with a 1/4-inch seam allowance.
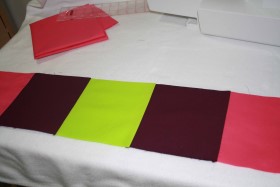
3. Sew the strips of squares together with a 1/4-inch seam allowance along the long edges to form a large square. The large square will be a 5-by-5 grid of all the smaller squares.
4. Measure and cut two foot-long pieces of 1-inch-wide ribbon.
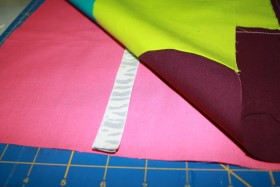
5. Place the 30-inch square of fabric and the pieces together square of fabric together with the right sides facing each other. Line up the ends of the two pieces of ribbon you cut. Place the two pieces of ribbon between the two squares 6 inches in from one corner so the ends of the ribbon are flush with the edge of the fabric. Pin the two pieces of fabric together along the edges and the ribbons in place between them.
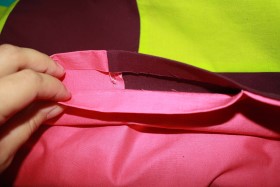
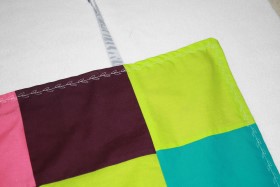
6. Sew along all four edges of the two squares with a 1/2-inch seam allowance. Leave a 6-inch opening in the middle of one of the edges. Turn the play mat right side out through the 6-inch opening.
7. Fold the raw edges of the fabric in a 1/2-inch along the 6-inch opening. Iron these folds and the rest of the four edges of the play mat.
8. Top stitch along all four sides of the play mat with a 1/4-inch seam allowance. Use a decorative stitch for the top stitch to give the play mat an added decorative touch.
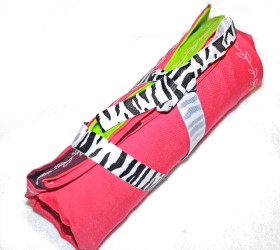
9. Lay the play mat out flat with the ribbon strips coming out of the top edge. Fold the play mat in half left to right. Fold it in half again in the same direction. Roll the play mat up from the bottom to the top. Wrap the ribbon strips around the rolled up play mat and tie them in a bow to make the play mat easy to pack in the diaper bag.


What do you think of this project? Let us know!