
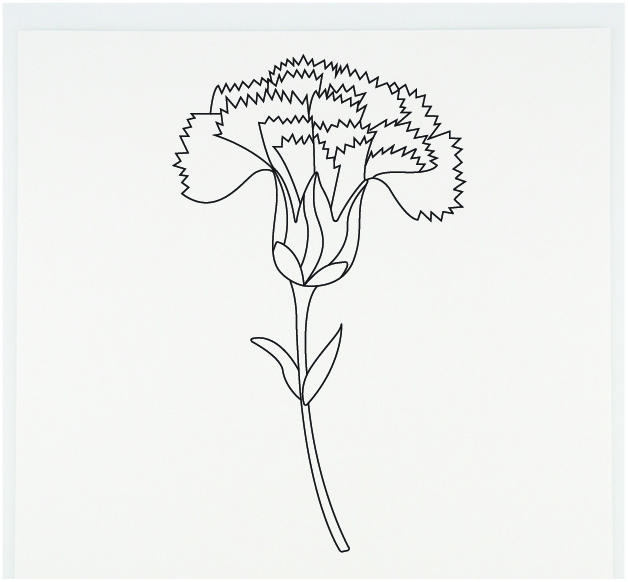
Get more details about this project
What you need
Template
Blank sheet of 90lb (250gsm) cardstock
11 × ⅜in (28 × 1cm) green cardstock × 2
11 × ⅜in (28 × 1cm) pink paper × 4
11 × ⅜in (28 × 1cm) forest green paper × 1
11 × ⅜in (28 × 1cm) apple green cardstock × 1
11 × ⅜in (28 × 1cm) emerald green paper × 1
11 × ⅜in (28 × 1cm) light green paper × 1
Quilling needle or compass
Scissors
Tweezers
White glue
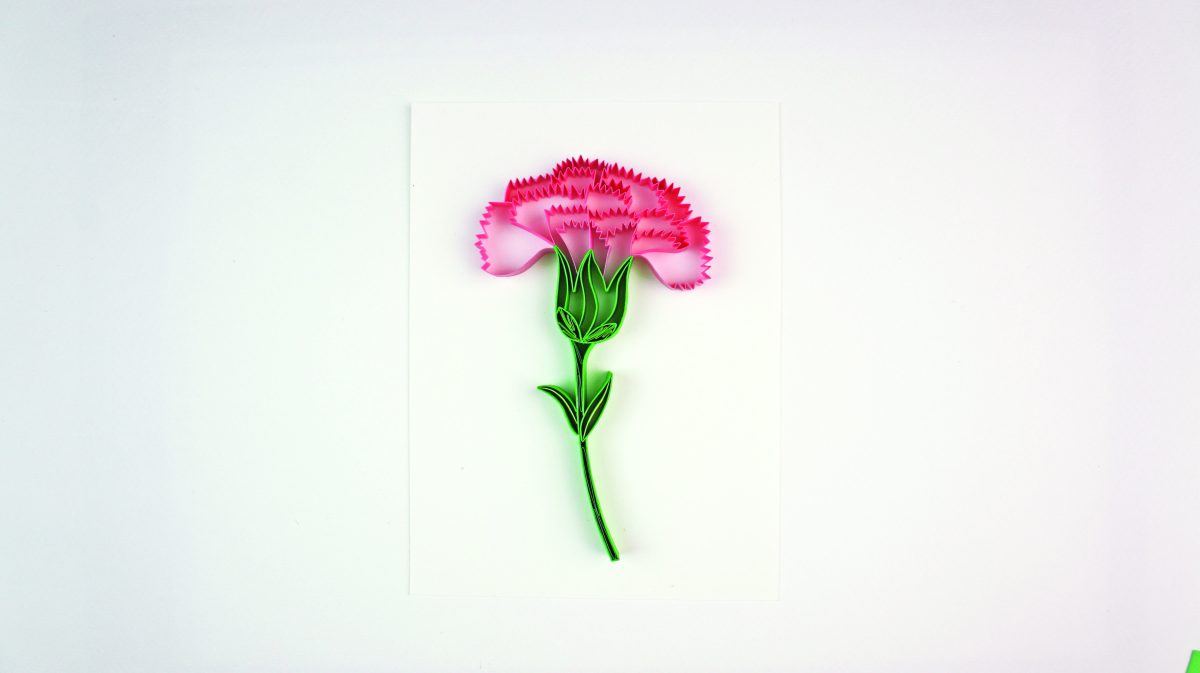
Instructions
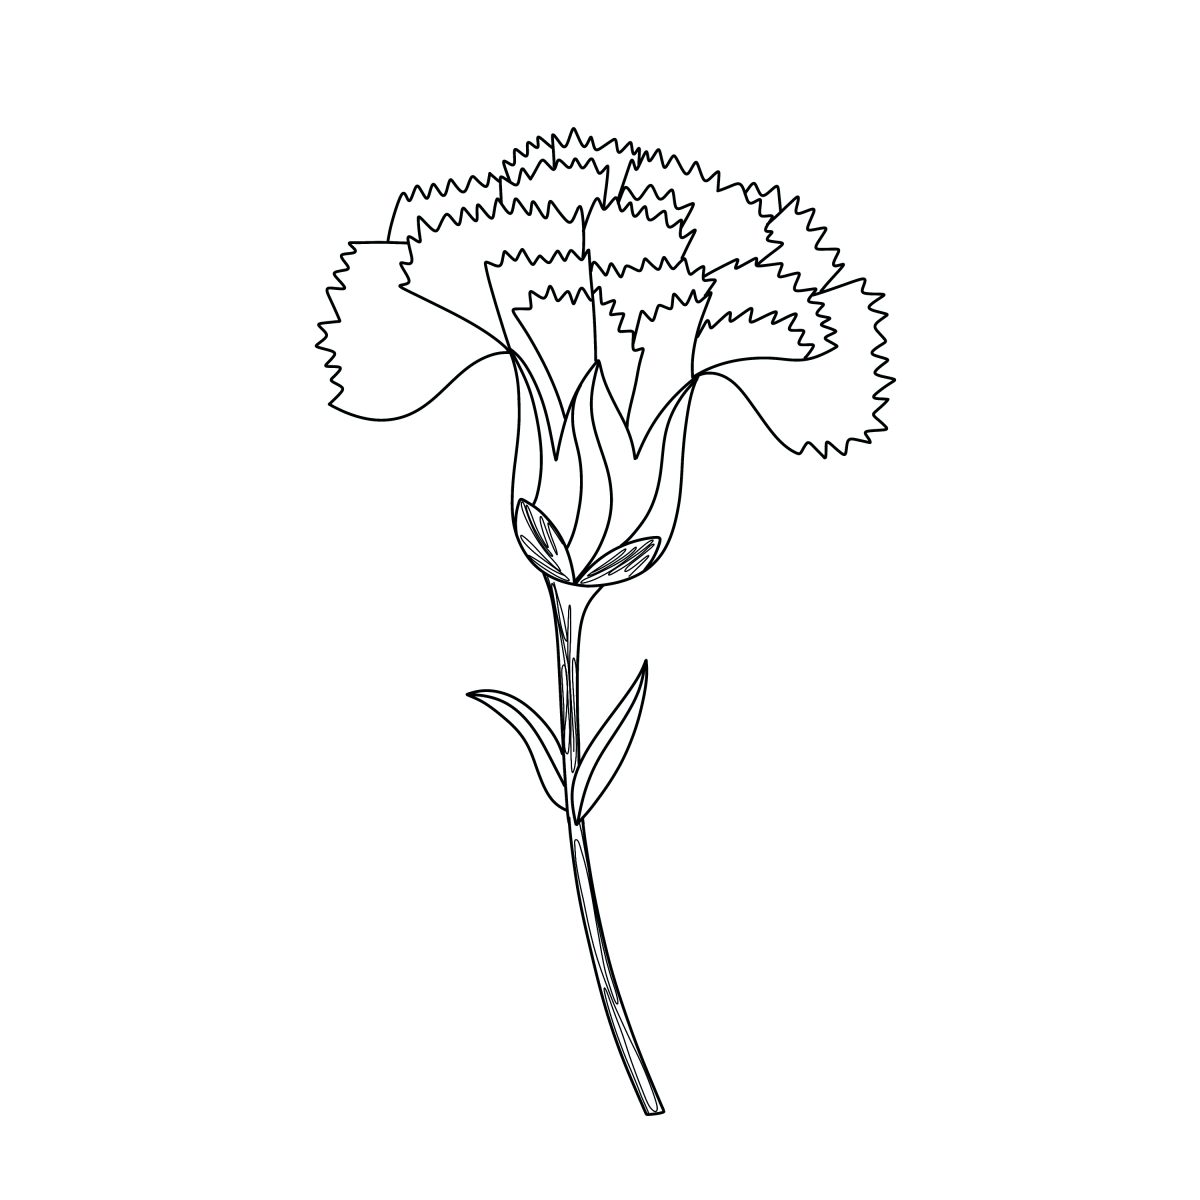
To create your base, place a sheet of blank cardstock under the template, then trace the outline and lines onto it using a quilling needle or compass.
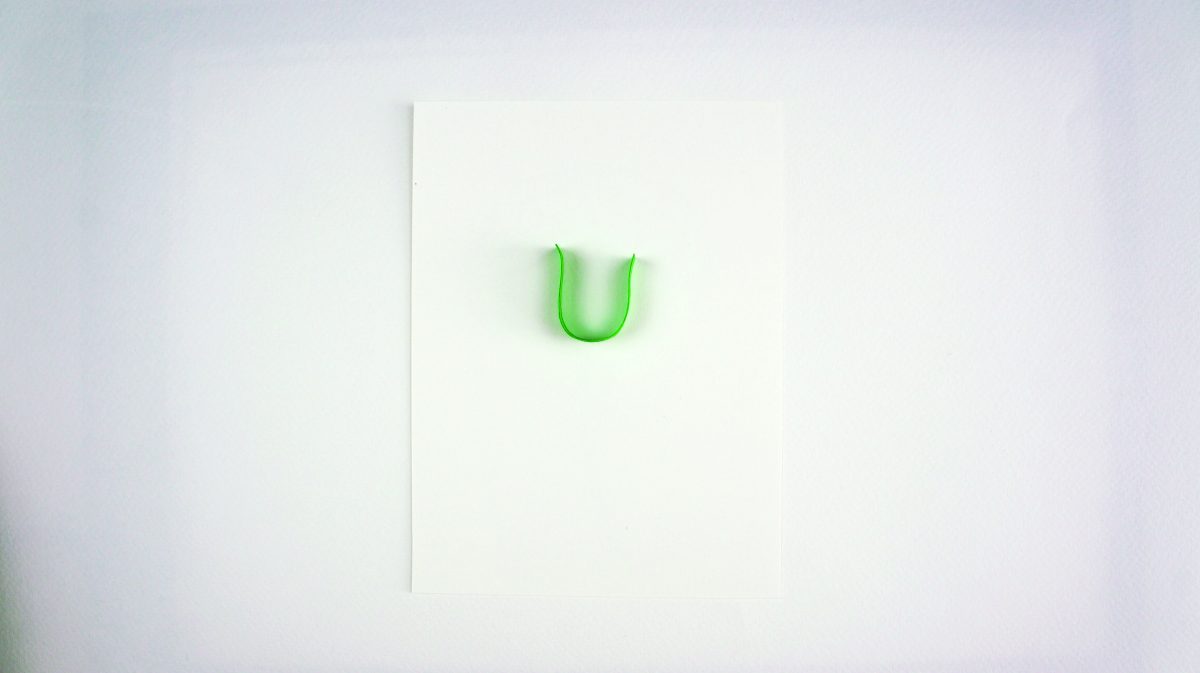
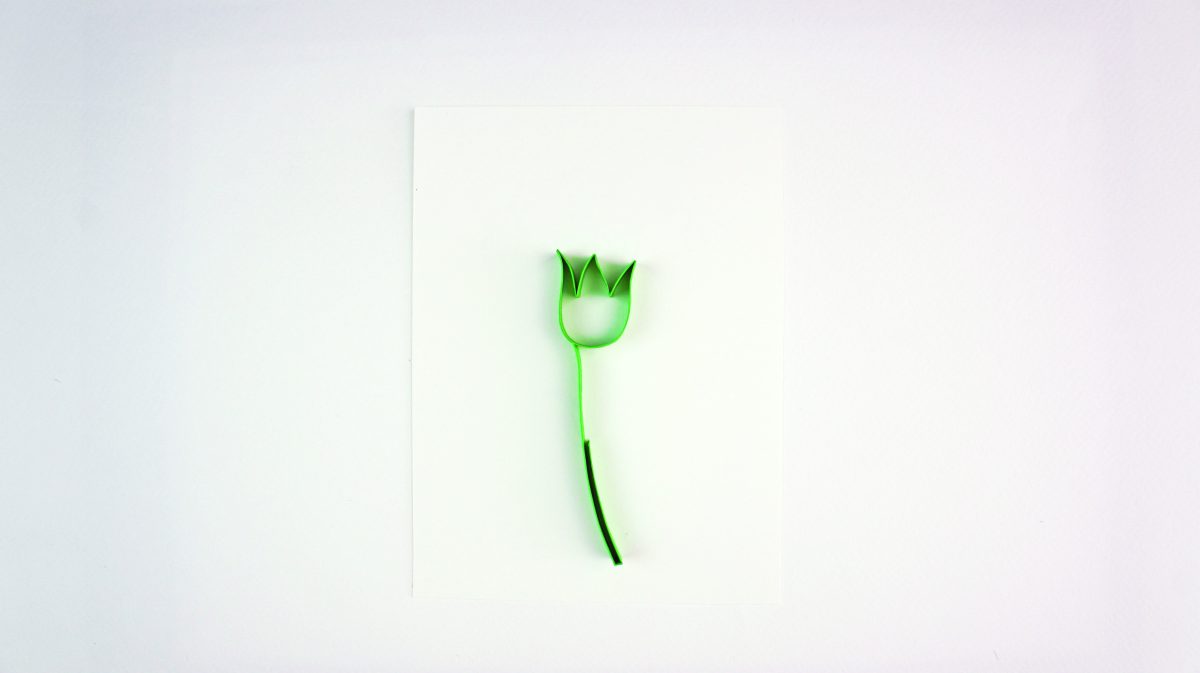
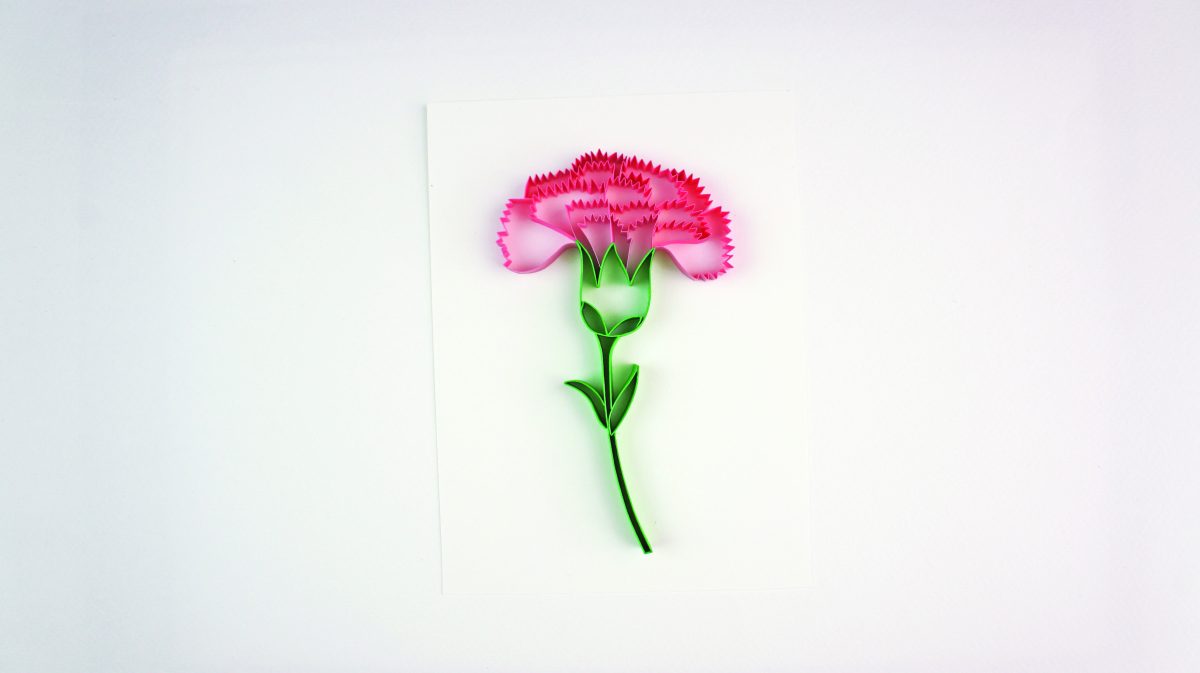
Using green cardstock, make a U shape (see page 11) and slightly bend the tips outward.
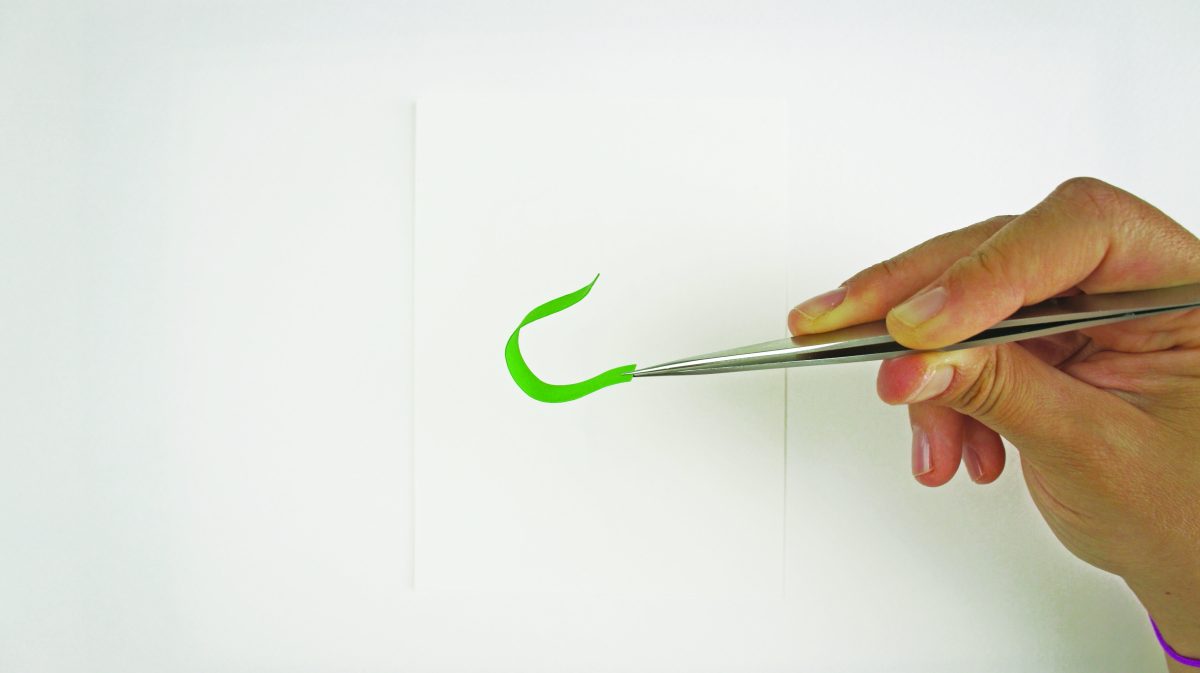
Apply a thin layer of glue along one edge of the card and place it about centre of the base, to start making the flower’s green ‘receptacle’.
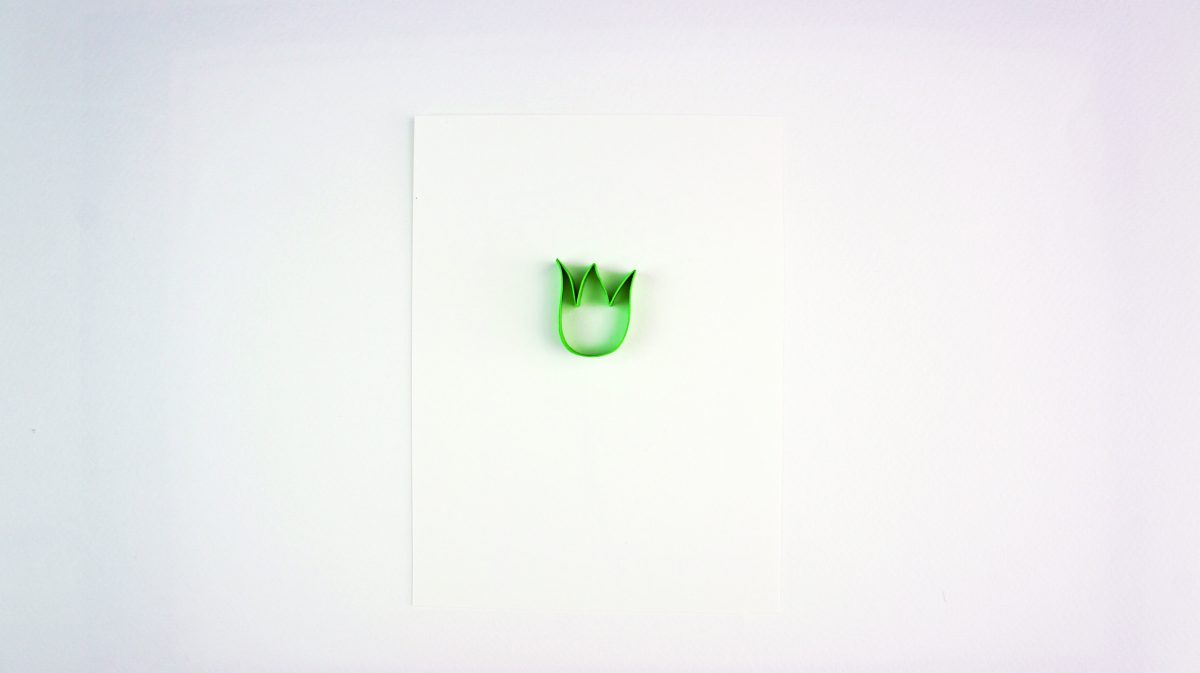
Make an asymmetrical zigzag shape from green cardstock. Apply a thin layer of glue; place it to form the top of the flower’s receptacle.
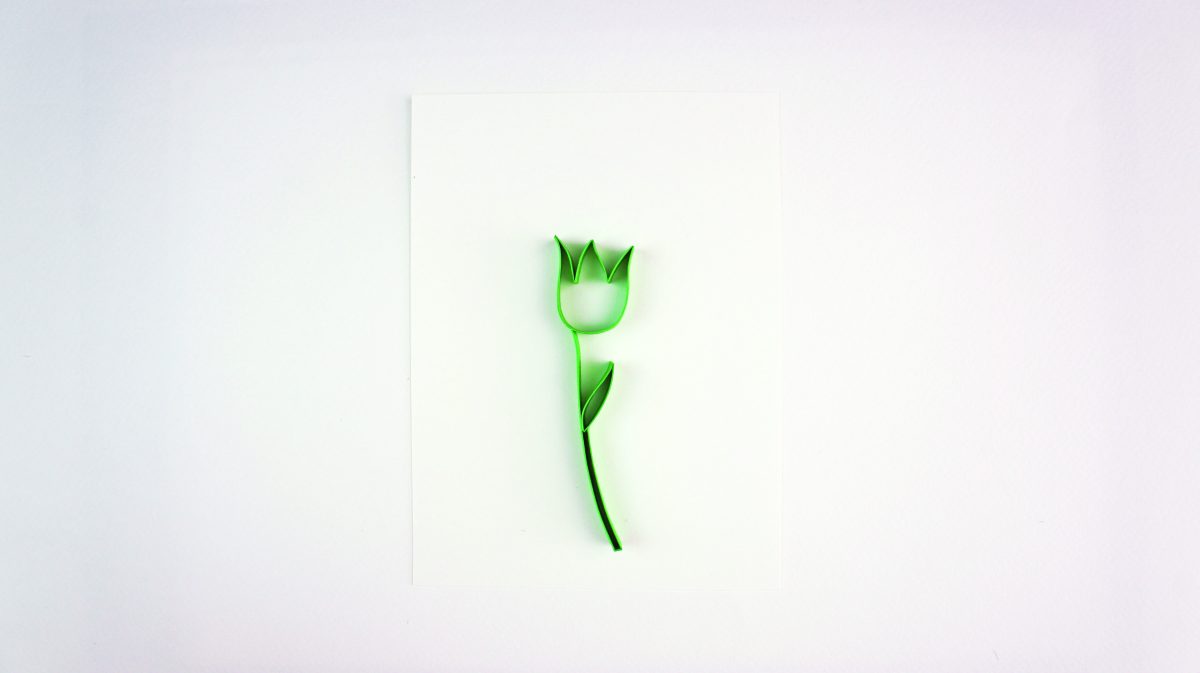
Using green cardstock, make a stalk, folding up the bottom end to create a double layer in the lower half. Apply a thin layer of glue and place it below the receptacle.
Using green cardstock, make the leaf, following a bent drop shape. Apply a thin layer of glue and place it on the right side of the stalk, above the double layer.
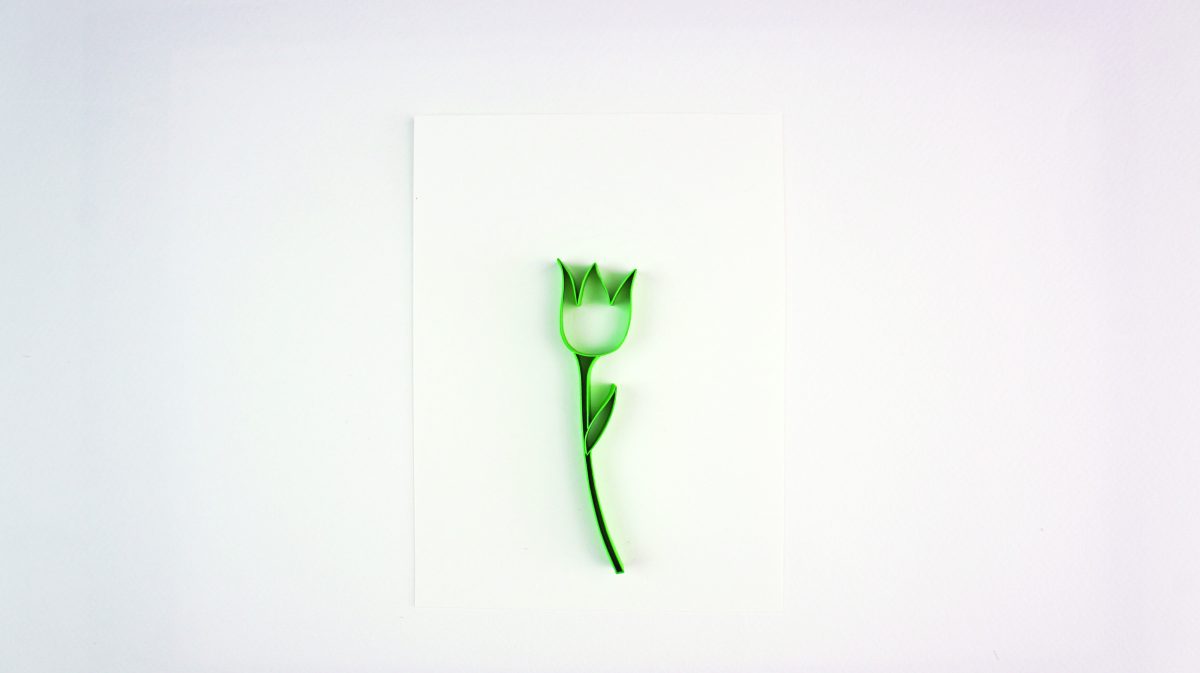
Make a curved shape for the top right of the stalk, using green cardstock. Apply a thin layer of glue and place it above the leaf.
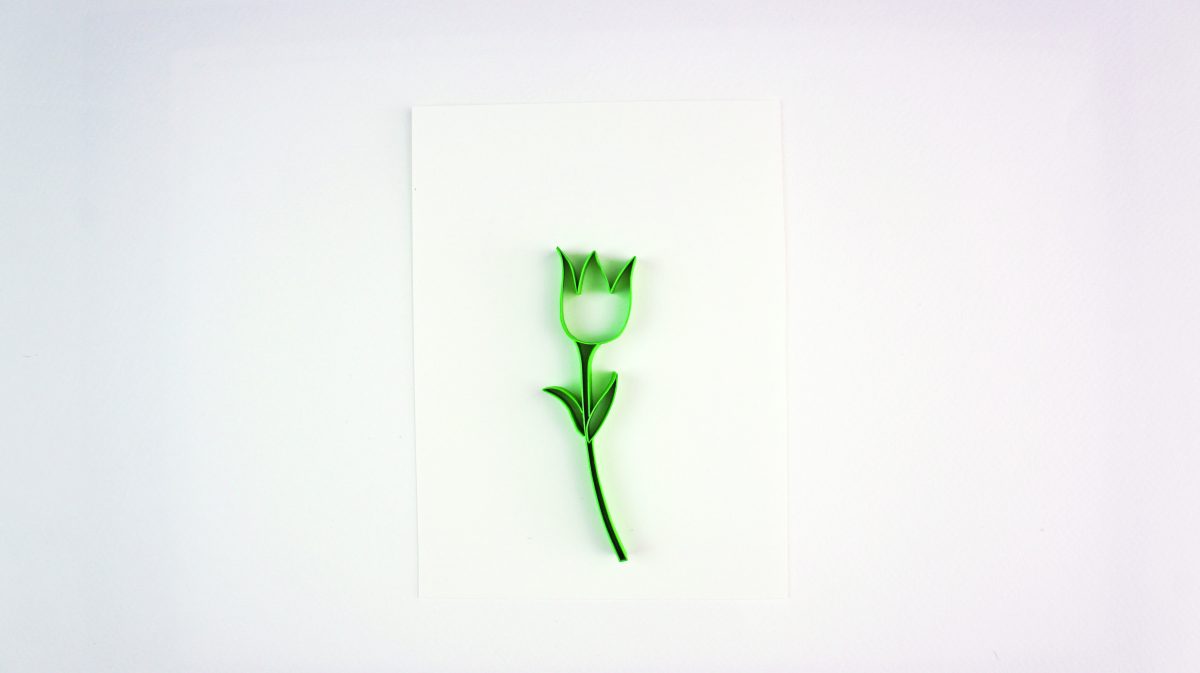
Using green cardstock, make the second leaf. Apply a thin layer of glue and place it as shown on the left side of the stalk.
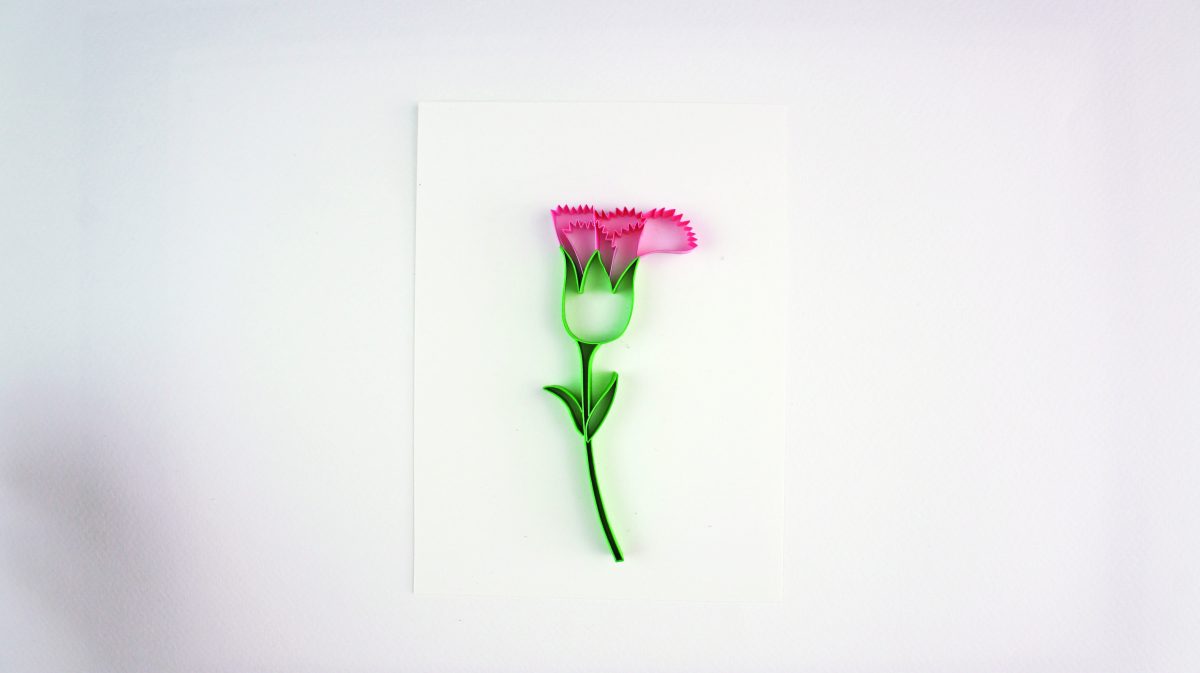
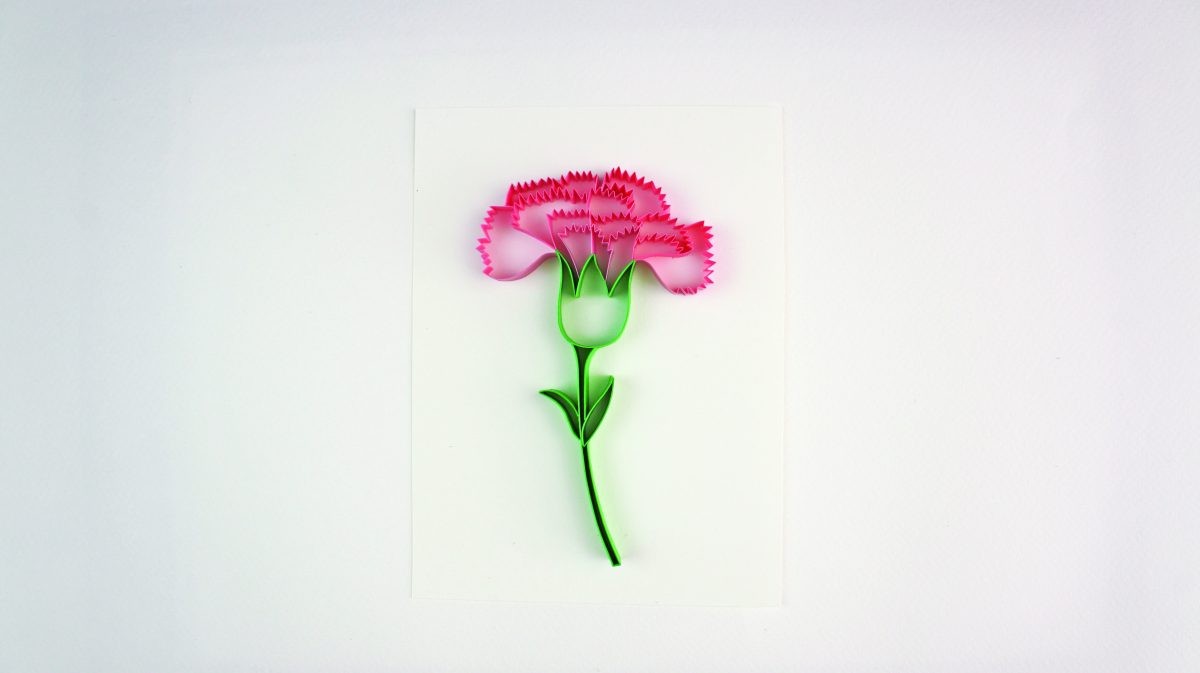
Make a shape from pink paper that has two long straight ends and tiny zigzags in the middle (the zigzags do not need to be even or the same as shown above).
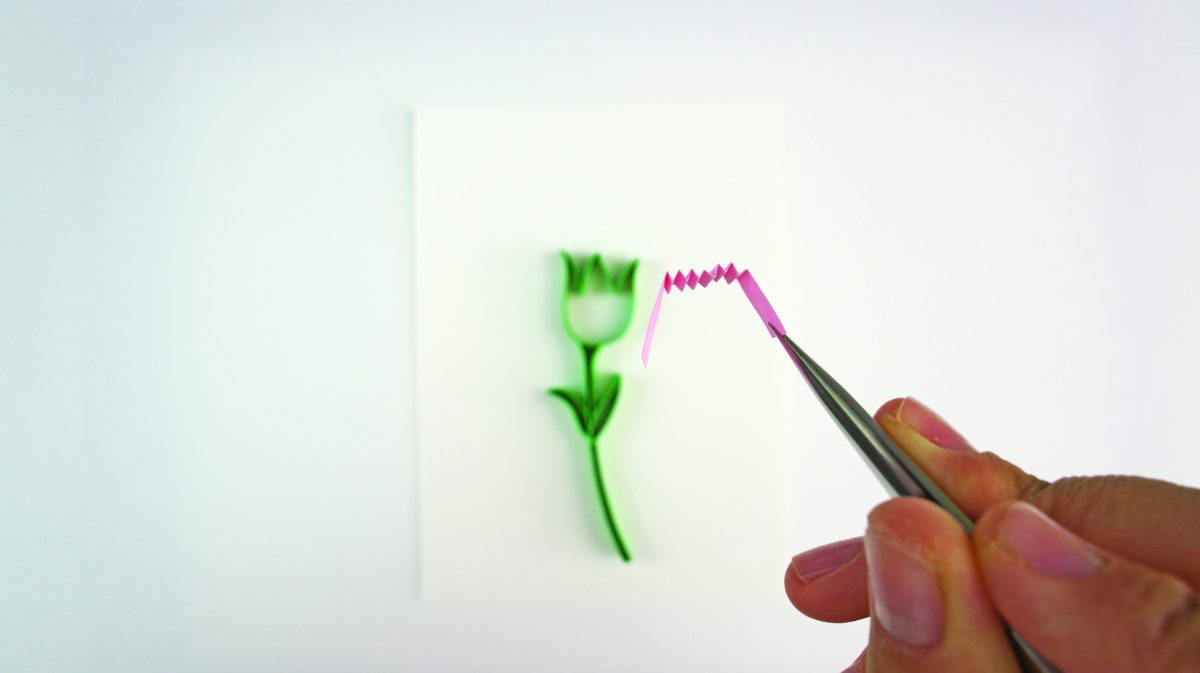
Apply a thin layer of glue and place the first petal on the left side above the receptacle, as shown.
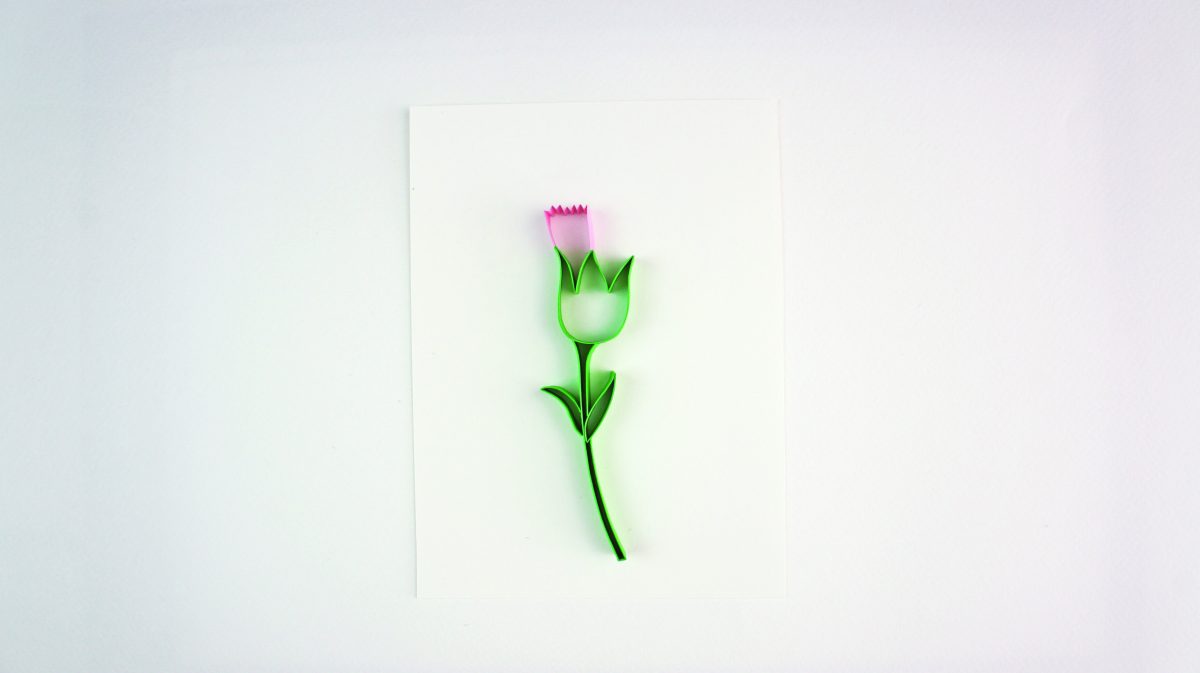
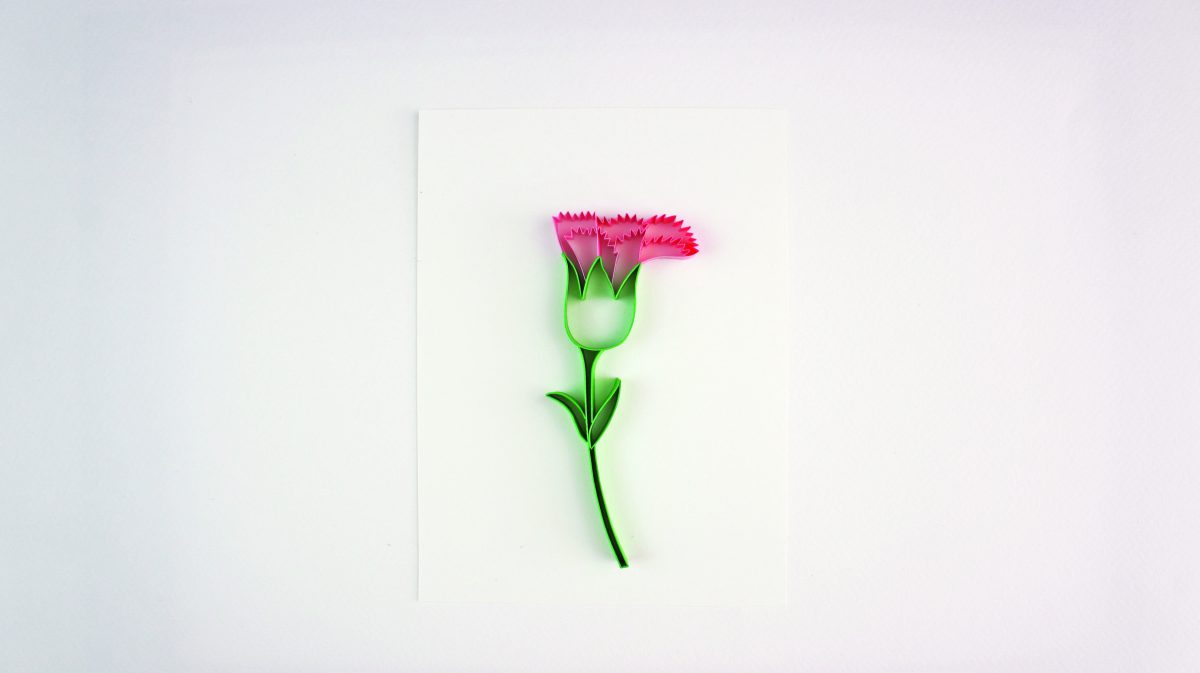
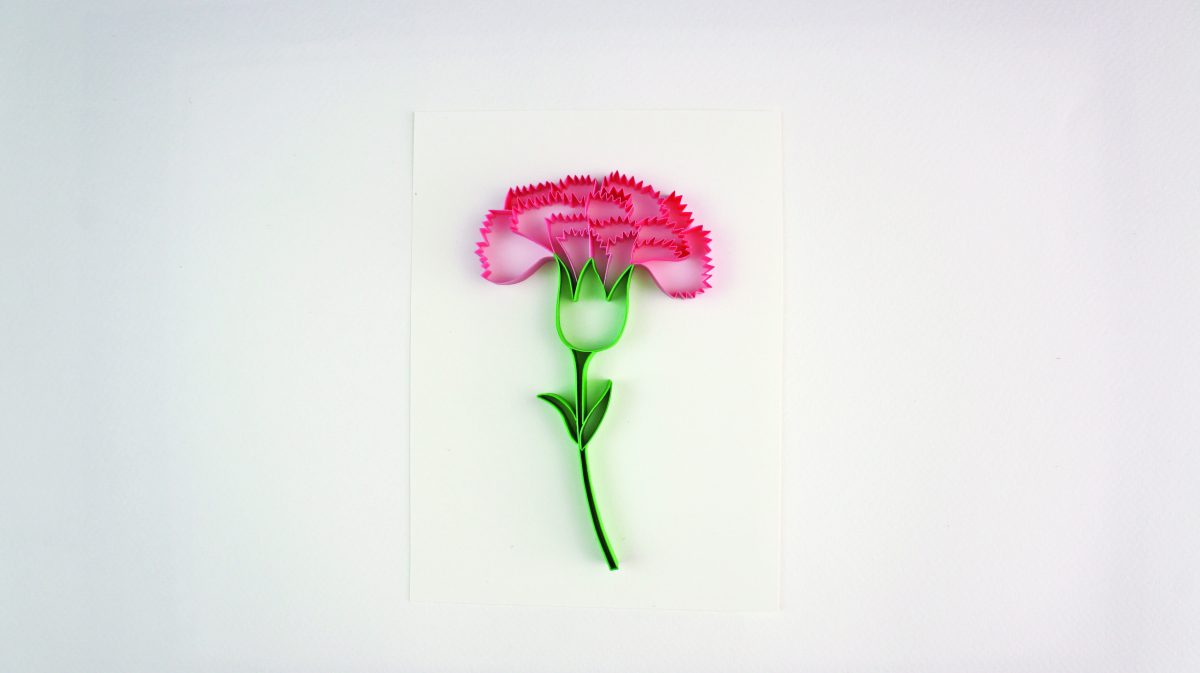
Using pink paper, make an L shape that will be straight down one side and zigzag on top. Apply a thin layer of glue and place it inside the petal.
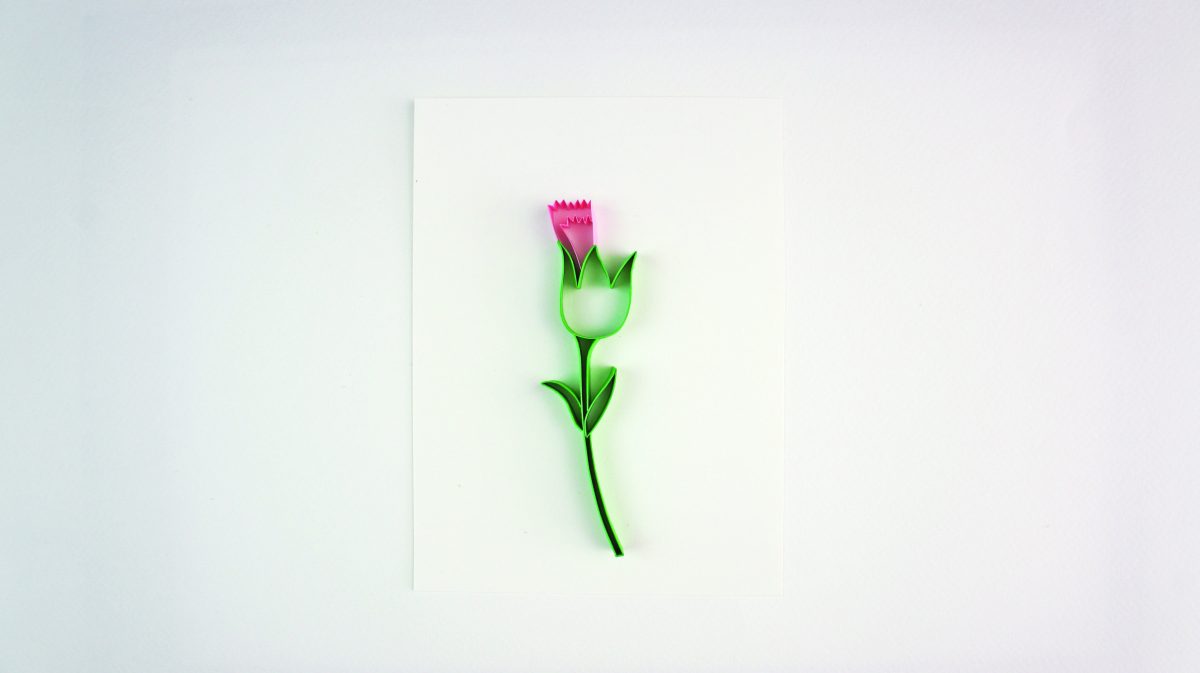
Make another shape similar to the one in the previous step using pink paper. Apply a thin layer of glue and place it on the right of the petal.
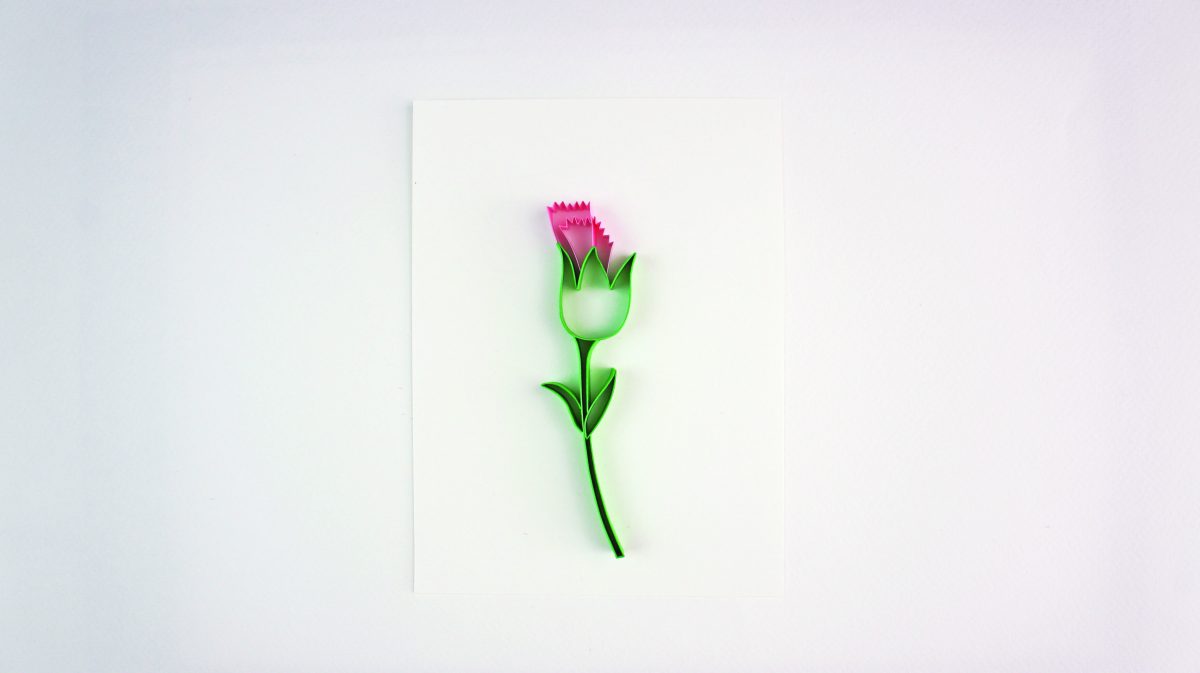
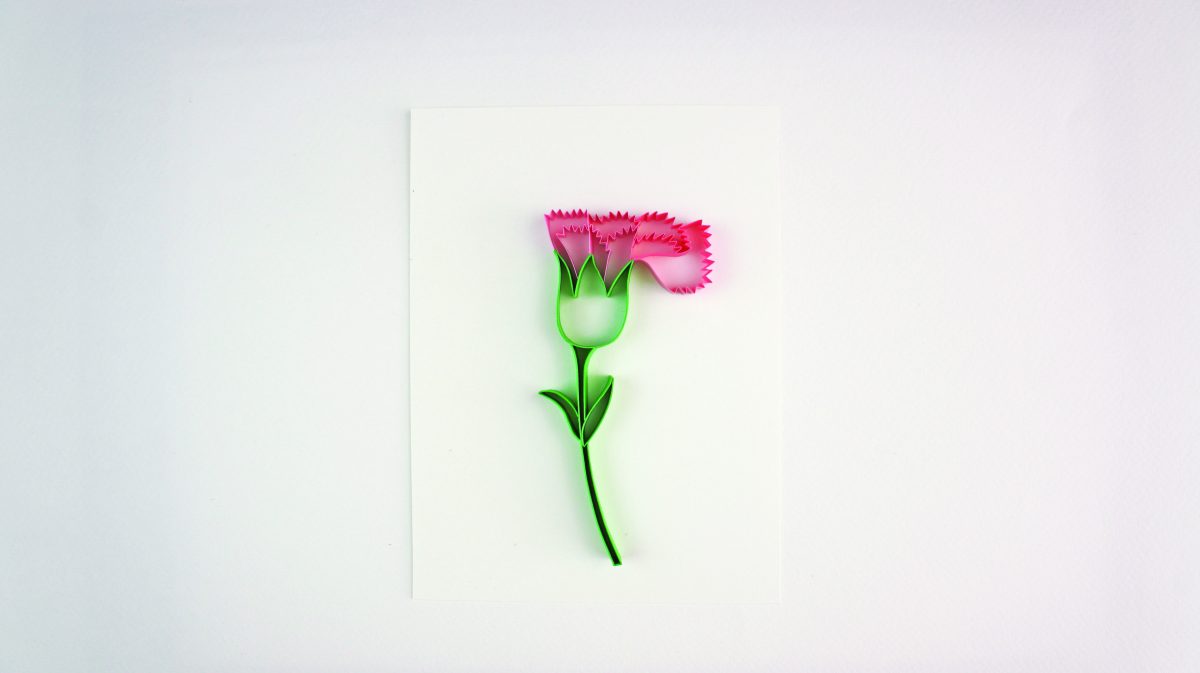
Make a shape similar to the one in the previous step using pink paper. Apply a thin layer of glue and place it on the right side of the petals.

Make a zigzag shape using pink paper. Apply a thin layer of glue and place it at the top right side of the petals.
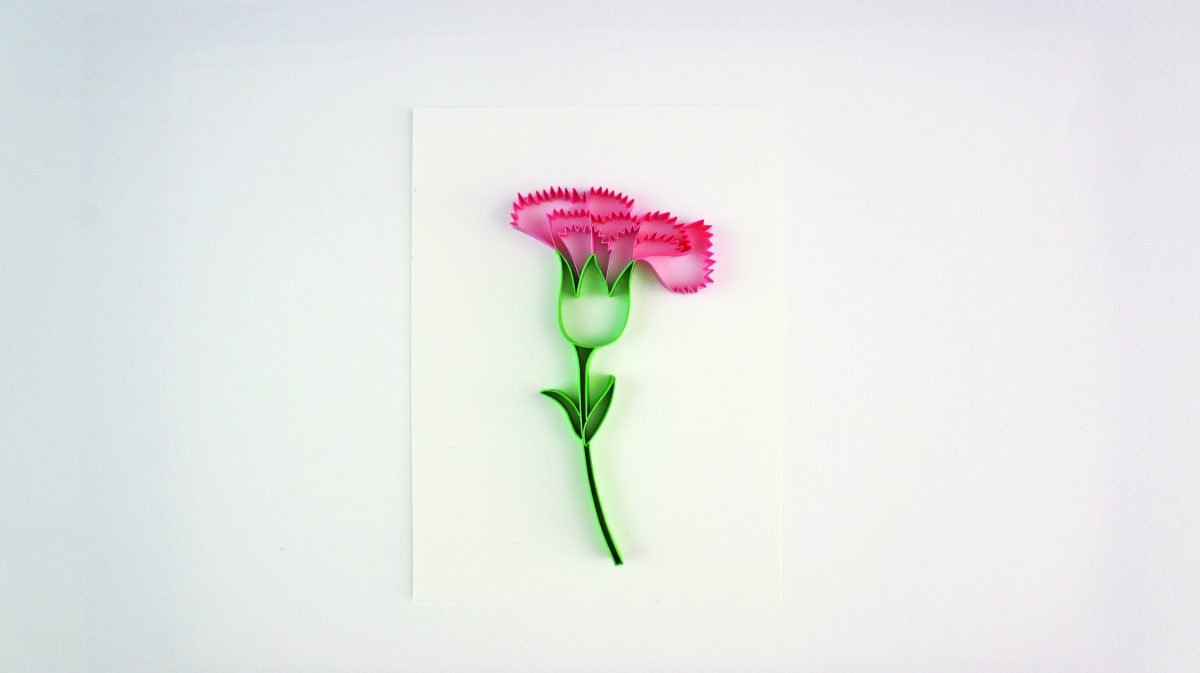
Using pink paper, make one part of the strip into zigzags. Bend the strip between them and the straight end, apply a thin layer of glue and place it on the right side of the petals.
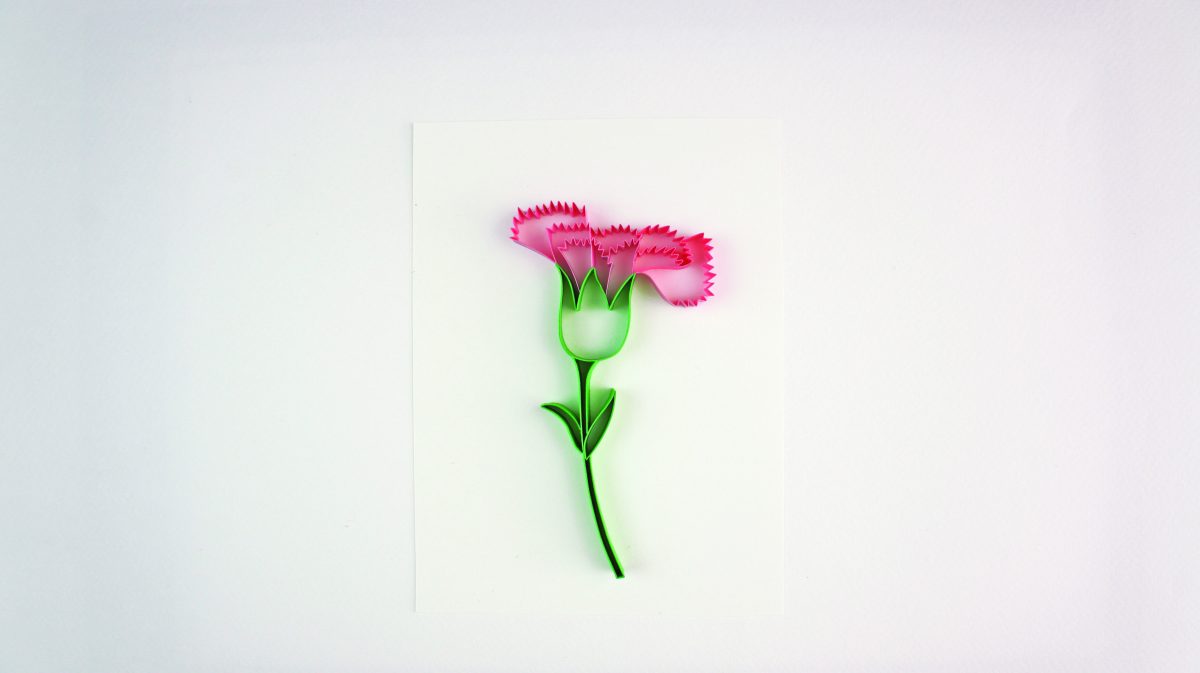
Make a zigzag shape using pink paper, apply a thin layer of glue and place it horizontally inside the previous petal.
Make a shape from pink paper with straight ends and zigzags in the middle. Bend the straight ends as shown, apply a thin layer of glue and place it on the right side.
Using pink paper, make a shape with a straight end and zigzag end. Bend the straight part slightly as shown, apply a thin layer of glue and place it on the left side of the petals.
Make a shape from pink paper straight on both sides and zigzags in the middle. Apply a thin layer of glue and place it at the top, to the right of the previous petal shape.
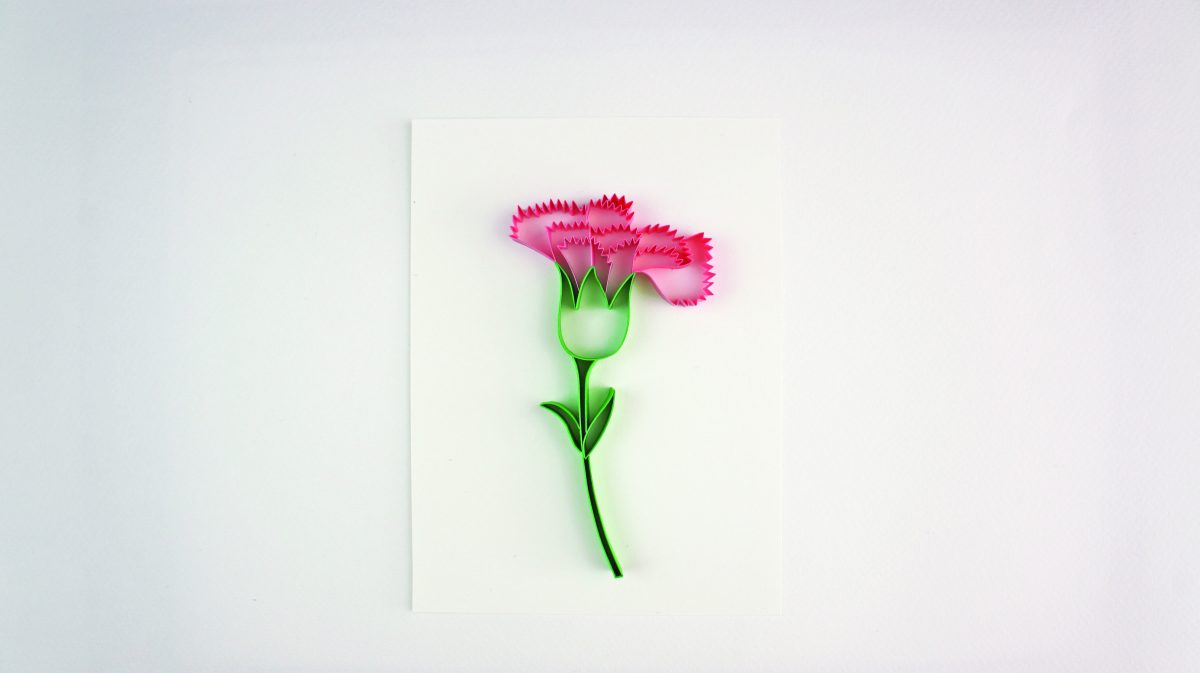
Make a mini zigzag shape using pink paper, apply a thin layer of glue and place it above the previous petal.
Make a mini zigzag a bit longer than the previous step using pink paper, apply a thin layer of glue and place it on the left side of the previous petal.
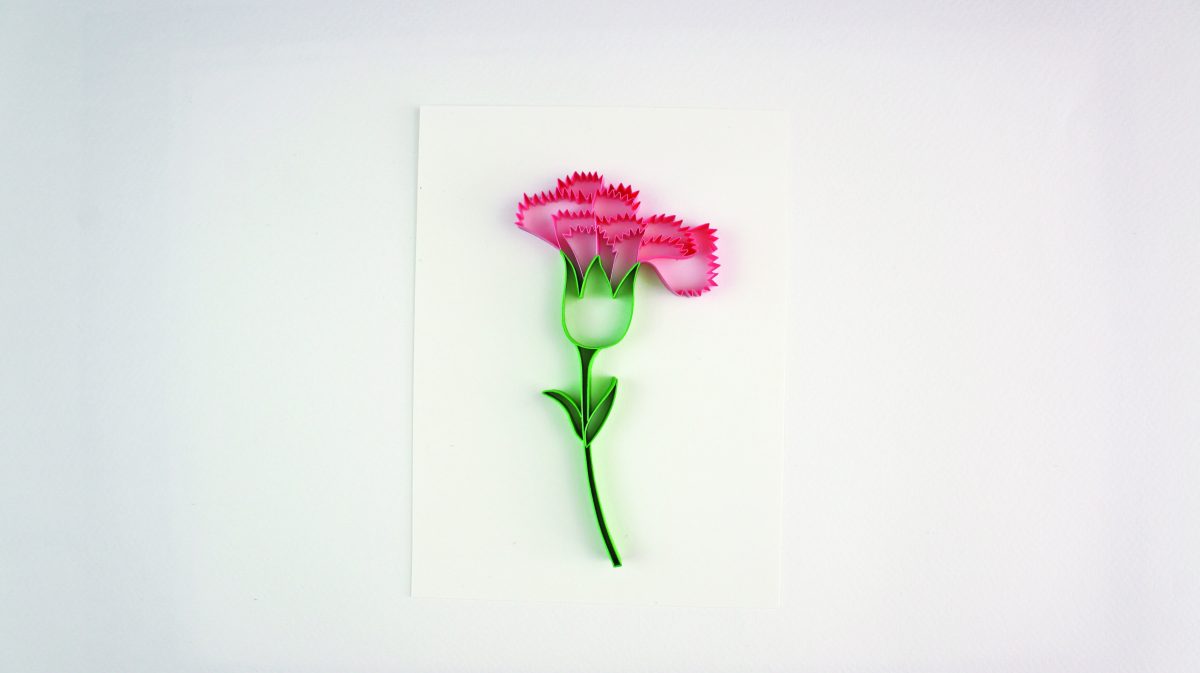
Using pink paper, make a shape that is straight on one side and zigzag shape on the other, apply a thin layer of glue and place it on the left side of the petals.
Make a shape from pink paper with two short straight ends and small zigzags in the middle, apply a thin layer of glue and place it on the top right of the petals.
From pink paper, make a shape like the previous one but shorter. Apply a thin layer of glue and place it on the right side of the previous petal.
Make a mini zigzag shape using pink paper, apply a thin layer of glue and place it on the left side of the previous petal.

Make a mini zigzag shape using pink paper, apply a thin layer of glue and place it on top, towards the centre.
Using pink paper, make a shorter mini zigzag shape, apply a thin layer of glue and place it on top, to the left of the previous petal.
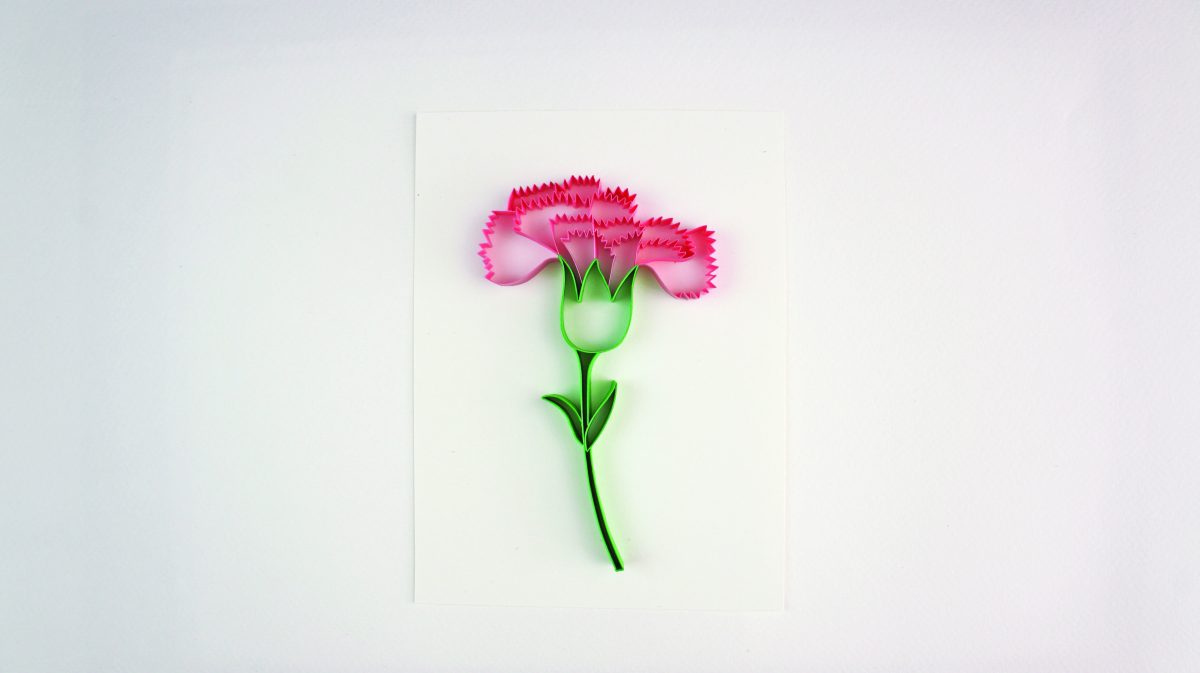
Using green cardstock, make a pair of sepals from almond shapes. Apply a thin layer of glue and place them inside the bottom section of the receptacle.
Fill the two sepals: make compact zigzag shapes from the forest green paper strip, apply glue and place them inside.
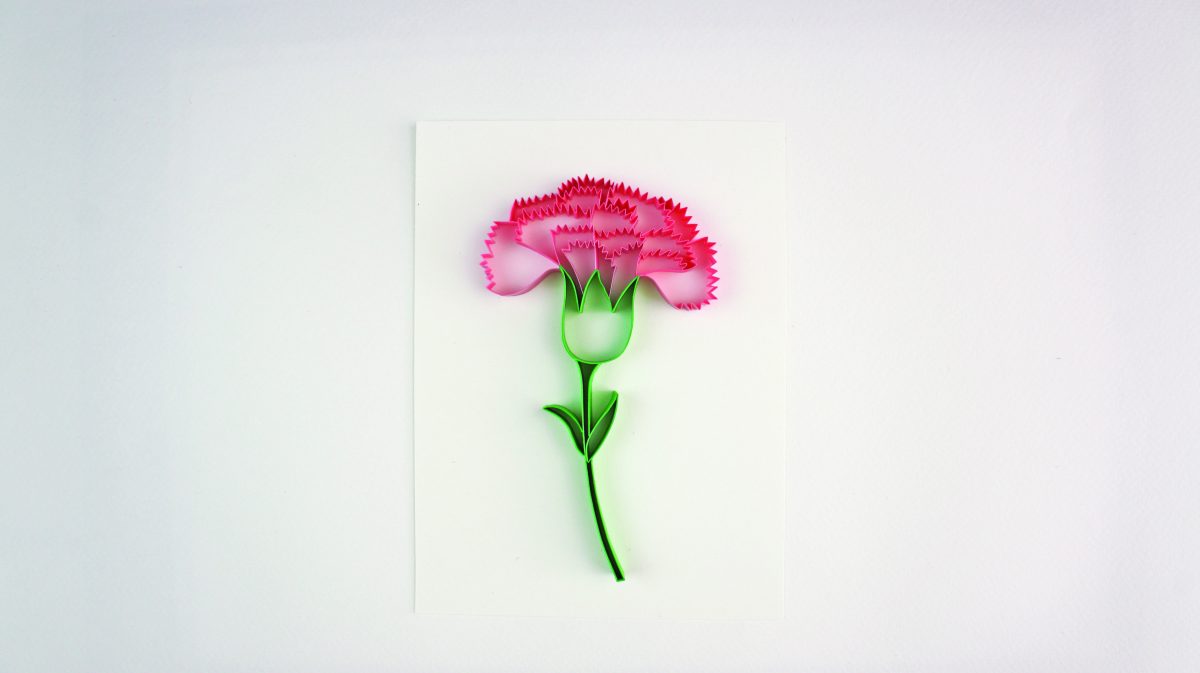
Make a wave shape from green cardstock, apply a thin layer of glue and place it vertically in the centre of the receptacle.
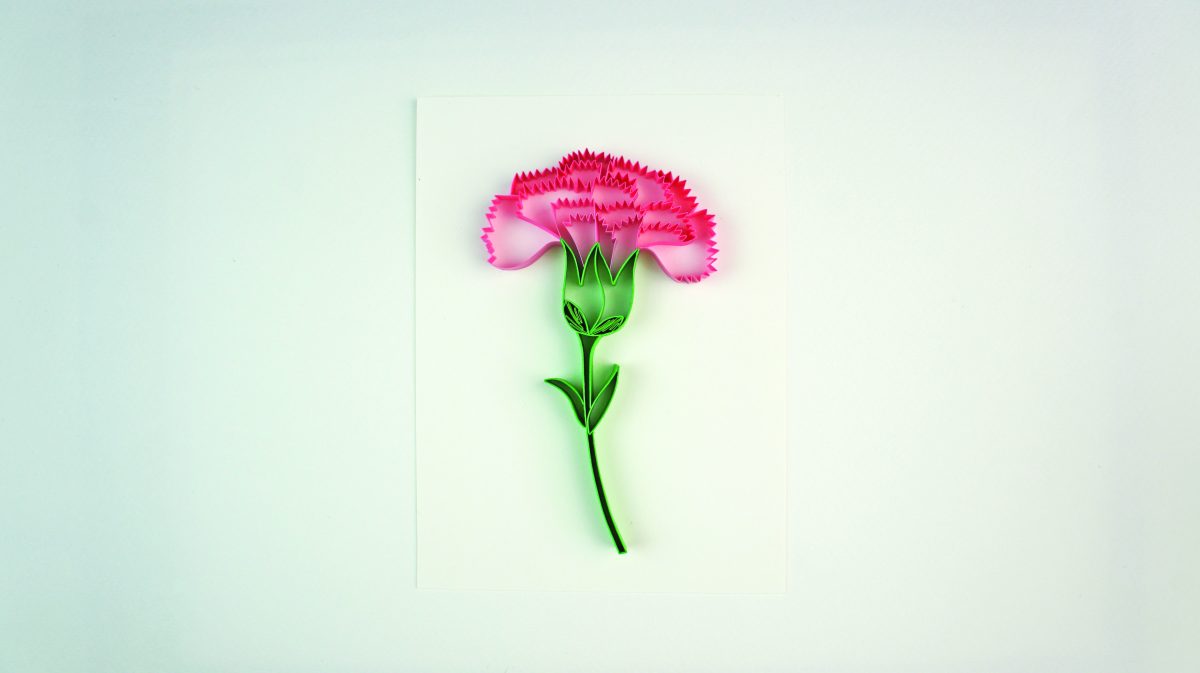
Make two more wave shapes from the green cardstock. Apply a thin layer of glue and place them to the left and right.
Make a slightly bent shape using green cardstock, apply a thin layer of glue and place it in the far left side inside the receptacle.
Using the apple green cardstock, make a wave shape and a slightly bent shape. Apply a thin layer of glue and place them inside the leaves.
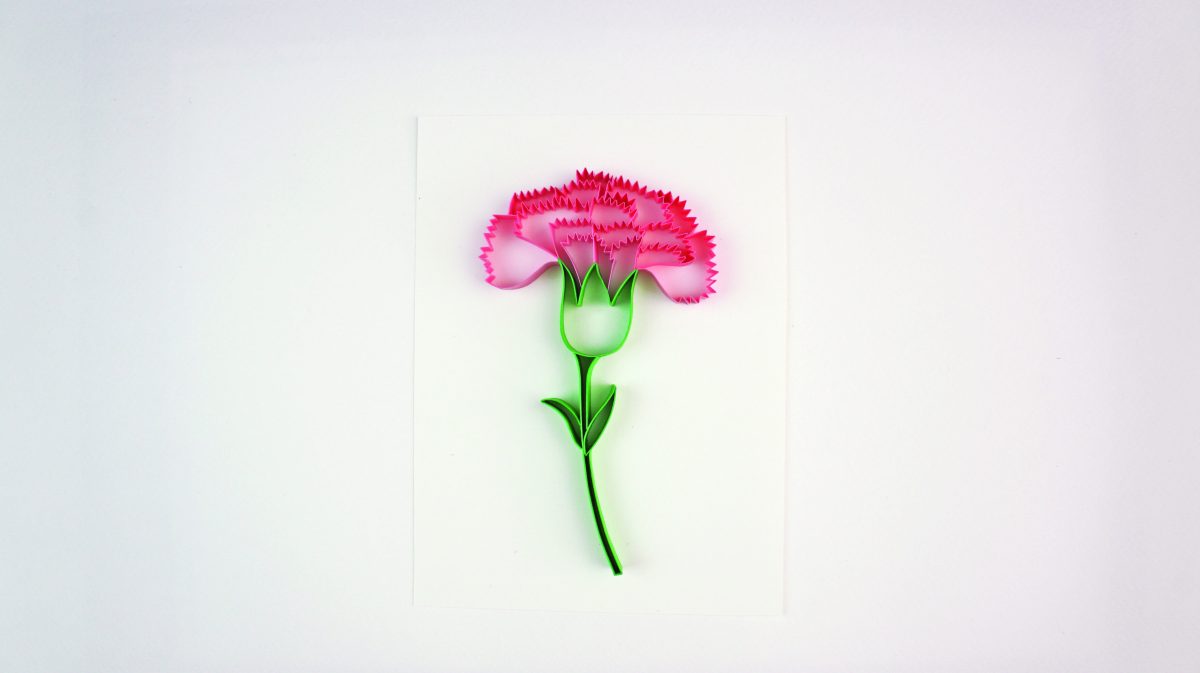
Fill the stalk with zigzag shapes using emerald green paper.
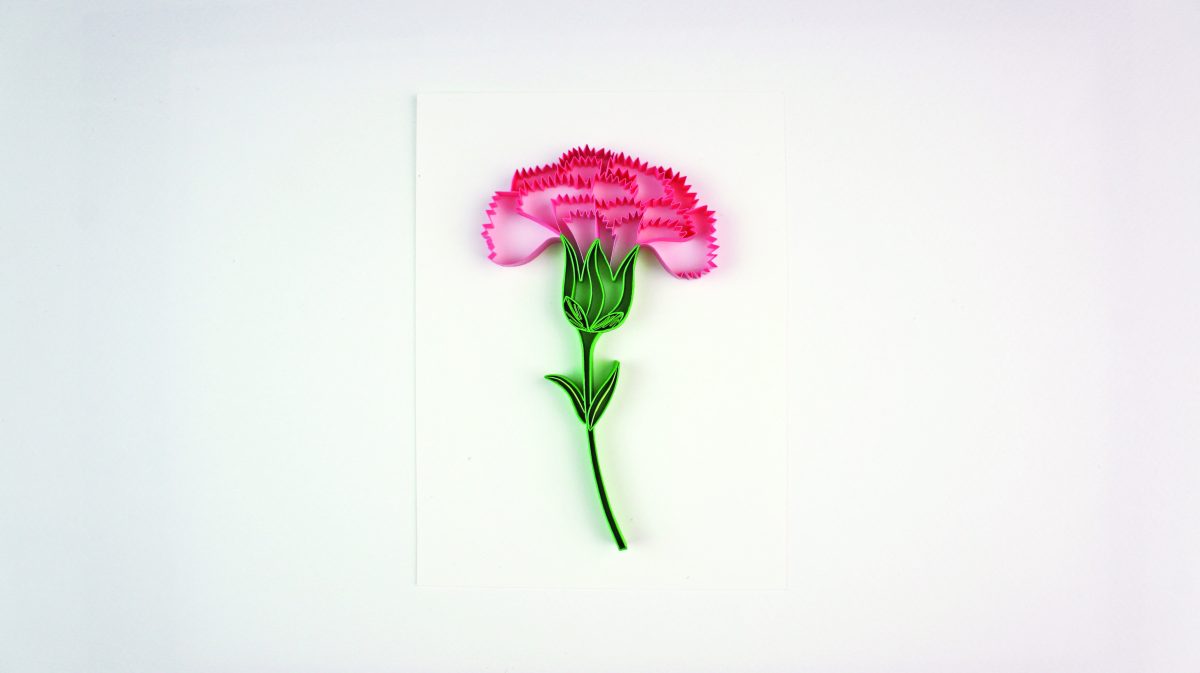
Finally, make a zigzag shape using light green paper, apply a thin layer of glue and place it in the upper half of the stalk.
Reprinted with permission
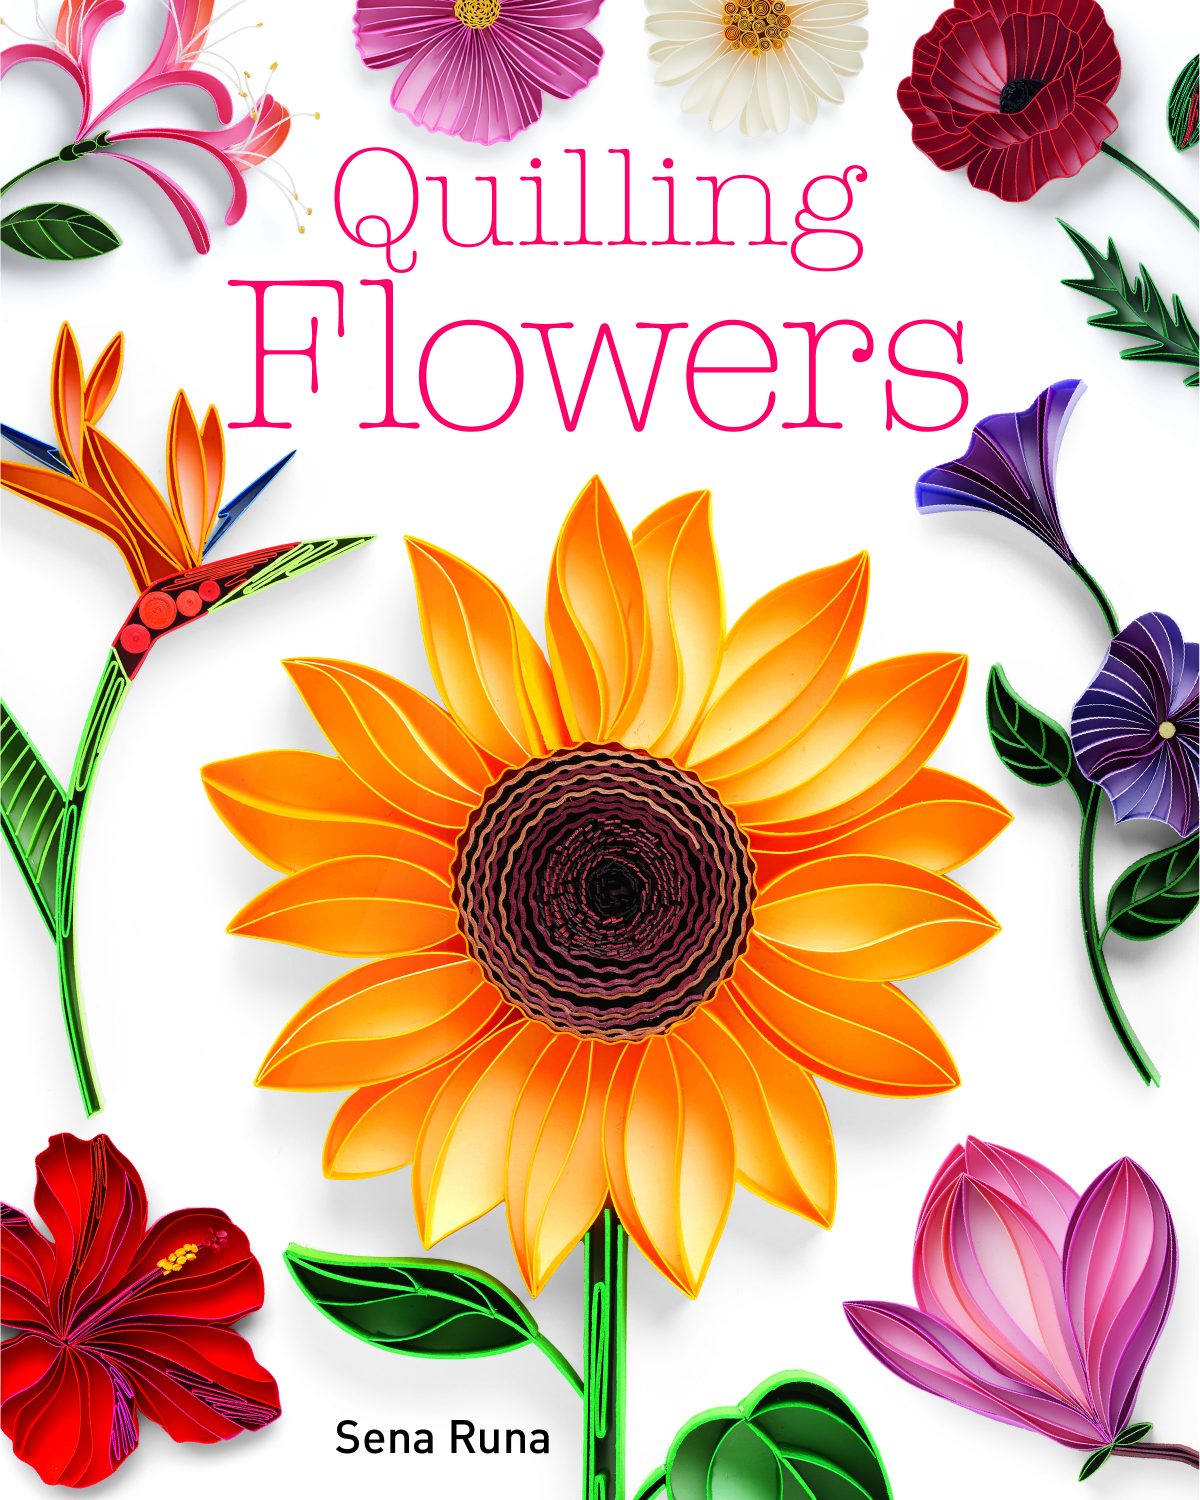
Quilling Flowers by Sena Runa, GMC Publications, RRP $26.99, available online and from all bookshops.


What do you think of this project? Let us know!