
Get more details about this project
What you need
Dollar Tree Glass plate
Modge Podge
Printed Fabric or Paper
Paint Brushes
Instructions
Are you looking for an affordable and easy way to add some decorative flair to your home?This Modge Podge Dollar Tree decorative plate tutorial. With just a few simple supplies from your local Dollar Tree store, you can transform a plain glass plate into a beautiful and unique piece of home decor.
Modge Podge is a versatile crafting adhesive that can be used for a variety of projects, and this decorative plate is no exception. By using Modge Podge and some decorative paper or napkins, you can create a custom design that reflects your personal style and complements your home decor. Plus, since this project uses Dollar Tree supplies, it’s both affordable and accessible to crafters of all skill levels.
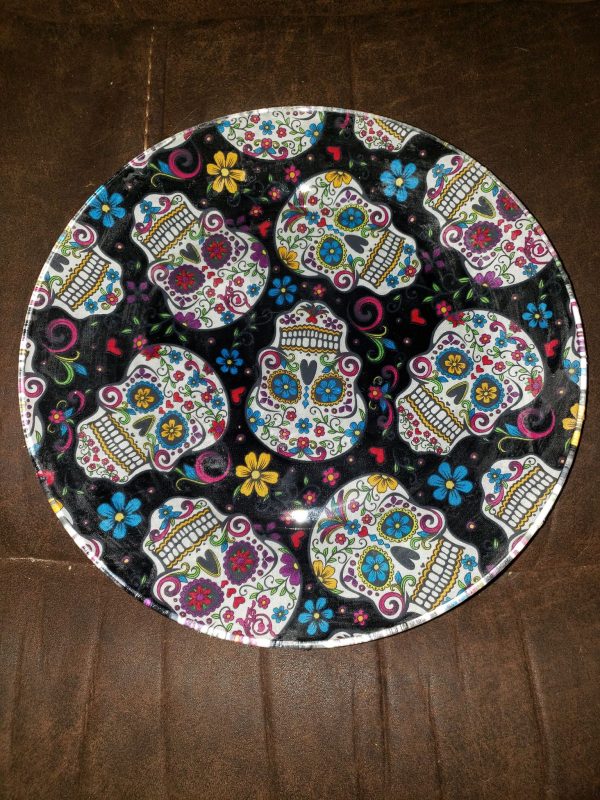
This craft tutorial will guide you through the process of creating a Modge Podge decorative plate, from choosing your materials to applying the finishing touches. With step-by-step instructions and photos, you’ll learn how to create a beautiful and functional piece of home decor that you can be proud to display.
So if you’re looking for a fun and easy way to add some personality to your home, give this Modge Podge Dollar Tree decorative plate tutorial a try. Whether you’re a seasoned crafter or a beginner, this project is a great way to flex your creative muscles and create something beautiful that you can enjoy every day. So gather your supplies and get ready to transform a simple glass plate into a stunning piece of decor that will impress your friends and family.
This decorative plate can be used for any seasonal project, simply select a fabric suitable for the season, this one is made for Halloween using Skeleton fabric. These also make wonderful Christmas plates, especially for santa’s cookies.
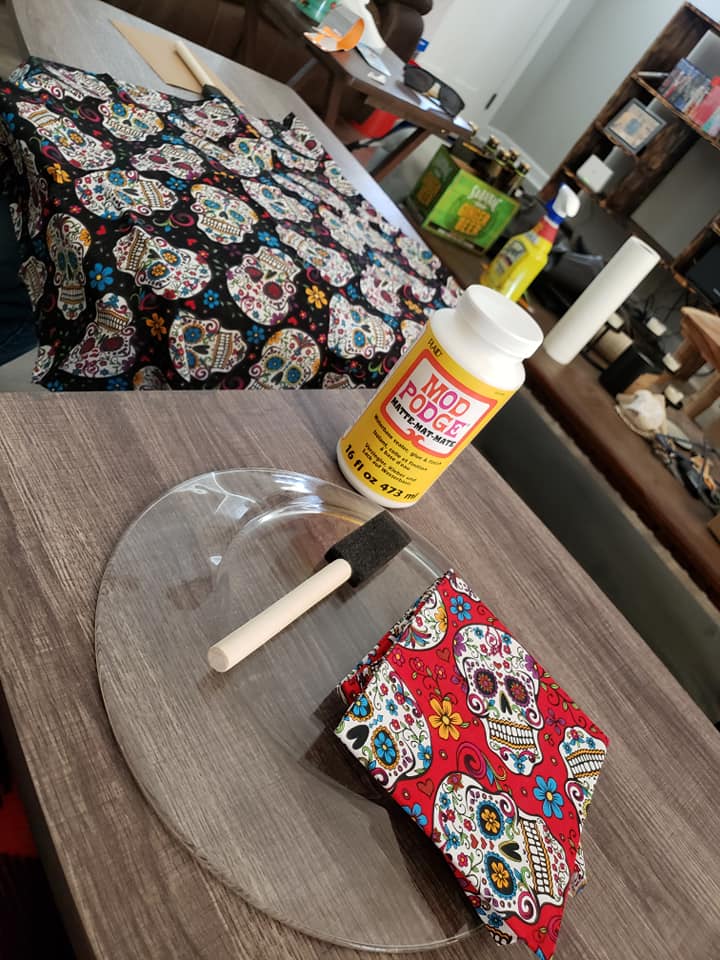
First thing you need to do it cut the fabric to fit the plate, allow 1/5 inch overlap to make working with it easier.
You can purchase the plates here for $1
Coat the back of your plate with modge podge. Now I am not a big fan of modge podge as it can be very expensive. Did you know you can make your own modge podge? It’s PVA or white wood glue, with some water to form a spreadable mix. It works out much cheaper and is also a creat paint sealer on projects.
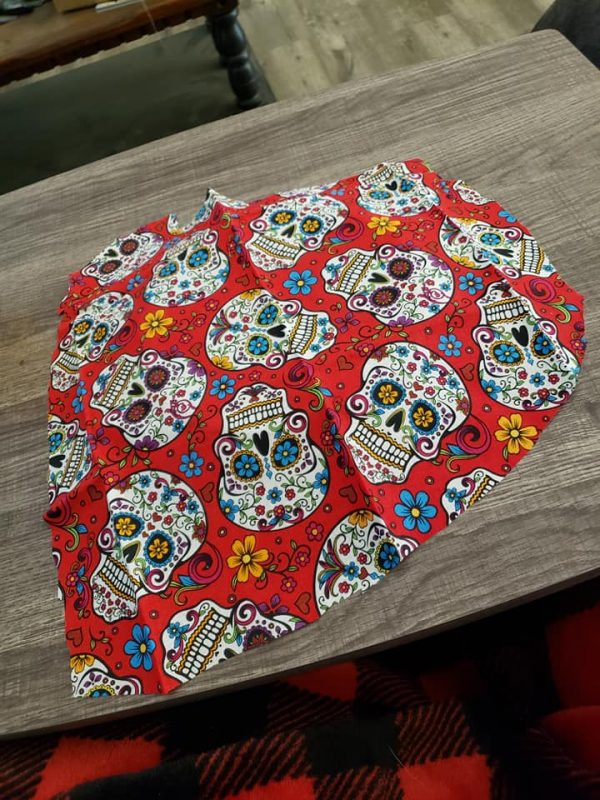
Lay the fabric onto the plate and smooth it down, if you have done decoupage before then you will know to start by applying pressure in the middle and working out towards the edges. This helps the air bubbles to escape out of your Decorative plate design to avoid bumps and ripples.
Trim the edges of the fabric, I find this easiest to do when you allow the first layer to dry. Then trim, then reapply the glue to those cut edges. make sure you get all the edges as this will help ensure the fabric doesn’t begin to lift and will give your project longer. Allow to dry and re-apply a second coat for durability.
To clean your plate use a damp cloth do not submerge into water.
These images were contributed by Kate and Nick C. We saw their project and knew we had to feature it. Well done guys it looks amazing, thank you so much for sharing with us.


What do you think of this project? Let us know!