
Get more details about this project
What you need
Pattern-drafting supplies
Sewing toolkit
Lots of fabric scraps (lightweight, stable woven fabrics of a similar weight and drape, such as cotton lawn, poplin, quilting cotton, seersucker, and soft linen)
8–10″ (20–25 cm) invisible zipper
Lightweight woven fusible interfacing (optional)
Regular zipper foot and invisible zipper foot
Instructions
TIP: To simplify the construction, you could of course use a single piece of fabric instead of creating patchwork fabric.
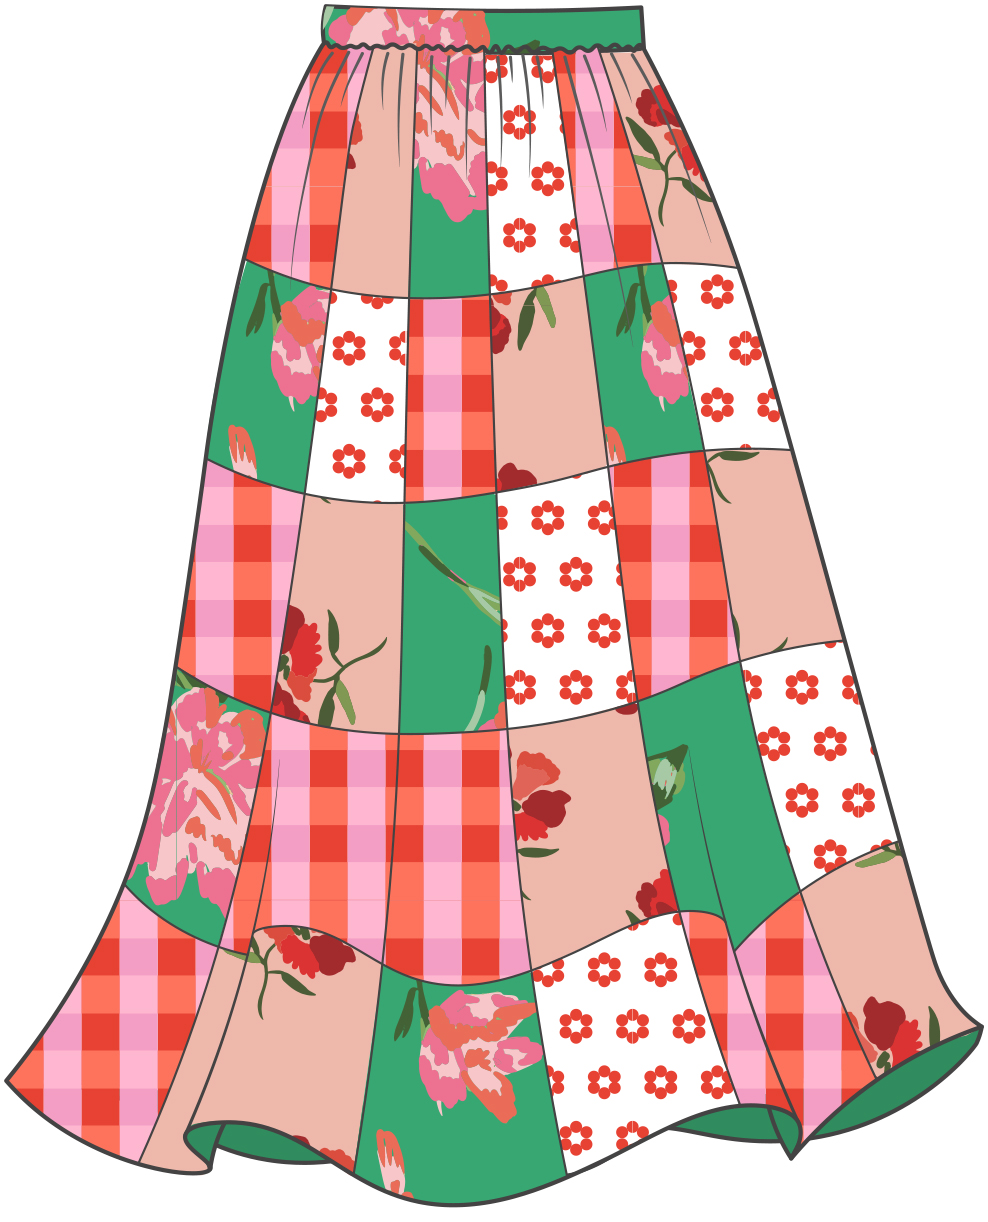
Front
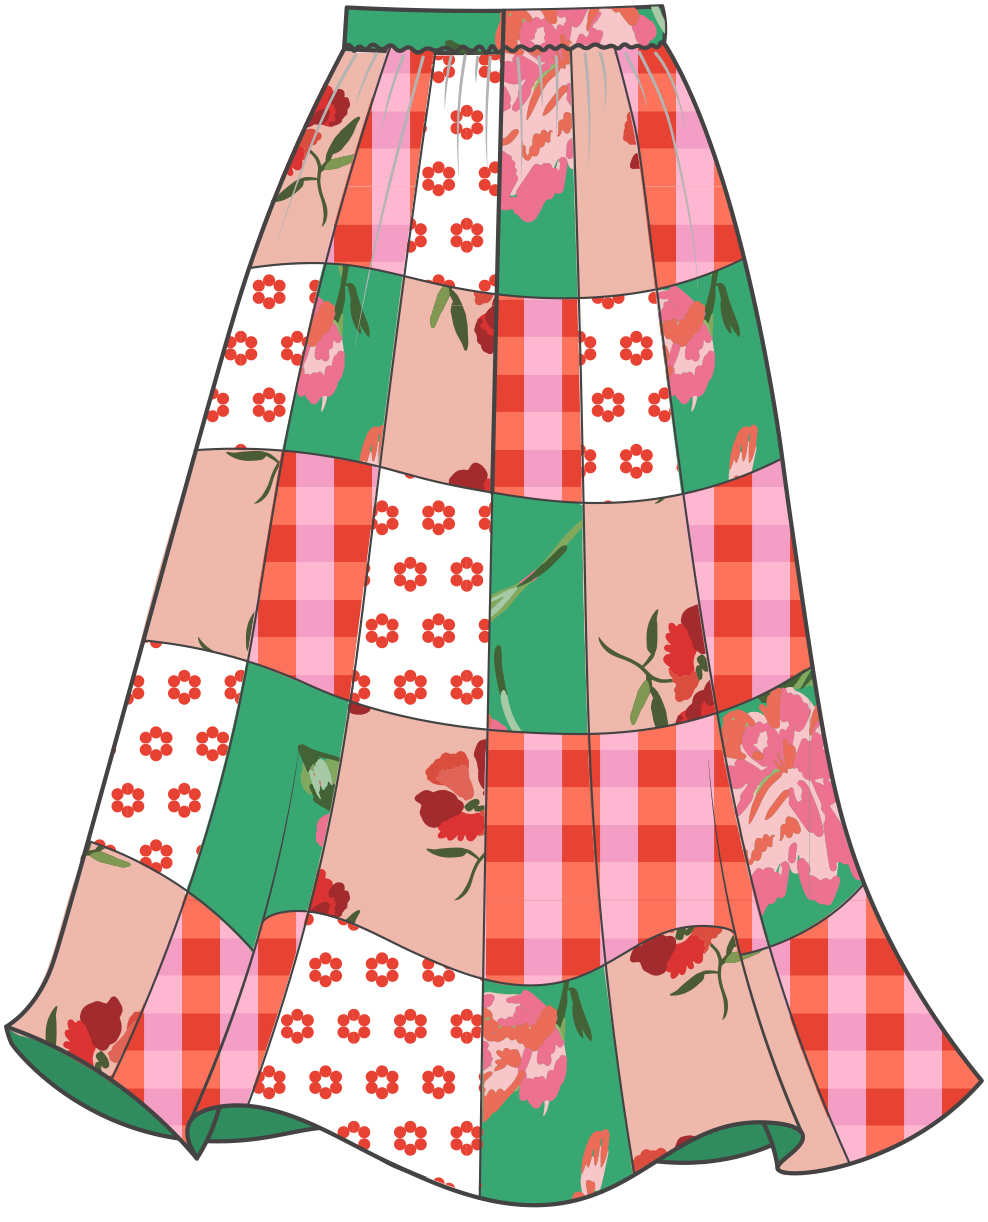
Back
SKILLS PRACTICED
Patchwork
Gathering
Inserting a zipper
Hand sewing
Draft the Pattern
All you need to draft is a long rectangle that will be gathered in at the waist and seamed at the center back and a waistband piece.
1. Measure your waist, and then decide how full you want the skirt to be. For gentle gathers, multiply the waist measurement by 1.75 to 2. For really full gathers (always my choice!), multiply by 3. Draw out this measurement as a horizontal line near the top edge of a piece of pattern paper. Now decide how long you want the skirt to be. Draw two vertical lines (the back seam lines) coming down from each side of the horizontal waistline. Finish the rectangle by joining the side vertical lines with a horizontal hemline (Fig. A).
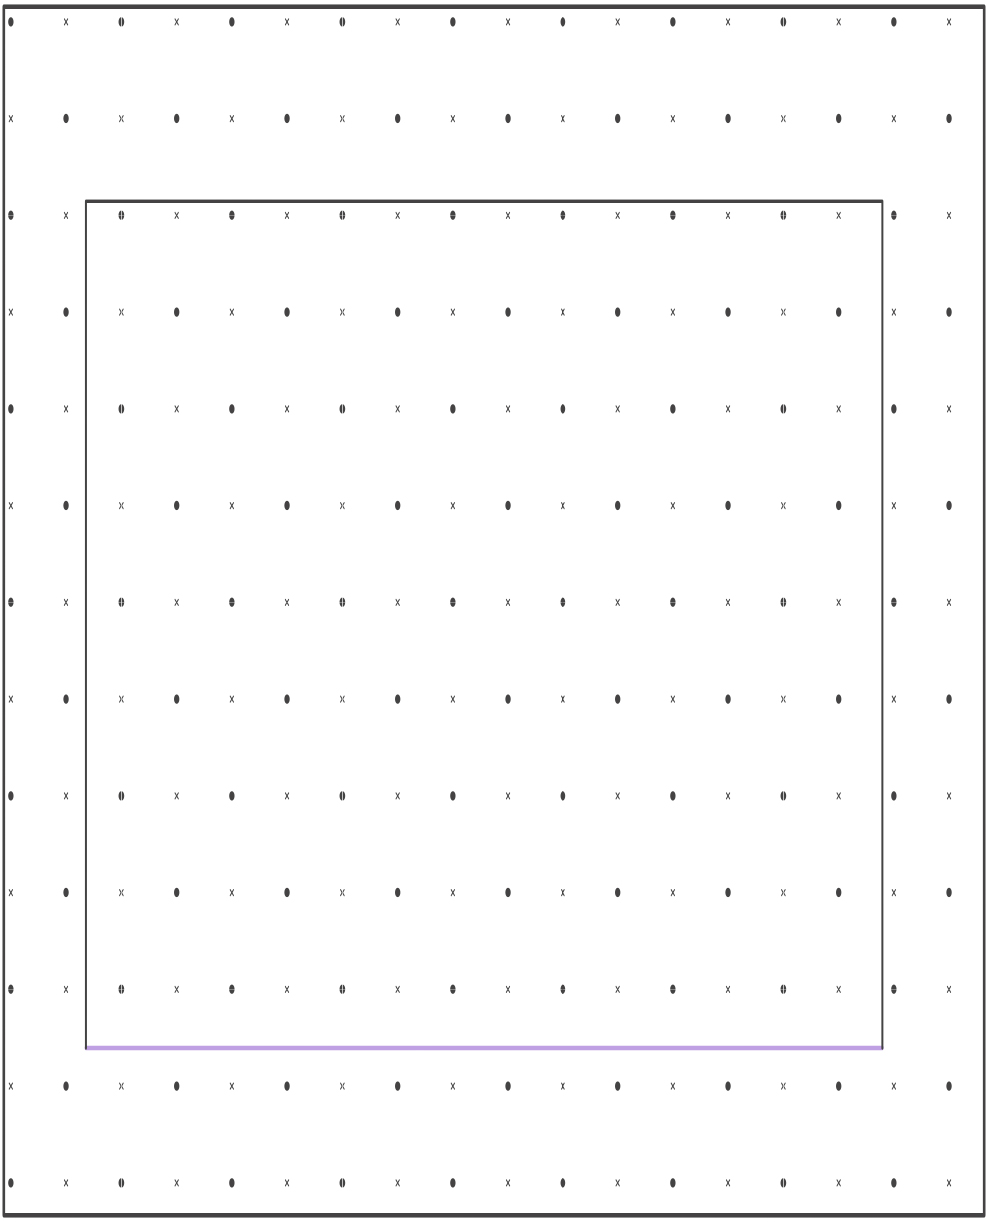
Figure A
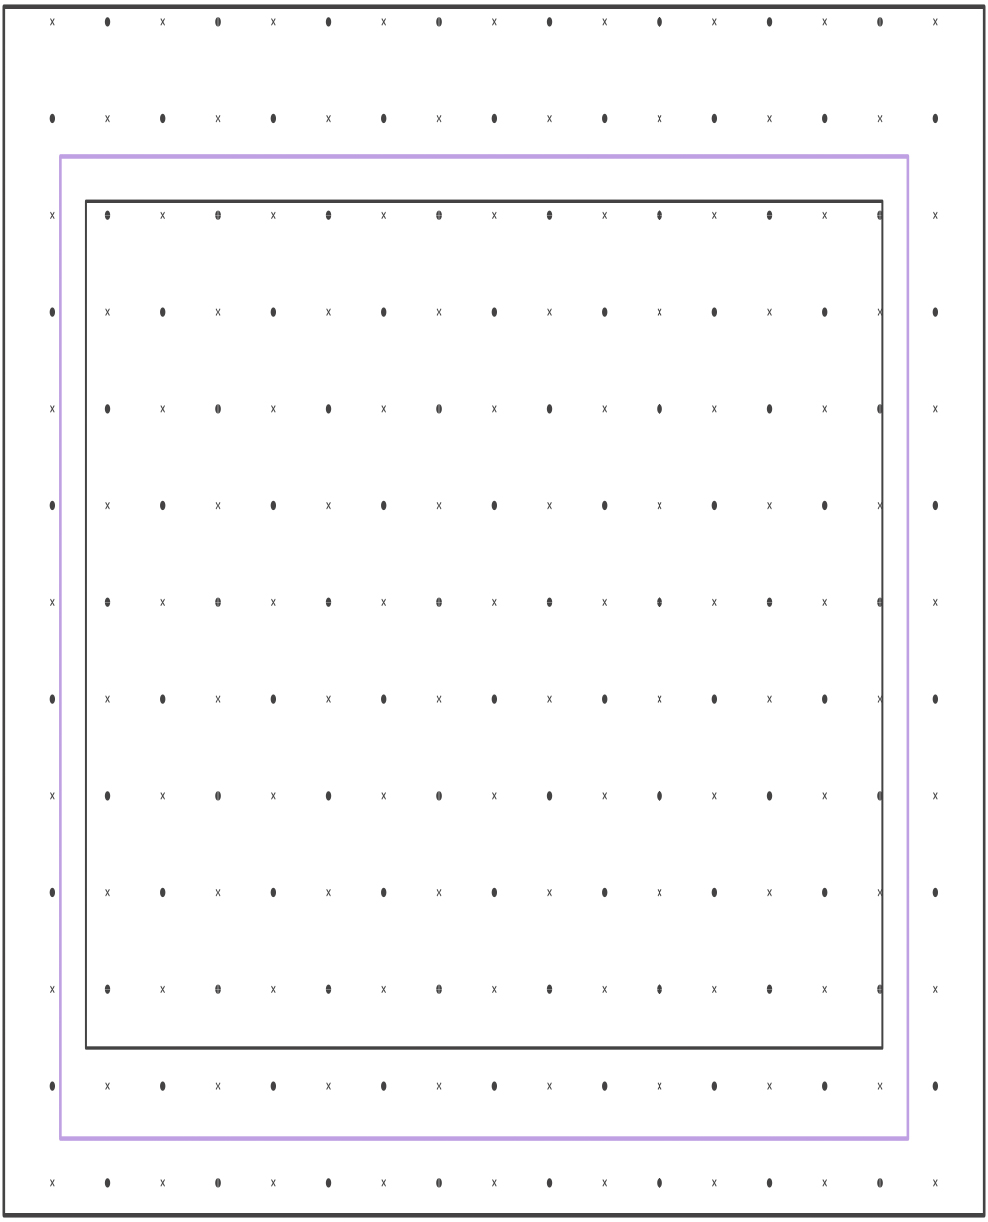
Figure B
2. Now we have to add seam allowance (Fig. B): 5/8″ (16 mm) along the waistline 5/8″ (16 mm) at both vertical back seam lines 1″ (2.5 cm) along the hem
DRAFT THE WAISTBAND PIECE
1. Using the “Basic Waistband” instructions draft your waistband piece (Fig. C).
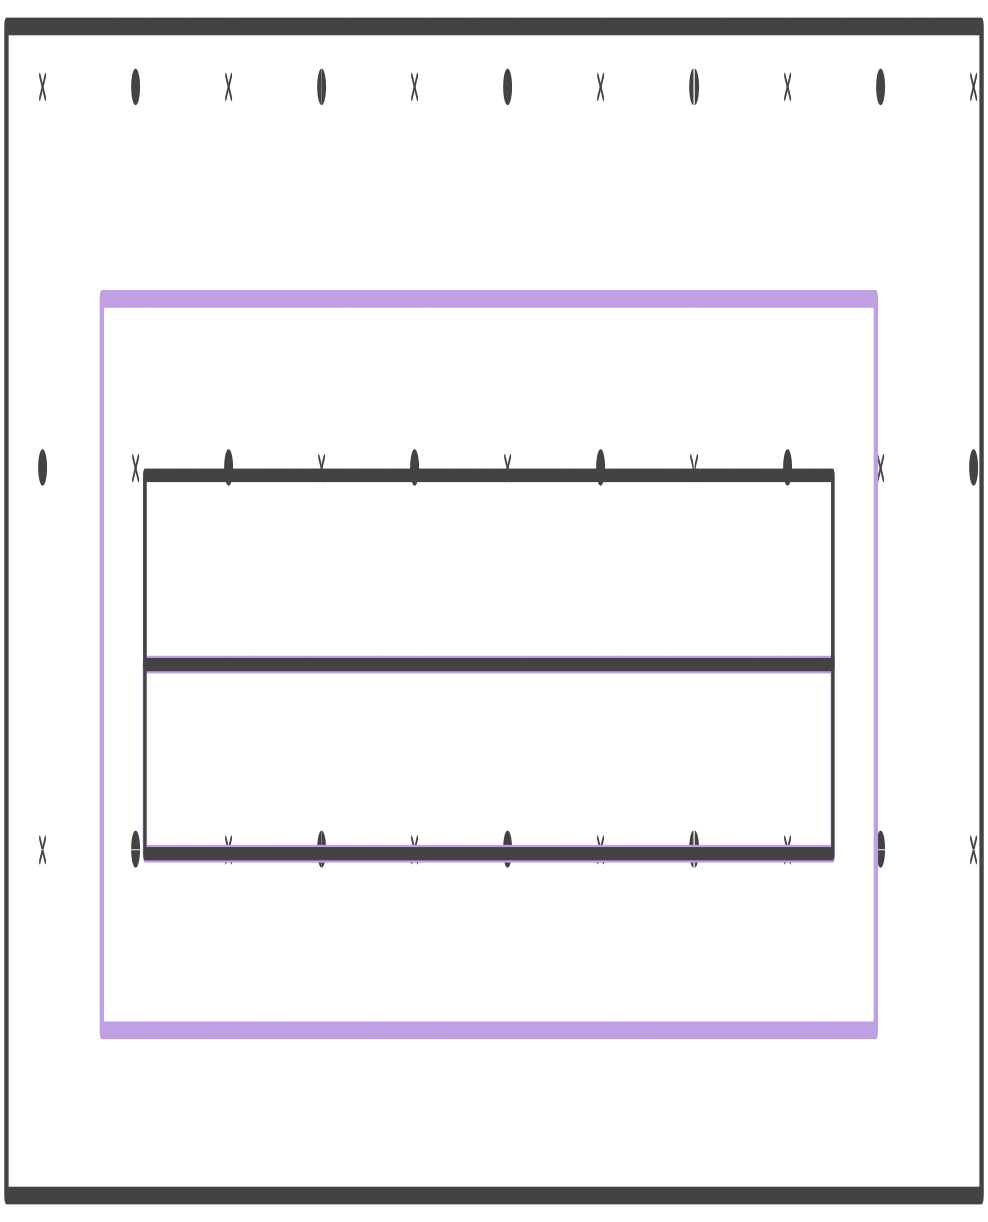
Figure C
DRAFT THE SKIRT PIECE
1. Using the “Basic Waistband” instructions, draft your waistband piece (Fig. C).
Prepare the Fabric to Make the Patchwork
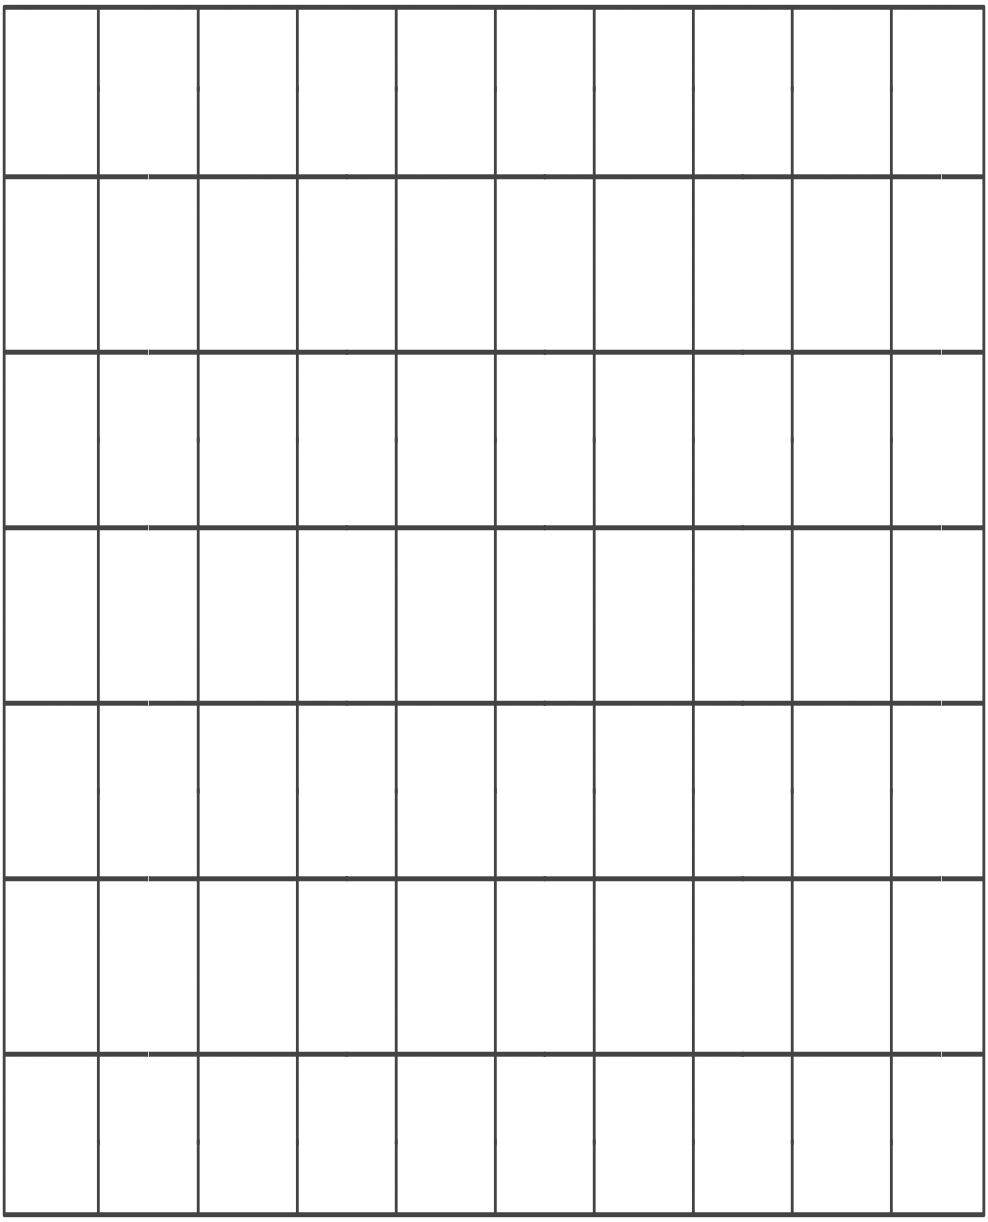
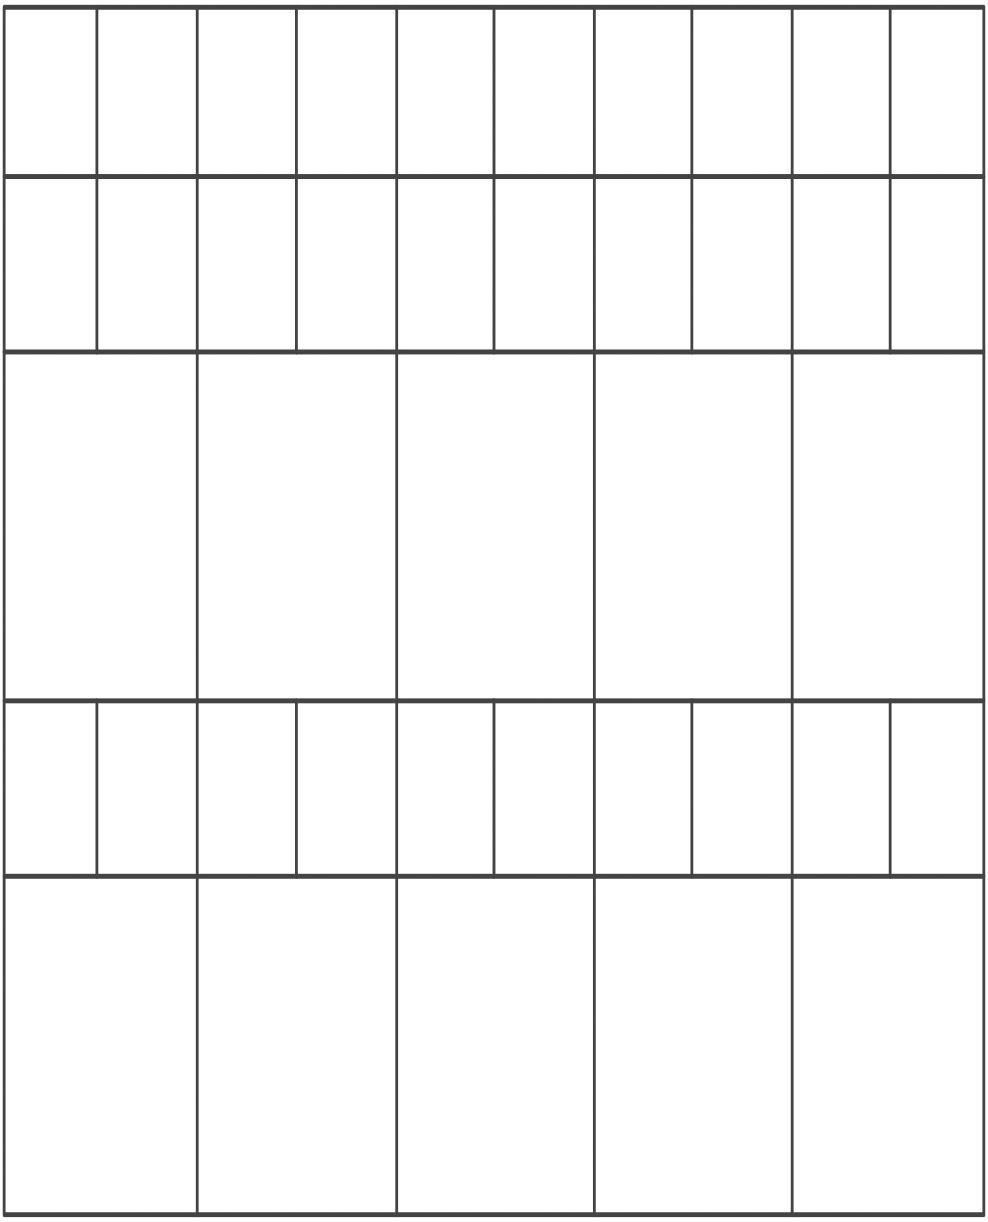
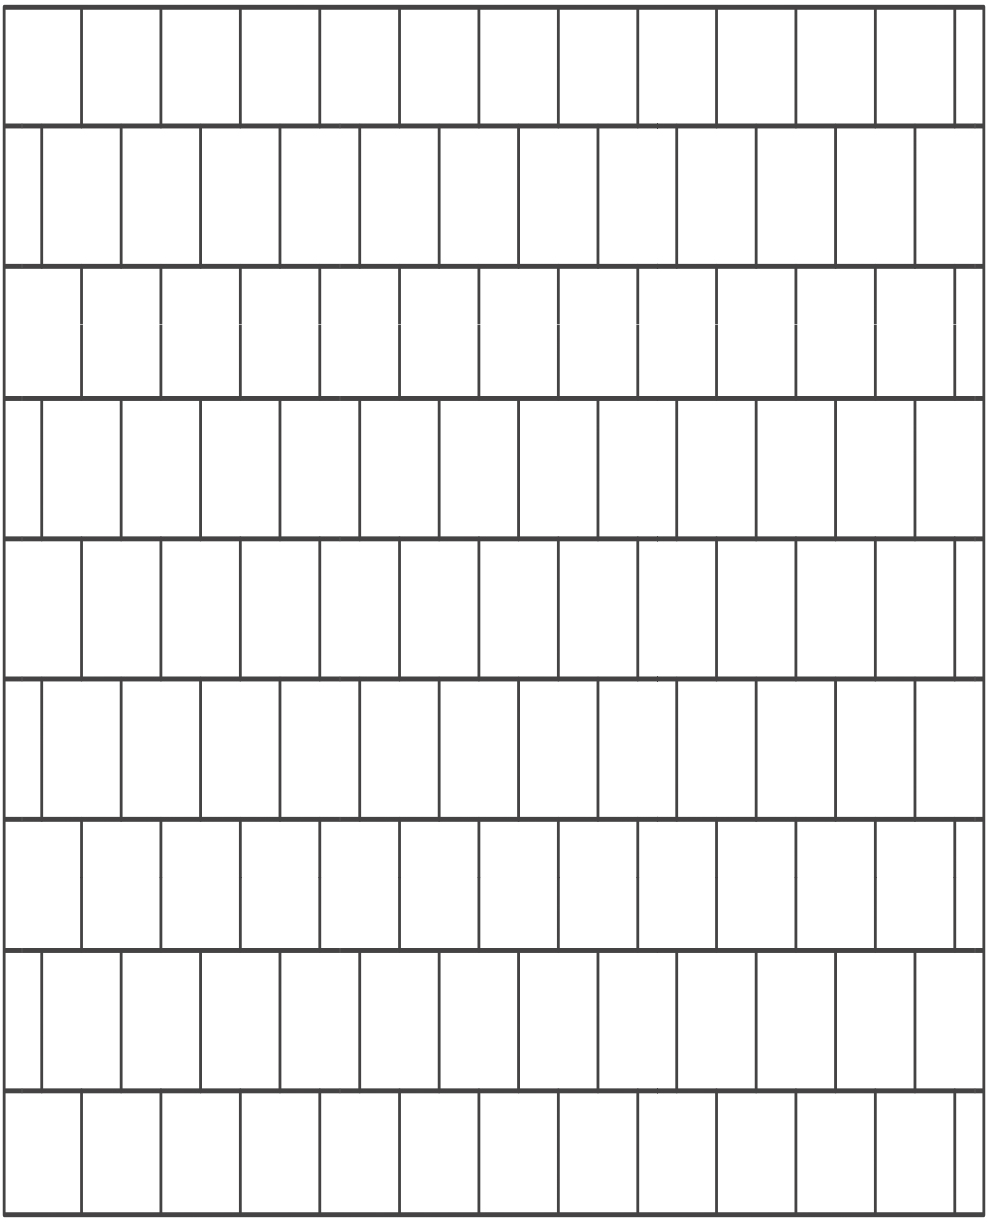
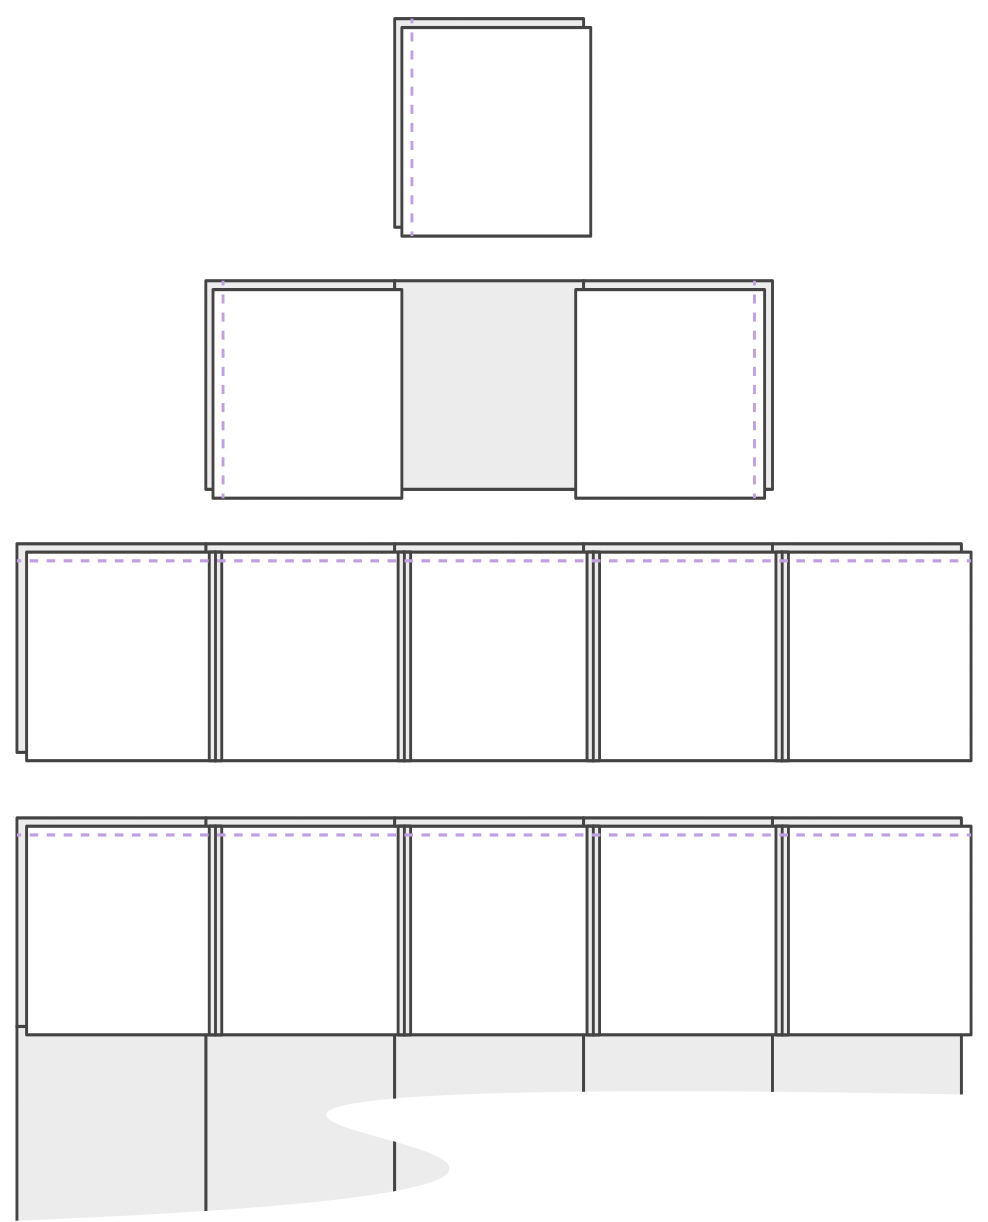
Take all the fabric scraps and remnants, cut them into equal squares, and sew them together. You can get really creative or keep things nice and simple. I’ve included a few layout ideas here to get you started (Fig. D).
Patchwork 101
Follow these tips for sewing the patchwork fabric.
• Remember to use fabrics of similar weights and drape.
• Factor in 1/4″ (6 mm) seam allowance around the fabric squares.
• Sew individual squares together to form long strips, and then sew the long strips together to create the patchwork fabric, aiming to make the finished piece roughly the same size as (or a little larger than) the skirt pattern piece.
• Using a serger or zigzag stitch, finish the seams after sewing each long strip, and then finish the longer strip seams at the end. Press seams well at the end.
Cut it Out
Place the skirt pattern piece on top of the patchwork fabric, pin it into place, and trim away the excess. Take another piece of fabric and cut out the waistband. You may need to apply interfacing to the waistband if the fabric is particularly lightweight.
Sew it Together
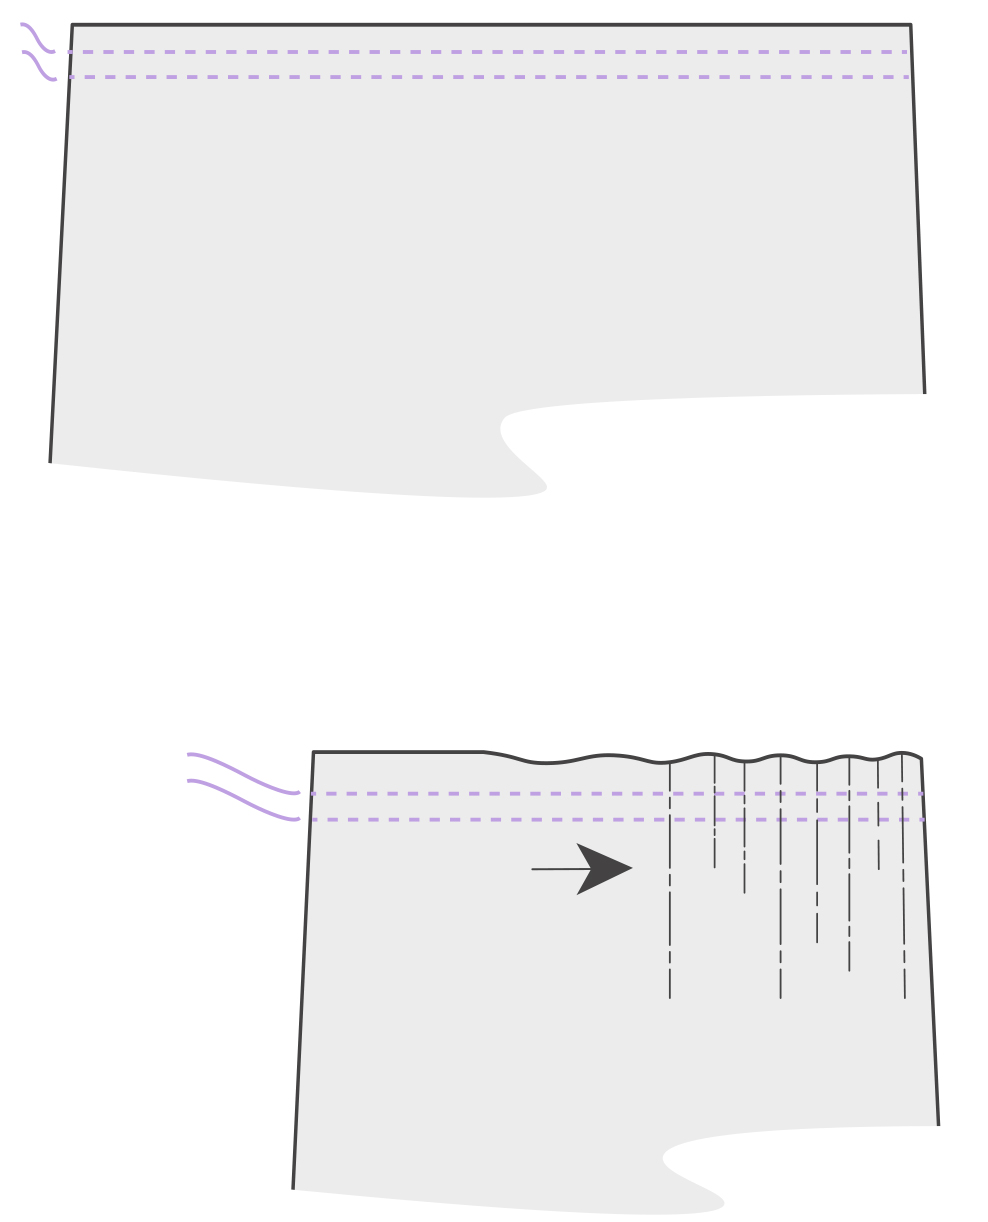
Figure E
Sew two rows of basting stitches along the waistline of the skirt piece, and gather the top of the skirt to match the length of the waistband. Secure the gathering threads, leaving 5/8″ (16 mm) on either side for the zipper to go in easily, and evenly space the gathers (Fig. E). (read Made to Measure for instructions on gathering)
1. Insert the zipper. Align the top of the zipper tape with the raw edge of the skirt’s waistline (Fig. F). (read Made to Measure for instructions on inserting an invisible zipper)
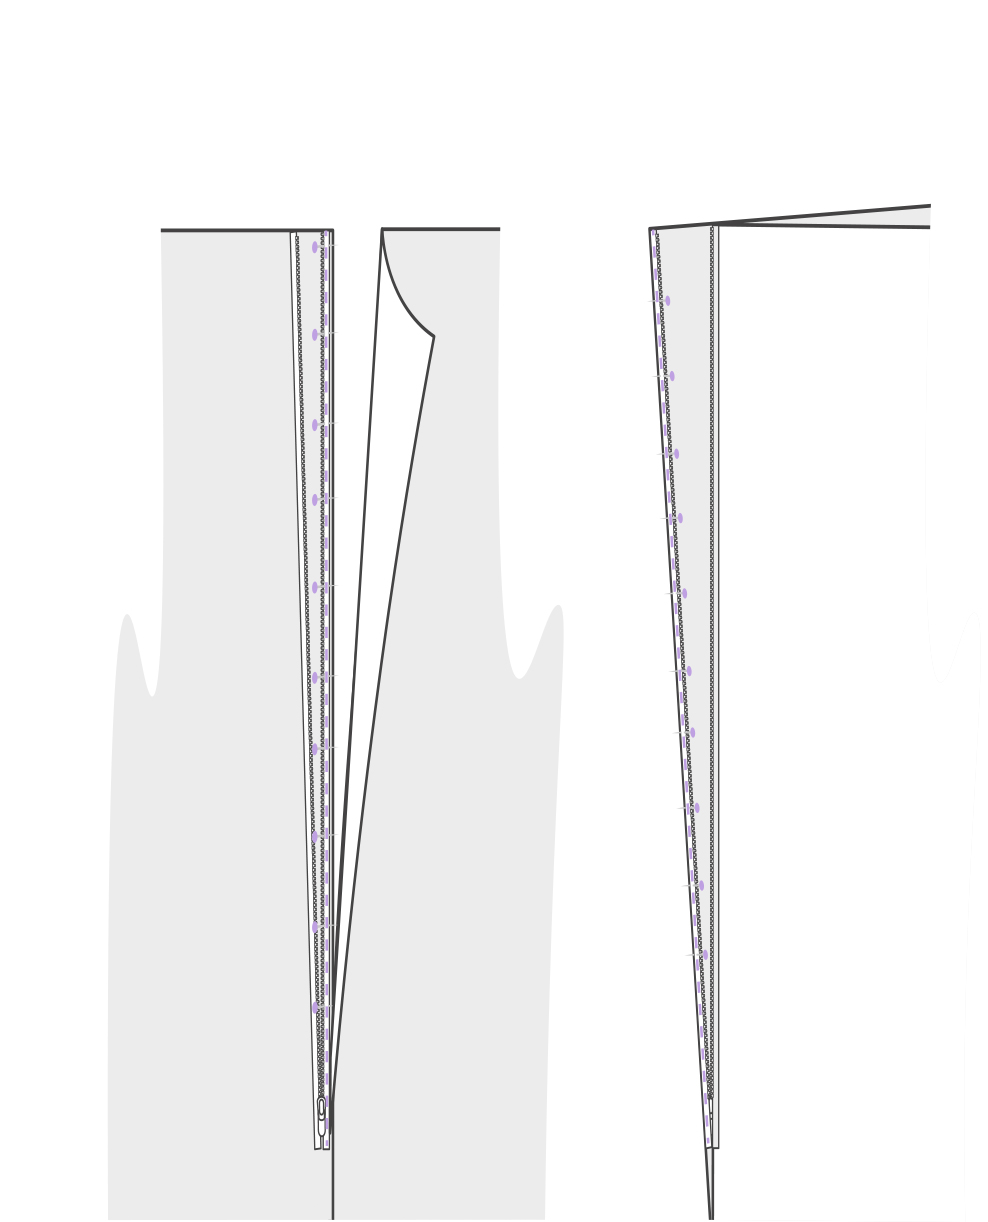
Figure F
2. Close the remainder of the skirt’s back seam and press open (Fig. G).
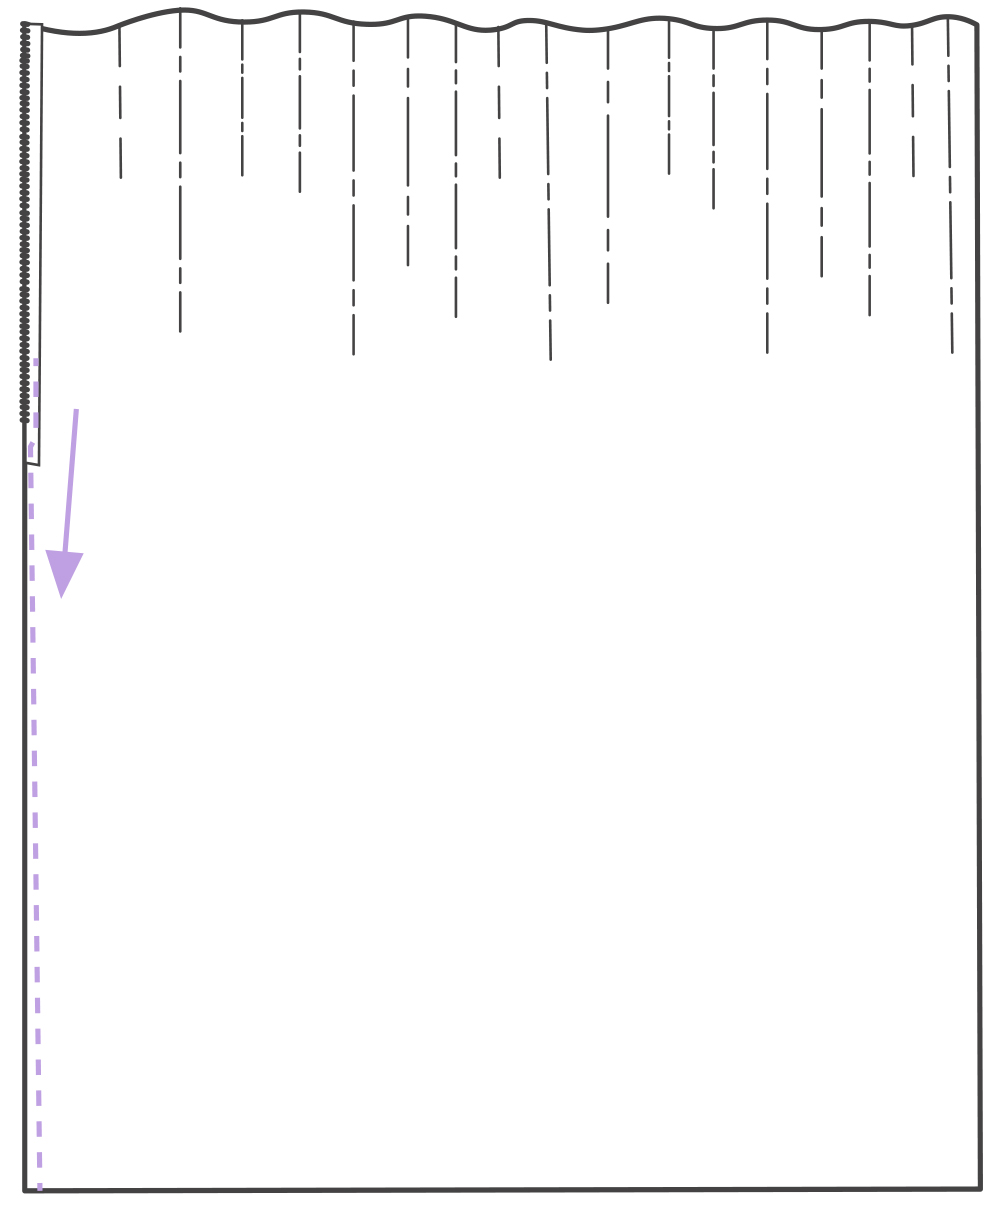
Figure G
Attach the Waistband
Attach your waistband to the skirt’s waistline (Fig. H). (read Made to Measure for instructions on attaching a waistband)
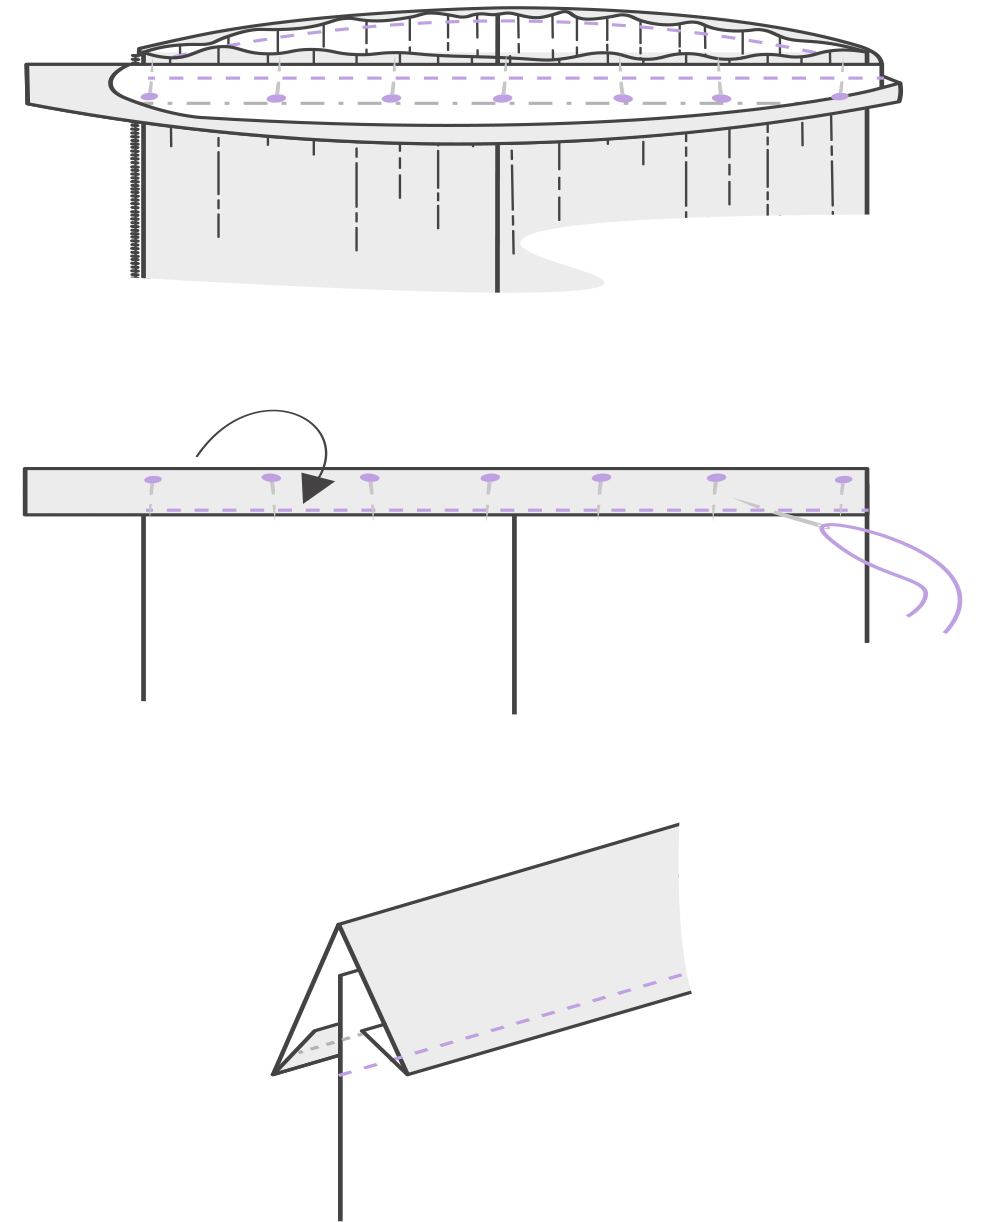
Figure H
Sew It Together
Finish the Waistband
Secure by hand with a blind slip stitch or on the machine by stitching in the ditch (Fig. I).
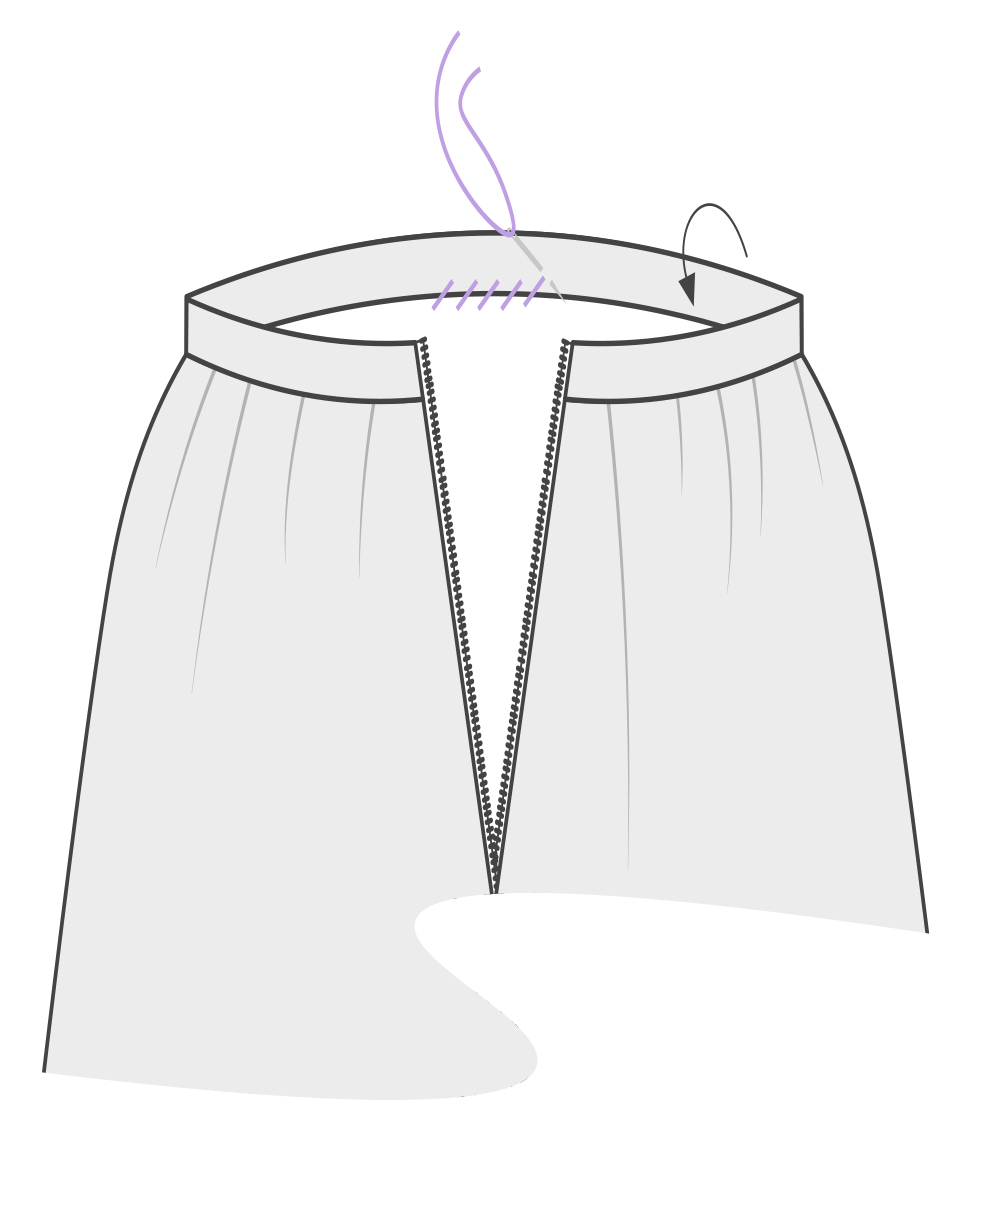
Figure I
HEM THE SKIRT
1. Before hemming, it’s always a good idea to try the garment on to check the length! You may want to increase the hem allowance if you would like a shorter skirt or sew a narrower hem if the skirt turned out a little shorter than expected.
2. When you’re happy with the length, hem the skirt, and give the whole thing one final press.
Customize It!
The humble gathered skirt is often a first project for many learning to sew. It can be as simple as a gathered length of fabric with a waistband as you get comfortable with the techniques involved, or you can embellish on the basic idea as your skills and confidence progress. Here are some ideas.
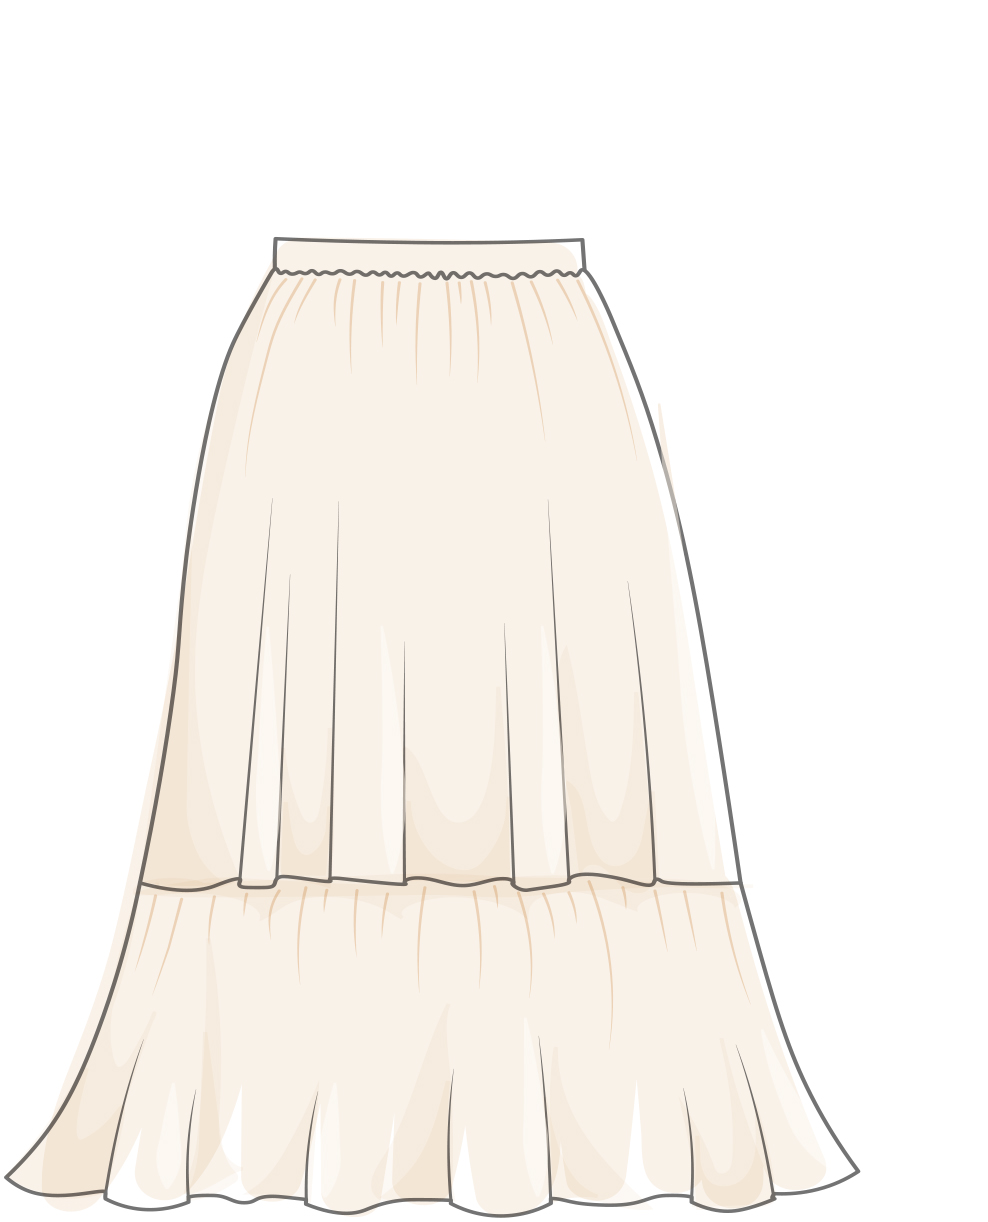
Hem Ruffle
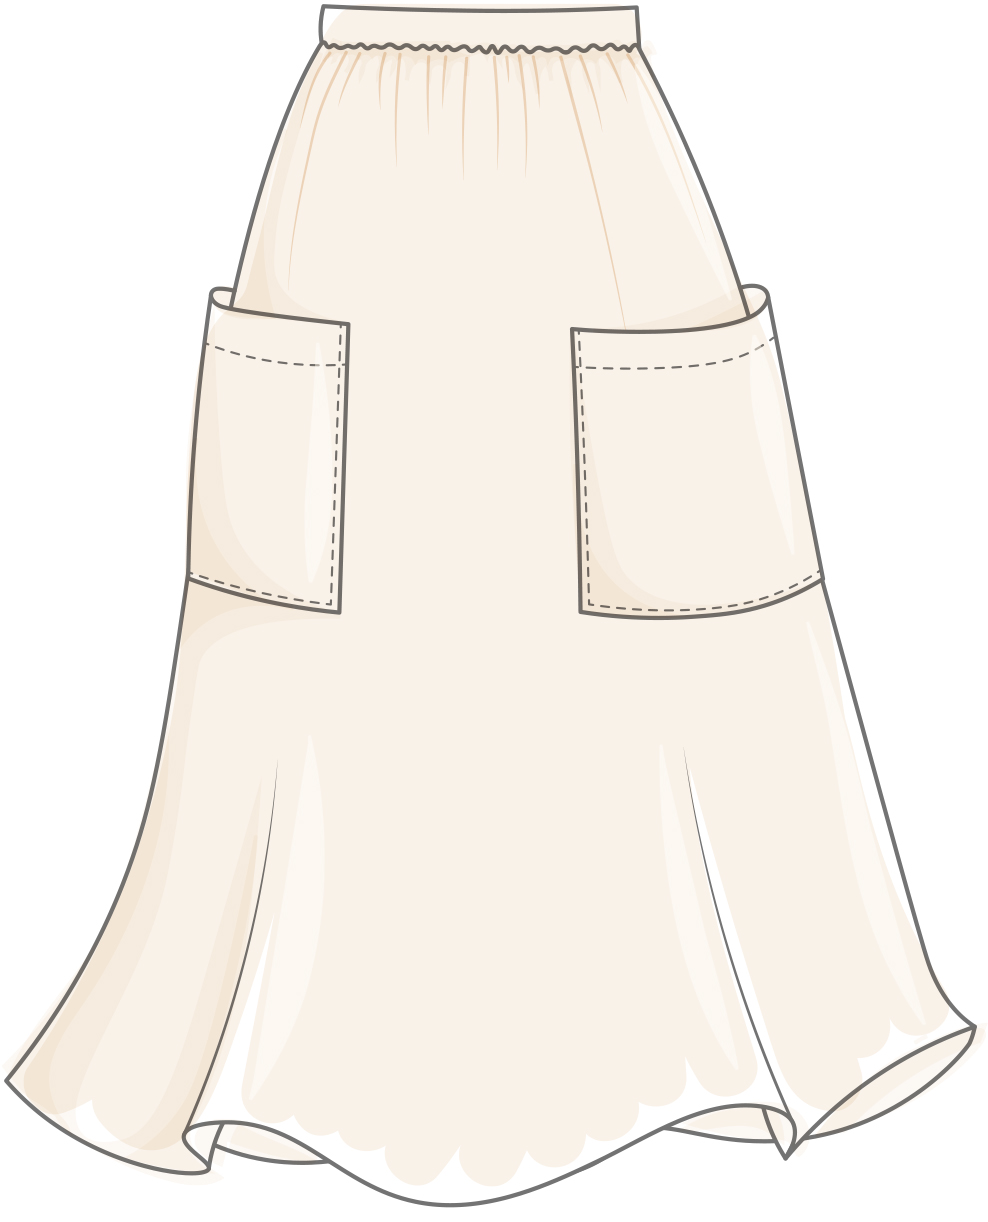
Patch Pockets
Center Front Button
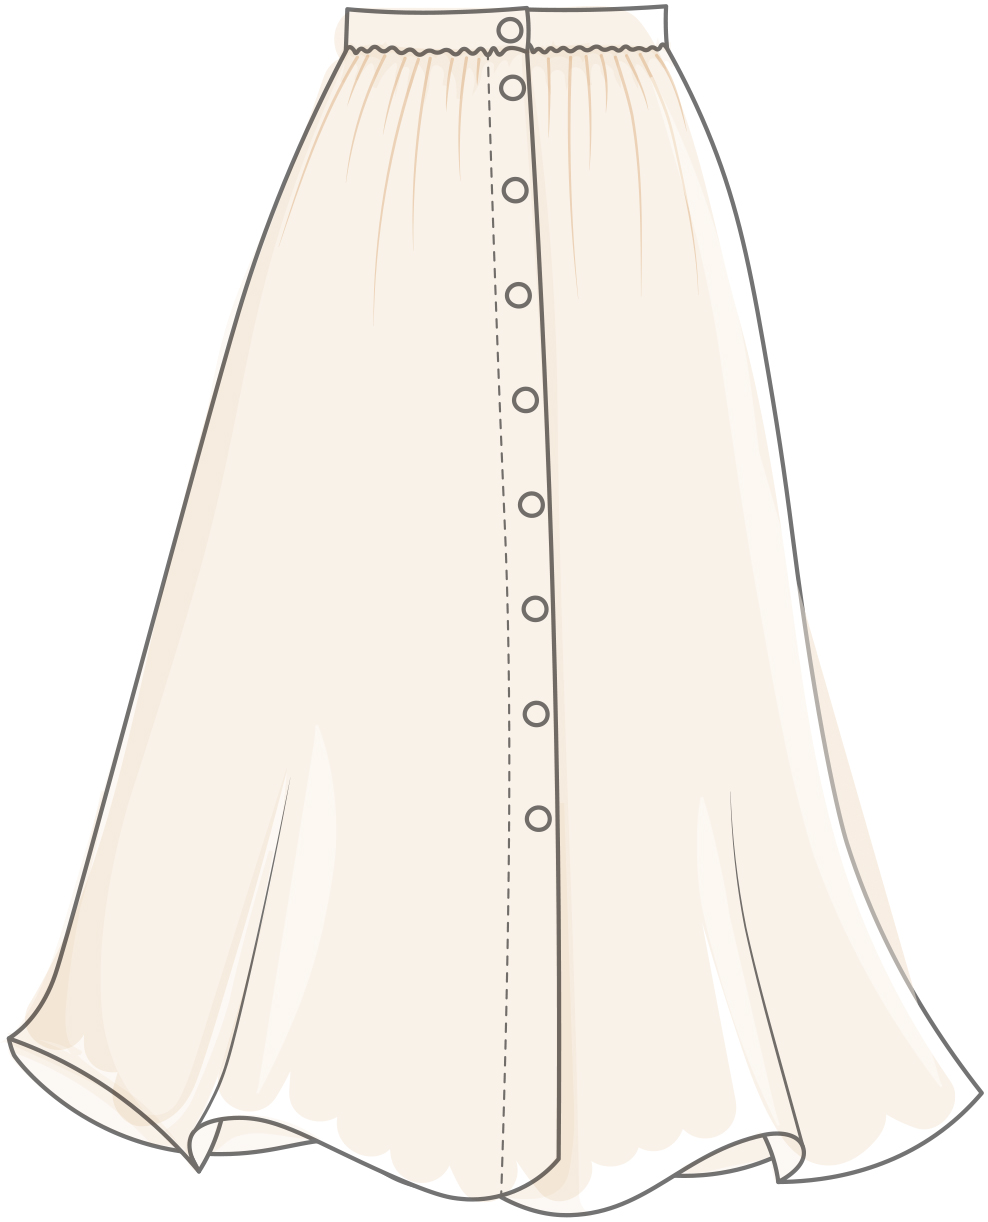
Placket
Elisalex Jewell is the co-founder of the independent sewing pattern label and sewing education platform By Hand London. She went to the London College of Fashion, where she trained as a shoemaker, then worked in the fashion industry for four years. She founded By Hand London out of an interest in wanting to equip people with the skills and confidence needed to sew their own clothes. She also teaches sewing and handicrafts and contributes to various sewing and craft publications. She lives in London, United Kingdom. Find her online at byhandlondon.com.
Excerpted with permission from Made to Measure: An Easy Guide to Drafting and Sewing a Custom Wardrobe (Quarry Books, an imprint of The Quarto Group, 2023) by Elisalex Jewell. Made to Measure publishes November 7, 2023 and can be purchased wherever fine books are sold. Learn more at quarto.com.


What do you think of this project? Let us know!