
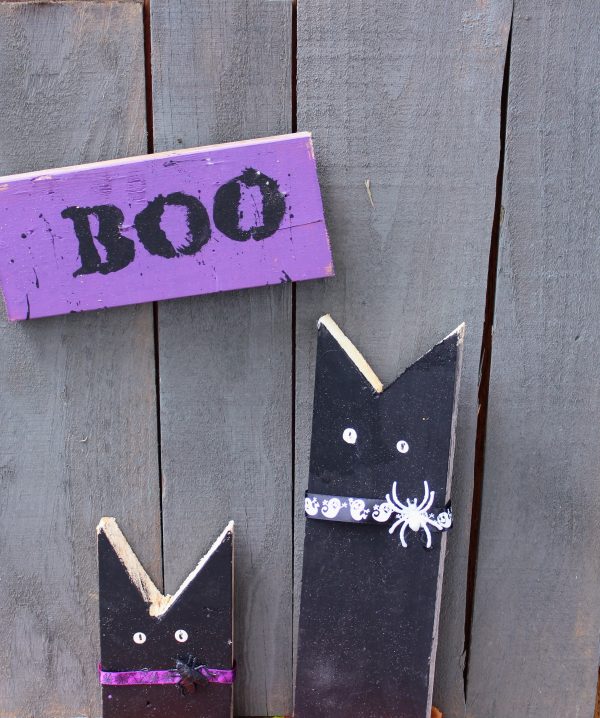
White or yellow paint is stamped onto the wood to form the eyes, and black vertical pupils complete the face. Halloween ribbon wrapped around each board creates a collar that can be decorated with a fake spider, fly, or another novelty insect.
Get more details about this project
What you need
Reclaimed wooden boards
Manual saw, jigsaw, or circular saw
Measuring tape or ruler
Pencil
Work gloves
Safety glasses
Sandpaper
Dishwashing liquid
White vinegar
Water
Cleaning brush
Black paint suitable for wood
White or yellow paint
Medium paintbrush
Small paintbrush with a rounded handle
Pencil with an unused eraser, optional
Halloween ribbon
Novelty plastic spiders, flies, or other insects
Strong craft glue or exterior-rated adhesive
Clear exterior sealer, optional
Purple paint and letter stencils for a coordinating “BOO” sign, optional
Protected work surface
Instructions
A few pieces of leftover wood can become a wonderfully quirky family of black cats for your Halloween porch or yard. Their tall rectangular bodies and pointed ears are intentionally simple, making this a good project for using imperfect, weathered, or mismatched boards.
Create cats in different heights and widths to make the display look like a little feline family. The original project uses boards approximately 12 inches long, but the measurements can be changed to suit the reclaimed wood you have available.
Decorative Halloween ribbons create collars, while plastic spiders, flies, and other novelty insects add a playful finishing touch. Display the completed cats against a fence, beside a front door, on a covered porch, or as part of an indoor Halloween arrangement.
Instructions
Step 1: Select the reclaimed wood
Choose reclaimed boards that are reasonably straight and free from rot.
Inspect every piece for protruding nails, staples, screws, and sharp splinters. Remove all metal hardware before cutting or sanding.
Boards in slightly different widths and thicknesses can be used together. These variations give each completed cat its own personality.
Step 2: Measure the cats
Measure and mark the desired length on each board.
The original project uses boards cut to approximately 12 inches long. Make some boards slightly taller or shorter if you want to create a family of cats.
Use a square or ruler to draw a straight cutting line across each board.
Step 3: Cut the boards
Put on work gloves and safety glasses.
Use a suitable saw to cut each board along the marked line. Cutting should be completed by an adult who is familiar with the chosen tool.
Place the boards together after cutting and check that the height differences look balanced.
Step 4: Clean the reclaimed wood
Combine a small amount of dishwashing liquid and white vinegar with water.
Scrub each board to remove dirt, dust, and loose debris. Rinse the wood with clean water.
Place the boards in a dry, ventilated area or in the sun until they are completely dry. Depending on the wood and weather, this may take several hours or longer.
Do not paint damp wood.
Step 5: Mark the ears
At the top end of the first board, mark the centre point.
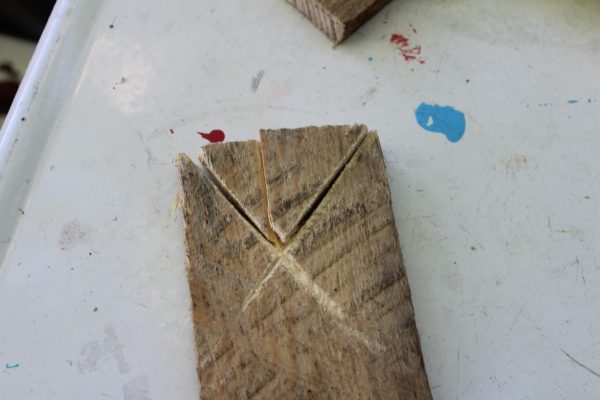
Draw two diagonal lines from the centre point down toward the upper corners. These lines form the V-shaped section that will be removed.
The remaining outer points will become the cat’s ears.
Repeat with every board. Change the depth or angle of the V slightly if you want the cats to have different ear shapes.
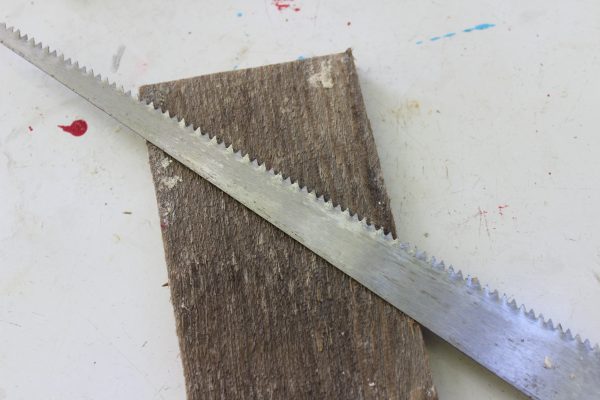
Step 6: Cut the V-shaped notch
Secure the board on a stable work surface.
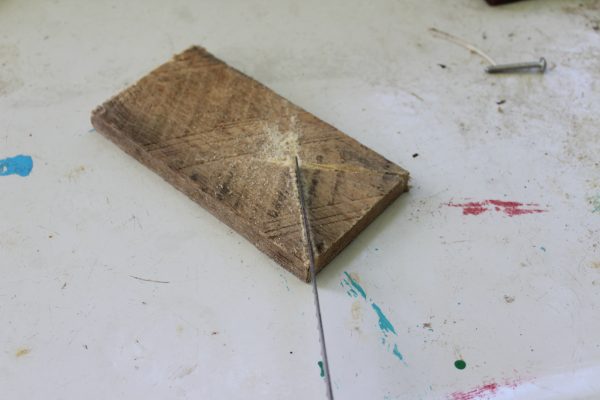
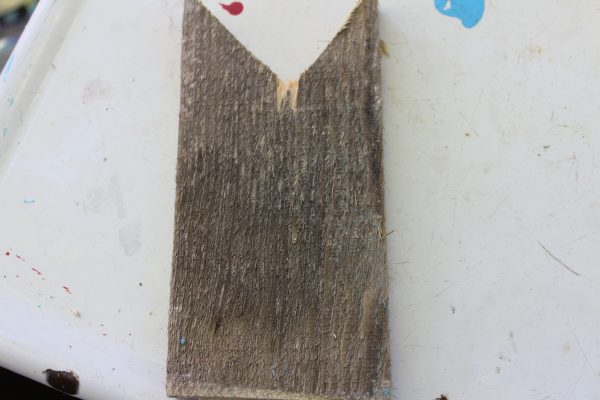
Use a manual saw or jigsaw to cut along the first diagonal line, stopping at the centre point. Cut along the second line and remove the triangular piece of wood.
Repeat with the remaining boards.
The two points left at the top should resemble simple cat ears.
Step 7: Smooth the wood
Sand the freshly cut edges to remove sharp splinters.
Lightly sand the front and sides of each board if the surface has loose fibres or flaking material. Preserve some of the original texture if you want a distressed farmhouse finish.
Wipe away all sanding dust before painting.
Step 8: Paint the cats black
Place the boards on a protected work surface.
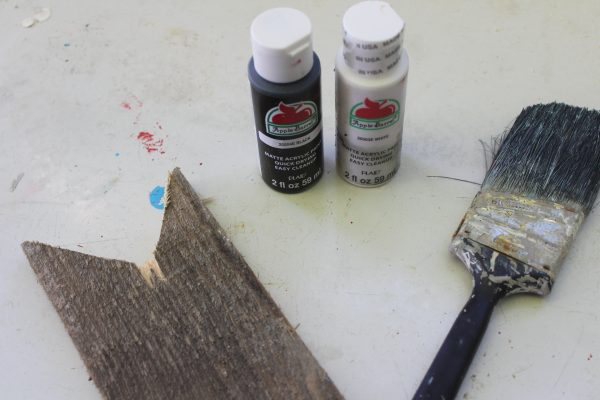
Use the medium paintbrush to cover the front, sides, ears, and exposed cut edges with black paint.
Allow the first coat to dry. Add a second coat if the wood grain is showing through more than desired.
Leave the boards until the black paint is completely dry.
Step 9: Plan the eyes
Stand the boards upright and decide where the eyes will sit.
Place the eyes above the future ribbon collar and far enough below the ears to keep the face balanced.
Mark the eye positions very lightly with a pencil if needed. Check that both marks are level before applying paint.
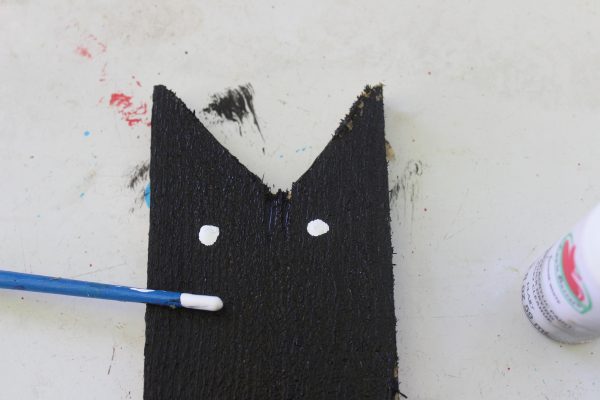
Step 10: Stamp the eyes
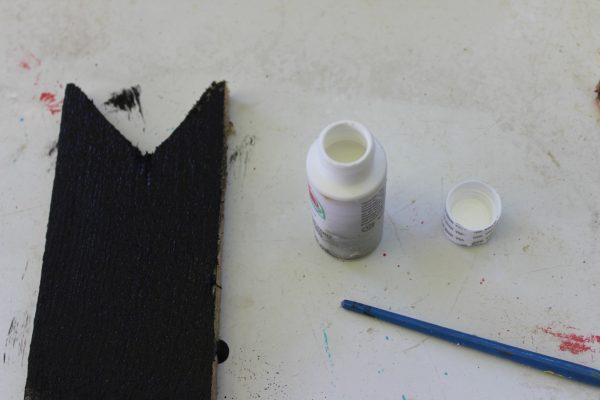
Pour a small amount of white or yellow paint onto a disposable surface.
Dip the rounded end of a small paintbrush handle into the paint. A clean pencil eraser can also be used.
Press the painted end firmly onto the board to create the first round eye. Reload it with paint and stamp the second eye.
Repeat on every wooden cat.
Allow the eyes to dry for approximately 30 minutes or until the paint is no longer tacky.
Step 11: Paint the pupils
Dip the tip of the small paintbrush into black paint.
Paint one thin vertical line through the centre of each white or yellow eye. The vertical pupils give the simple wooden figures their cat-like expression.
The pupils can face slightly different directions if you want the cats to look more playful.
Allow the black paint to dry.
Step 12: Measure the ribbon collars
Wrap Halloween ribbon around the first board at the desired collar height.
Allow the ends to overlap slightly at the back, then cut the ribbon.
Use the first piece only as a guide if the other boards are the same width. Measure each cat separately if the reclaimed boards vary in size.
Step 13: Attach the collars
Apply a small amount of strong glue to the back of the ribbon or directly to the board.
Wrap the ribbon around the wooden cat and overlap the ends at the back. Press the join until the glue begins to grip.
Check the front to make sure the ribbon is straight.
Repeat with the remaining cats, using different ribbons if desired.
Step 14: Add the novelty insects
Choose a plastic spider, fly, beetle, or another Halloween embellishment for each collar.
Apply glue to the back of the insect and position it near the front or side of the ribbon.
Support heavier embellishments while the adhesive dries.
Make sure the insects are attached securely, particularly if the cats will be displayed where children or pets can reach them.
Step 15: Make the optional “BOO” sign
Cut or select a small rectangular offcut of reclaimed wood.
Sand away sharp edges, then paint the front purple. Allow the paint to dry.
Use letter stencils and black paint to add the word “BOO.” A slightly distressed or uneven finish will coordinate with the rustic cats.
Let the sign dry completely before adding it to the display.
Step 16: Seal the cats for outdoor display
If the cats will be placed outdoors, apply a clear exterior sealer compatible with the paint and embellishments.
Follow the product directions and apply the sealer in a well-ventilated area. Several light coats are usually better than one heavy coat.
Allow the finish to cure fully before displaying the cats.
Even when sealed, reclaimed-wood decorations will last longer on a covered porch or when brought indoors during rain and severe weather.
Step 17: Arrange the finished cats
Place the taller cats toward the back and the shortest cat near the front.
Add the purple “BOO” sign beside them if desired. White pumpkins, autumn leaves, or eucalyptus can be used to create a farmhouse-style Halloween display.
Make sure every board stands securely. Attach a support block or stake to the back if the cats will be used in a windy outdoor area.



What do you think of this project? Let us know!