
Get more details about this project
What you need
Fabric – of your choice
Lining fabric – if the fabric is too thin
Scissors
Button or Large bead
Sewing machine and thread
Instructions
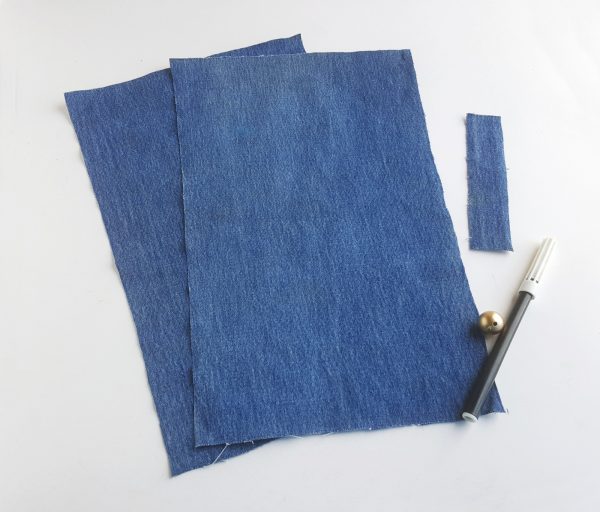
Step (1)
Cut out 2 rectangular pieces (size of your choice), mine was 8 inches X 14 inches. Cut out a 1 inch wide and 4 inches long strip and select a button or bead.
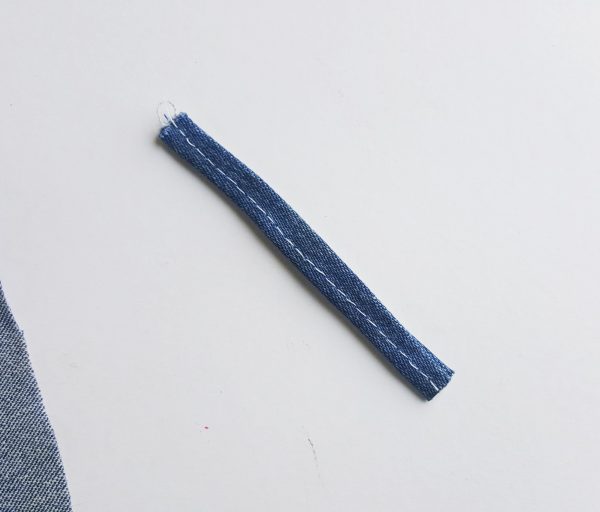
Step (2)
Fold the strip from both sides, matching their edges in the middle. Again fold it into half lengthwise and sew along the fold to secure the fold. This strip will be the button loop.
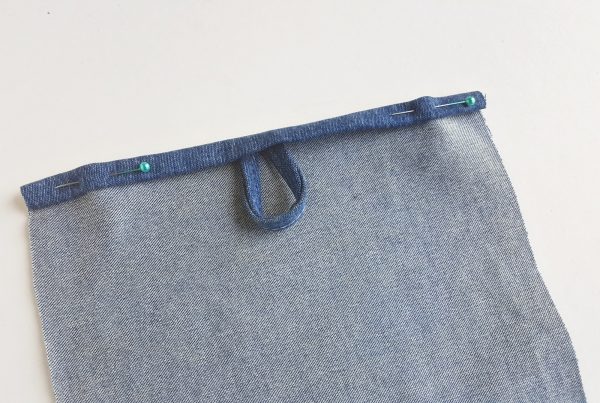
Step (3)
Take any one of the large rectangular pieces and fold any one side twice along its width. Pin the sides to secure the fold. Take the sewed strip prepared in step 2 and pin the open ends of the strip under the fold of the large rectangular piece, right in the center of its fold.
Step (4)
Sew along the fold, along with the button loop and also fold twice and sew any one side of the other rectangular piece’s width.
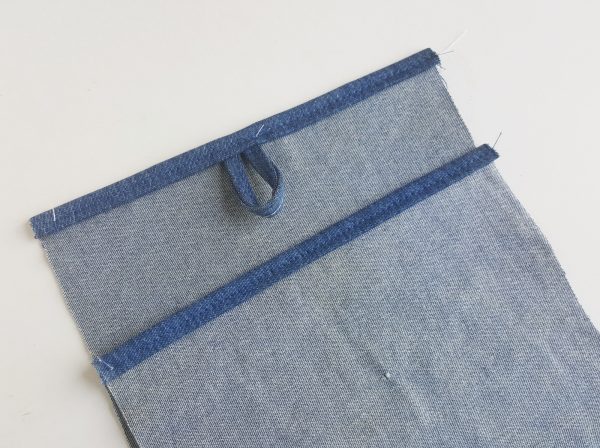
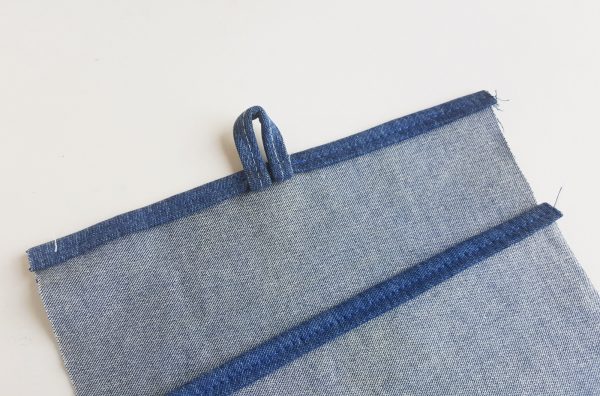
Step (5)
The button loop is facing inside after attaching it with the rectangular piece; now fold the loop to the outer side and sew over it once more. The button loop is now ready.
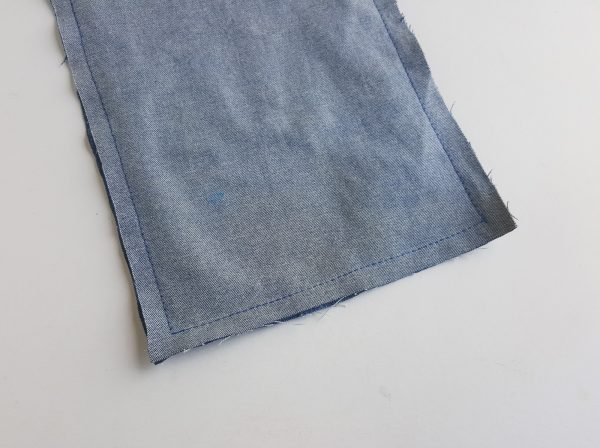
Step (6)
Place both rectangular pieces together with their wrong sides facing out and sew along the 3 sides, except for the sewed border sides of both pieces.
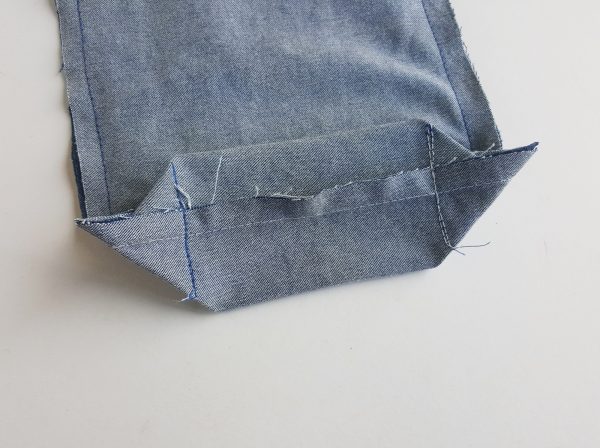
Step (7)
Hold any one of the corners at the bottom end and form a triangle from the corner. Sew a straight line to separate the triangular part. Do the same for the other corner.
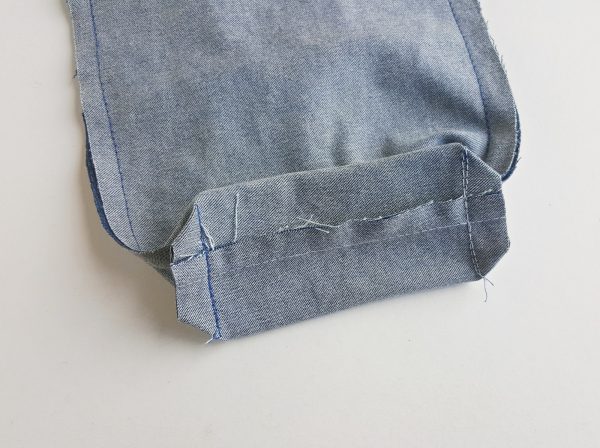
Step (8)
Cut off the raw ends of the triangular part for both sides.
Step (9)
Done sewing and turn the right side out of the bag.

Step (10)
Fold about 3 inches of the bag from the top or fold into any length you want. Decide and mark the button or bead placement and stitch the button on its place.
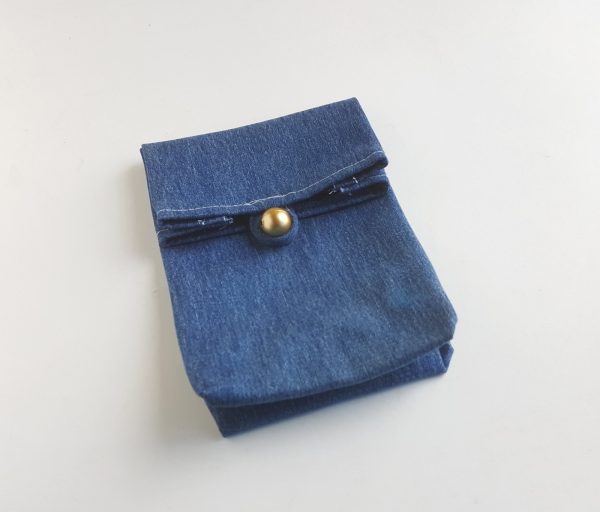
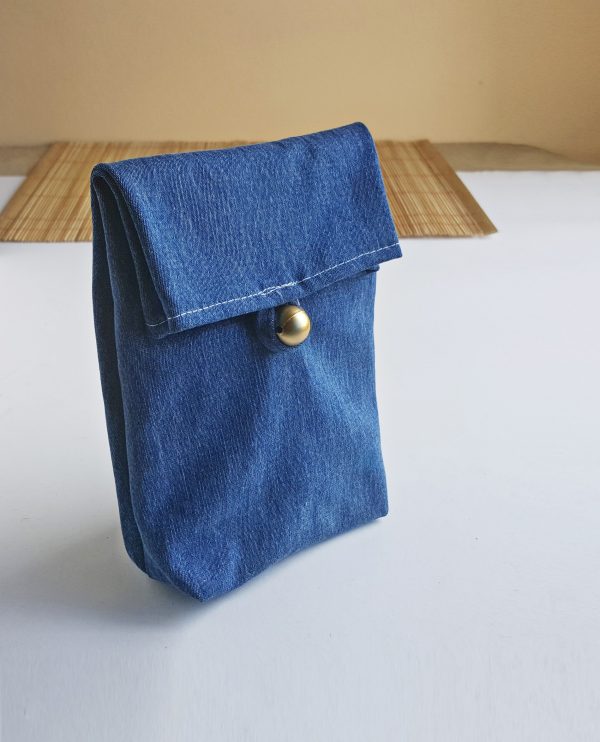

Done!


What do you think of this project? Let us know!