
Get more details about this project
What you need

Thread (match color of mat)
Small Piece Of Velcro
Scissors
Stick Pins or Sewing Clips

Sewing Machine (or needle if sewing by hand)
Instructions
This tutorial is the perfect project for beginners who are just starting out with sewing, as it is simple, easy to follow, and budget-friendly.
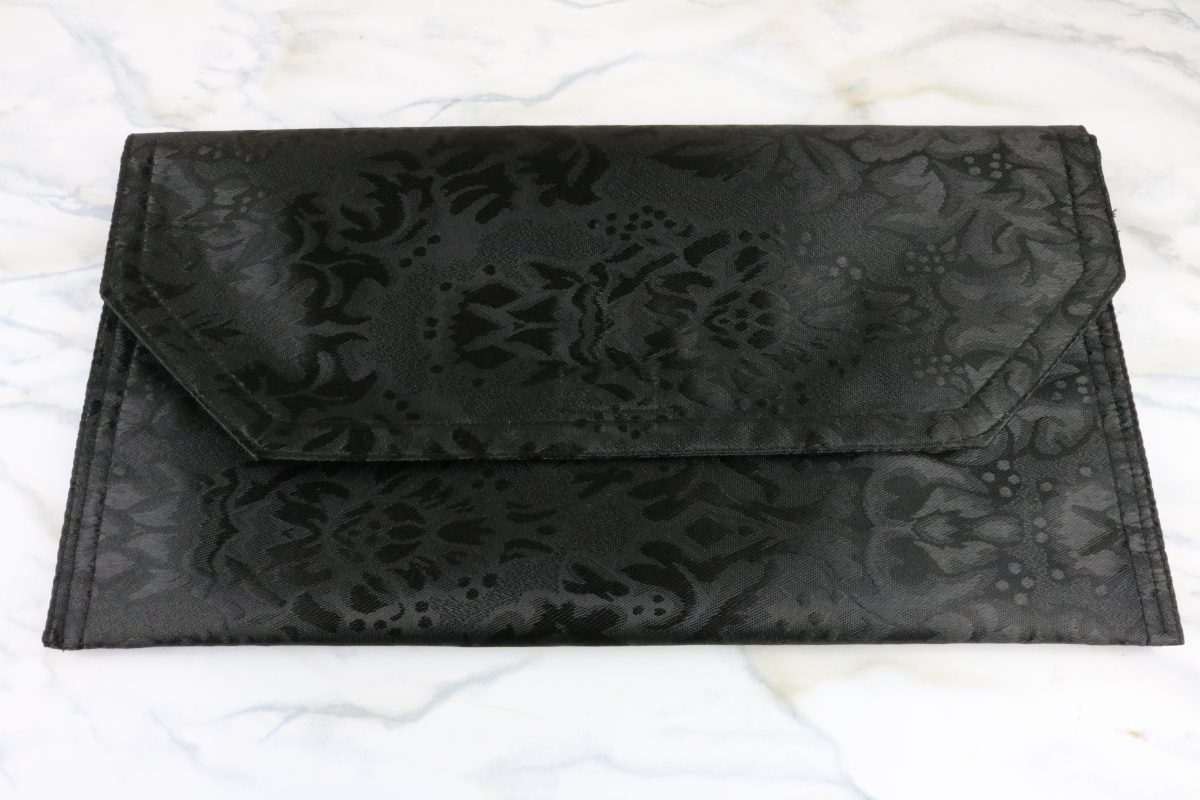
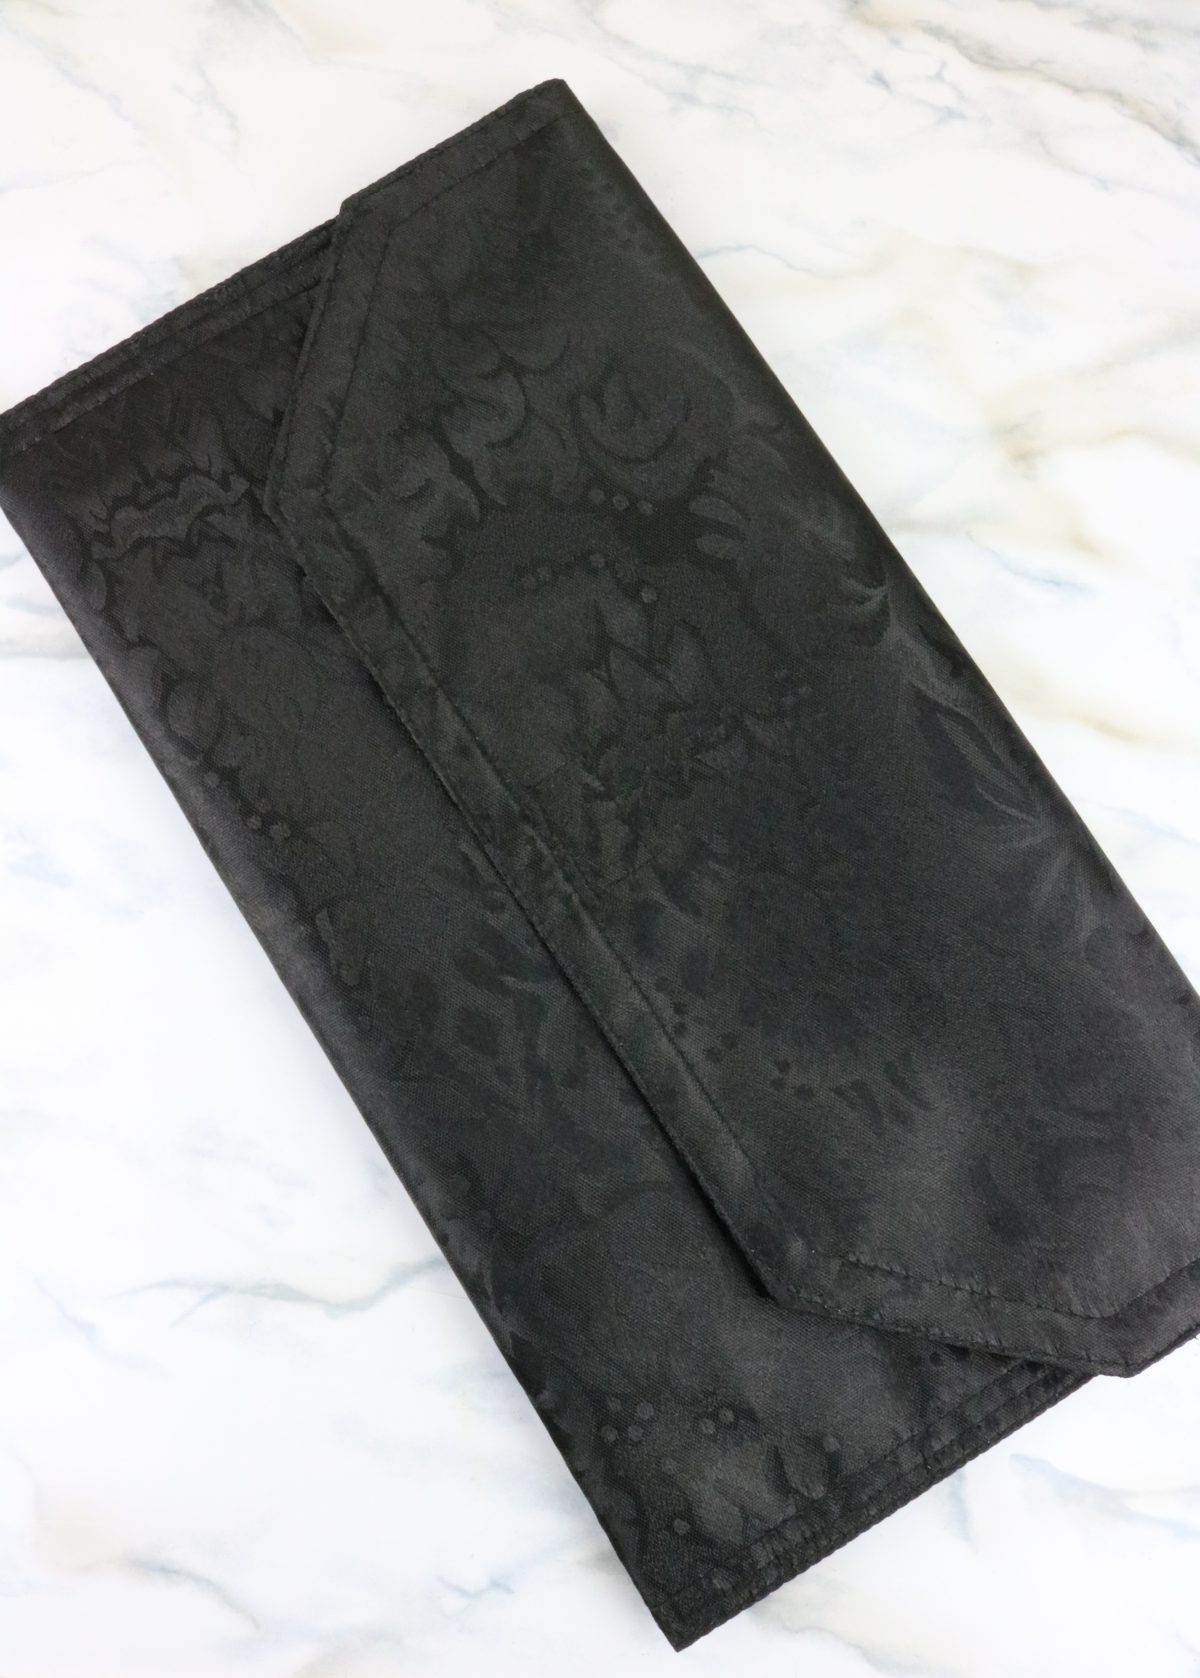
In this tutorial, you’ll learn how to take a basic dollar tree placemat and transform it into a stylish and functional clutch purse. With just a few basic sewing techniques and some simple materials, you’ll be able to create a unique and personalized accessory that is perfect for any occasion.
One of the great things about this project is that it is incredibly affordable. You can find everything you need at your local dollar store, making it a great option for those who are looking to save money while still indulging in their creative side.
Not only is this project budget-friendly, but it’s also versatile. You can customize your clutch purse to suit your individual style and preferences, choosing from a wide range of colors, patterns, and embellishments to make it truly unique.
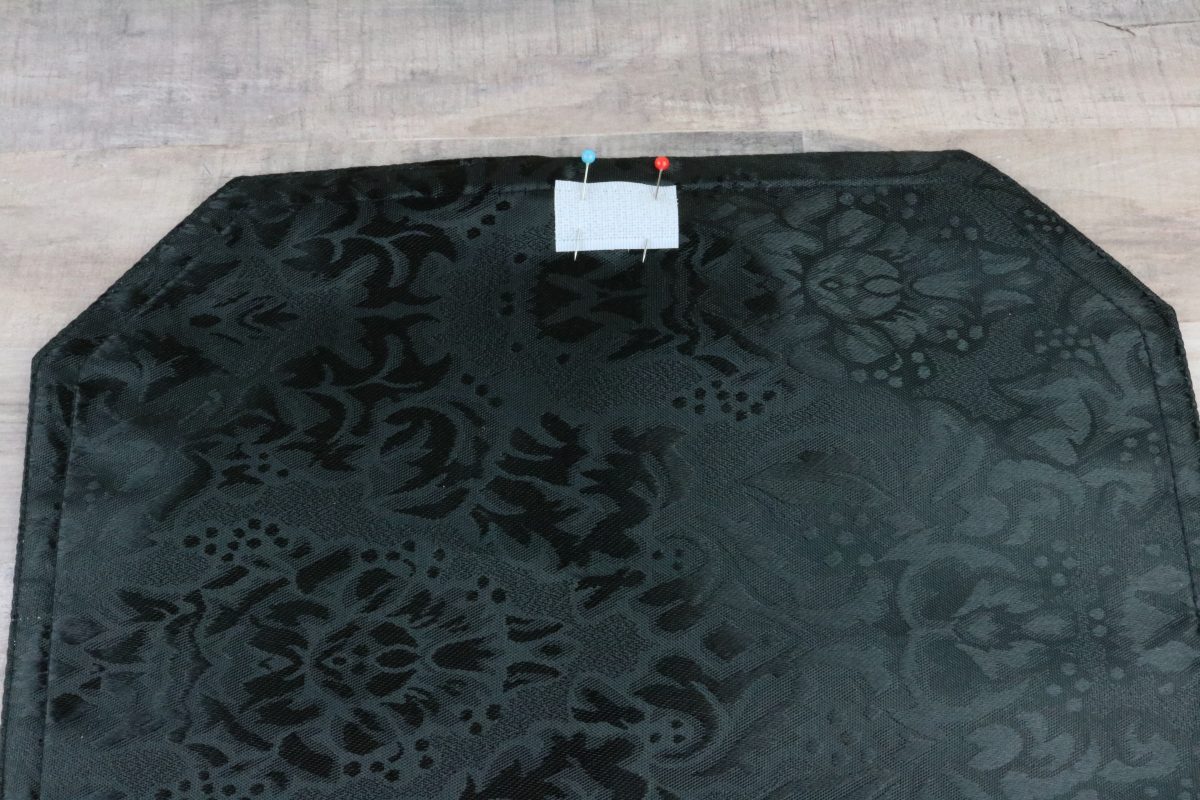
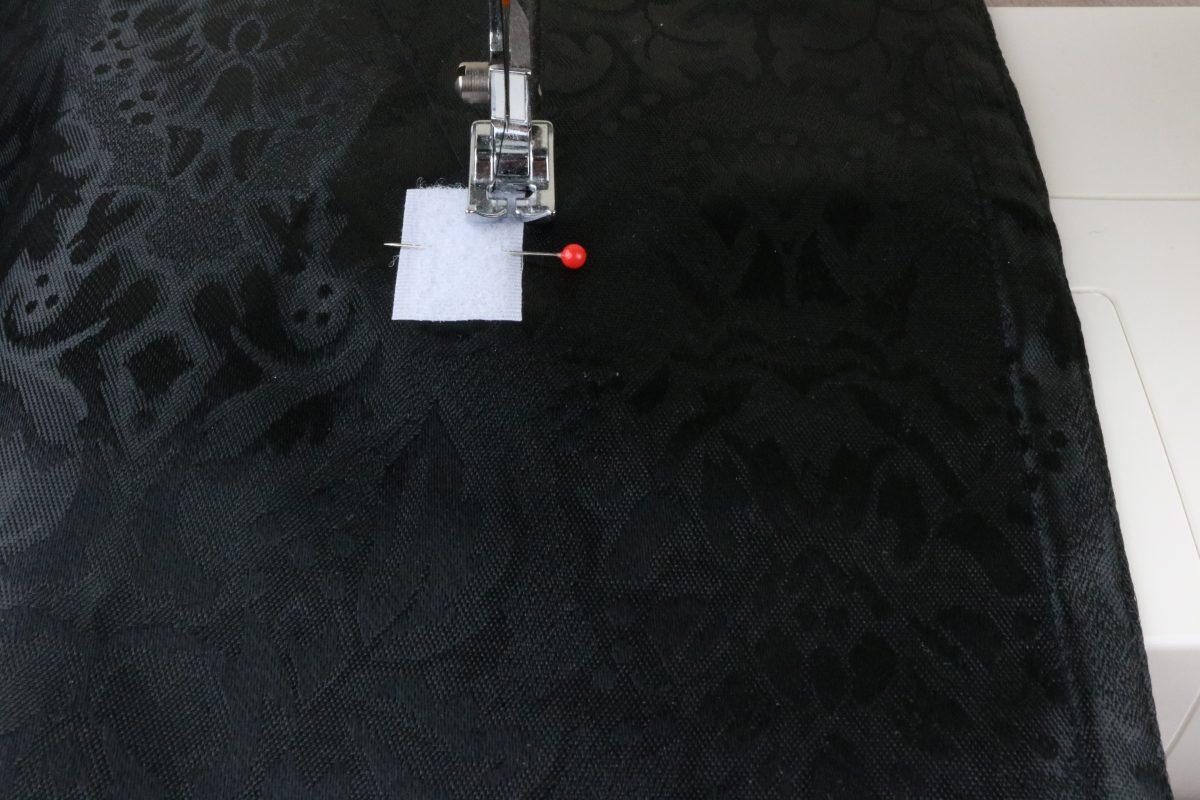
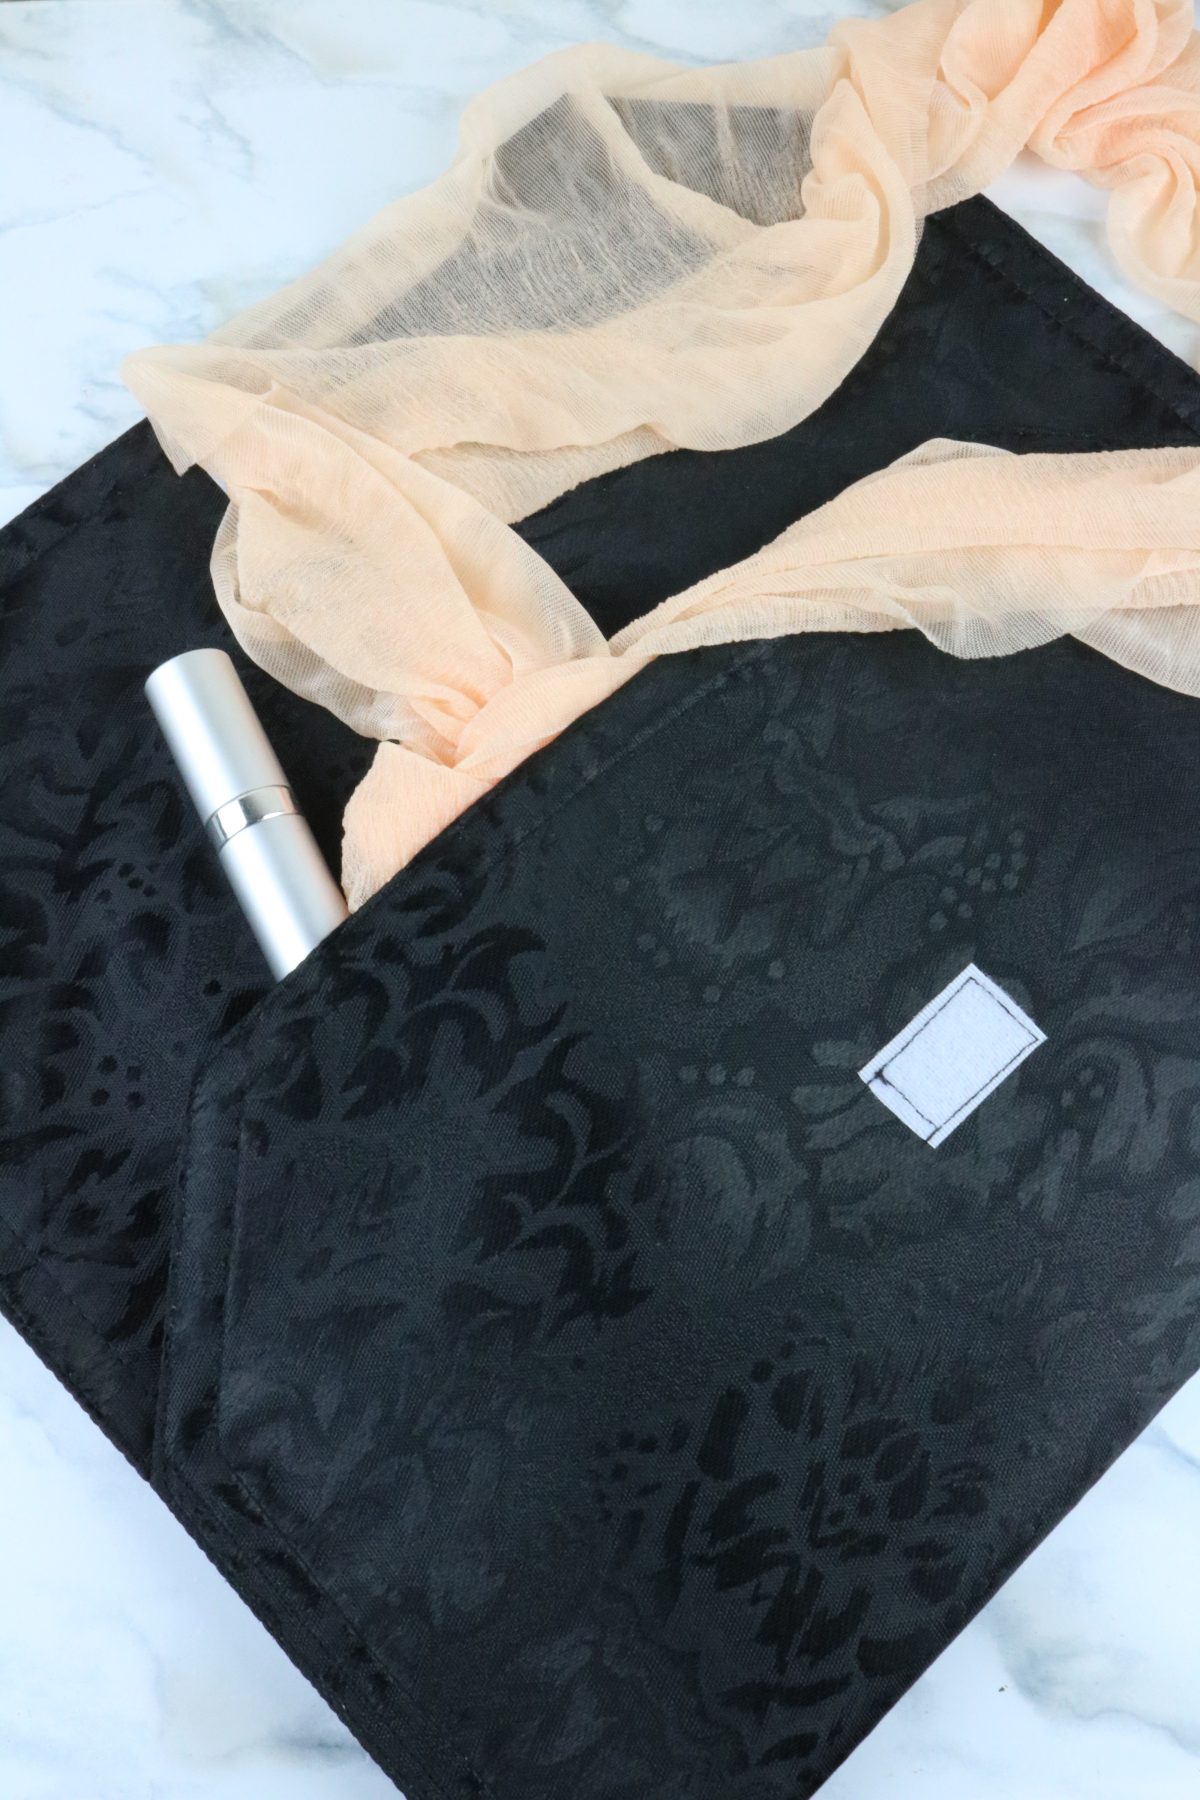
Step 1: Sew a small piece of velcro about 1/4 inch down from one end of the mat. I did it just under the seam already on the mat. You want it to be in the center and on the wrong side of the fabric/mat if your mat has a difference in sides.

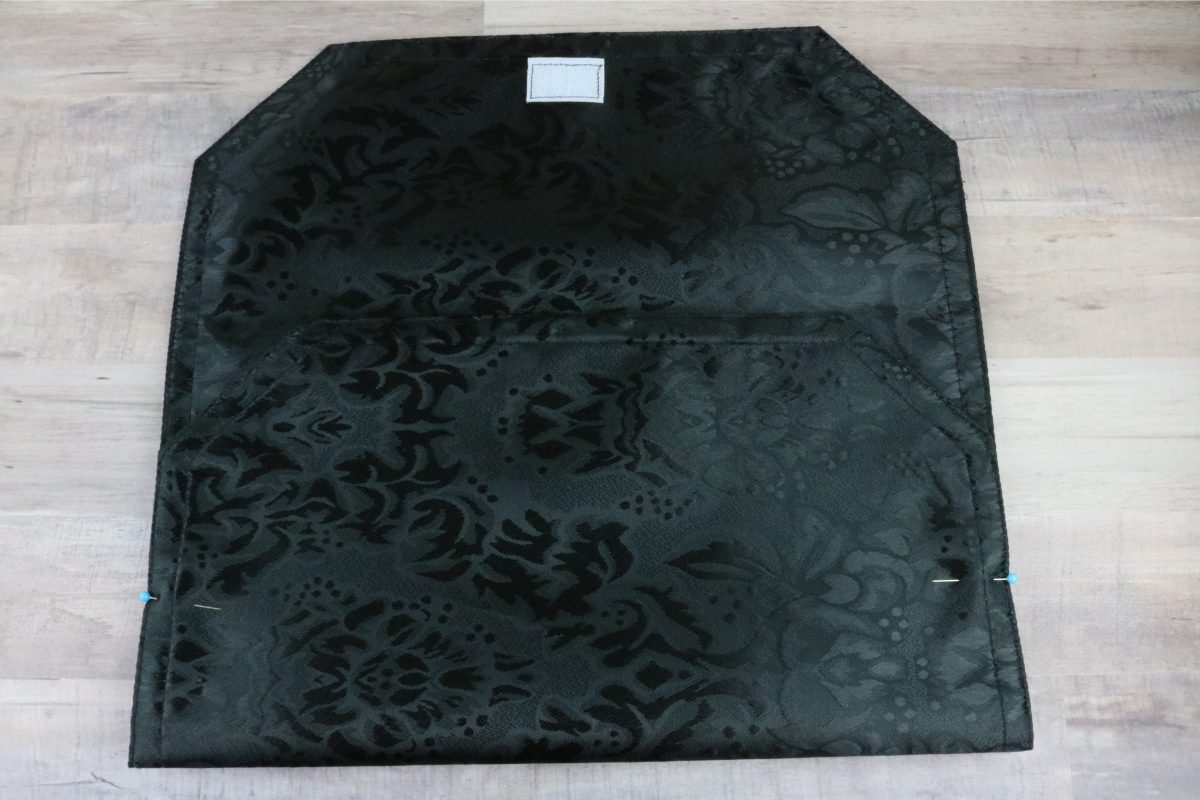
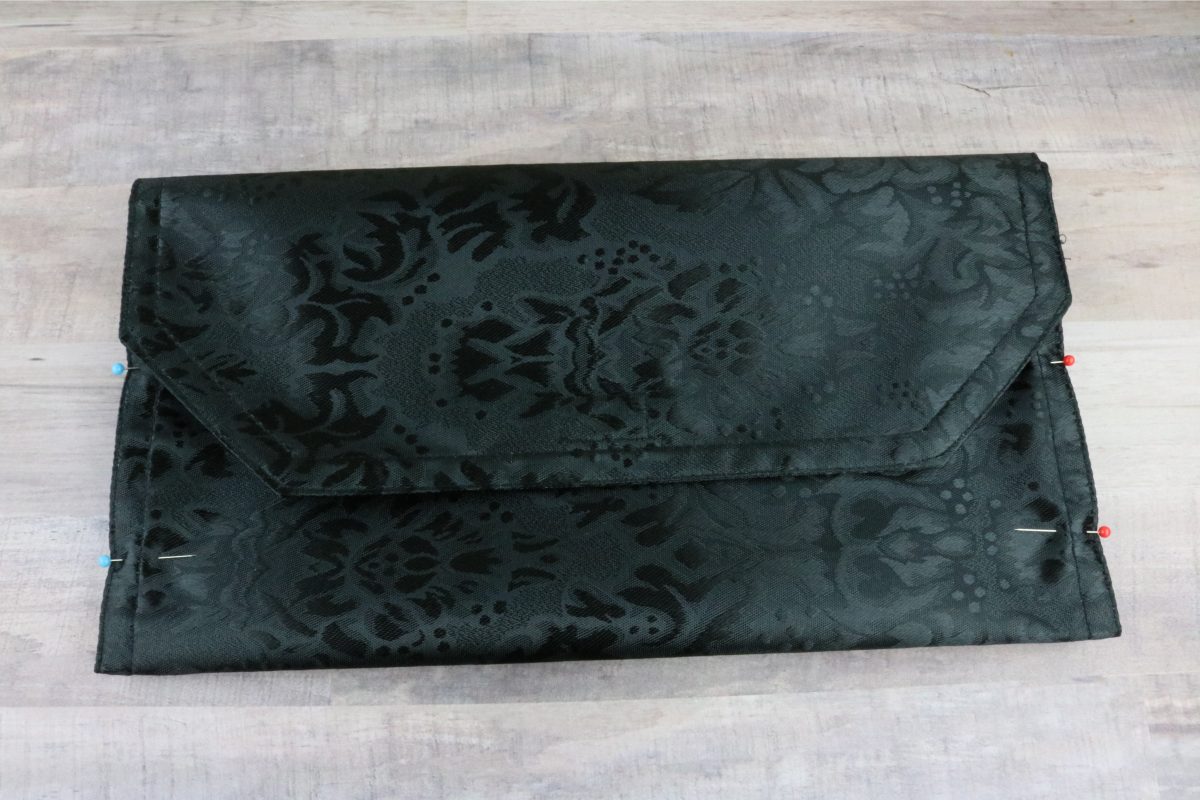
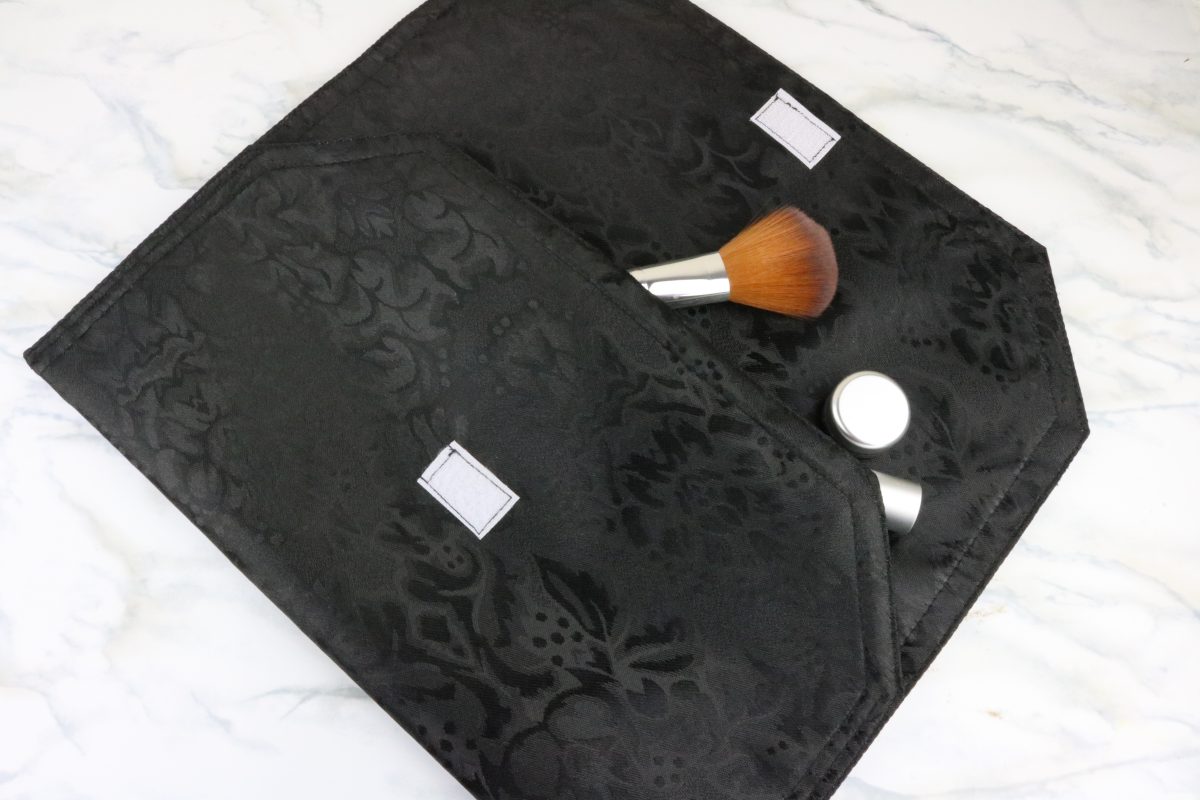
Step 2: Fold the other end up toward the velcro end. Line it up so that the velcro part folds over it by a few inches. Pin the sides of the bottom fold to hold it in place.
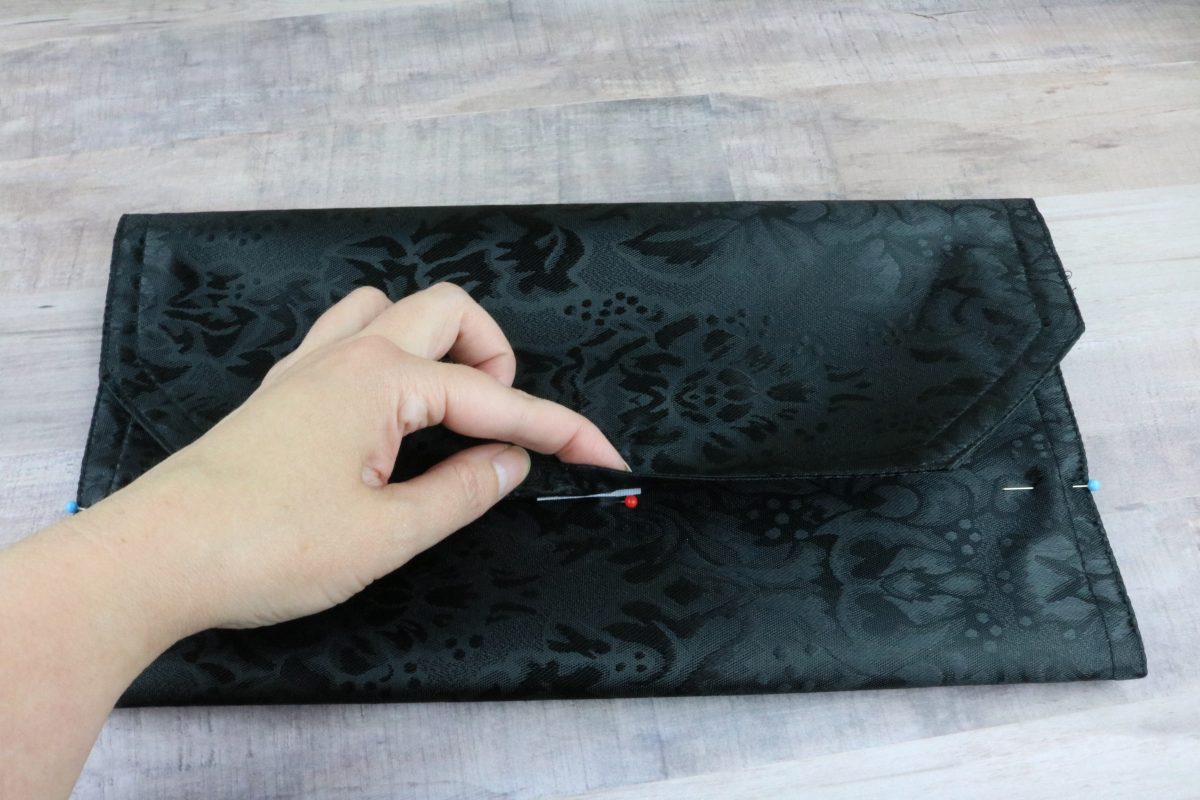
Step 3: Use a pin to mark where the bottom of the velcro is on the bottom fold. Then line the other piece of velcro up just above that pin and pin in place. This time the velcro will be on the right side of the fabric.


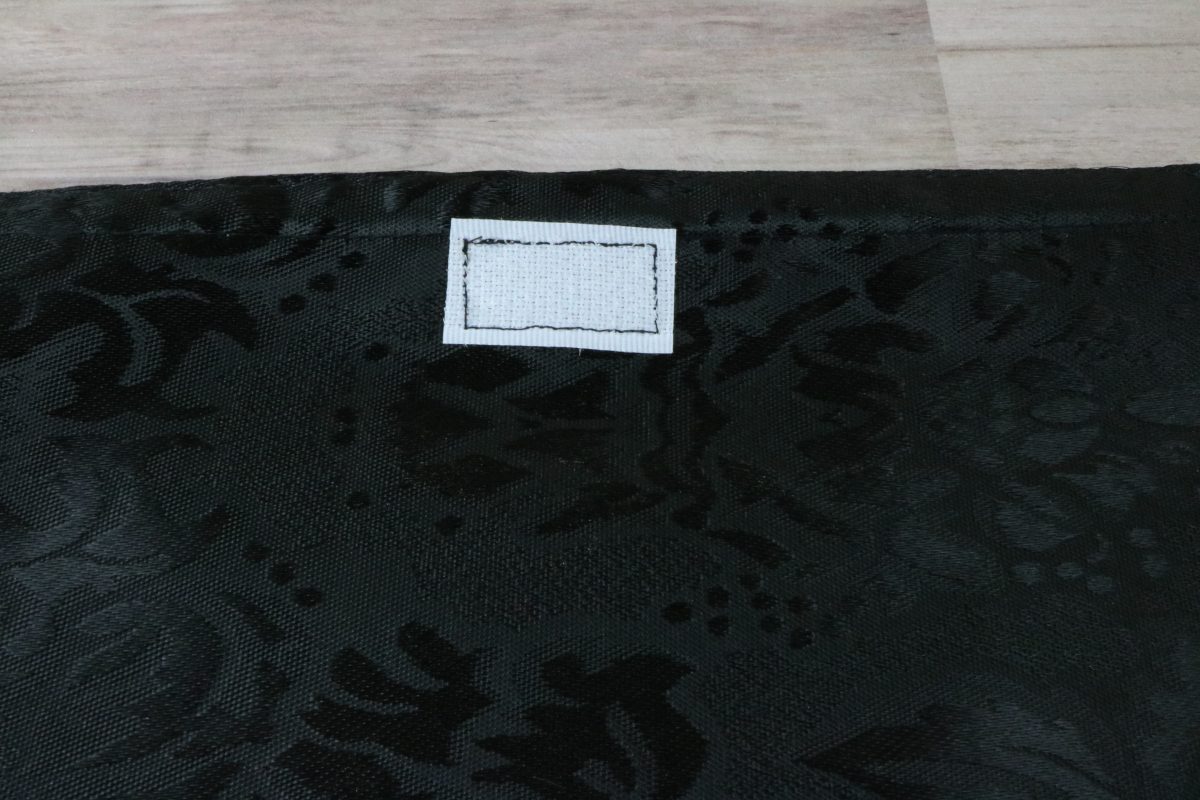
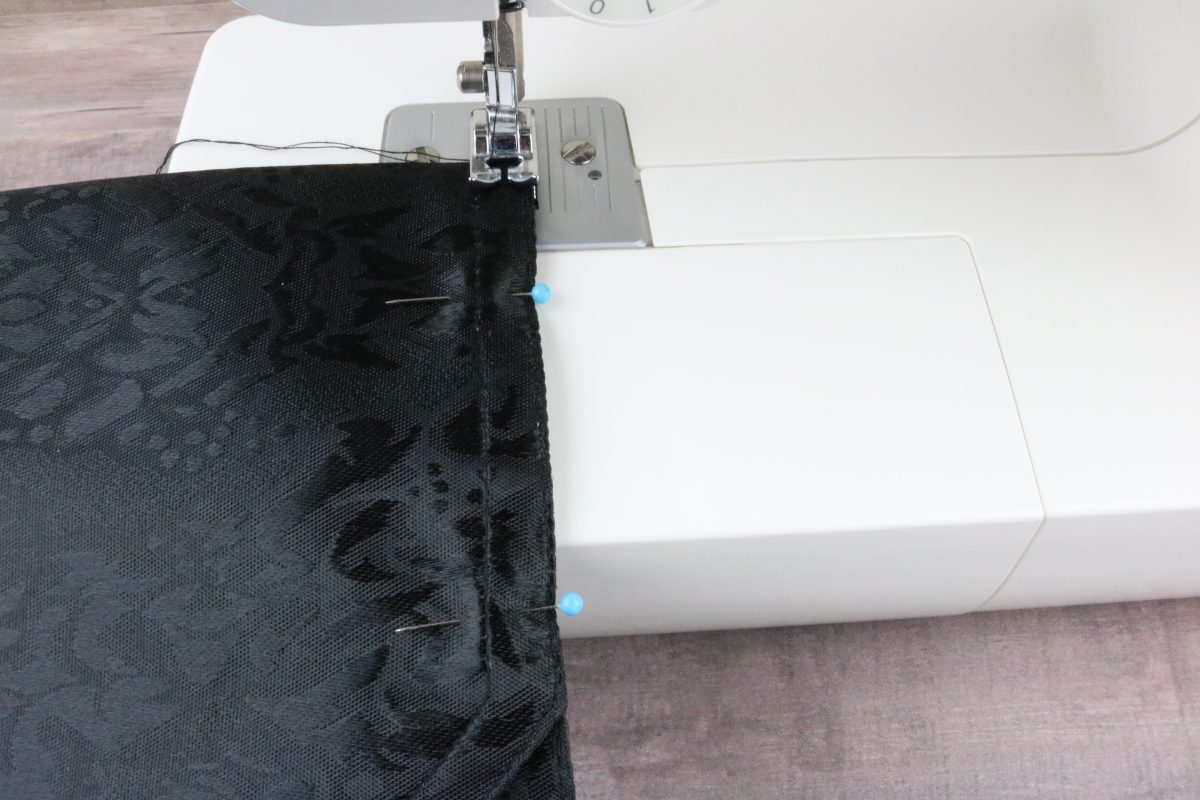
Step 4: Unpin the sides to make it easier to sew. Sew the velcro in place.
Step 5: Now fold that bottom back up so the two pieces of velcro lock together. Pin the sides again. Then un velcro the pieces and sew down each side with about 1/4 inch or less of a seam allowance. Be sure to do a backstitch at the start and finish.


What do you think of this project? Let us know!