
Get more details about this project
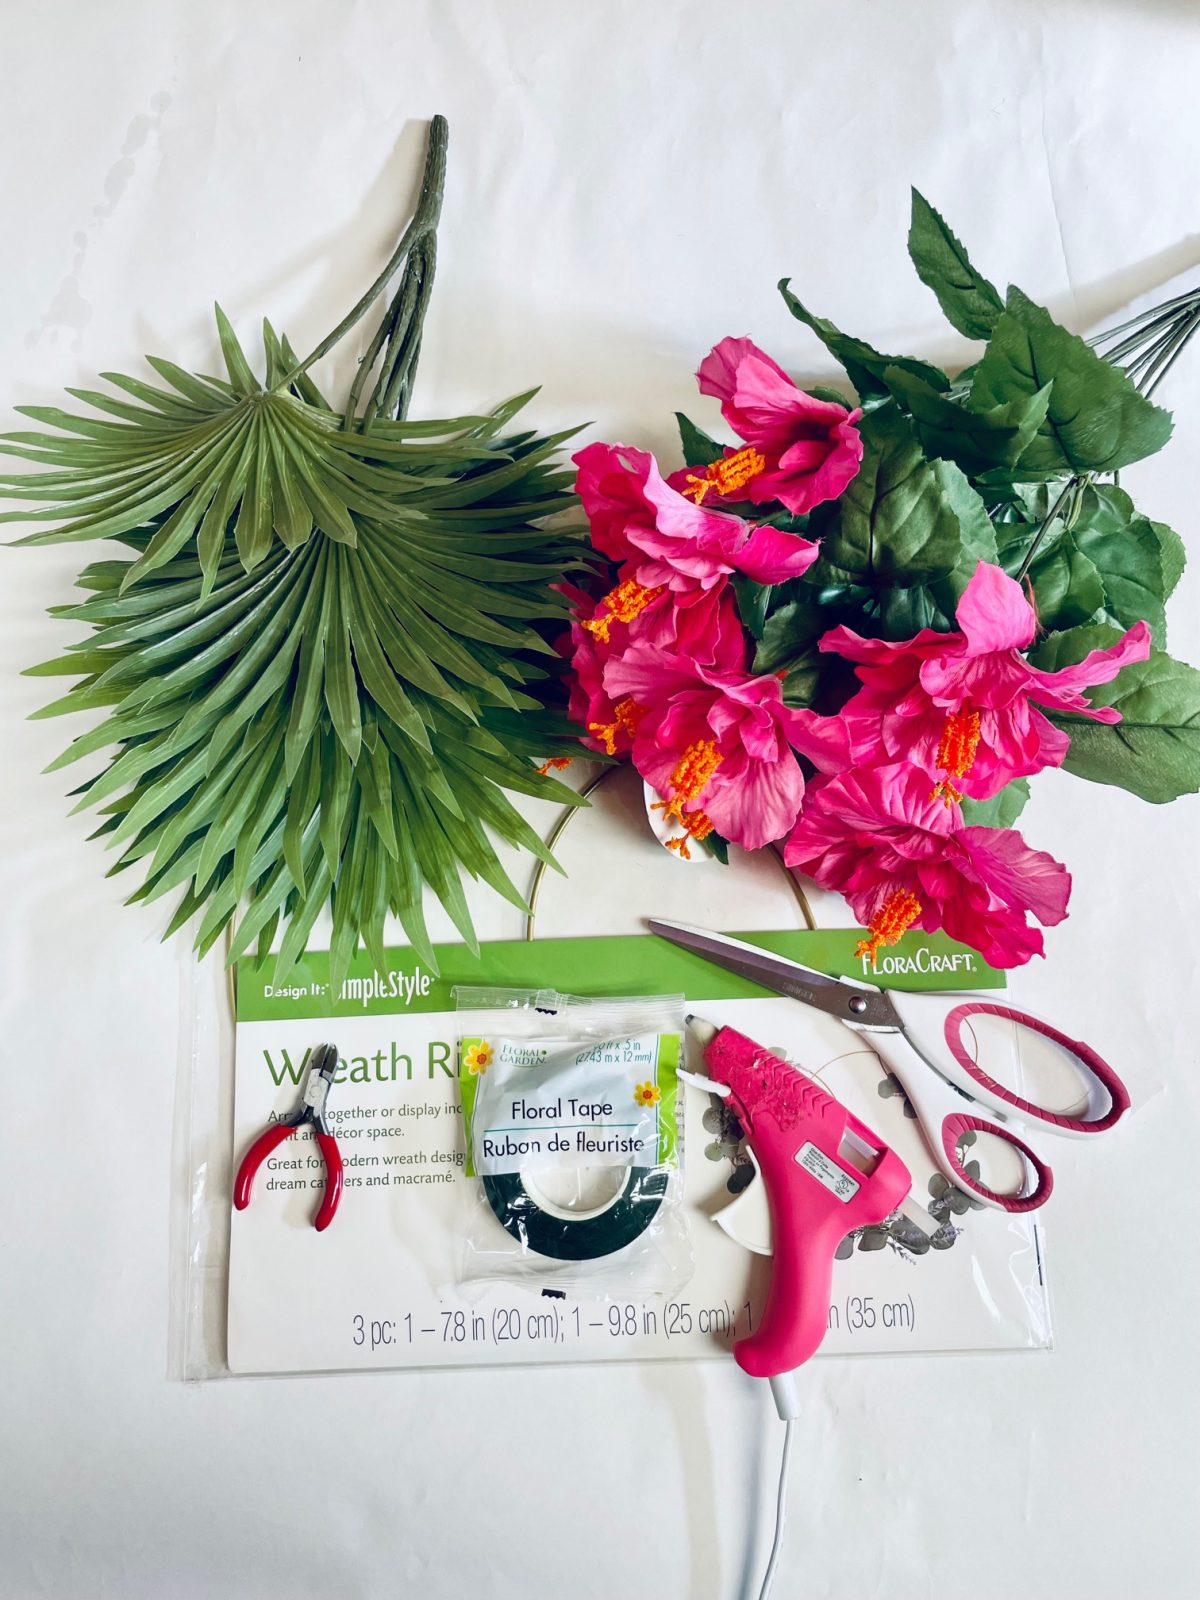
What you need
Wreath Ring


Scissors


Hot Glue Gun
Instructions
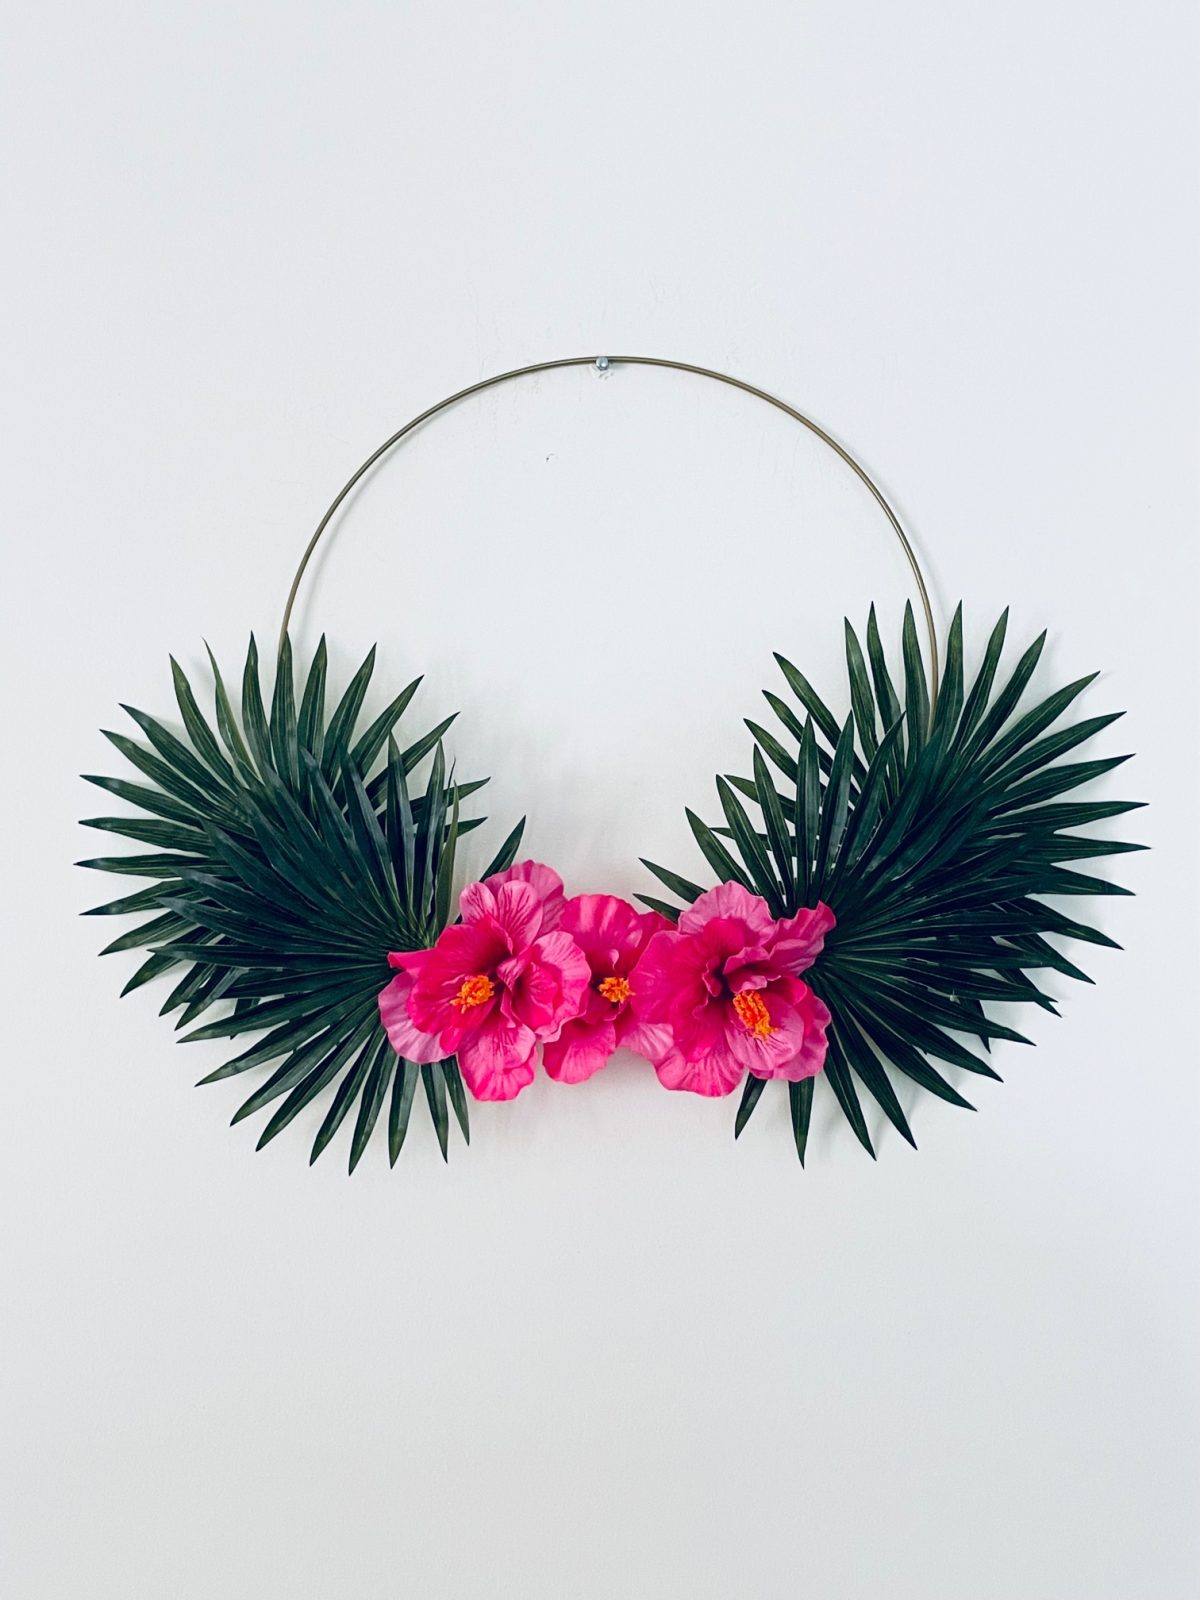
This Moana-inspired wreath is perfect for party decorations or as a photo backdrop, use a larger hoop for a photo prop or make it smaller and gift as take-home party favors. Here are some more of our Moana Party ideas for your DIY Moana party. This wreath is perfect for a tropical wedding also, use Wood sola flowers for a lasting wreath.
If you’re a fan of Disney’s Moana, then you’re in for a treat with this fun and exciting project. Whether you’re planning a Moana-themed birthday party or simply want to add some island flair to your home decor, this DIY Disney Moana wreath is the perfect way to do it.
With just a few simple materials, you can create a beautiful wreath or party backdrop that captures the essence of Moana’s adventurous spirit. Using palm prongs and Hibiscus flowers, you’ll be able to create a unique and eye-catching piece that will be the envy of all your friends and family.
This project is perfect for those who love to get creative and add their own personal touch to their home or party decorations. It’s also a great way to spend some quality time with your kids, as they can join in on the fun and help you create this magical wreath.


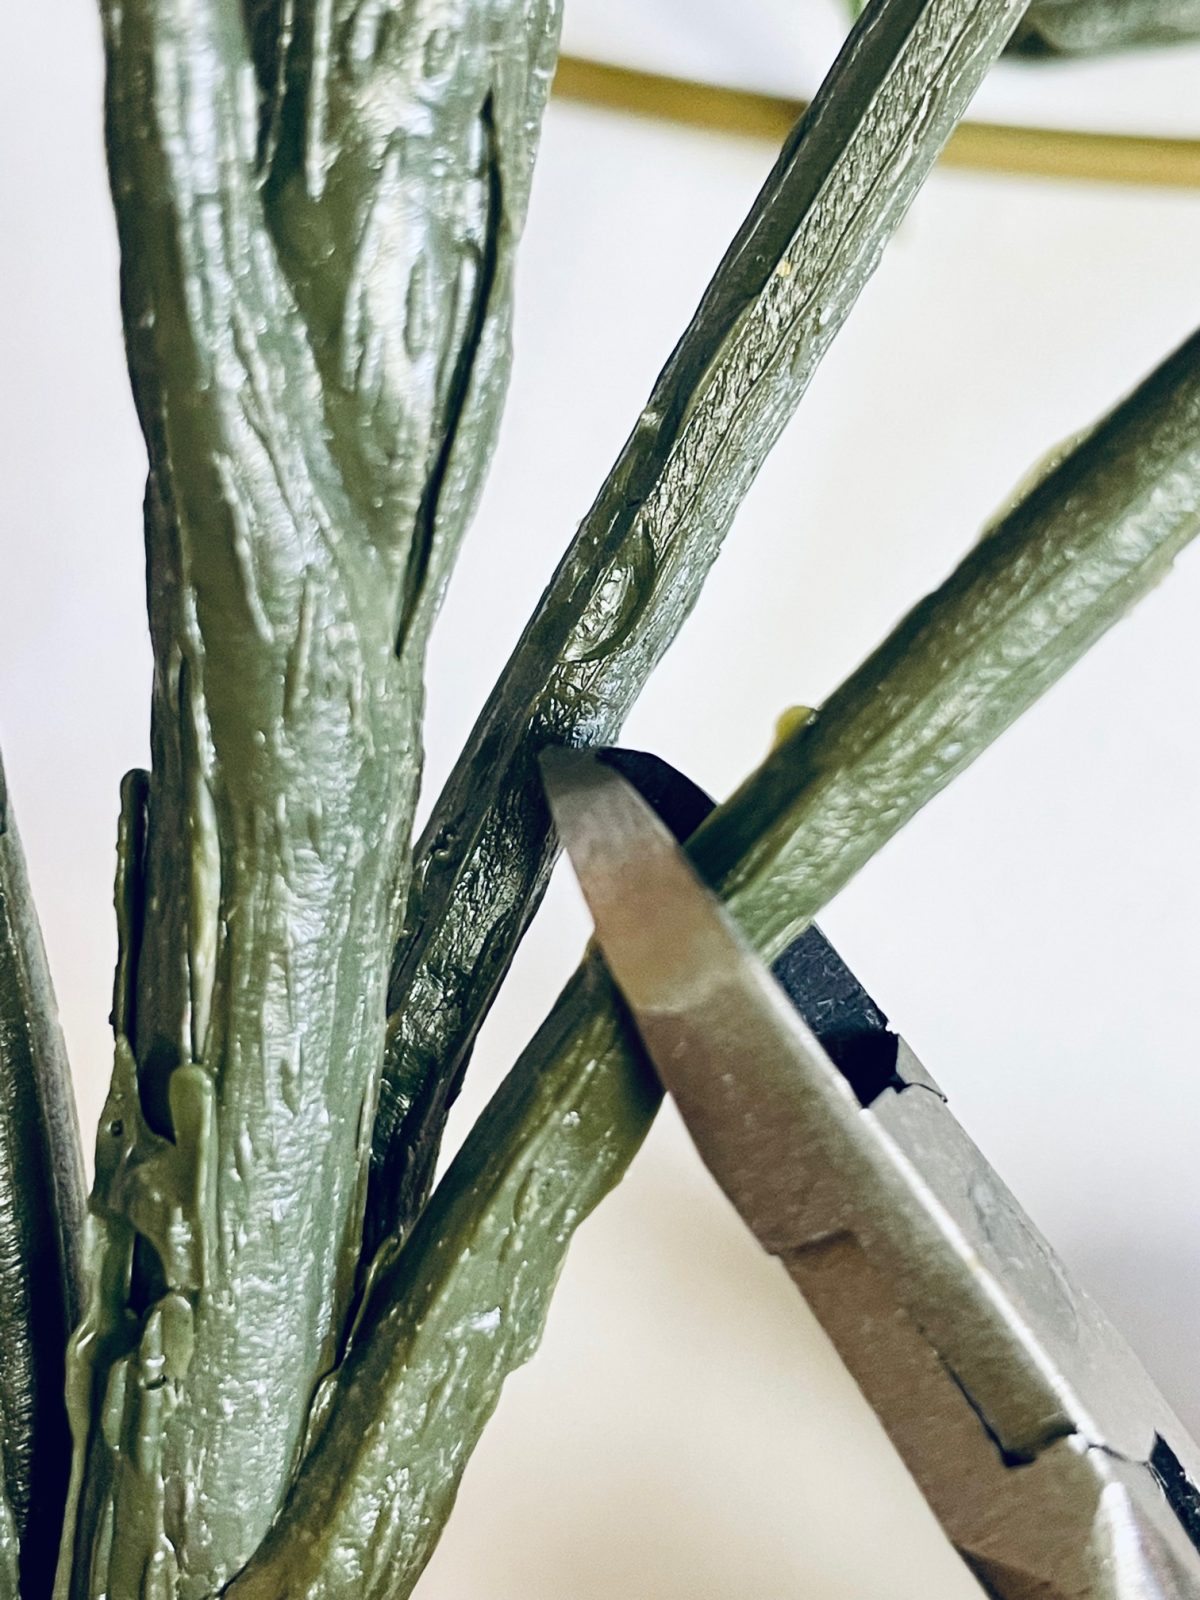
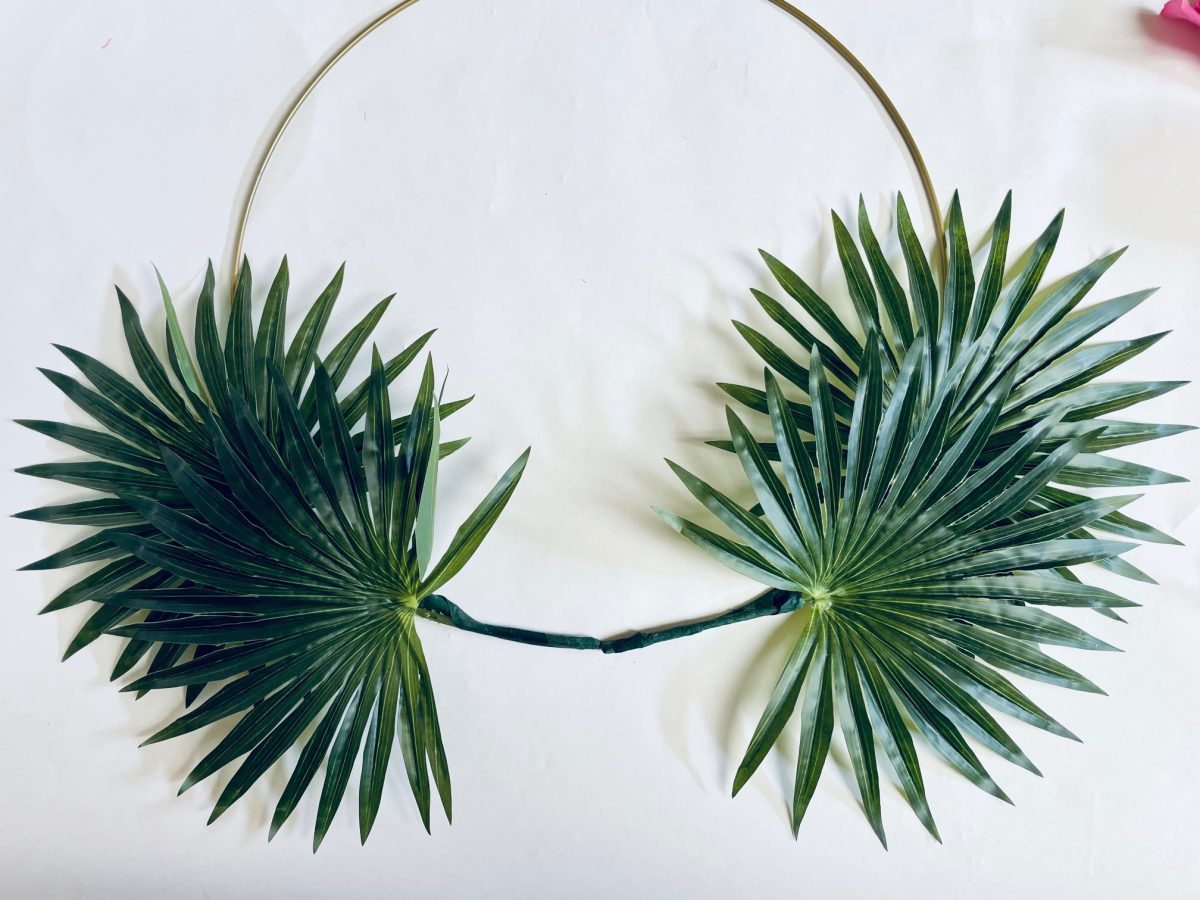
Cut 4 pieces of palm with the wire cutters, leaving a couple of inches so you may attach them to the metal hoop.
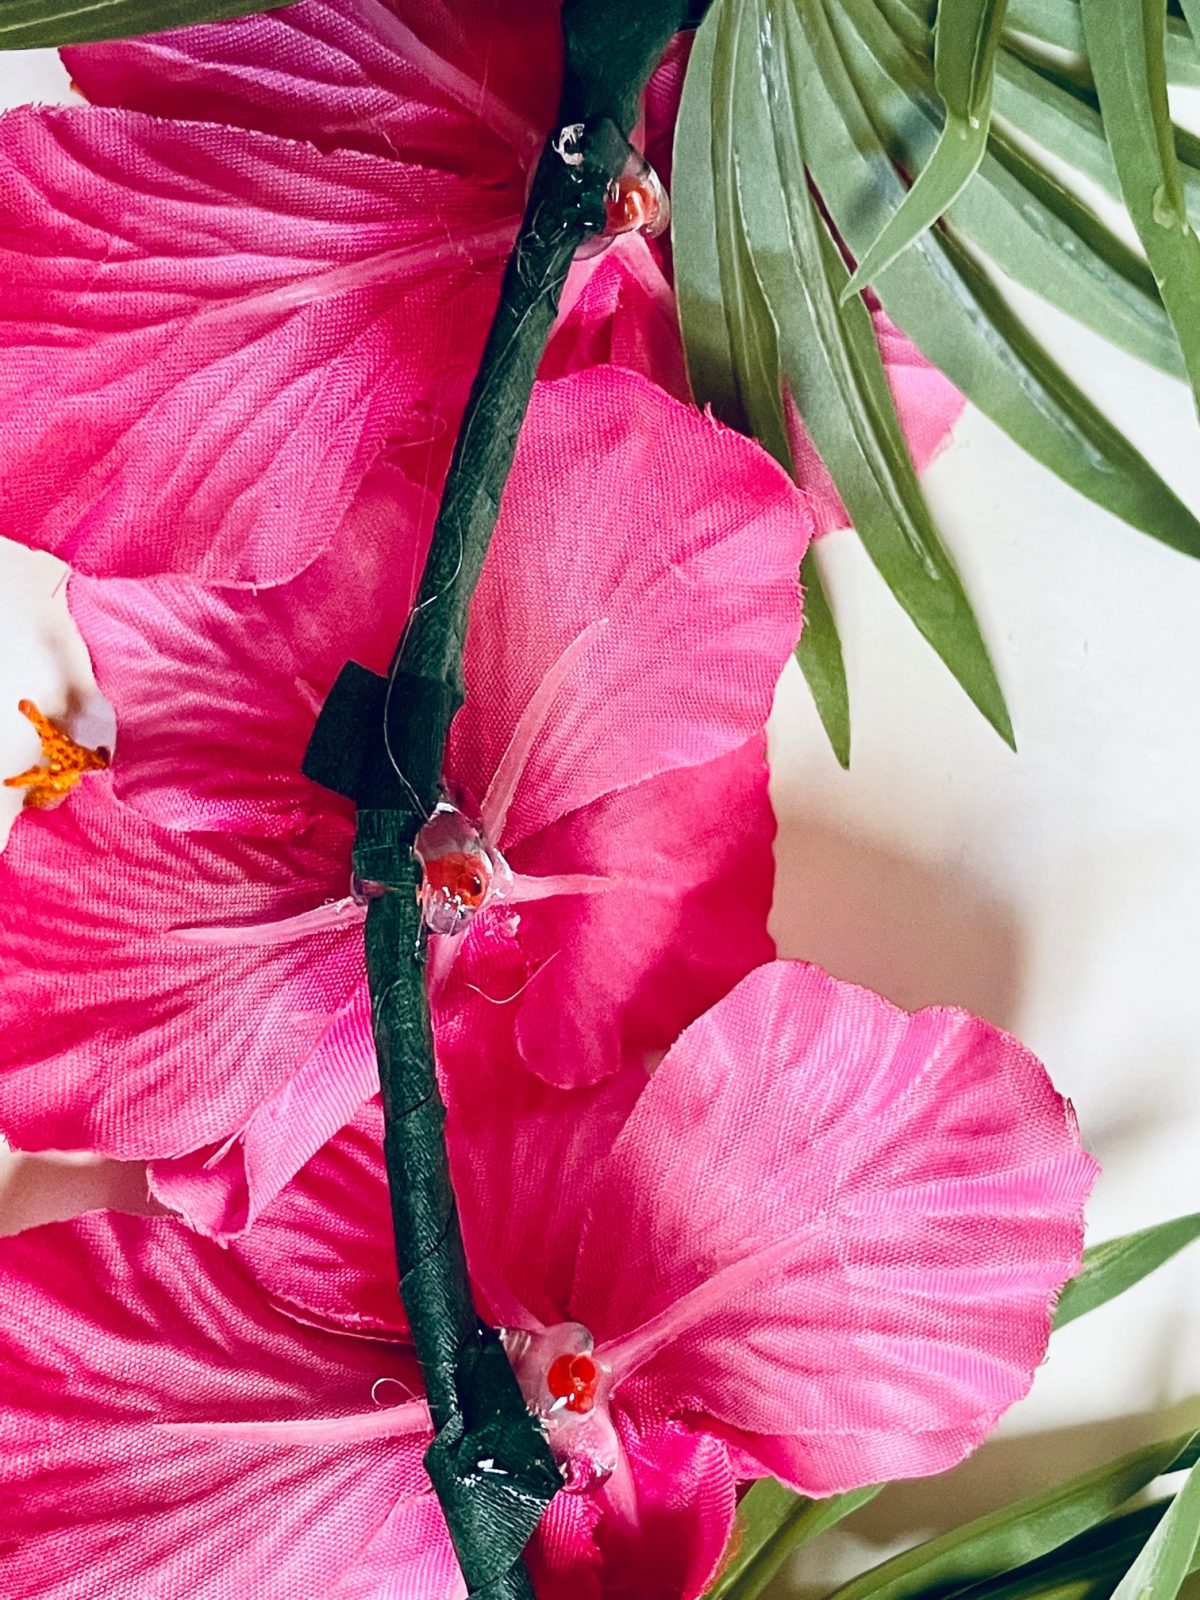
The hibiscus blooms will simply detach themselves from the stems.
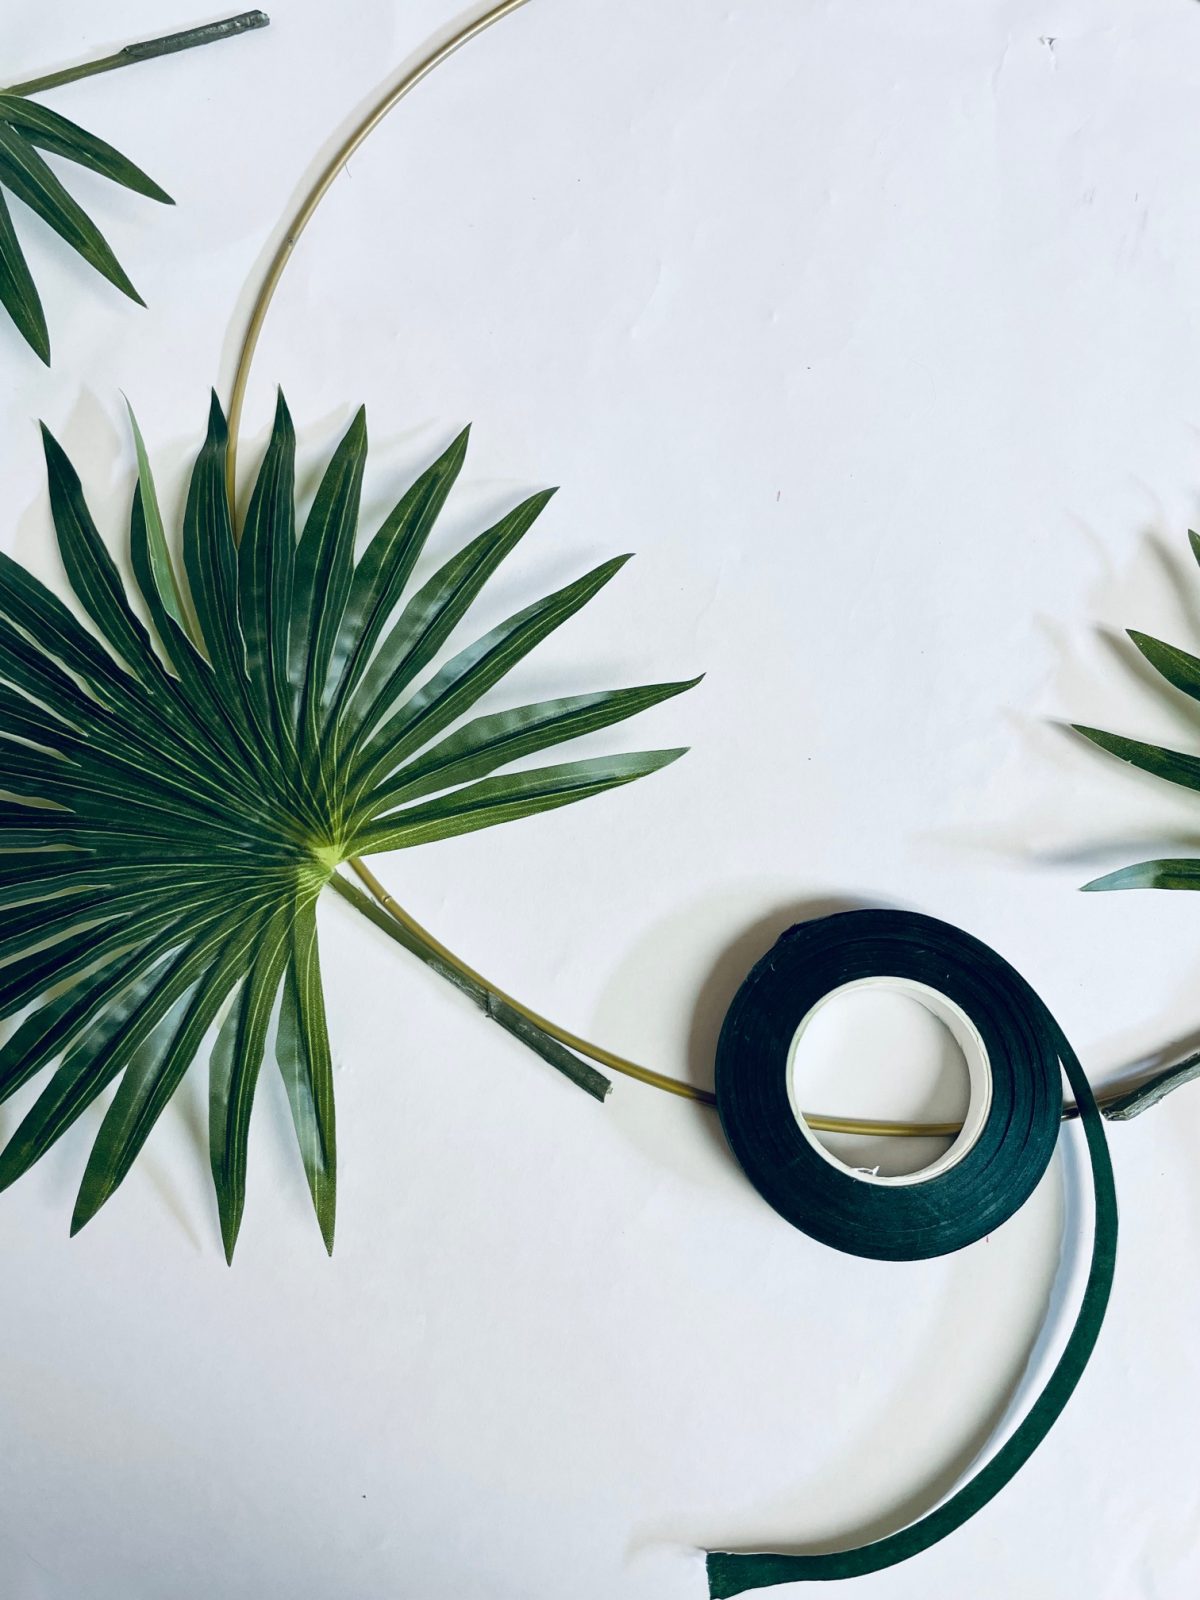
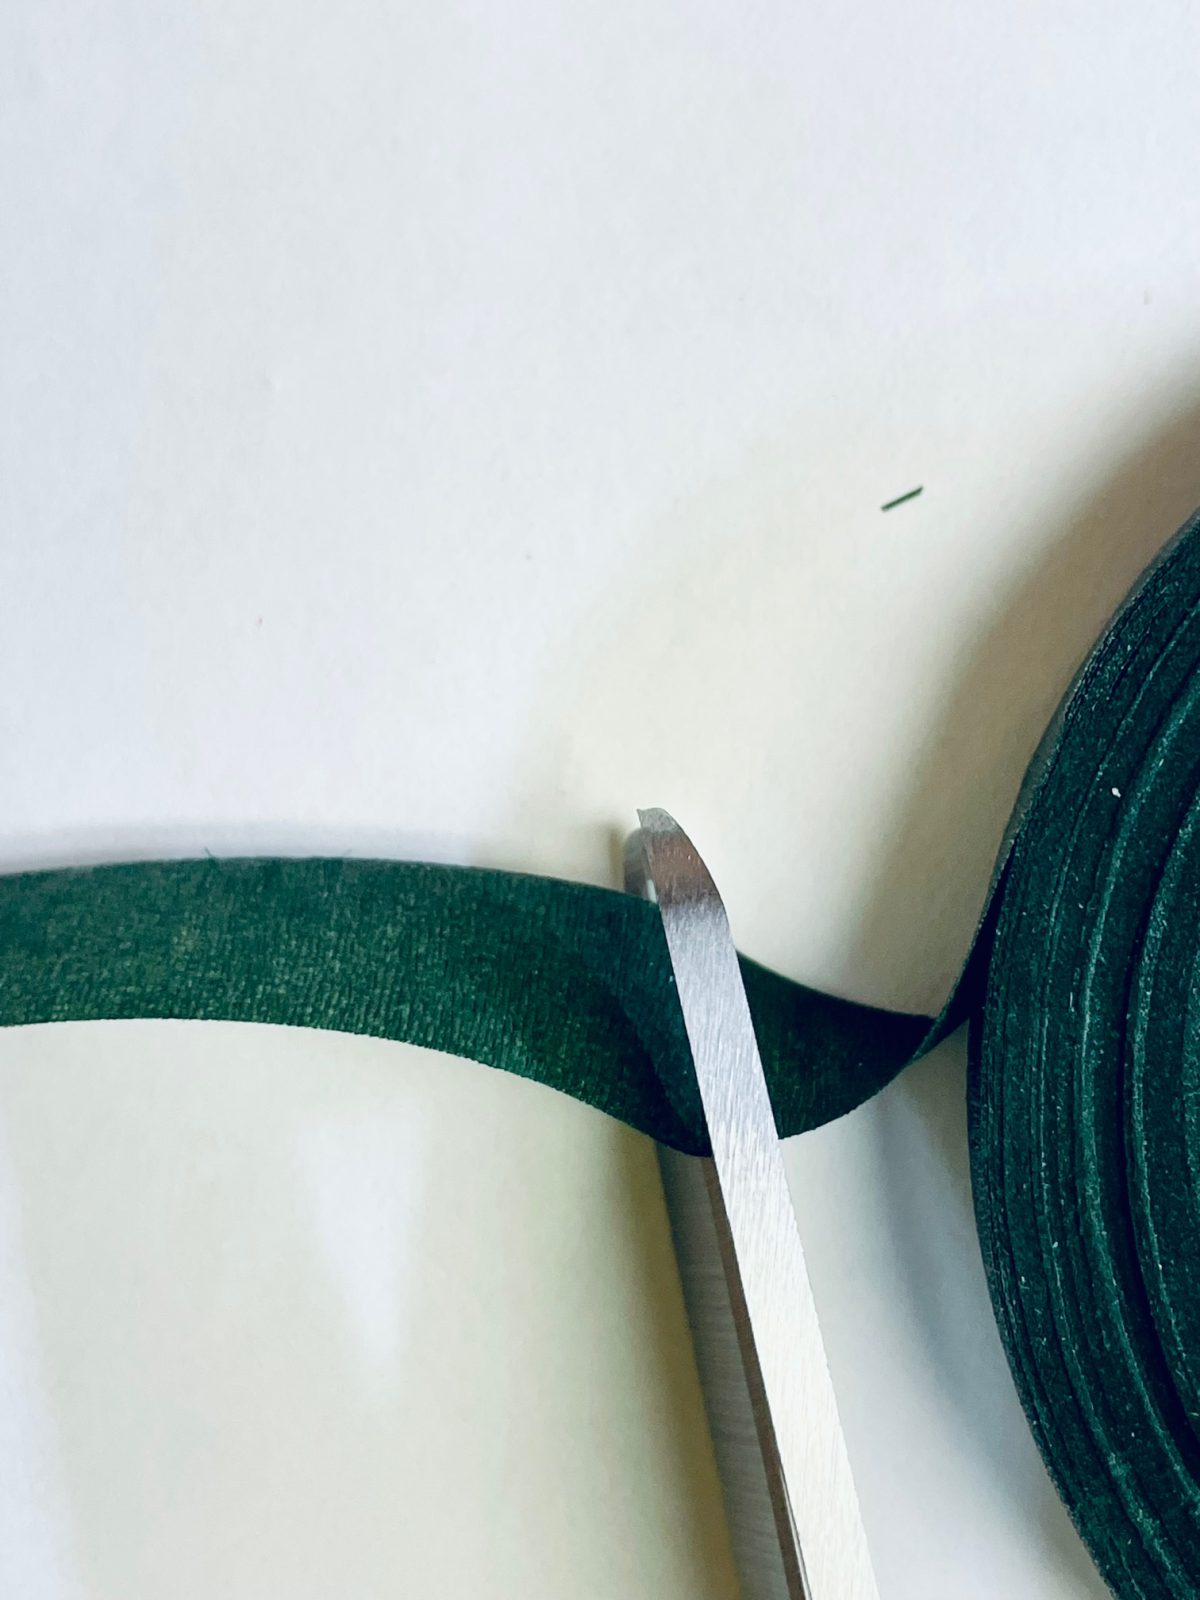
After that, cut a 6 inch strip of flowery tape.
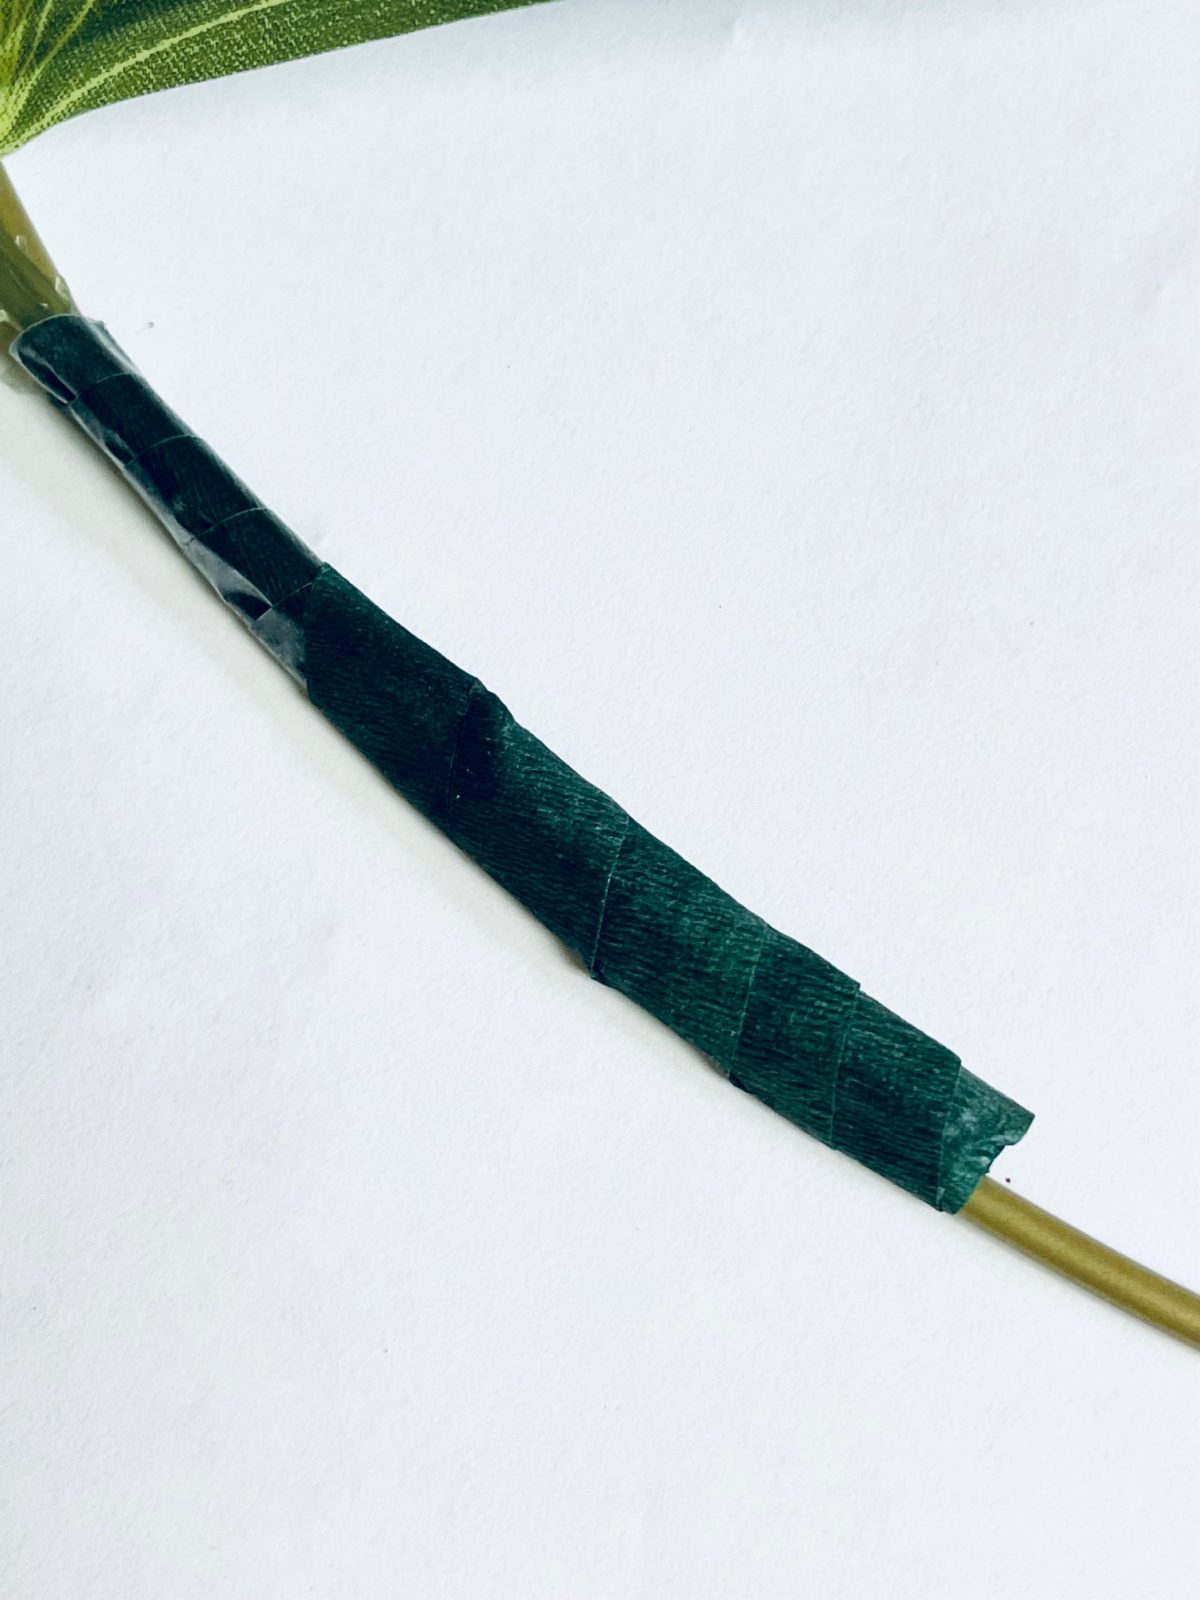
Begin by winding the tape around the palm’s stem and then around the hoop. Repeat with the remaining three palms. (two per side)
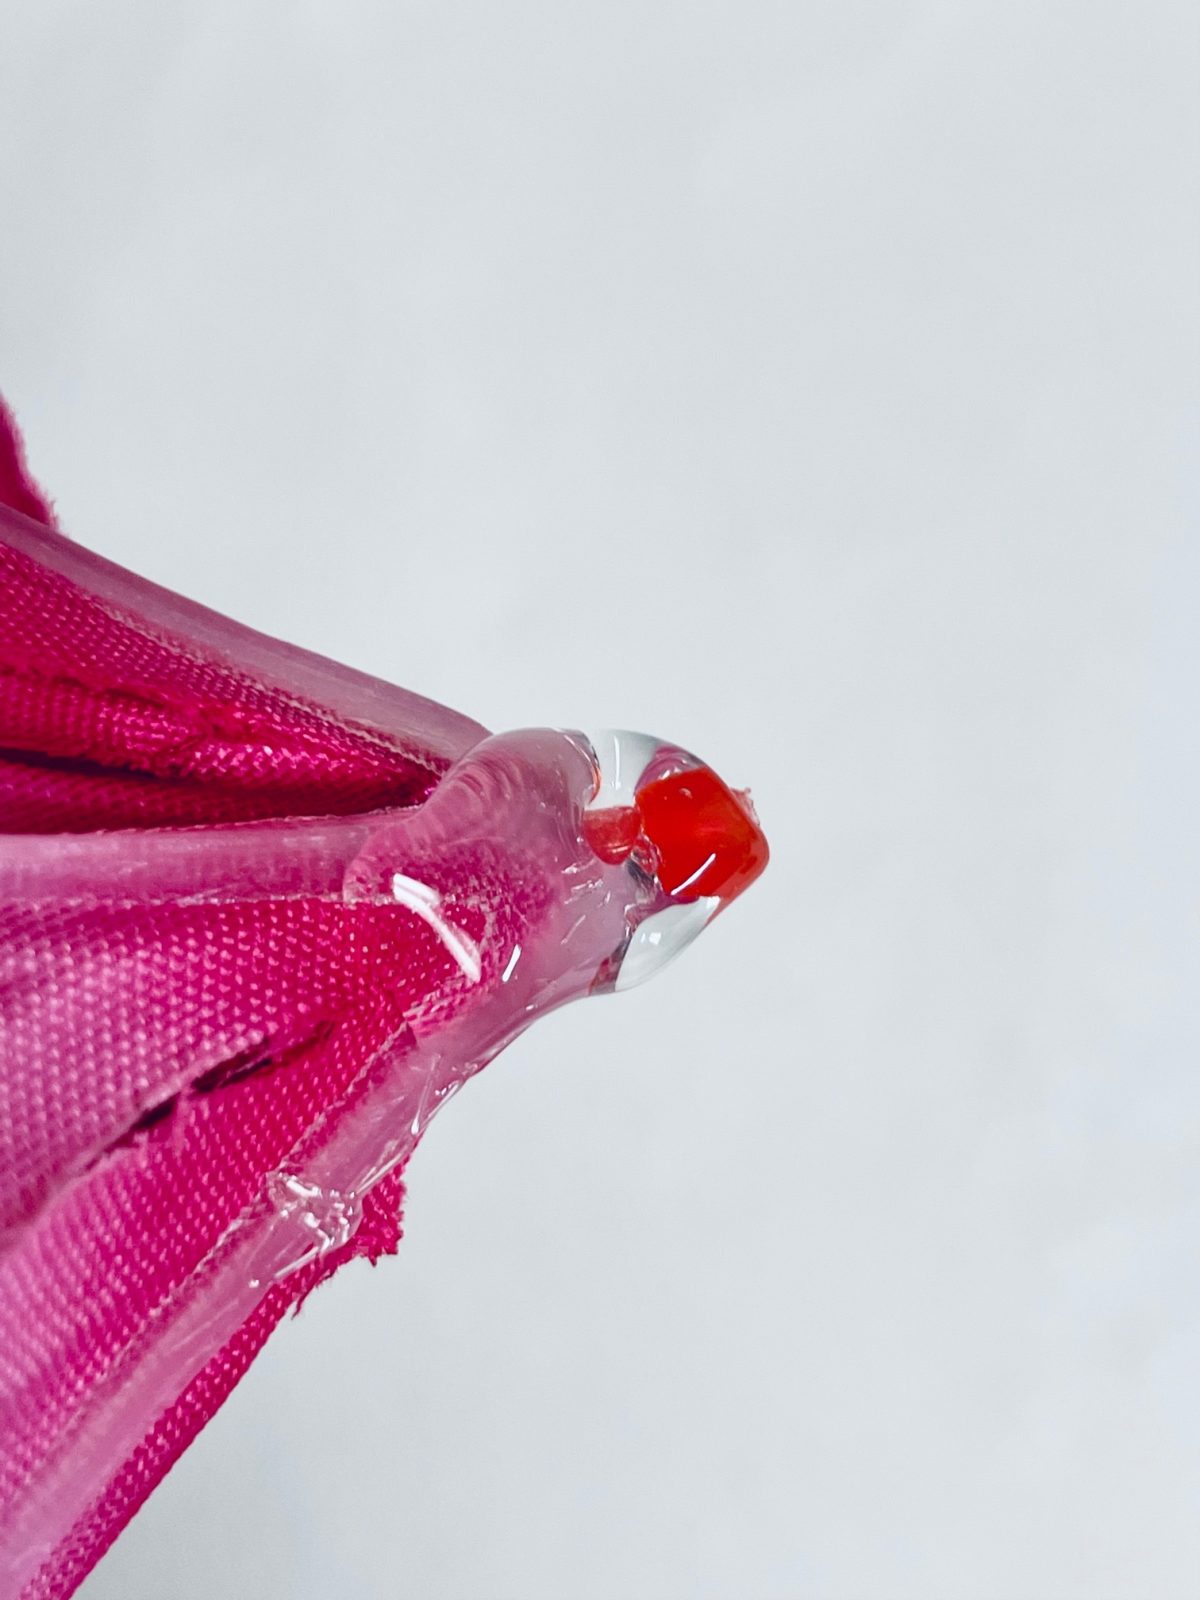
Next, use hot glue to adhere the bottoms of the Hibiscus flowers (3) to the metal hoop in between the palms.
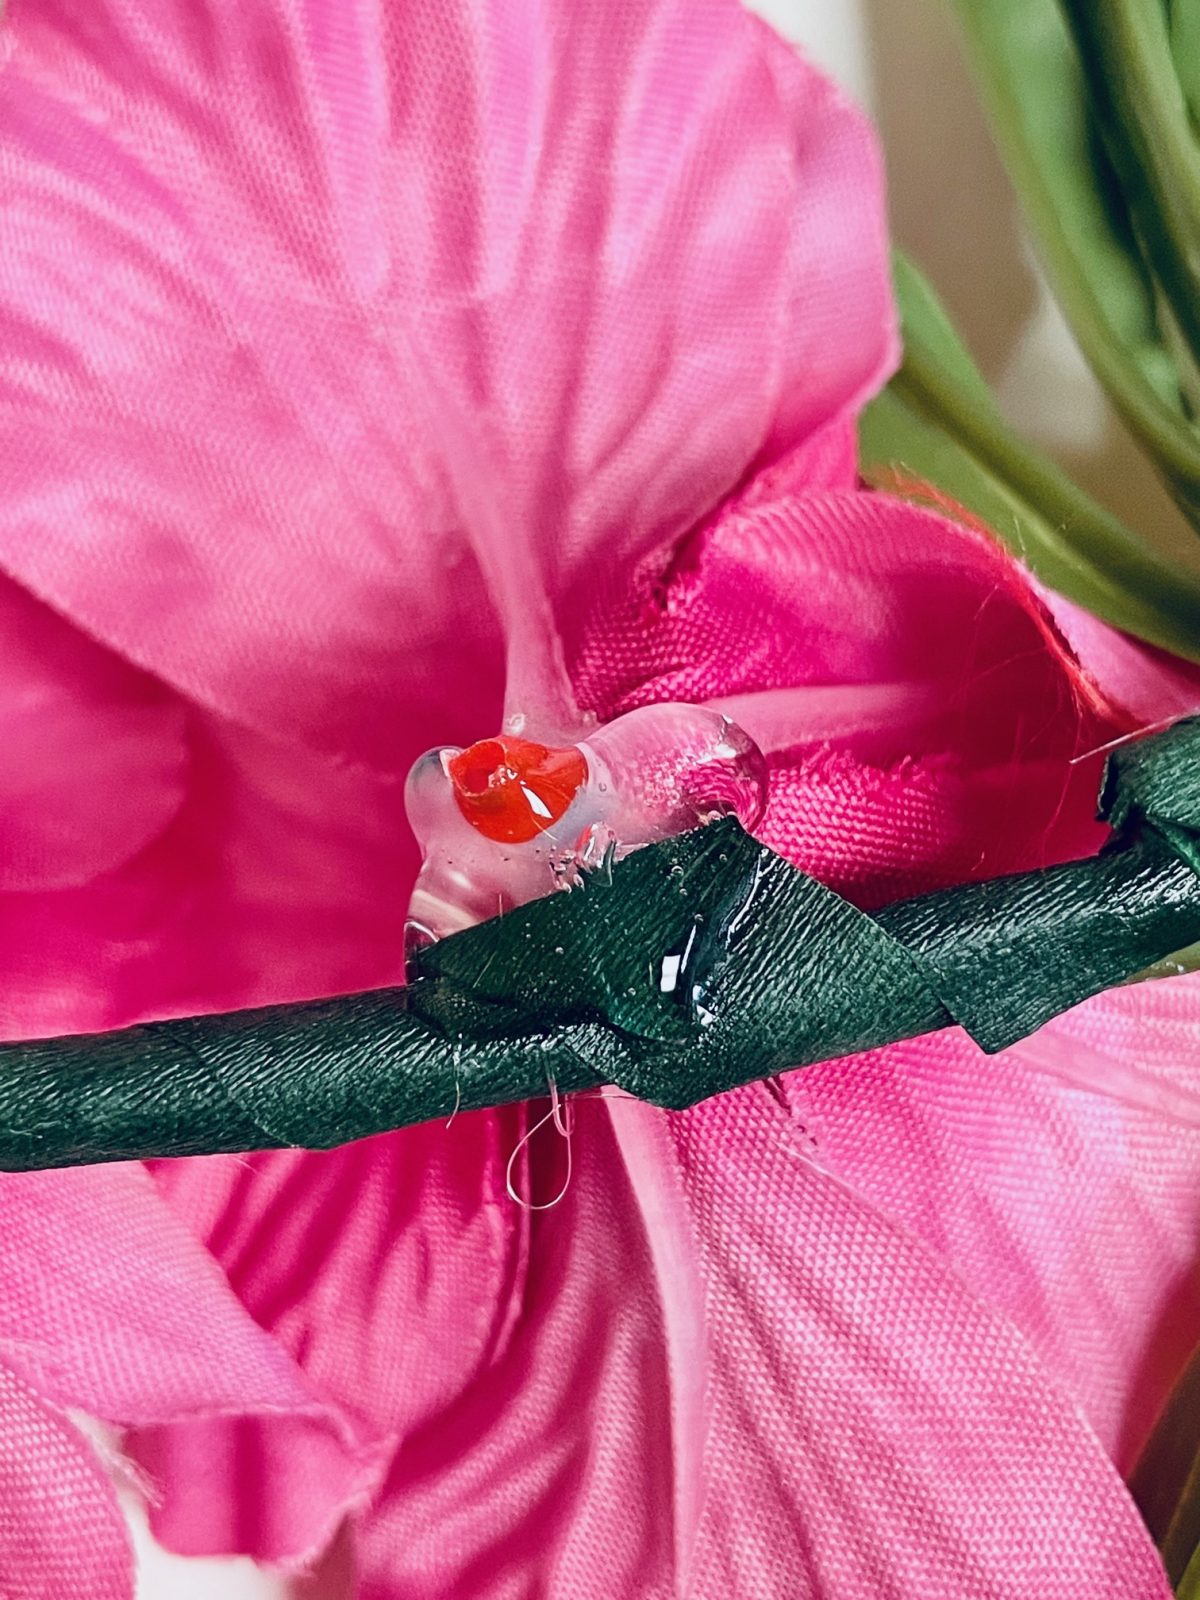
Allow for drying time before hanging them on the wall.


What do you think of this project? Let us know!