
Get more details about this project
What you need
Rocks
Pencil with eraser
Pens
Paint
Paint brushes
Sealant
Glue
Any fun decor that you’re gluing
Instructions
Tips:
• Rocks can be found outside but should not be taken from protected natural areas.
• If you are having trouble finding rocks, you can always purchase them on Amazon
• We do not recommend purchasing the smooth stones/river rocks from craft stores. They come with a coating on them and your paint/pen will not stick very well.
• Make sure your rocks are clean and free of debris before starting your art.
• If you need, you can lightly trace your design with a pencil first.
• If you plan on painting, acrylic paint works best.
• If you plan on using pen for your art, you can use paint markers

• If you’d like to glue anything to your rocks, we recommend the E6000

• We also recommend sealing your rocks after you’ve finished decorating them. You can use whatever finish you’d like (glossy, matte, etc). These can be found online or in your local craft stores. Our suggestions: Rust-oleum
• Rock art is relaxing and fun. Let your imagination run wild!
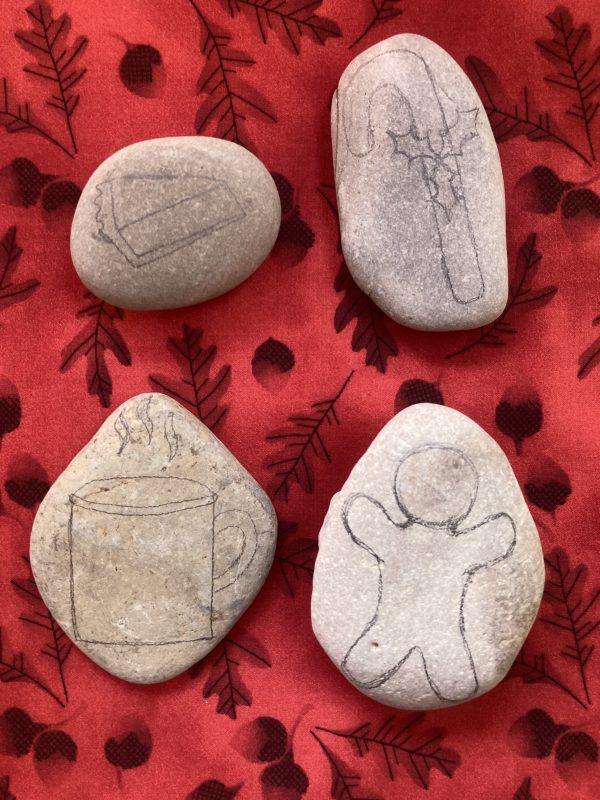
Christmas Treats Rock Art Tutorial
To create these rocks, follow the instructions below.
For the candy cane:
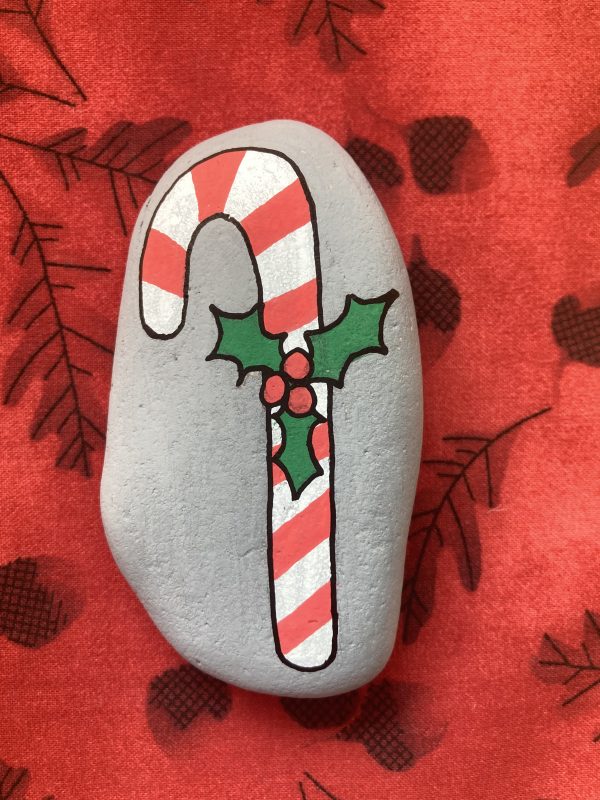
- Make sure your rock is clean and free of debris.
- With a pencil, draw the shape of the candy cane. Add three holly leaves coming out from the center of the candy cane.
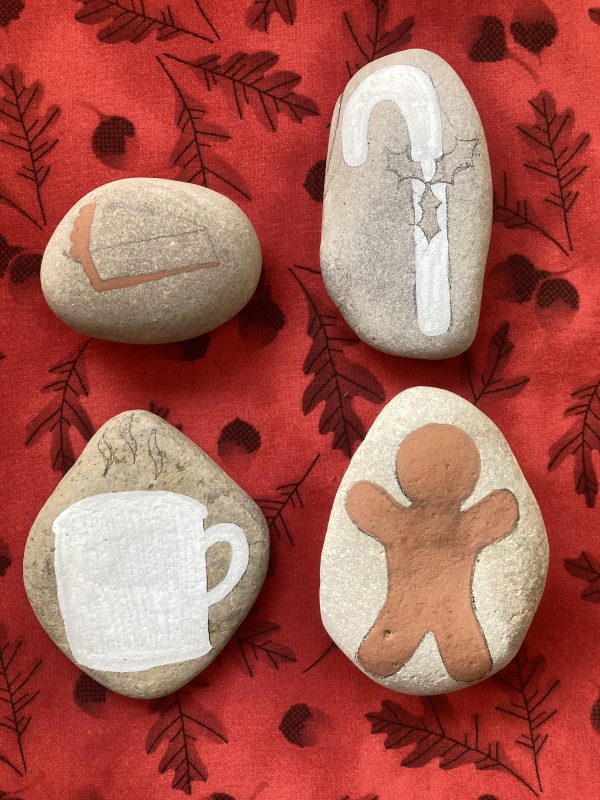
- Color the candy cane with white.
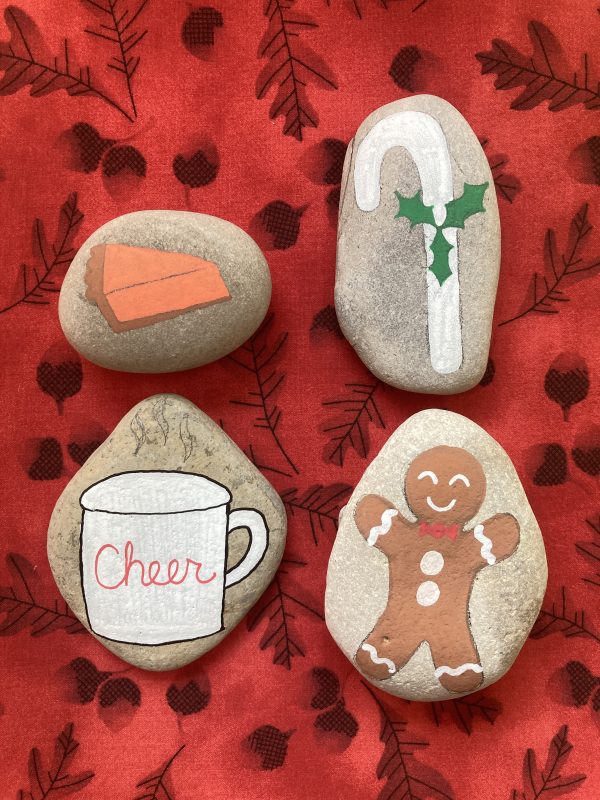
- Color the holly leaves with green.
- Add three red berries in the center of the holly and red stripes to the candy cane.
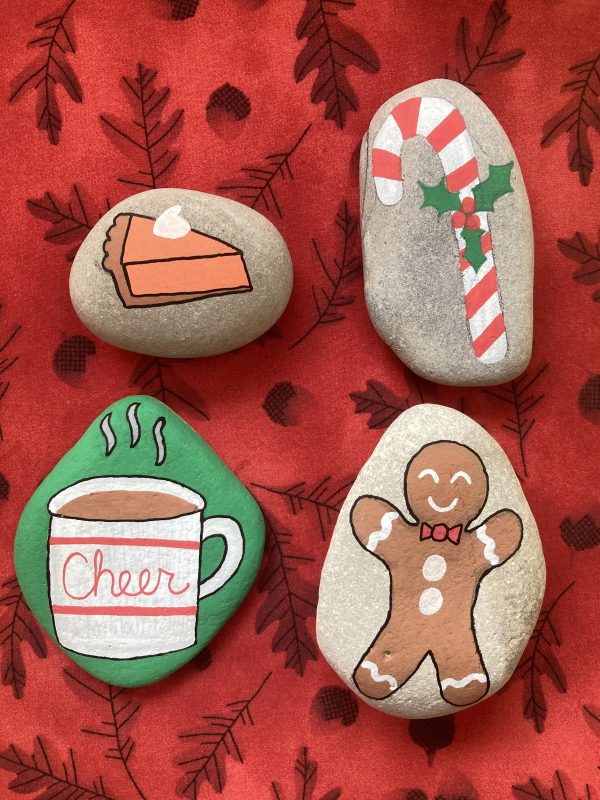
- Color the background in gray.
- Outline the entire drawing in black.
- Spray with sealant to complete the rock.
For the pumpkin pie:
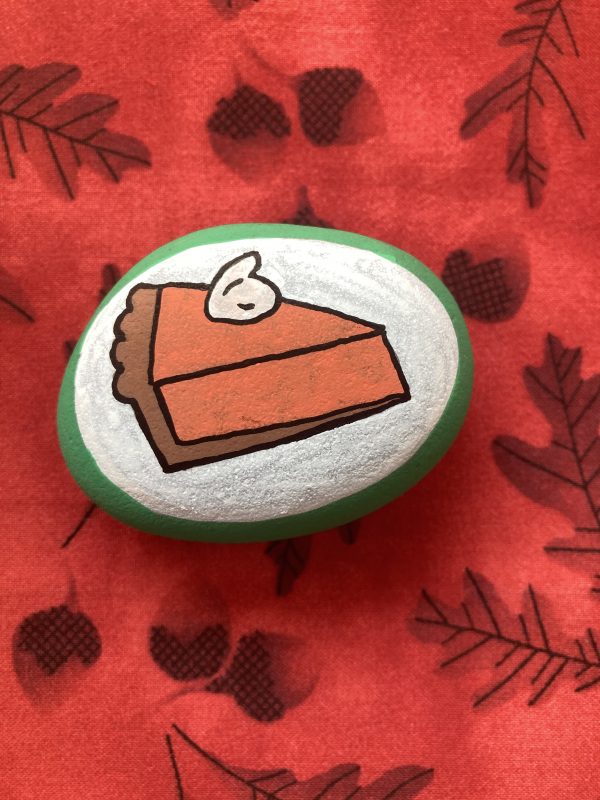
Make sure your rock is clean and free of debris.
With a pencil, draw out the slice of pie, adding bumpy ridges for the crust.
Color the crust in brown.
Color the pie in orange.
Outline the pie in black and add a small bit of white for the whipped cream.
Color the background in white to make a “plate” and green around the plate.
Outline the whipped cream in black.
Spray with sealant to complete the rock.
For the gingerbread man:
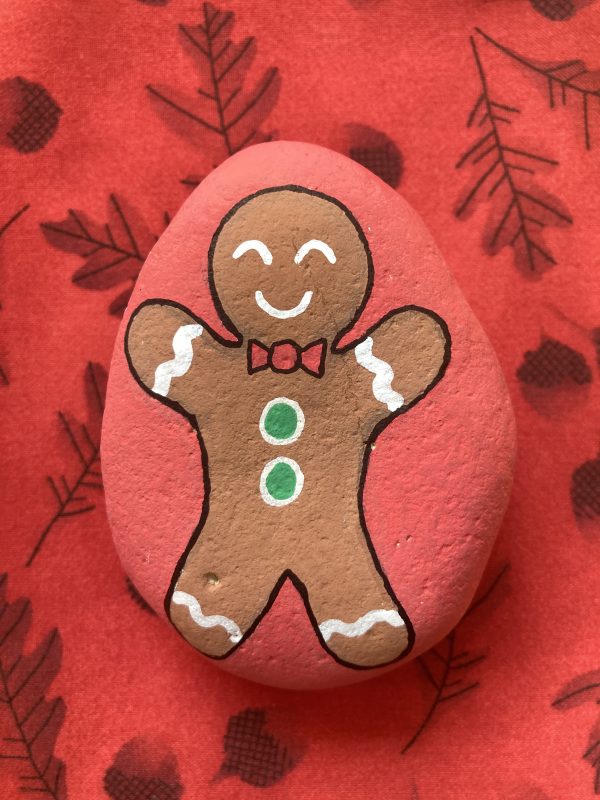
- Make sure your rock is clean and free of debris.
- With a pencil, draw out the shape of his body and his head.
- Color his entire body in brown.
- Add a red bow tie.
- With white, add two larger buttons below his red bow tie, two eyes, a mouth, and “squiggly” lines on his legs and arms.
- Outline the gingerbread man in black, as well as his bow tie.
- Add two smaller buttons on top of the white buttons.
- Color in the background with red.
- Spray with sealant to complete the rock.
For the cup of cheer:
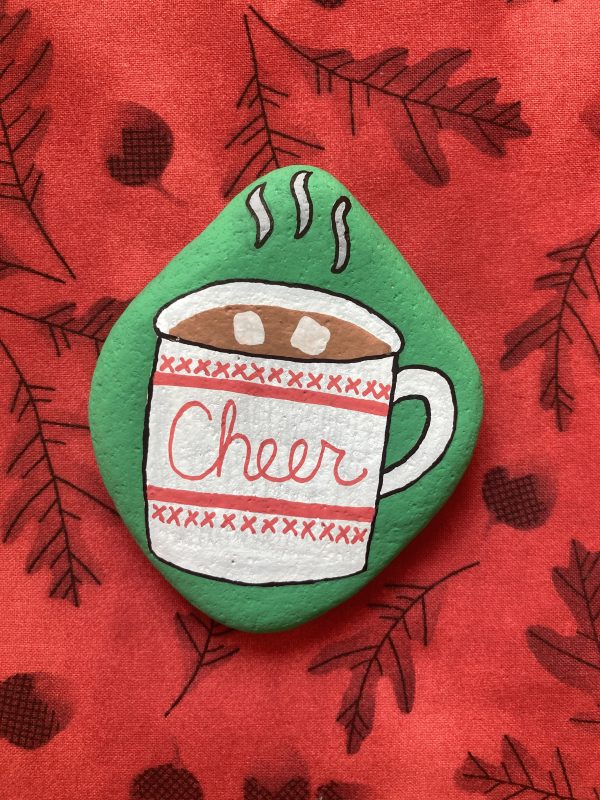
- Make sure your rock is clean and free of debris.
- With a pencil, draw out the shape of a mug, handle, and a few steam lines at the top.
- Color in the mug with white.
- Outline the mug in black. Write the word ‘cheer’ in pretty cursive with red.
- Color the background with green.
- Add two thick red lines around the word ‘cheer’.
- Color in the top of the mug with brown to show the hot chocolate.
- Add grey for the steam lines and outline them in black
- Outline the mug in black.
- Add small red x’s next to the thick red lines.
- Add two white cubes for marshmallows.
- Spray with sealant to complete the rock.


What do you think of this project? Let us know!