
Get more details about this project
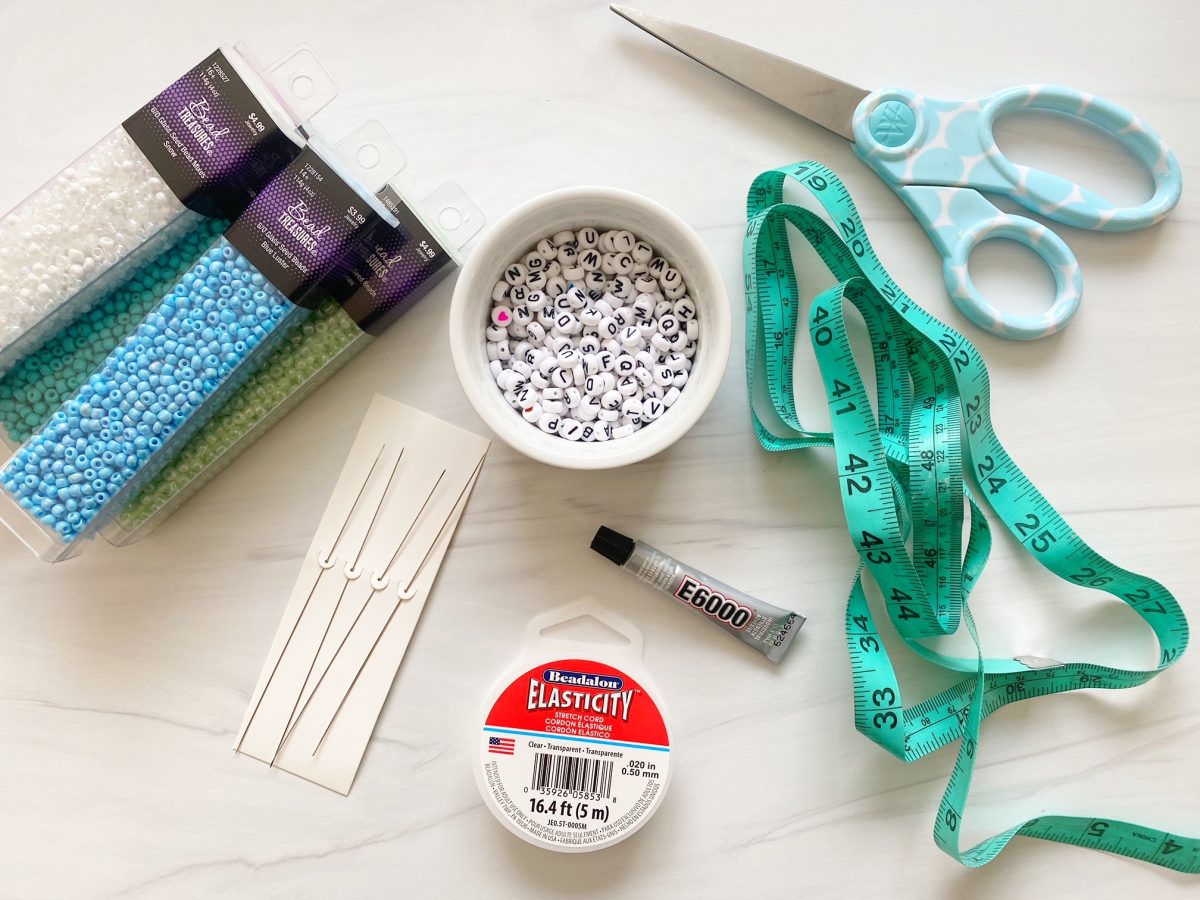
What you need
glass seed beads
White alphabet round beads
Bead needle
0.5 mm elasticity stretch bead cord
E6000 Glue
Measuring tape or ruler
Scissors


Instructions
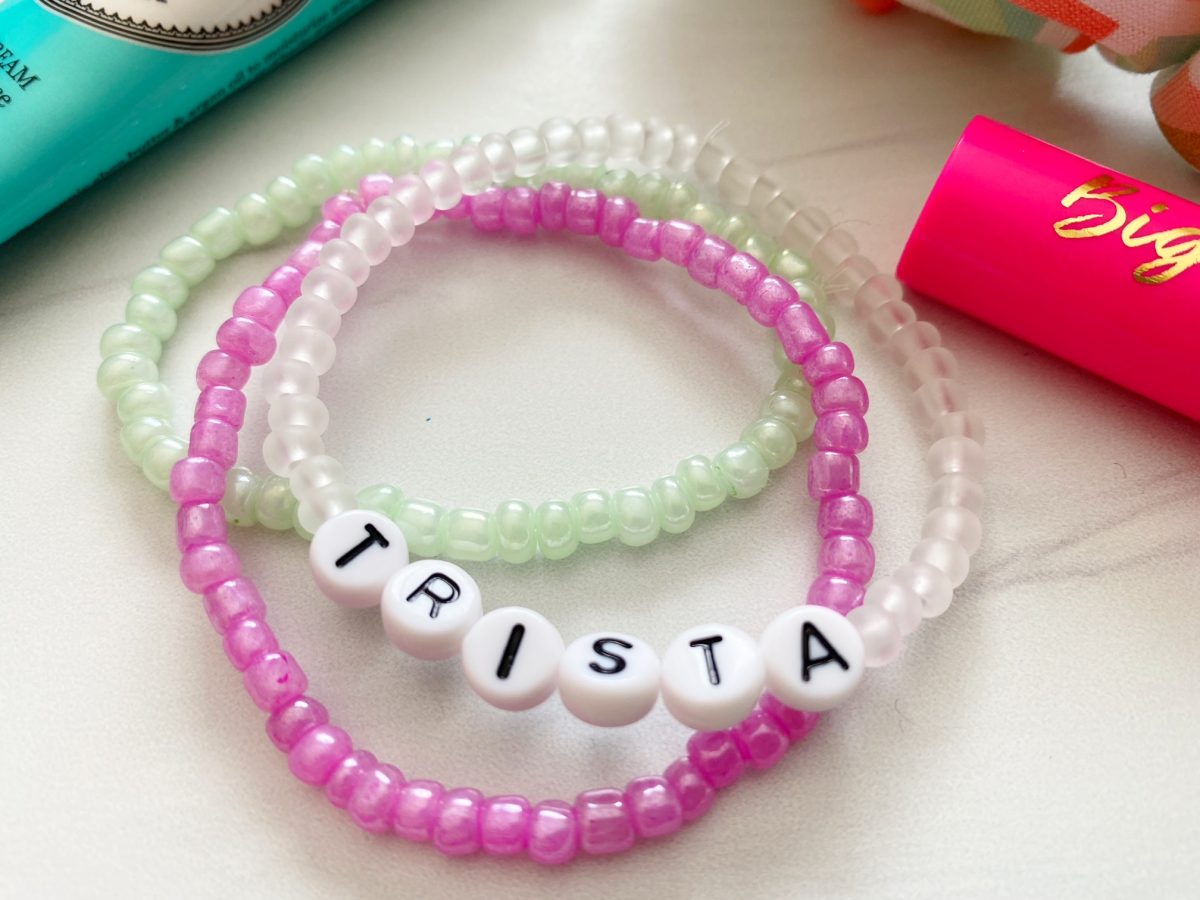
These colorful beaded friendship bracelets for kids are easy to make, fun to personalize, and perfect for sharing with friends. Using elastic cord, small seed beads, and alphabet beads, children can create name bracelets, friendship bracelets, positive word bracelets, or simple designs in their favorite colors.
This is a lovely craft for kids, tweens, and teens because it combines creativity with a practical finished project they can wear or give away. Choosing bead colors, arranging letters, and threading the beads also helps build patience, concentration, hand-eye coordination, and fine motor skills.
The bracelets are ideal for birthday parties, sleepovers, school holiday activities, friendship groups, handmade gifts, and summer camp crafts. Children can spell names, initials, encouraging words, or short messages such as LOVE, HAPPY, SMILE, BESTIE, or BFF.
Because small beads and strong jewelry glue are used, younger children should work with adult supervision.
Let’s get on with this activity!
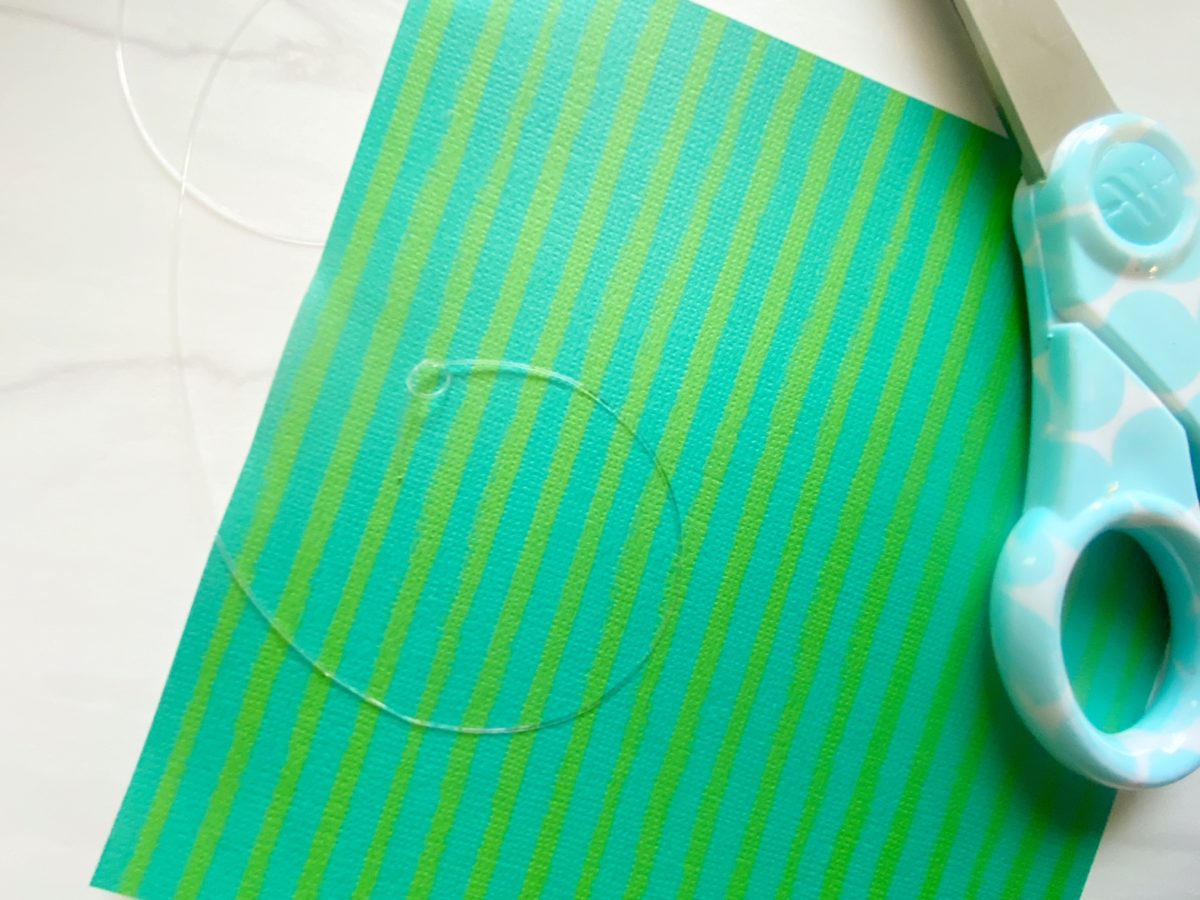
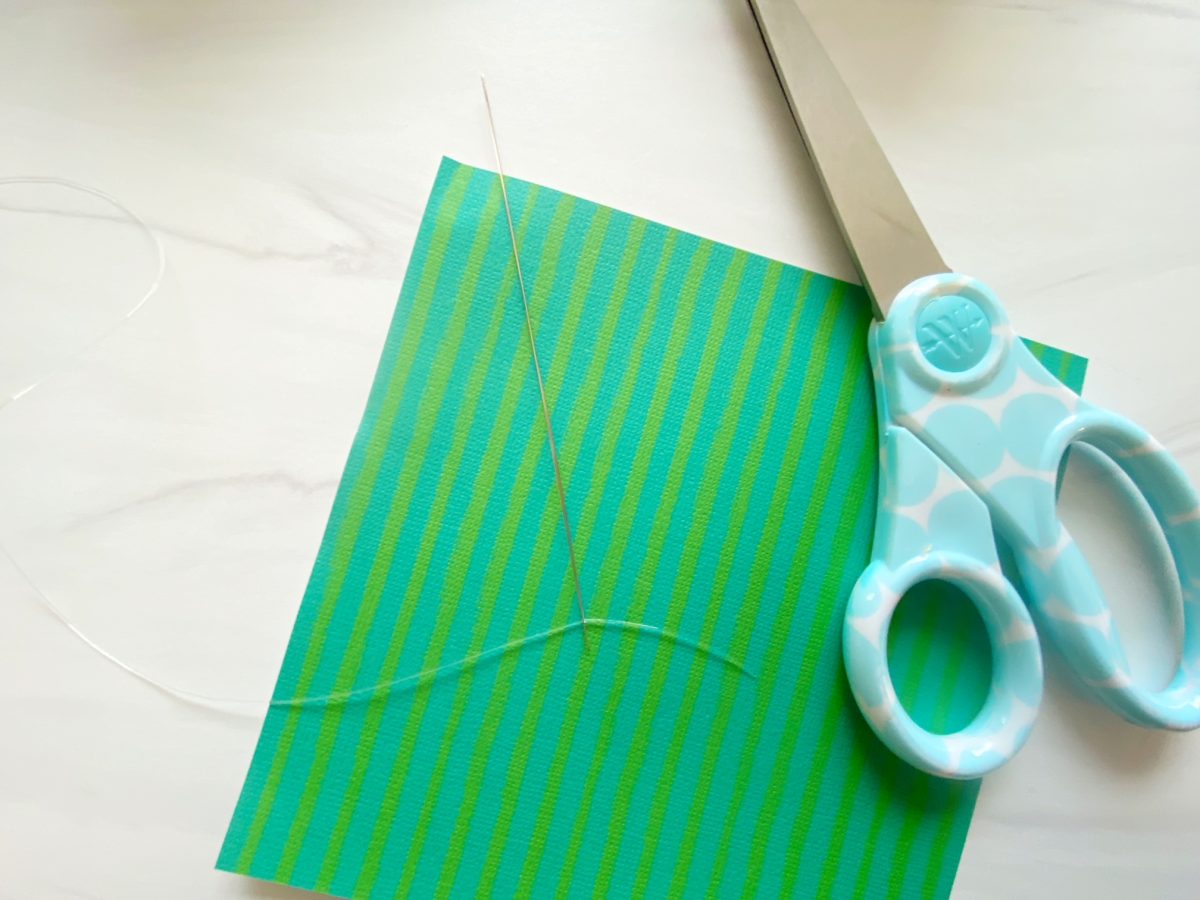
1. Cut a 9-inch piece of elastic cord, make a loose knot on one end, and attach the other end to the beading needle.
2. Refer to the size chart and arrange your beads on the table next to the ruler in the desired sequence. This way, if you want a name in the middle, you can be sure it will be even on both sides.

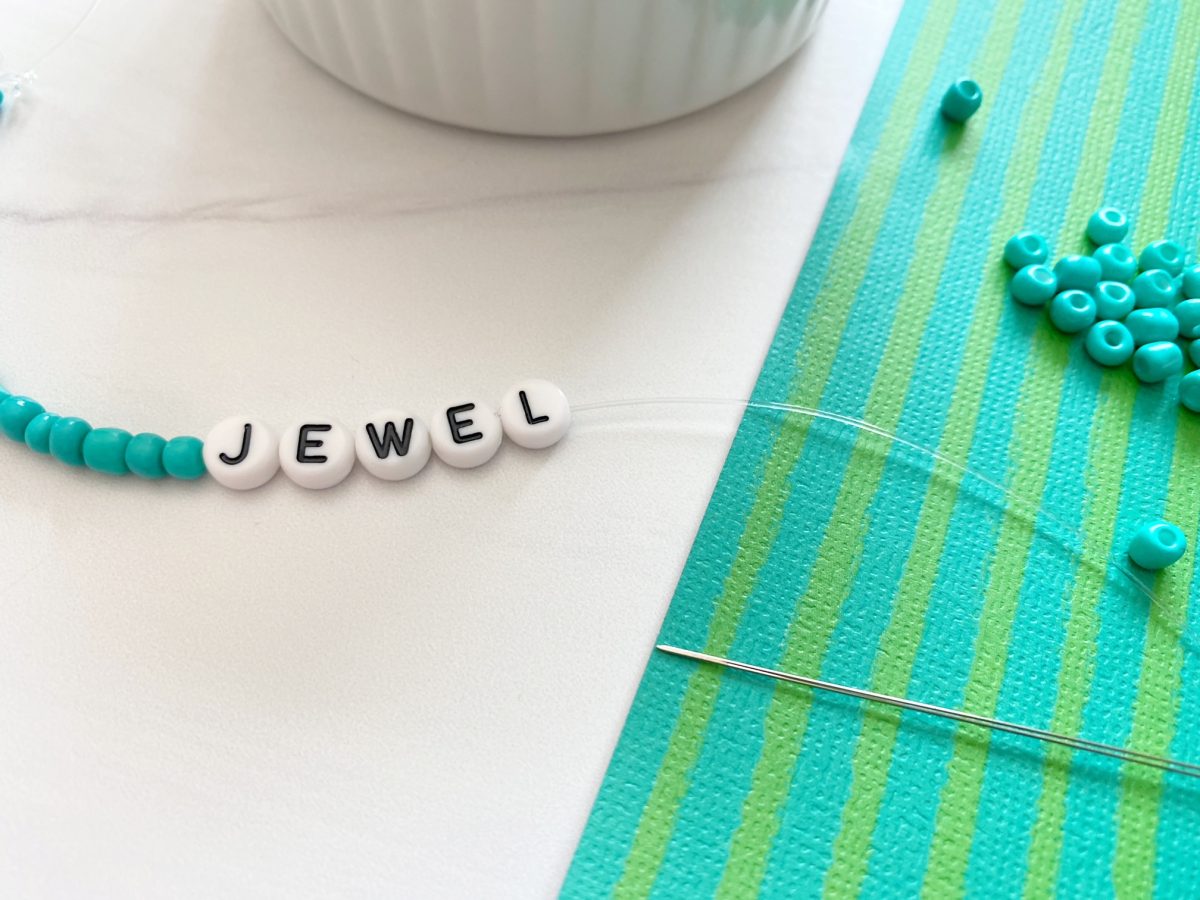
3. Pick up the beads with your bead needle and slide them onto your cord.
4. When all of the beads are in the right arrangement on the string, grab the two ends of the cord and make an elastic cord knot (see photo 6) near the beads and pull tight.

5. Follow the directions of the e6000 glue, dab the knot into the glue, and let it dry. This step will prevent the beads from falling off if stretched on too big of a wrist.
Bracelet Size guide:
XS – 6.25”
S- 6.50”
M- 6.75”
L- 7”
XL- 7.25”


What do you think of this project? Let us know!