
What you need
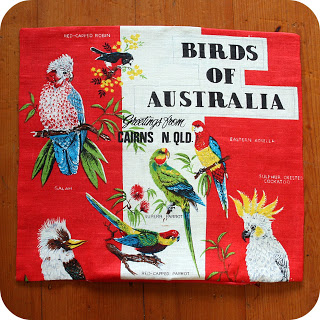
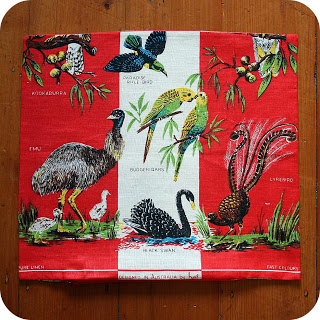
thrifted tea towel (dish drying linen cloth)
zip
cushion insert (size 14 or 16 depending on tea towel size)
scissors
sewing pins
cotton thread in similar colour to your tea towel
sewing machine
Instructions
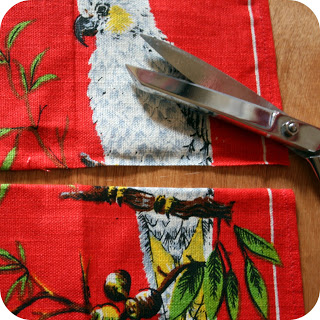
I’m not a big measurer myself, so for this purpose I simply folded the tea towel in half (so the top edge is lined up with the bottom edge) to work out where the half way point was. But you can be more precise and measure the length of the tea towel and divide it by two to get the length of where to cut your tea towel in half. Yes, I said CUT!
Now that you have two pieces, you essentially have a front and back panel for your cushion. The size of these two panels is how you will determine the size of your cushion insert. I suggest you take your tea towel to the shop with you to figure out which insert size will best suit your particular tea towel (remembering to fold your tea towel in half if it hasn’t been cut yet or using one of your panels to measure the size).
TIP: You want it to be snug, not loose.
I didn’t have a zip in my zipper stash which was long enough, but I did have one that was red and matched the main colour of the tea towel, so I decided to use it. I suggest using a zip which is at least the width of your tea towel and no shorter than two thirds of the width. It needs to be wide enough so that you can insert the cushion insert when you’re done. So just keep that in mind when selecting the length of your zip.
Take your “front” tea towel panel and lay it with the print/pattern facing up.
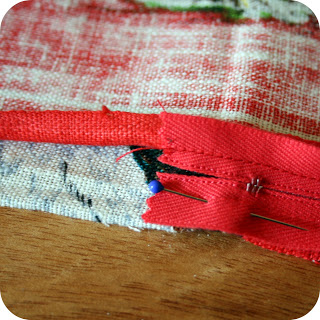
Now take your zip and lay it facing down (with the zipper pull facing towards the print) then align the bottom edge with that of the tea towel making sure that it’s centered across the width of the tea towel’s bottom edge.
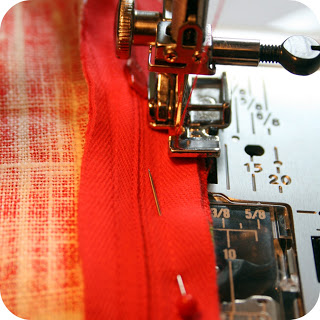
Now take some sewing pins and pin the zip and tea towel together making sure that your pins are all facing with the pin head away from the direction which you’ll be sewing so that it’s easy to pull them out as you go (you don’t want to be trying to pull the pins out against the foot of the sewing machine). Then making sure you have the zipper foot attachment on your sewing machine, sew about 1/2 cm from the edge of the zip and tea towel using the edge as a guide to sew in a straight line and pulling out each pin as you reach it. You should end up with something that looks like this (it’s difficult to tell, but there is a line of red stitches along the bottom of the zip)…
Now it’s time to sew the other side of the zip onto the “back” panel of the tea towel. Gulp. Don’t sweat it if you’ve never sewed a zip onto anything. I promise to make this as painless as possible.
Lay your back tea towel panel with the print facing up, as you did with the front panel earlier.
Now, take the front panel with the zip sewed onto the bottom edge, line it up (print side down) with the width of the back panel of tea towel. The idea is that you use the edges of both panels to line up the placement of where you need to pin your zip onto the back panel. Confusing? Take a peek at the images below if you’re like me and need a visual aid.
Now just stitch along the bottom edge of the back panel and zip as you did with the front panel.
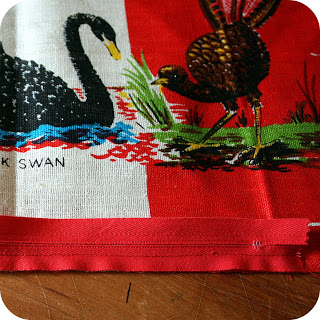
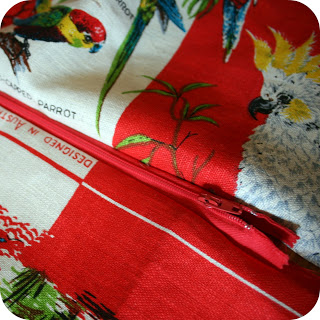
When you’re done and you flip your panels back out, you should see a nice, neat centered zip like this…
Now that you’ve inspected your zipper, sandwich your panels back together (print facing in), but before you do, unzip your zip almost all the way to the end – this will make it possible for you to turn your finished cushion cover the right way.
If you accidentally forget this step, you’ll have no way of turning your cushion cover!
Now comes the fun part.
Starting with one end of the sewn zipper, you’re going to start pinning your front and back panels together along all of those loose edges.
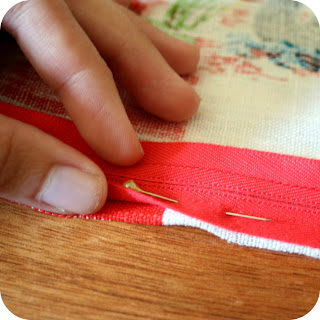
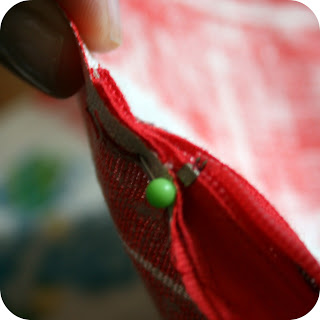
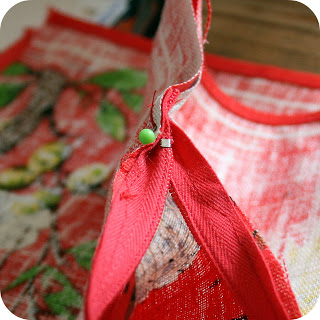
Start at one end of the zip (HERE’S THE TRICKY PART) and with the metal teeth of the zip facing out and visible against the raw edge, pin the zip right at the part where you’re going to sew (near the small metal stopper where the zip can’t zip-up or unzip any further). You don’t want there to be a finger-sized gap between where the zip ends and the fabric of the cushion starts, so get in nice and close when pinning either end of your zip.
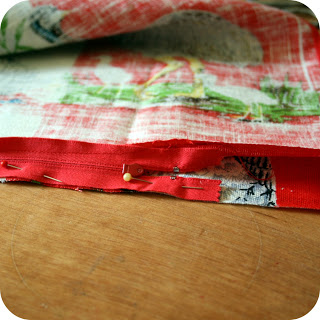
Once you’ve pinned both zip ends, you can pin all of the loose edges together making sure that you’re keeping the front and back panels aligned as much as possible AND making sure you’re pinning in one direction with the pins pointing sharp end towards the direction where the foot of your machine will be sewing.
Before you get all excited and start stitching, make sure you’ve removed your zipper foot and attached your regular foot back onto your sewing machine. If you haven’t, you’re certainly going to notice how difficult it is to sew the fabric with a zipper foot attachment. I’ve made this mistake before! Ok, now go.
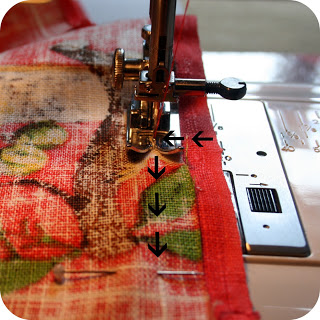
Position the needle of your sewing machine at the left edge of the end of the zipper and on both panels and zipper edge. You’re going to stitch a line straight across the zip until you reach the stitch line of where the zip is attached to the tea towel panels. Once you reach this line, lift your sewing foot and spin your fabric around so that the foot is facing along the edge which you’re going to stitch along. Essentially you’re going to stitch an upside down ‘L’ to ensure there is no gap between the teeth of your zip and the part where the fabric sides of your zip end.
Stitch along the outside of your panels and when you get to the other end of the zip, lift the foot and turn your fabric around so that you can finish in the same method as you started – by sewing a line along the end of the zip near the metal stopper. When you’re done stitching, you need to snip any loose thread ends and then…
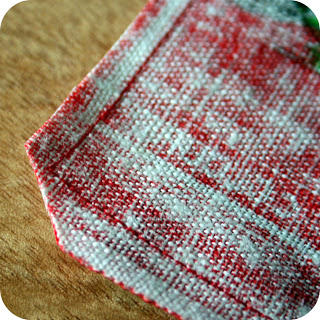
CLIP – clip each corner on an angle so that when it’s turned, the edges which you’ve stitched sit flat on the inside
TURN – turn your cushion cover inside out… or right way out!
PRESS – give your cushion cover a nice steamy iron to get it looking nice and crisp
STUFF – insert your cushion insert into your newly created tea towel cushion
FLUFF – give your new cushion a nice fluffing to plump it up and get it into shape
and lastly… the most important step of all…
ADMIRE!


Love this so much!!