
What you need
1 plastic or glass jar
1-2 printed Christmas themed paper napkin
White craft glue
paint brush
battery candle
Instructions
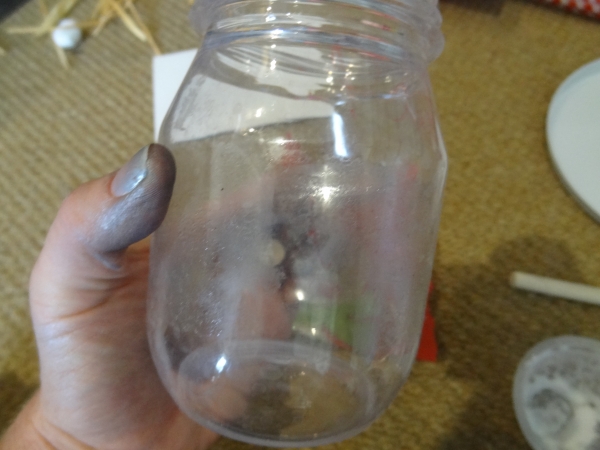
Start by choosing a Christmas napkin with a suitable design, I chose the Reindeer for mine. I also used a plastic jar as we are going to use a Battery candle. (Excuse my silver fingers it was a busy craft day)
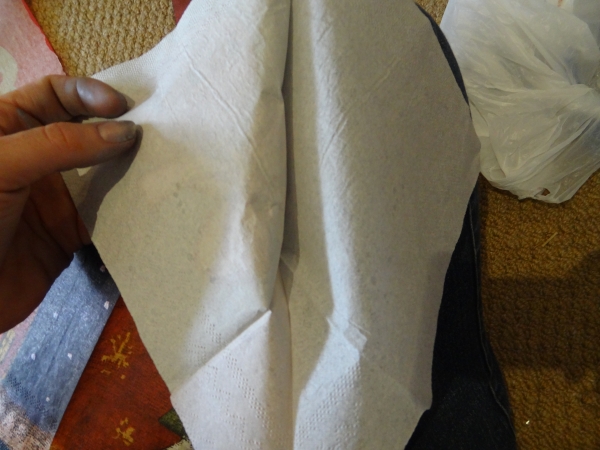
Start by taking the back ply off the napkin. We need it to be as thin as possible. For smaller children I suggest using a napkin with small holly leaves or snowflakes rather than a large design like the one we used. (I even managed to loose one of his antlers, see picture above)
Smaller designs are easy for children to apply. Tear the napkins up into little pieces and then layer it back onto the jar with the glue. Tear around any pictures or designs you would like to keep in tact.
For best results water down your glue to make it spreadable. Use the glue to stick it down and dab the paint brush to push it onto the jar. Keep doing this until the whole jar is covered then allow to dry.
Once it has dried apply another coat of thick glue and allow to dry again, this layer will seal the paper design.
Finish off with the candle and watch it glow.
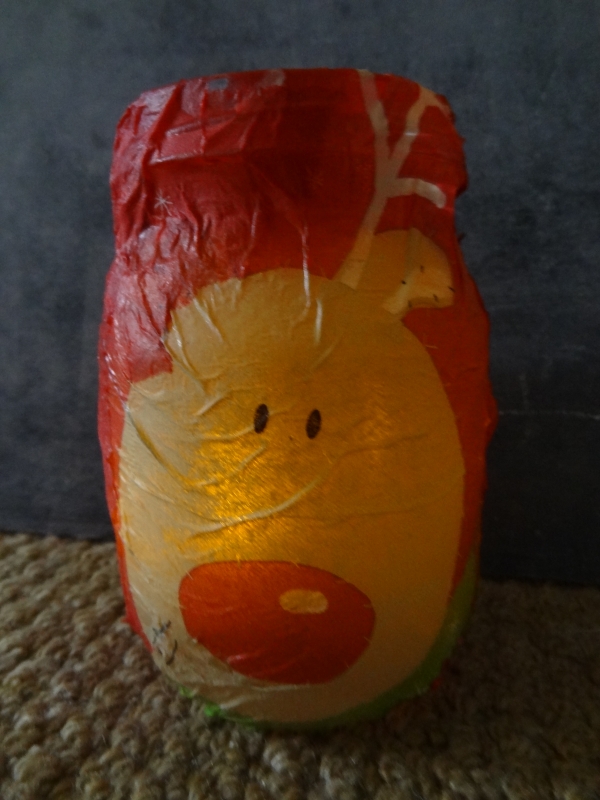
So easy to do! How did yours turn out?


I didn’t understand how you got the design, reindeer, on the jar. directions stated to tear up the napkin in small pieces and then apply to jar.
Tear around any pictures or designs you would like to keep in tact.