
Get more details about this project
What you need
Pattern (see below)
scissors
glue or tape
paper cutter/blade
printer (optional, you can also print your PDF File at your local print shop)
thick paper/card stock (optional, you can also print your PDF File at your local print shop)
pen (optional, for writing your messages)
single hole puncher (optional, you can make your own holes using a paper cutter)
ribbon/string (optional, for a stronger Mini Gift basket handle)
inkless ball point pen/blunt tipped tool (optional, for easier folding/scoring)
Instructions
Step 1:
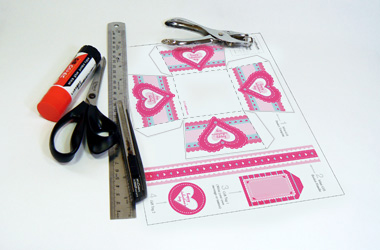
Open Mini Gift basket & Gift tag’s PDF File in Adobe Reader and print out on cardstock or thicker paper stock using your printer (or you can print the PDF File at your local print shop). Gather all the materials needed to make the Mini Gift basket.
Step 2:
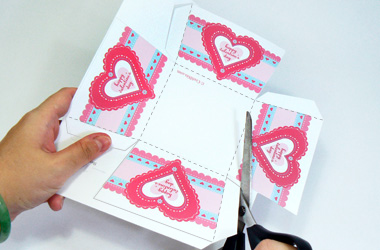
Cut out Mini Gift basket Template following the cutting lines.
Step 3:
After cutting, this is what your Mini Gift Basket Template looks like.
Step 4:

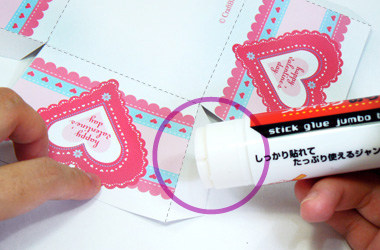
Using the back of your paper cutter/blade or using a inkless ball point pen, score along the folding lines. Scoring means lightly dragging your back of blade or pen across the folding lines to make folding easier.
Step 5:
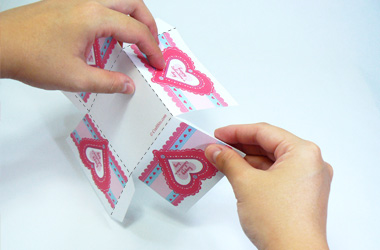
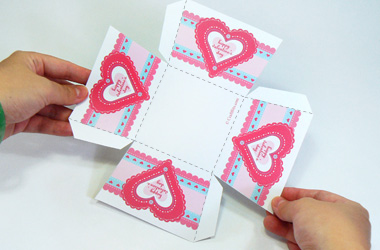
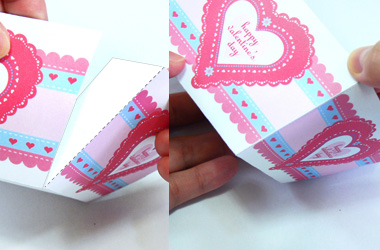
Fold according to the folding lines, make sure you fold all the side flaps of the Mini Gift Basket.
Step 6:

After folding, this is what your Mini Gift Basket Template looks like.
Step 7:

Apply glue or tape to the four side flaps of the Mini Gift Basket Template.
Step 8:
Firmly stick the four side flaps to their respective sides of the Mini Gift Basket.
Step 9:
After sticking the side flaps, this is what your Mini Gift Basket looks like, its almost ready!
Step 10:
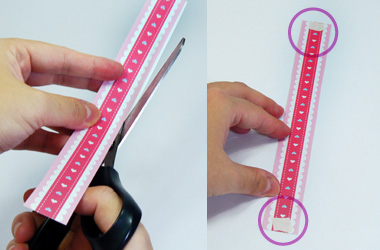
Cut the Mini Gift Basket handle and place some glue or tape on both ends of the handle.
Step 11:
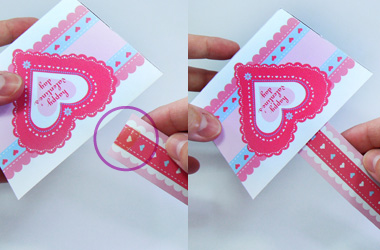
With the glue or tape, stick one end of handle to center top area of the Mini Gift Basket and repeat the same for the handle’s other end.
Step 12:
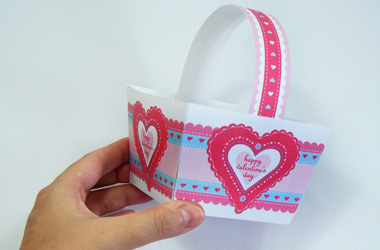
After sticking the handle, this is what your Mini Gift Basket looks like.
Step 13:
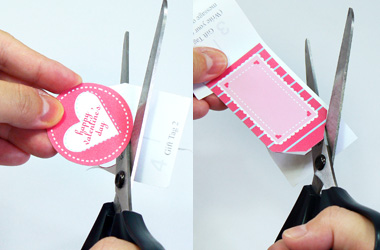
Cut out the gift tags. Gift tag No.2 is round in shape with Happy Valentine’s Day on it and Gift tag No.1 is rectangular with a message area where you can write your own messages or recipient’s names.
Step 14:
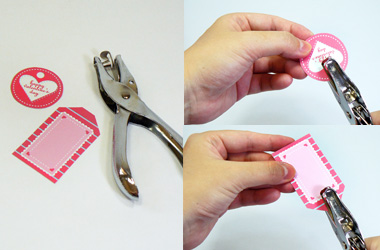
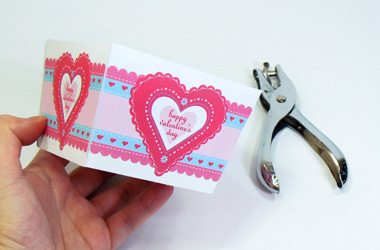
Using a single hole puncher, punch a hole in each gift tag. If you do not have a single hole puncher or any hole puncher, just make a hole big enough for some ribbon or string to go through.
Step 15:
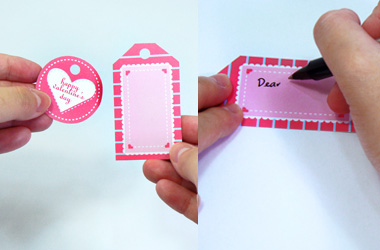
Write your messages or your recipient’s name in the Gift tag No.1’s message area.
Step 16:
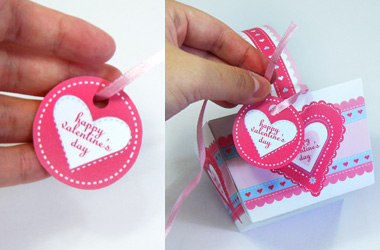
Using some ribbon or string, attach your selected gift tag(s) to the Mini Gift Basket.
Step 17:
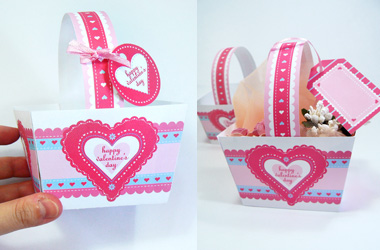
Fill Mini Gift Basket with candies or presents for your loved ones, and its ready!
(Optional Ribbon/String Handle)
Step 18:
If you require a longer handle, you can use your own ribbon or string as a handle for your Mini Gift Basket.
Get your single hole puncher ready.
Step 19:
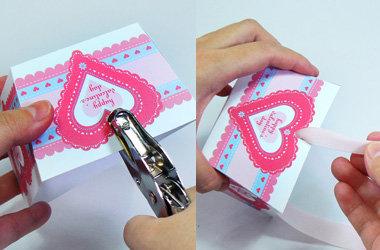
Using a single hole puncher, punch a hole in center top area of the Mini Gift Basket, repeat the same for the other side. If you do not have a single hole puncher or any hole puncher, just make a hole big enough for some ribbon or string to go through.
Step 20:
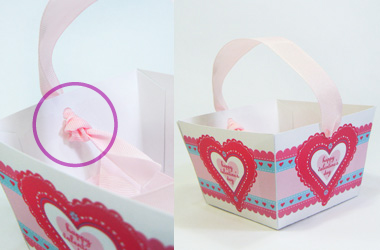
Prepare the length of ribbon or string that you want to use as the Mini Gift Basket’s handle. Pull ribbon or string through the first hole of the Mini Gift Basket and make a knot at the end of the ribbon/string. Repeat the same for the Mini Gift Basket’s second hole. Fill Mini Gift Basket with candies or presents for your loved ones, and its ready!
Note:
1) Measurements:
When printed at 100% on letter sized cardstock, the size of the Gift Basket (without the handle attached) is width: 9.6 cm/3.8 inch, height: 6.3 cm/2.5 inch & dimension: 9.6 cm/3.8 inch, its great for candies, mini trinkets and jewellery. Base of Gift Basket is a square (7.6 cm/ 3 inch) & length (7.6 cm/ 3 inch).
2) Since this Mini Gift Basket is to be constructed from cardstock, it would be advisable that only lightweight gifts be placed inside of Gift Basket. Also, ribbon or string handles are stronger than the paper handle.
3) The height of the handle can be adjusted according to the reader’s preference, ie: the paper handle can be shortened or the handle can be lengthened if the reader prefers to use longer ribbon/string.
4) Your screen & printer’s printout colors may look slightly different from PDF files. PDF files are formatted to print on letter sized paper/card stock and PDF Files are not editable.


such a cute box and excellent how to instructions
Great proect, wonderful, easy to follow instructions! Thanks!